How to make a bias tape.
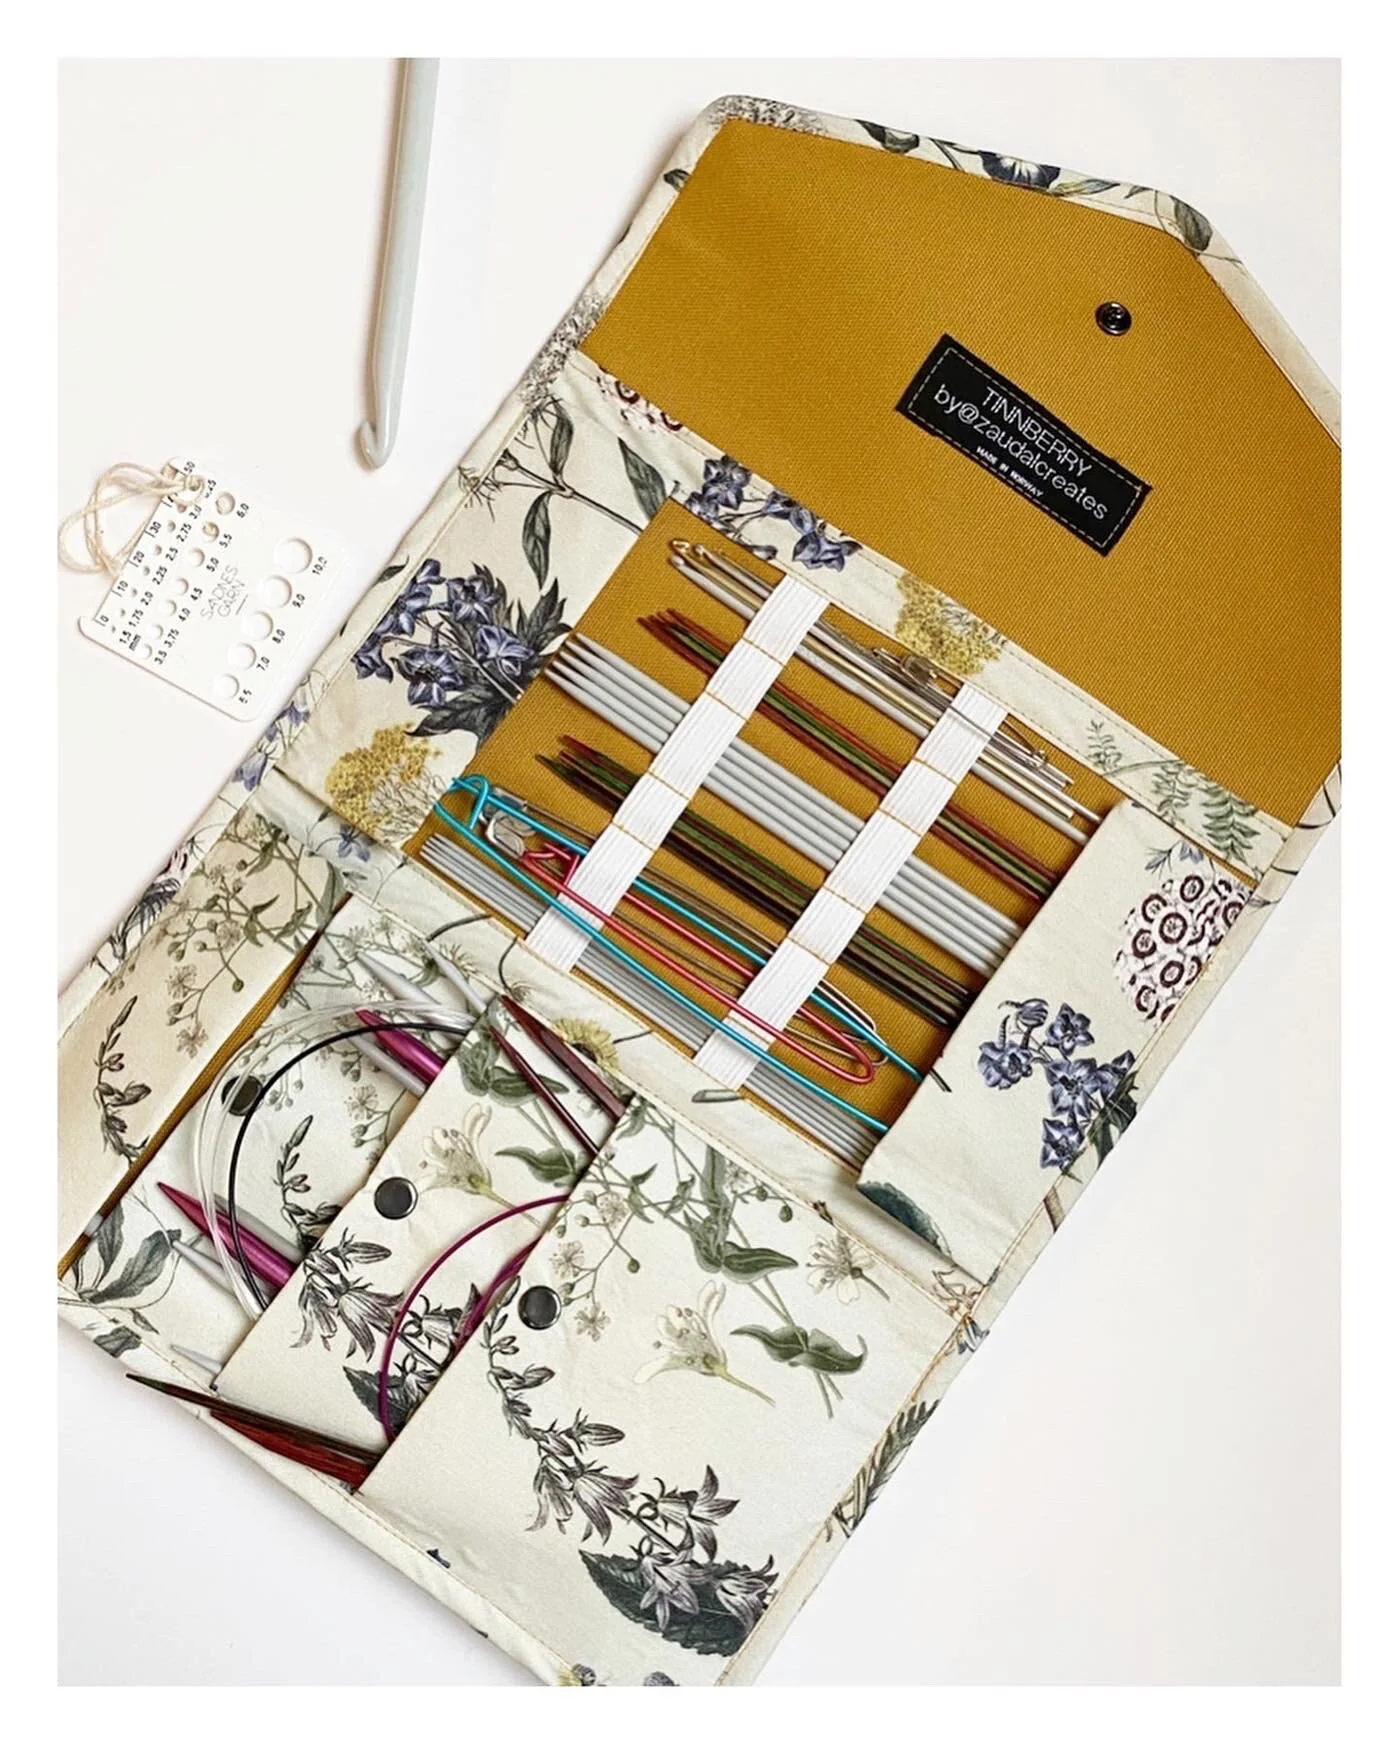
Today I wanted to show you how I make bias tape. I’m about to release my next pattern, the Oslo Pouch, and I’ve been wondering whether to describe these steps in the tutorial or just write a blog post.
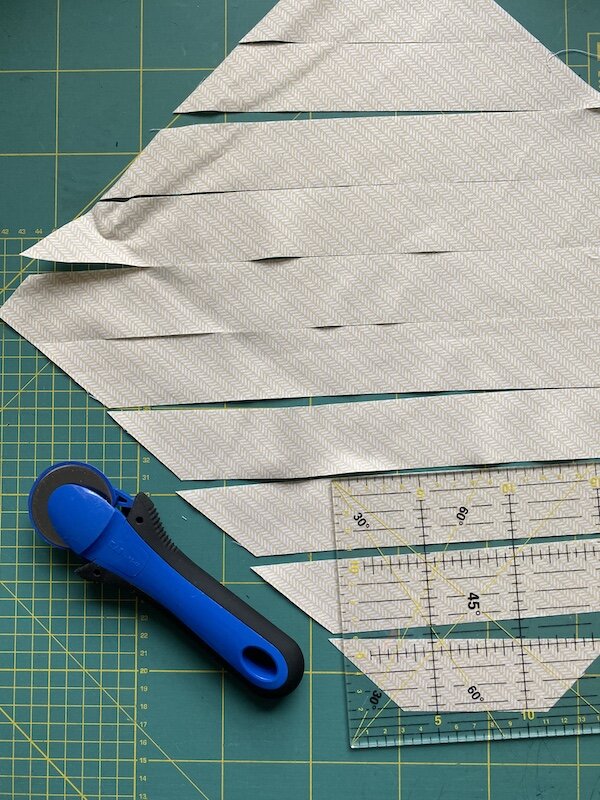
I like to make bias tape in advance so I have it ready in a box for upcoming projects. I usually make 18 mm single-fold bias tape using a size 18 bias tape maker (18 mm wide).
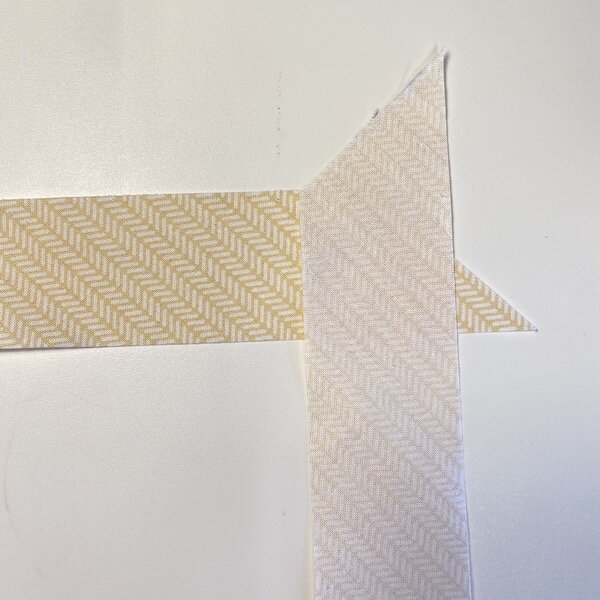
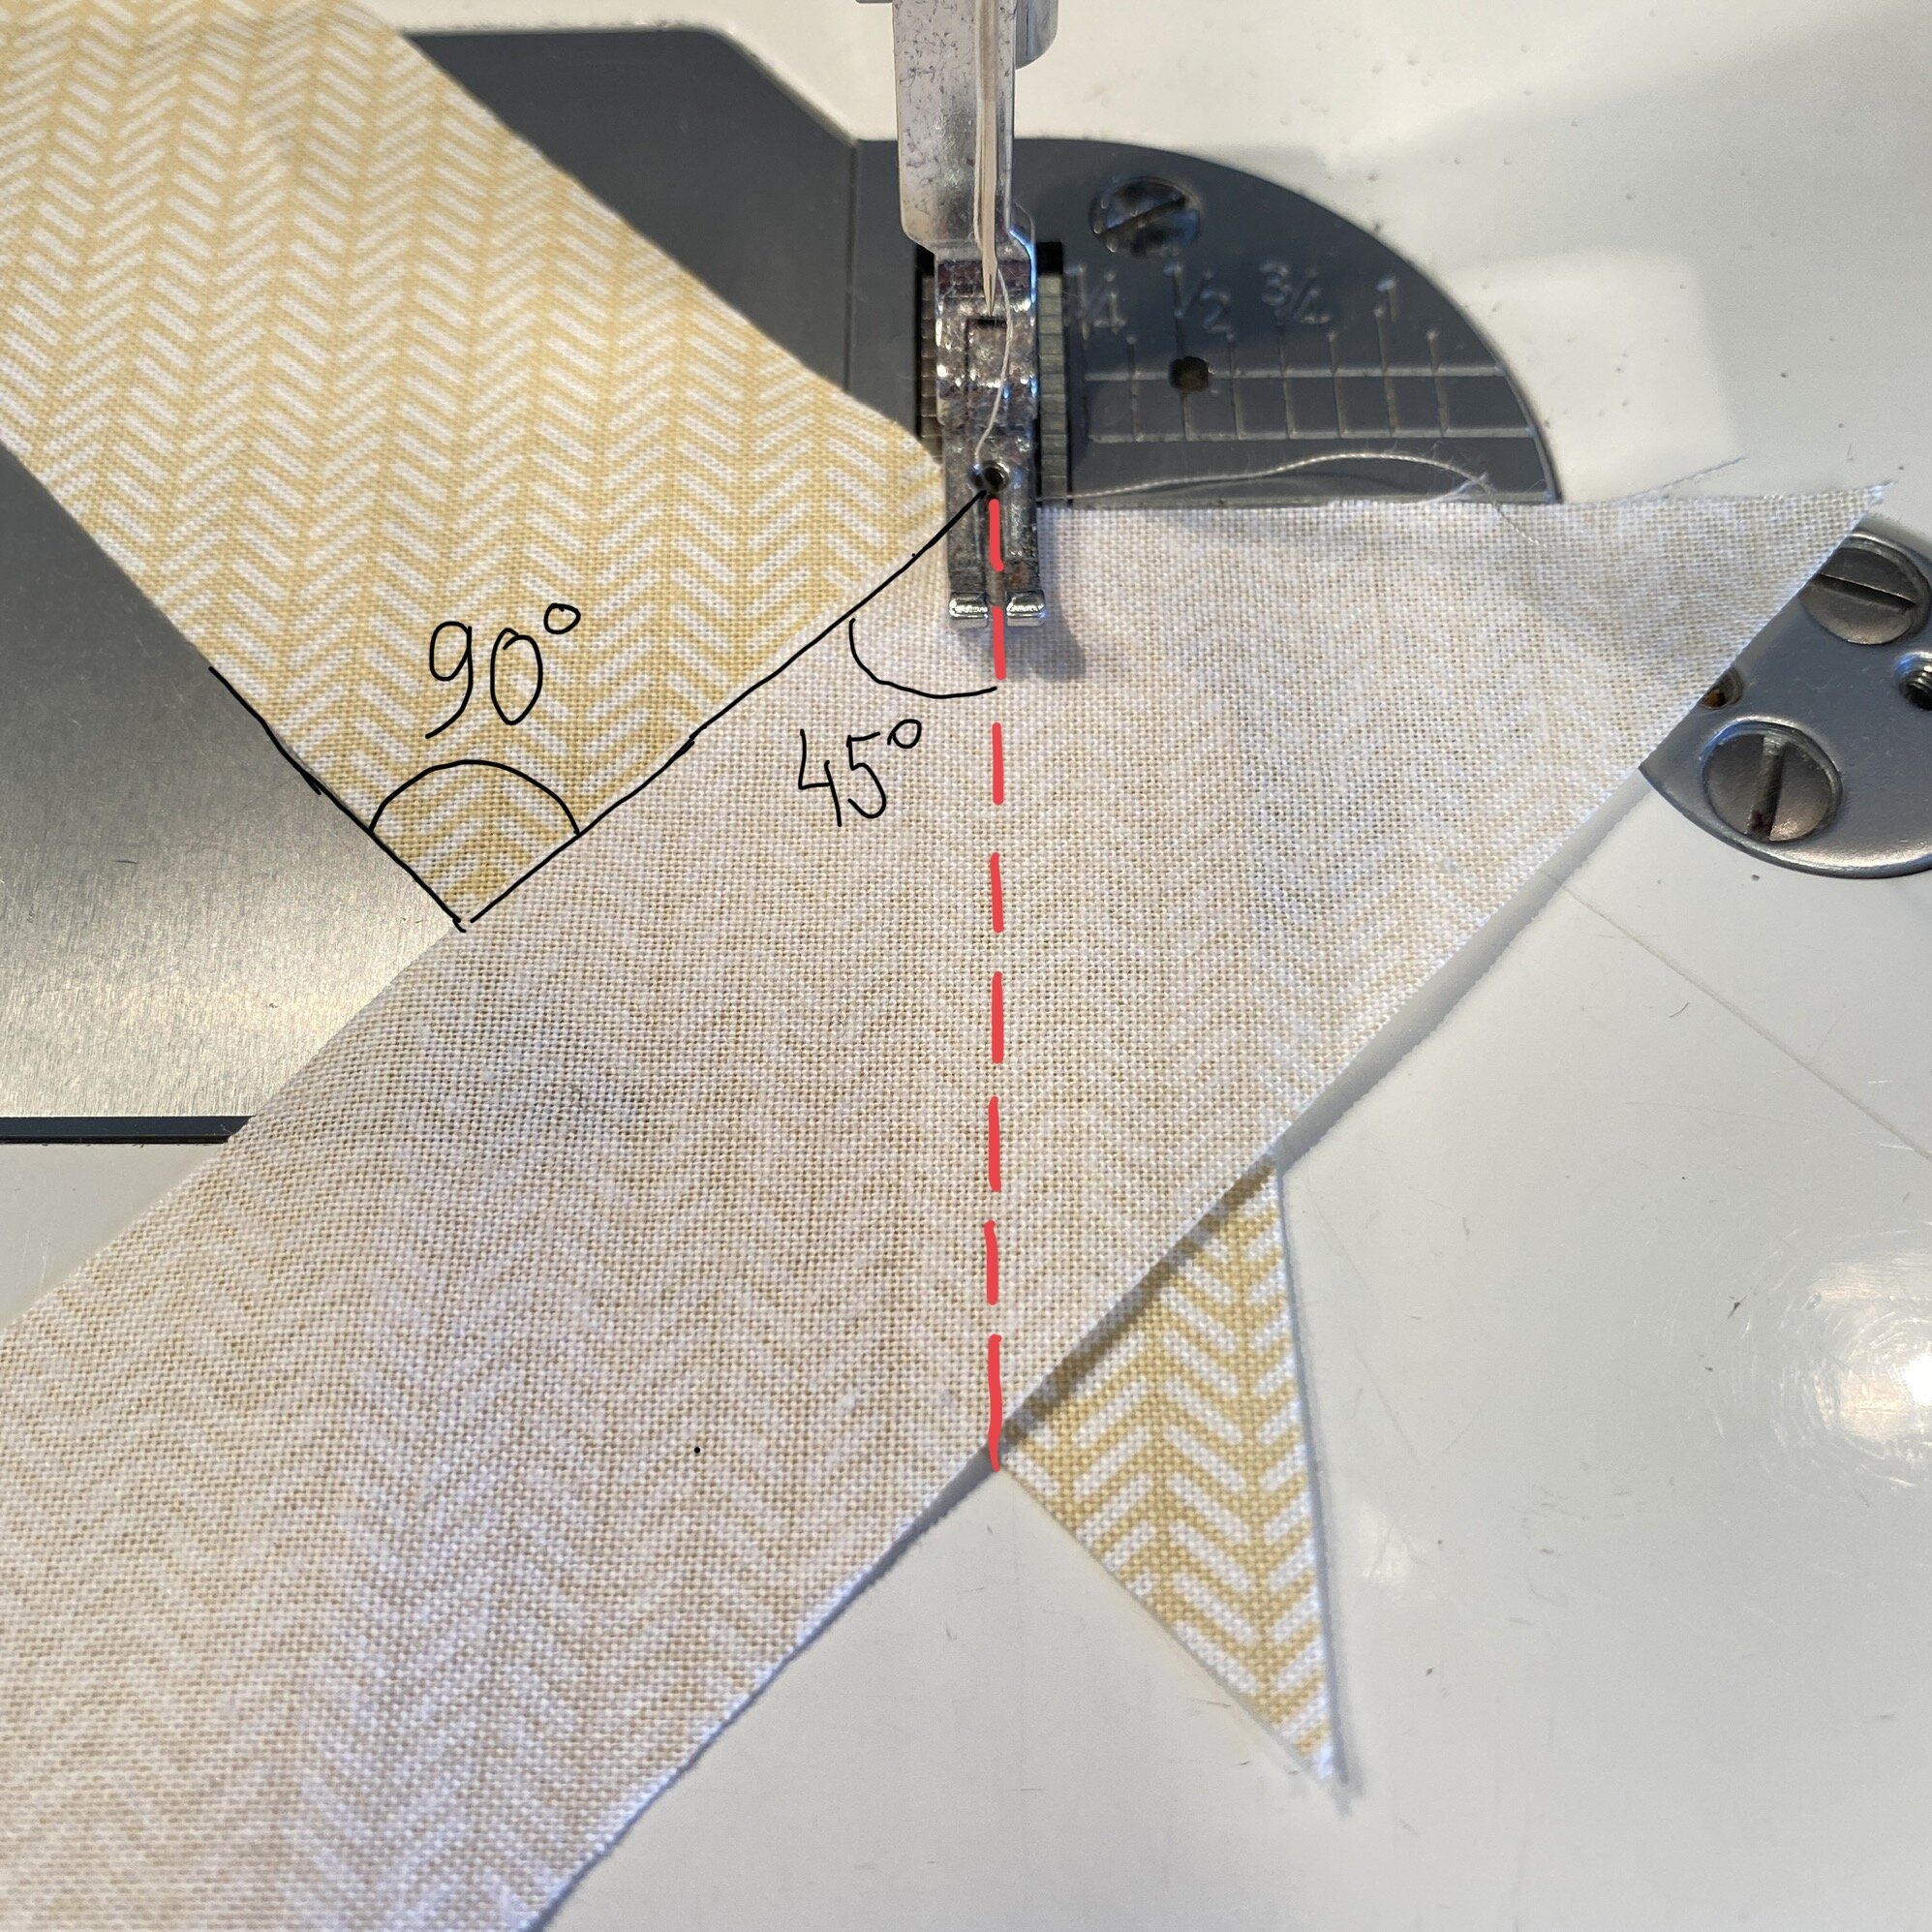
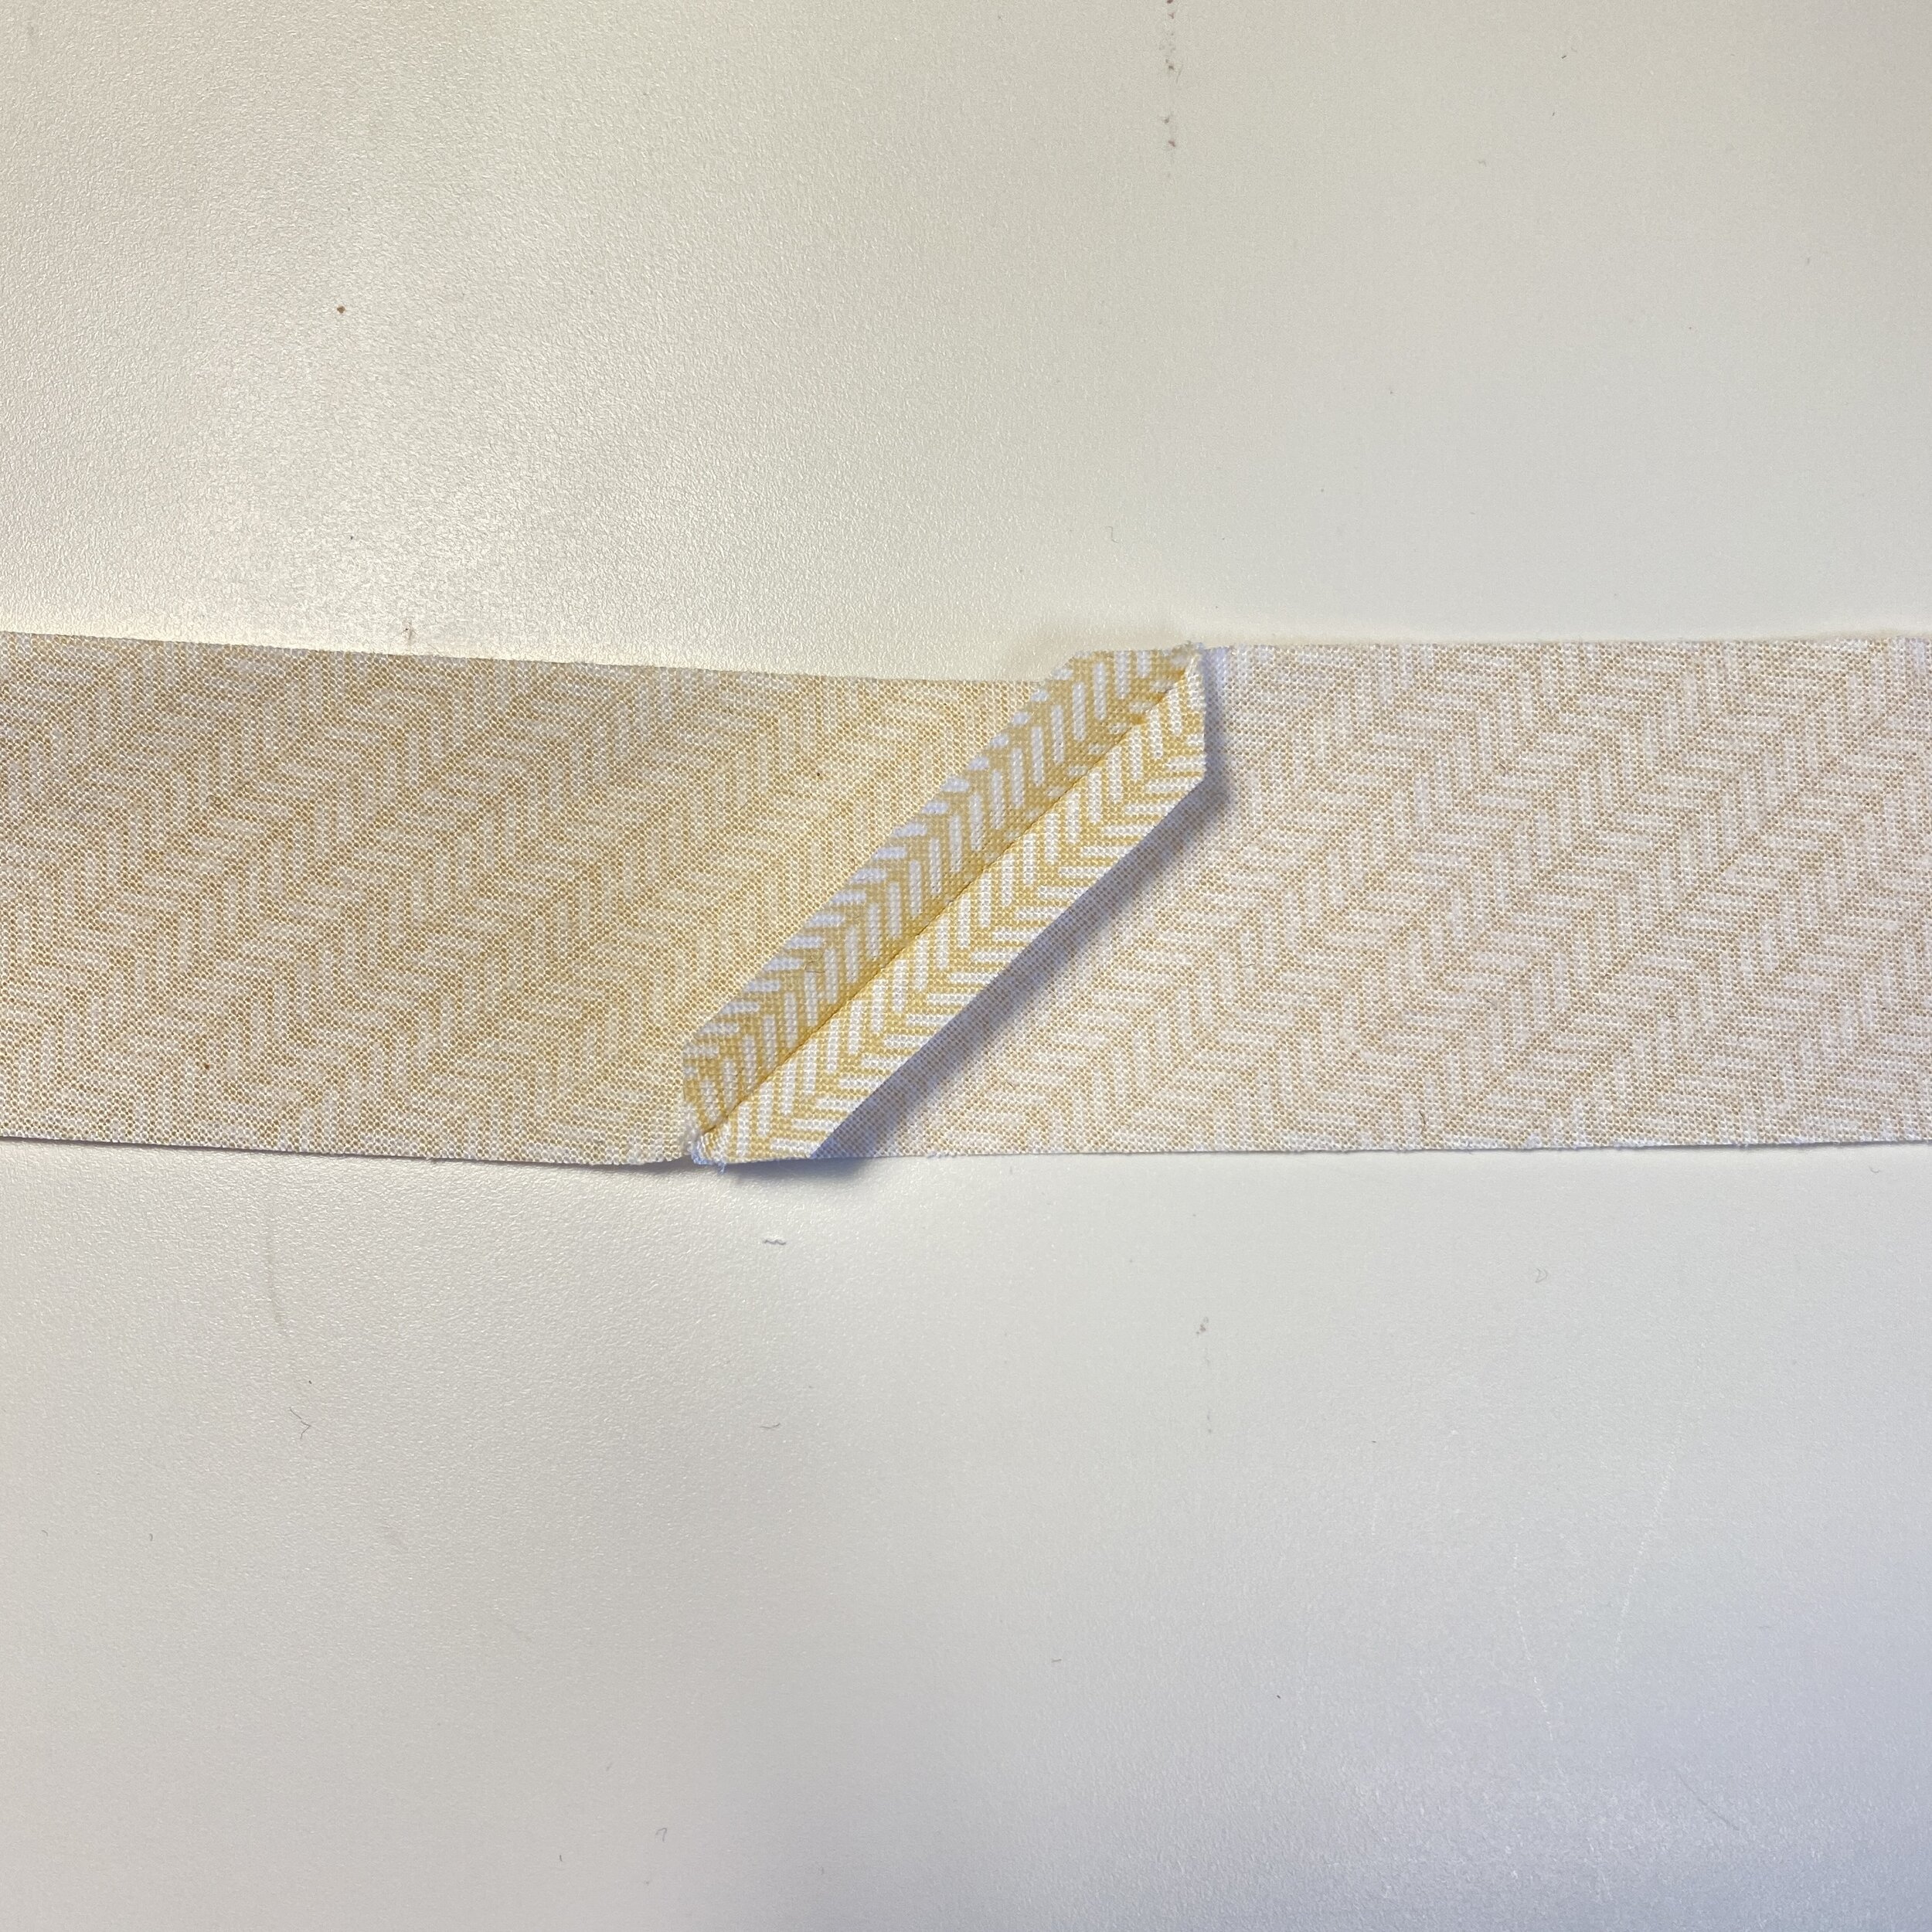
From a piece of cotton fabric measuring 31 × 33 cm (12" × 13"), you can make about 250 cm of continuous single-fold bias tape. Here’s how: cut 4 cm (1 1/2") strips on the 45-degree bias. Place two strips right sides together at a 90-degree angle.
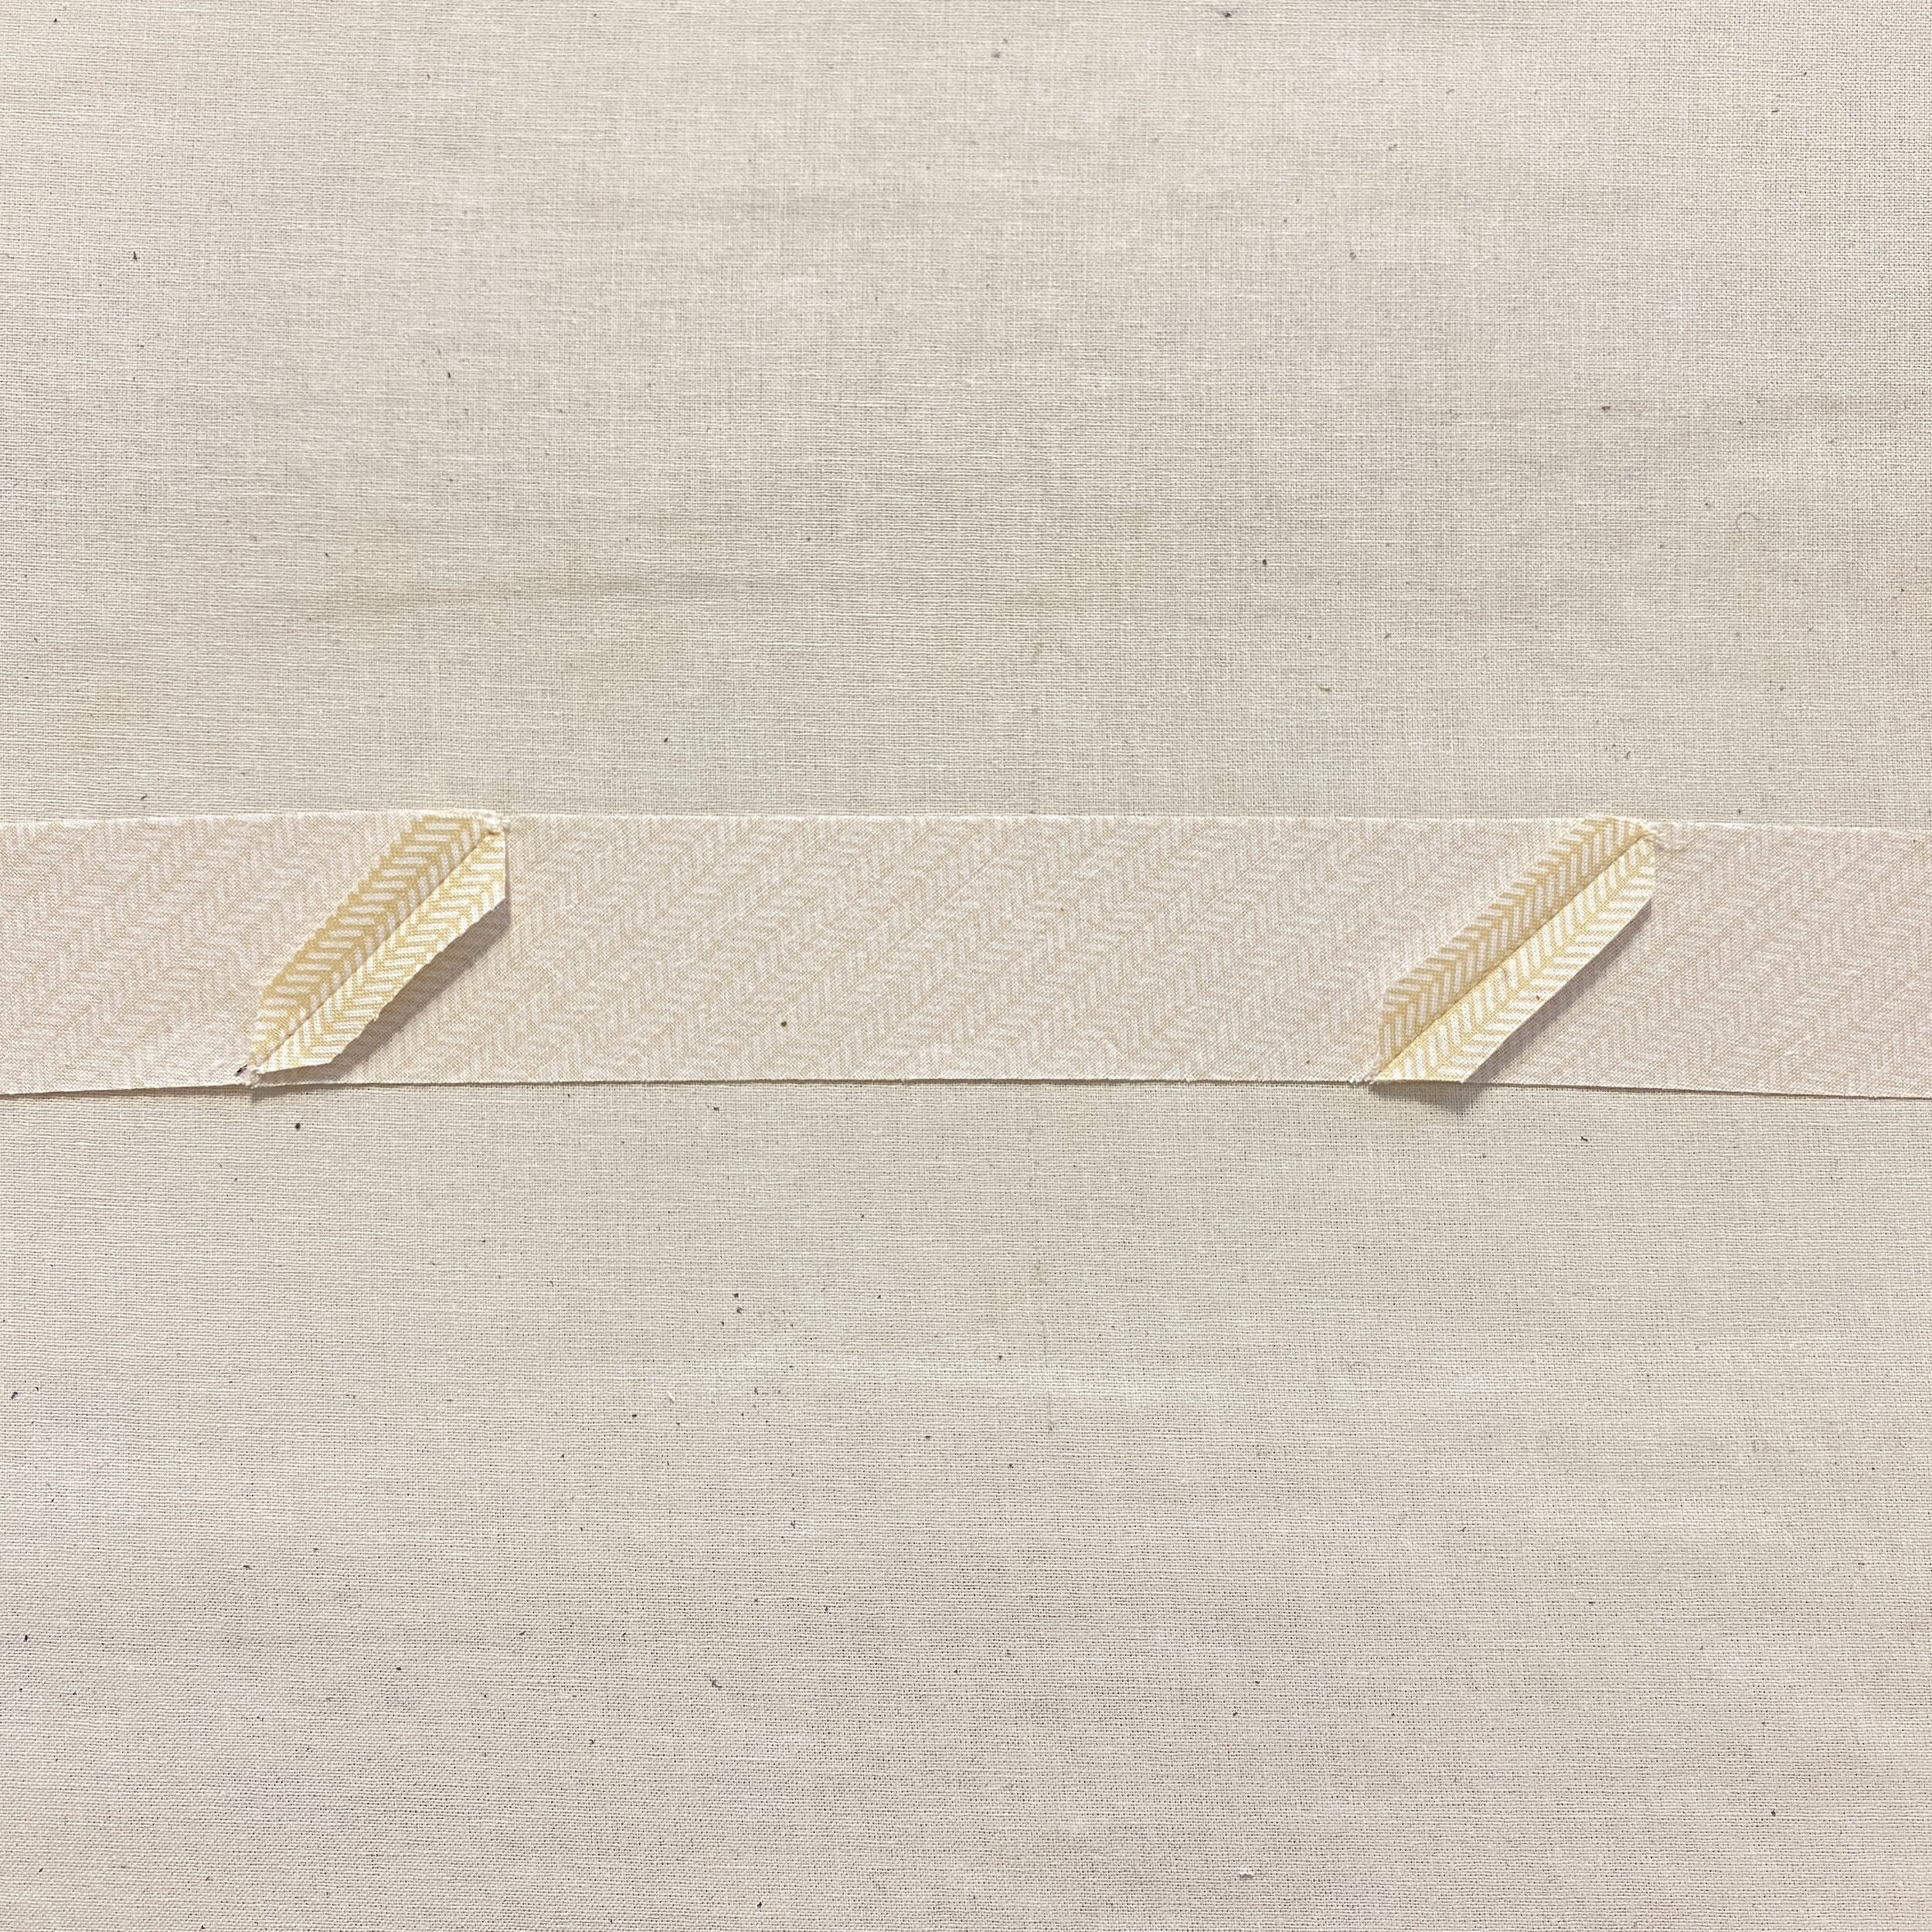
Sew at a 45-degree angle and trim away the excess fabric.
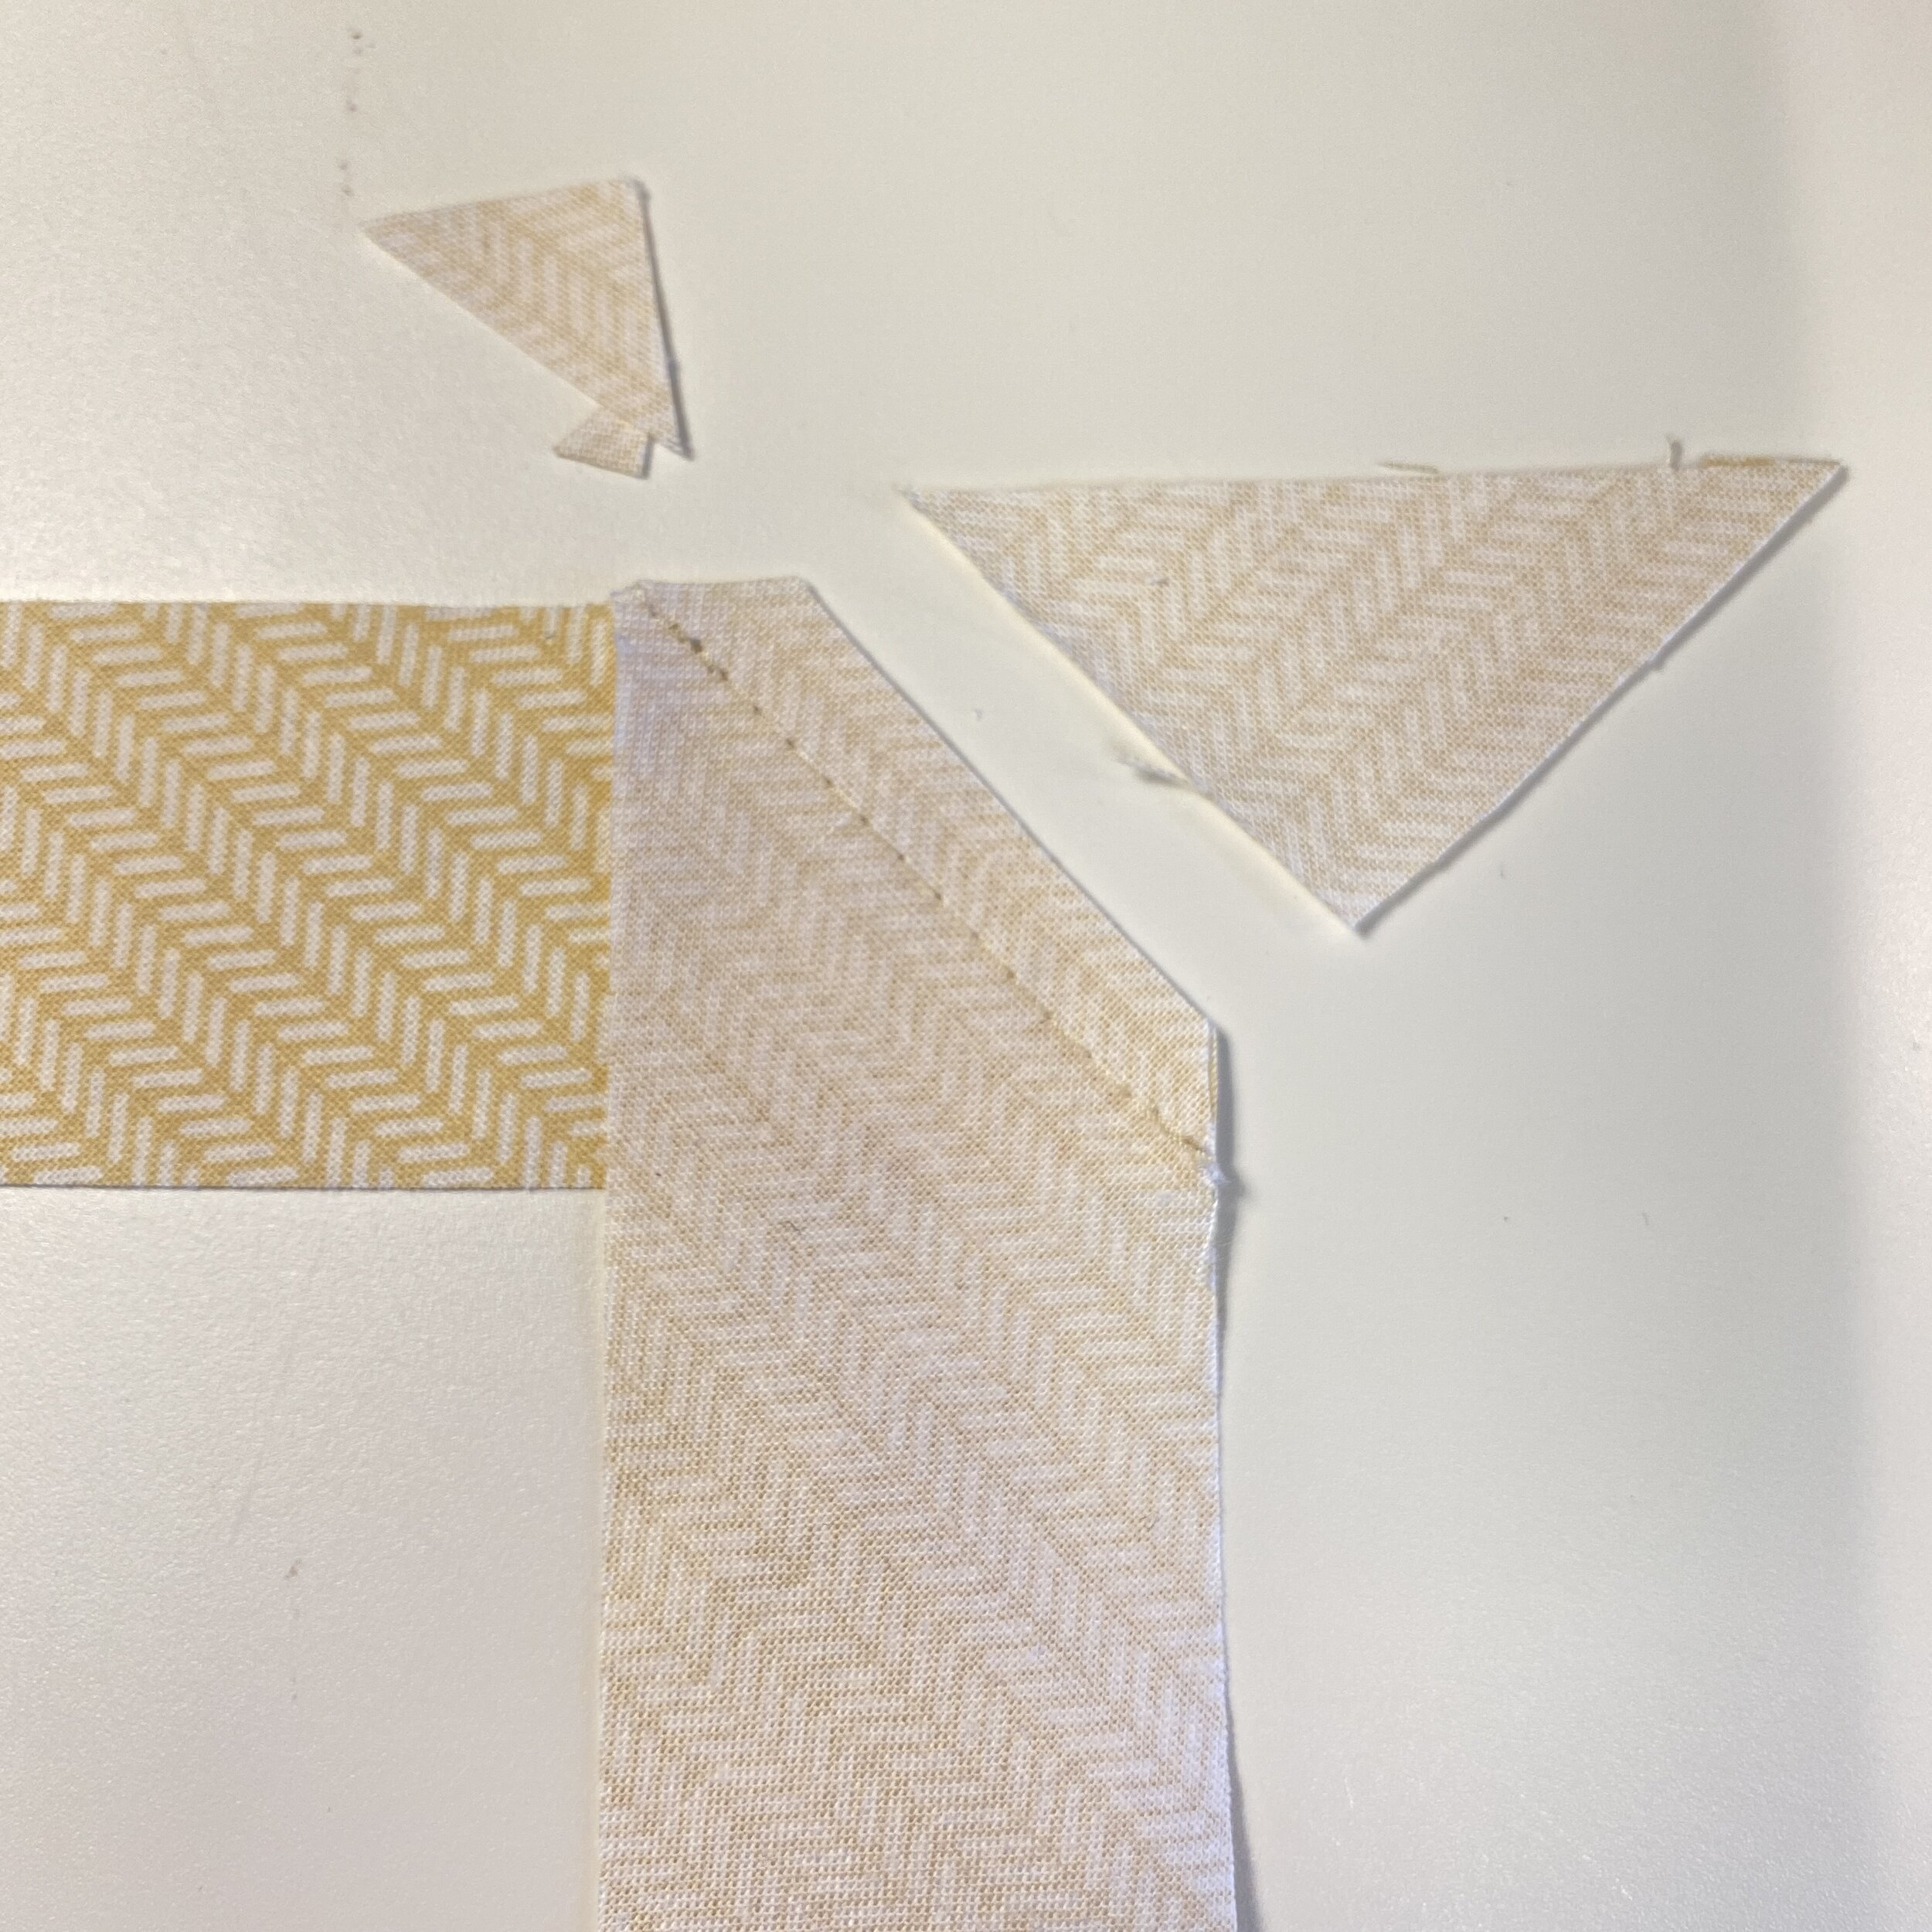
Finger-press the seams open. Press the wrong side of the bias tape with a hot iron.
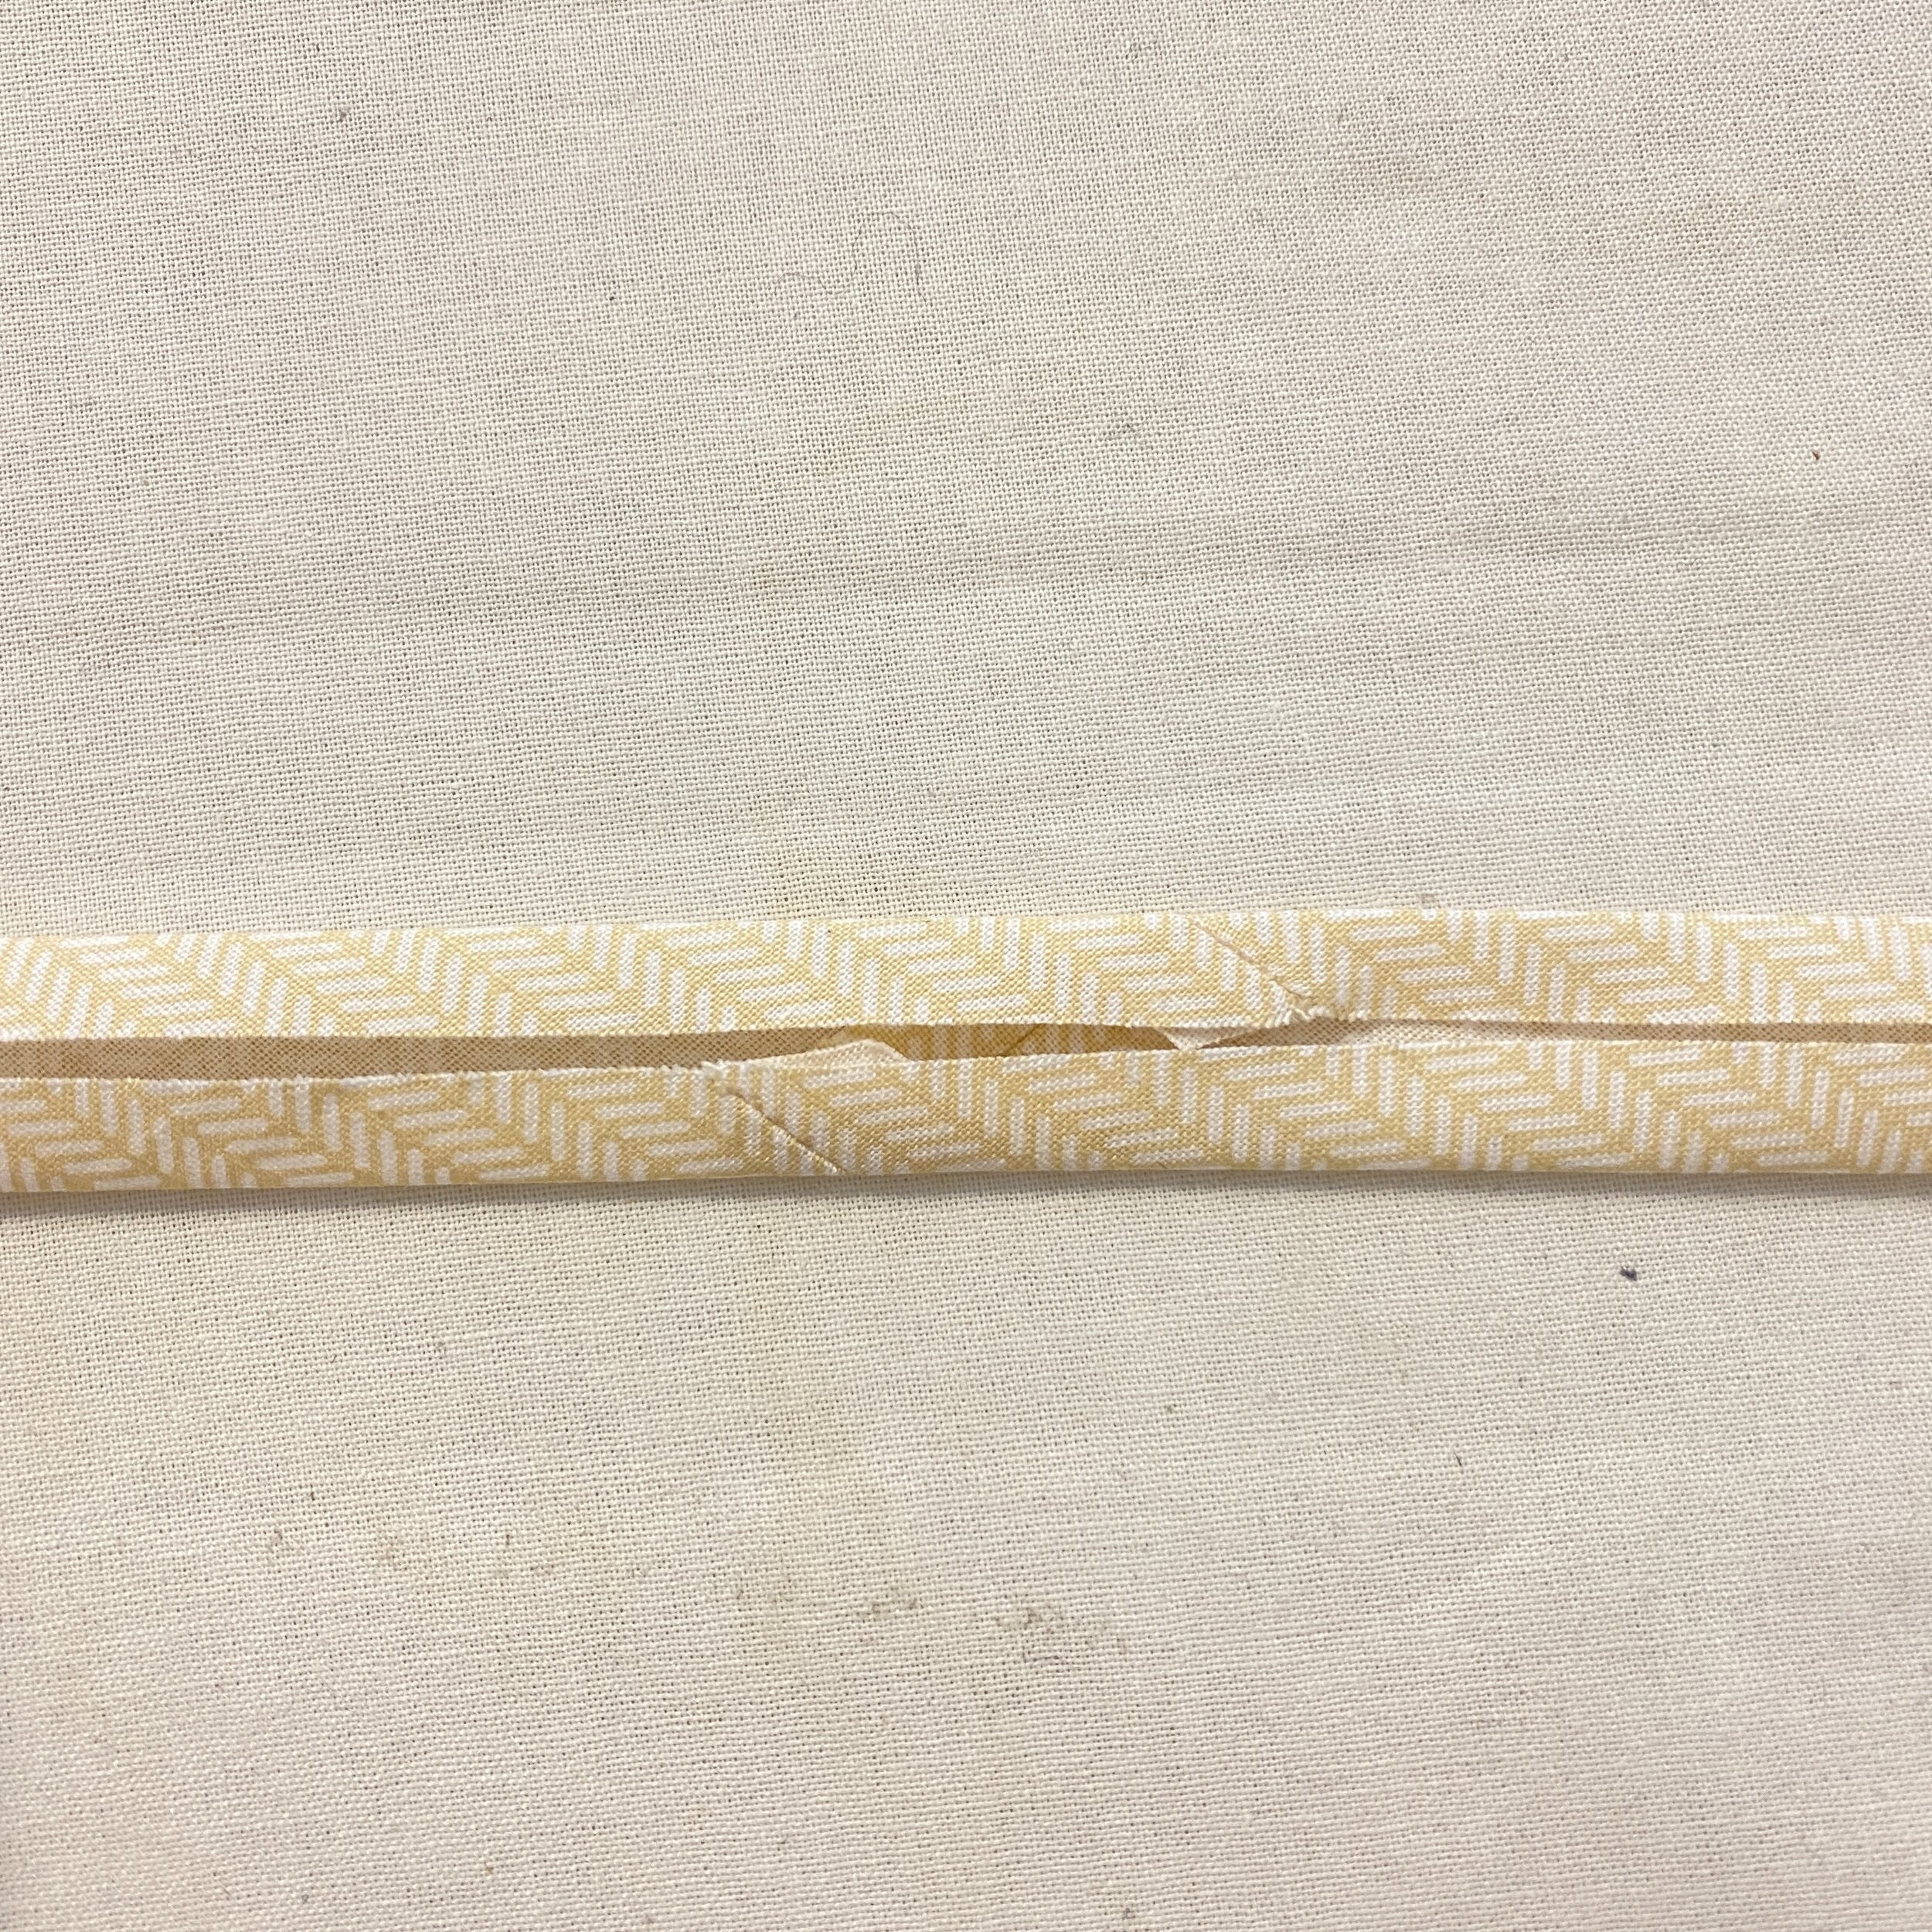
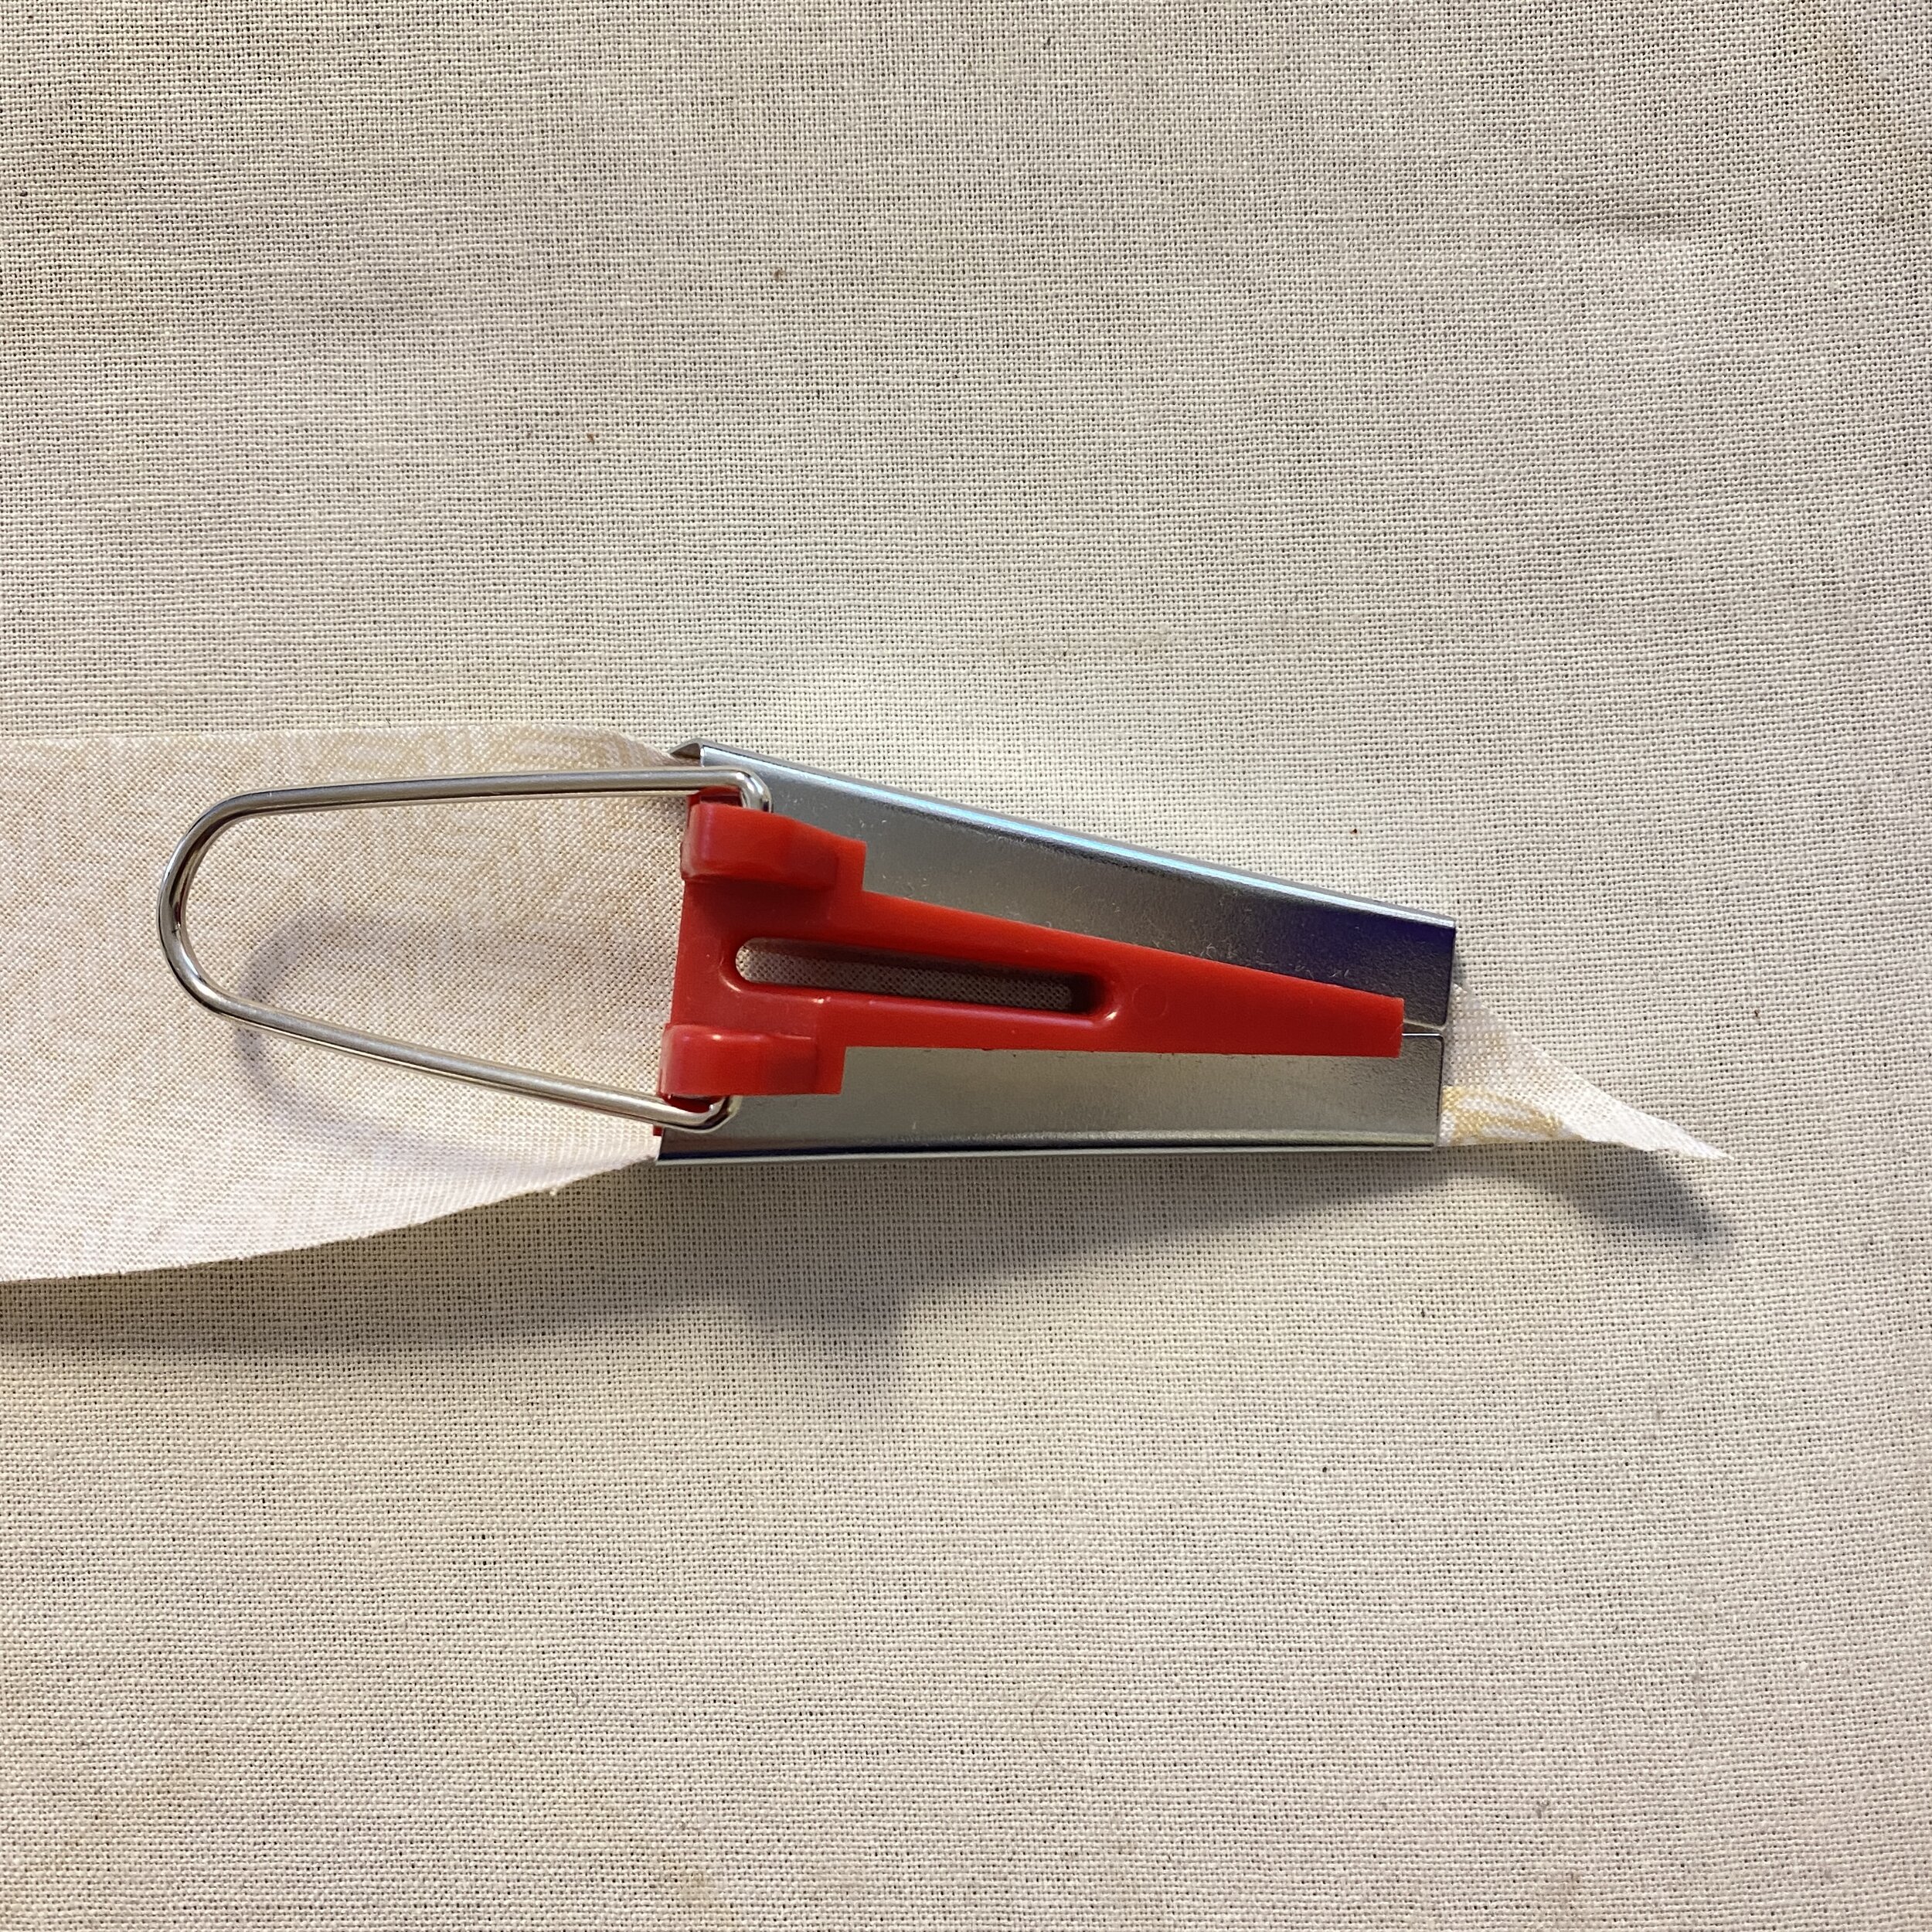
Pull it through the bias tape maker No. 18 (18 mm) and press it with a hot iron as it comes out.
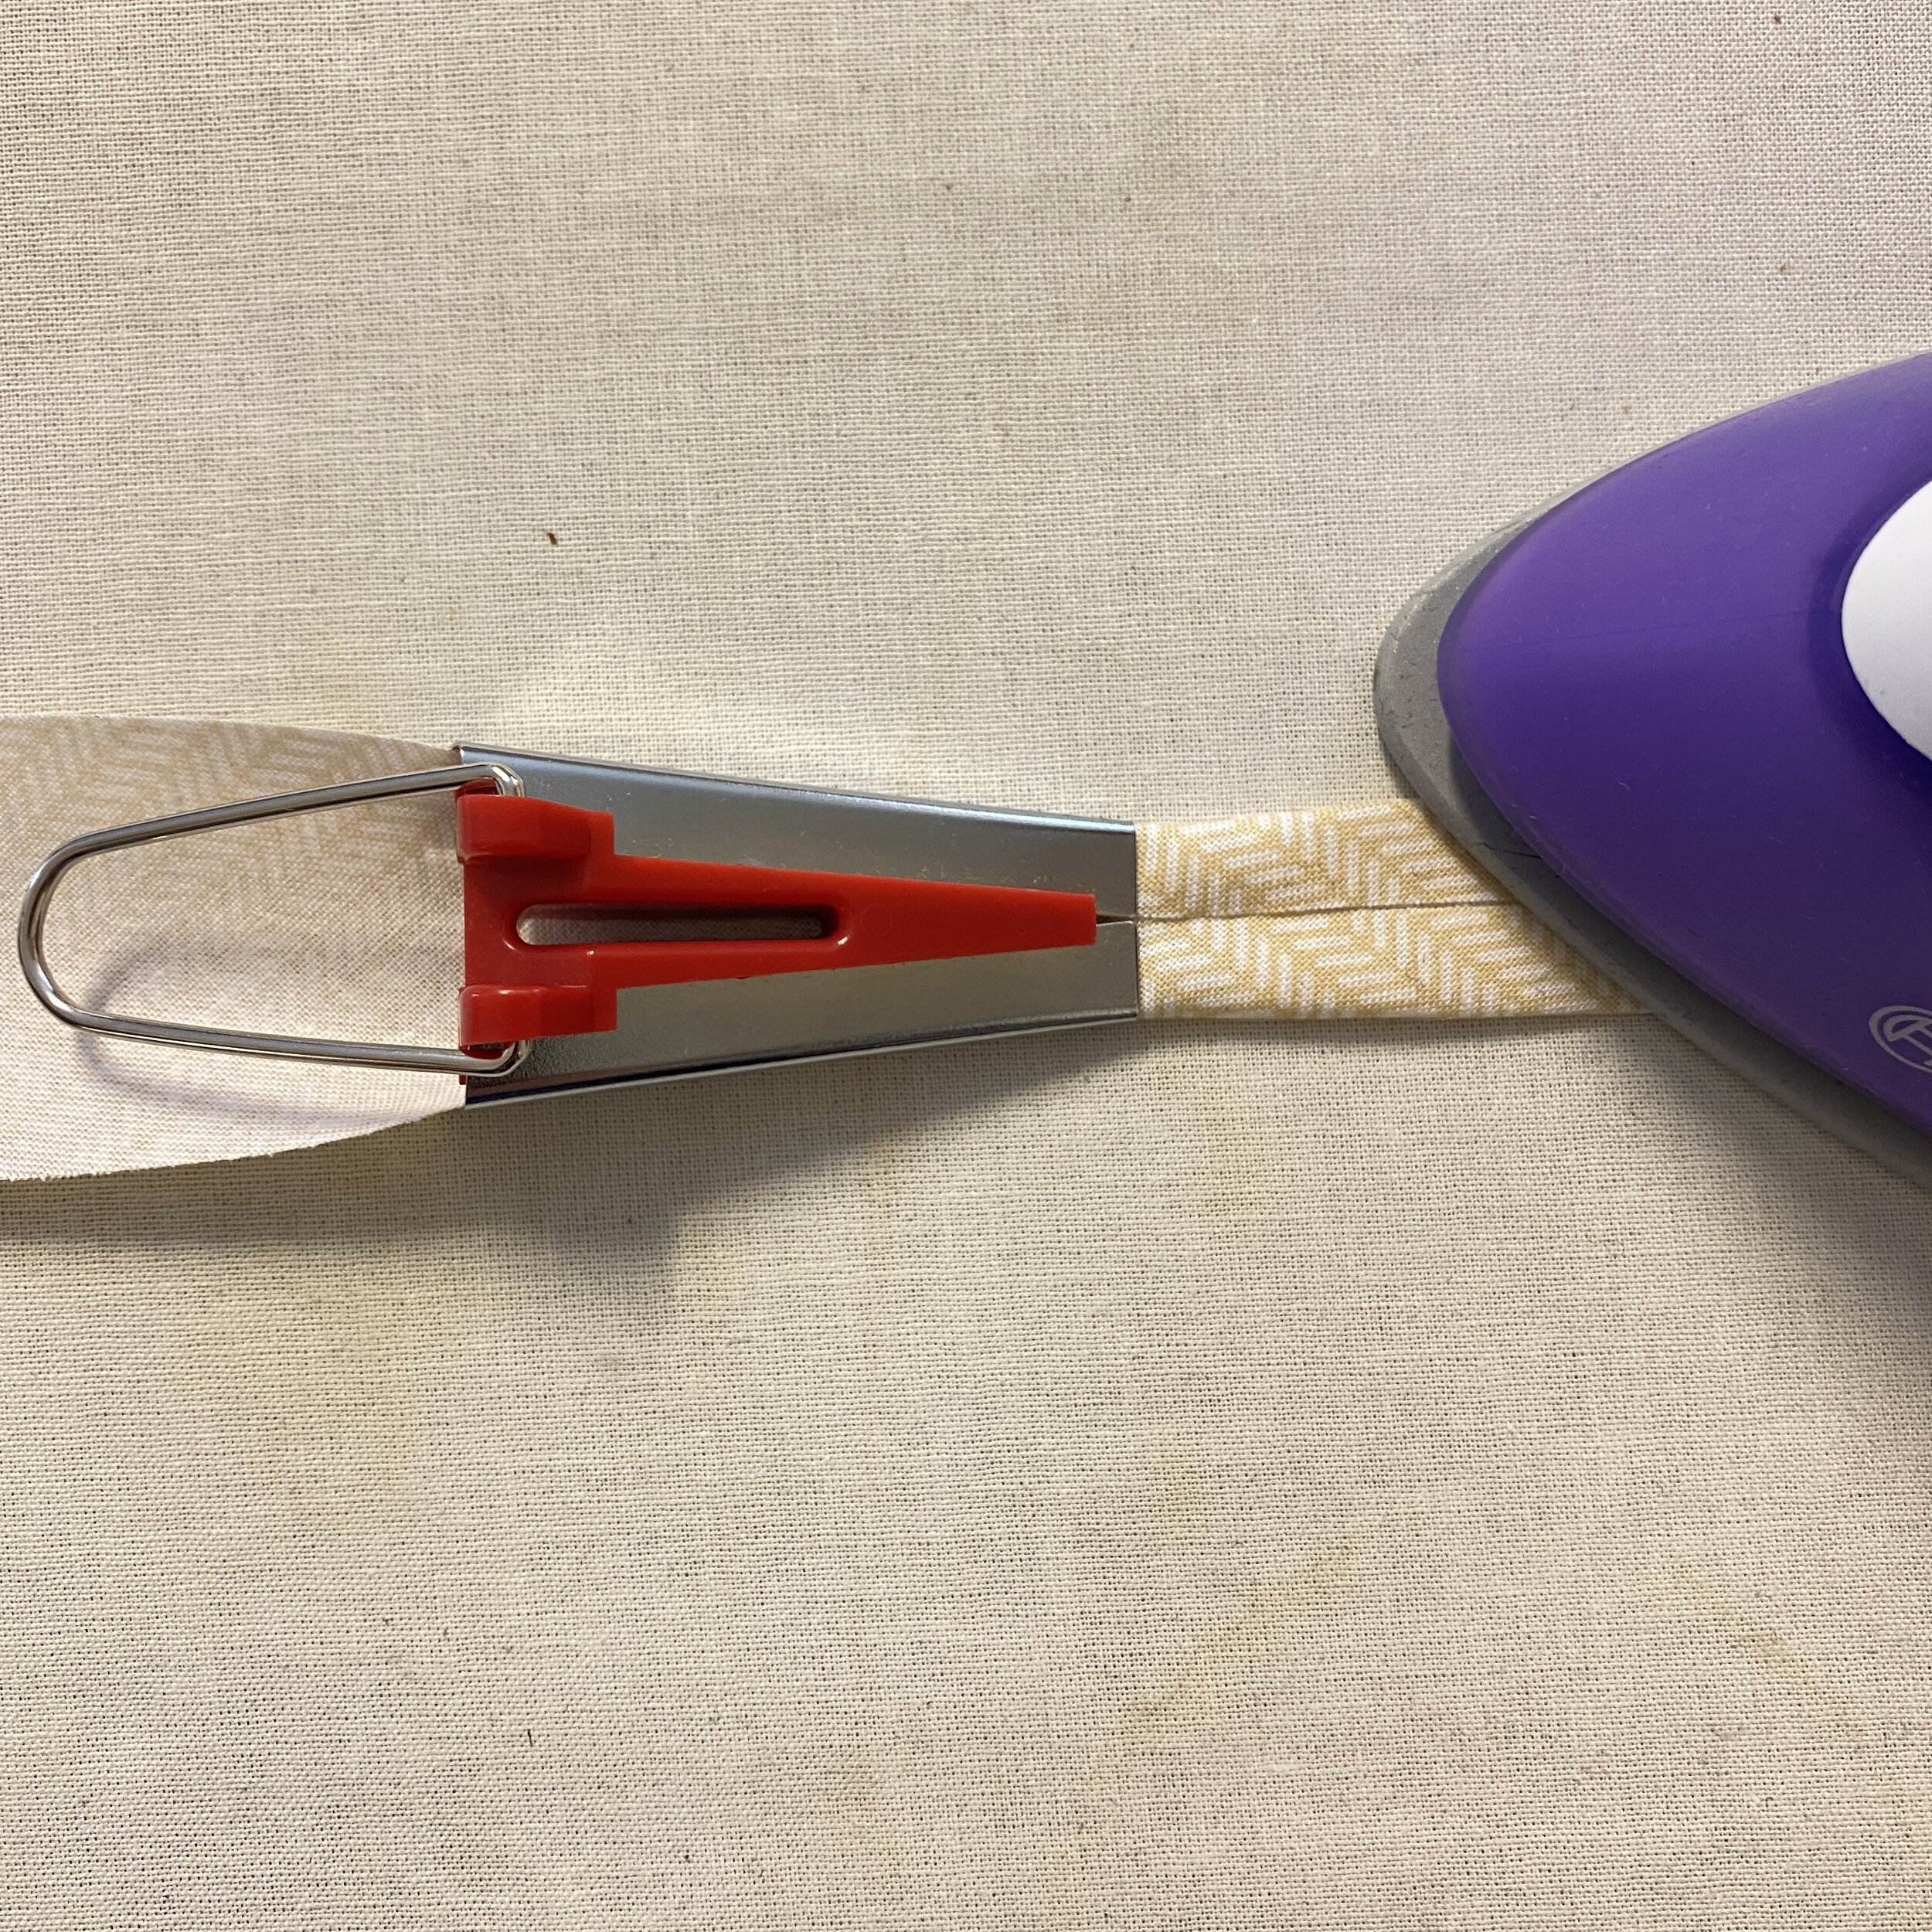
So here is your bias tape, ready to use for covering any raw edges.