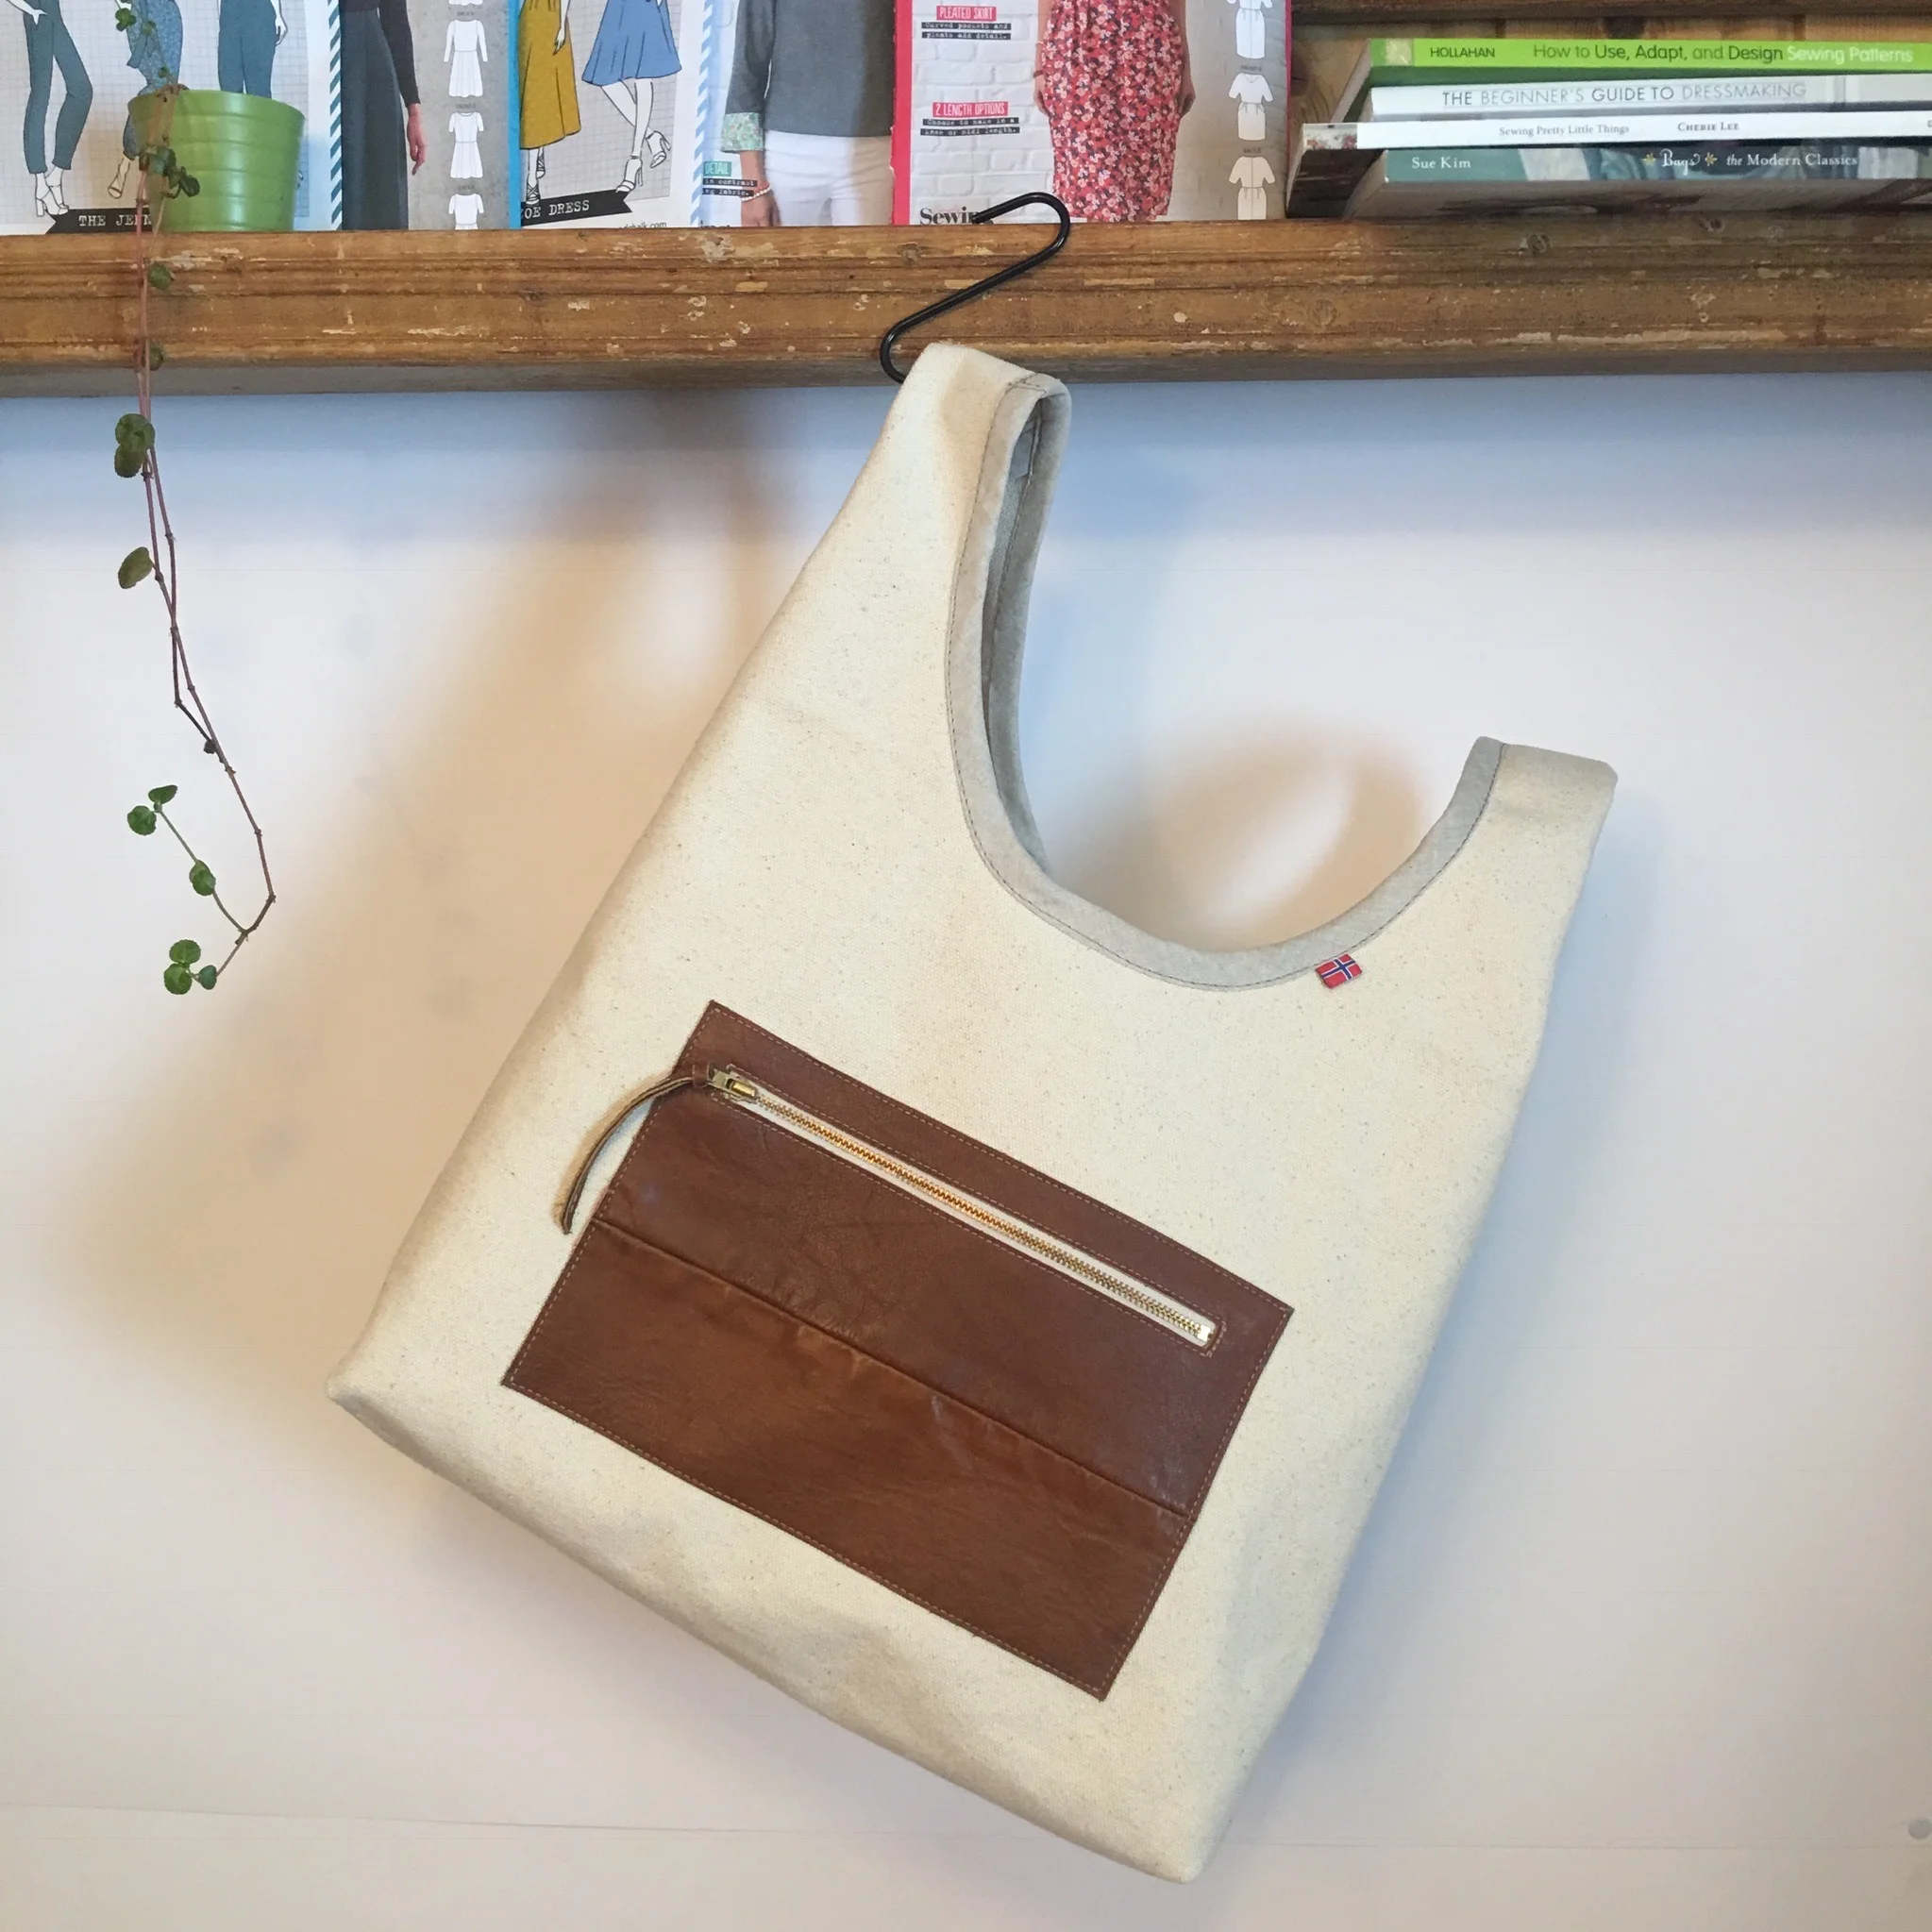
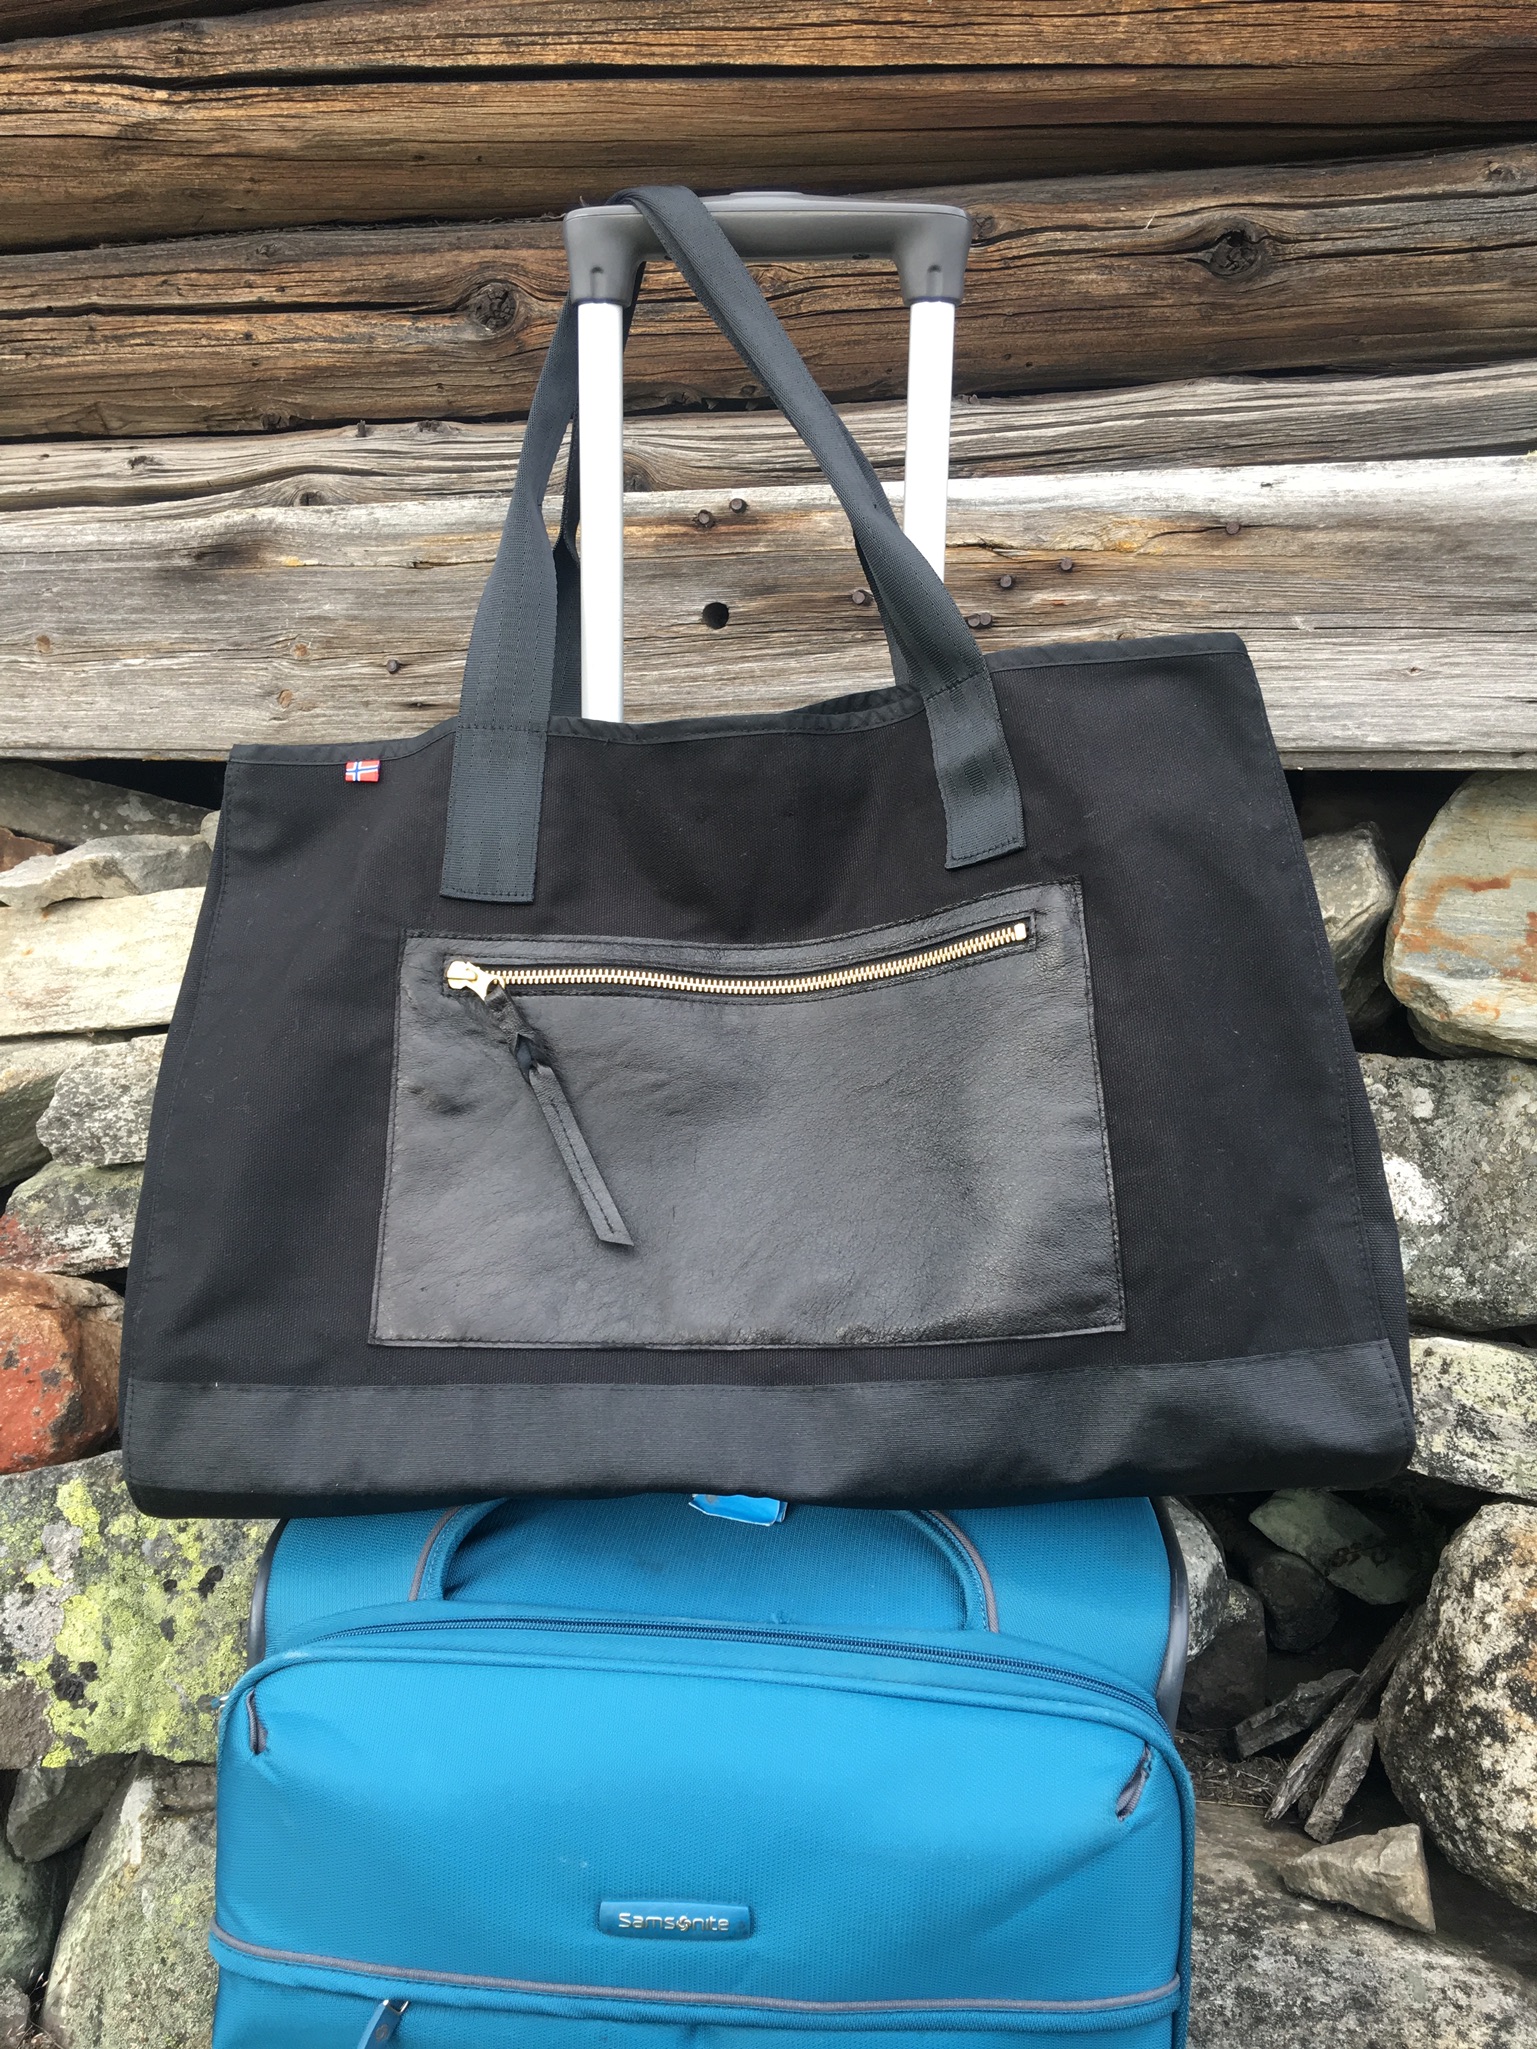
Canvas tote bag with a leather zip pocket.
Lately I've been constructing a bag that I was missing in my collection. I needed a travel bag that I would take with me on the plane. This bag is also very good as an urban carry-all bag, a shopping bag or a beach bag. It is very spacious and has snaps on the sides so it collapses to a smaller bag.

IMG_9950
I love to use canvas when I make my bags so it is good without interfacing. To finish seams inside I use bias tape. French seams can also be used.
Materials I used:

IMG_0789
Leather pocket:
A piece of leather for the front pocket can be as big you wish it to be, mine are approximately 16 x 21 cm (6,3 in x 8,3 in)
Two small pieces of leather for the magnetic snap 4 x 8 cm each (1,6 in x 3,2 in)
Heavy weight canvas:
A piece of canvas 50 x 80 cm (19,7 x 31,5 in) or the front and back (you can of course make another dimensions, for example make a bag higher or wider, but then you have to adjust side panels and interfacing on the bottom)
Two side panels 38 x 12 cm (15 x 4,7 in) each
A piece of canvas for the inner pocket/pockets
Oil cloth:
Oil cloth for the bottom, 50 x 20 cm (19,7 x 7,9 in)
Heavy weight interfacing for the bottom and thin for the pocket:
One piece of heavy weight interfacing / foam for the bottom, 50 x 17 cm (19,7 x 6,7 in)
Fusible interfacing for the zipped pocket - same size as the pocket
Notions:
Zipper (must fit the piece of leather)
Bias tape ( I used regular bias tape for the inner seams and a wider one on the top of the bag.)
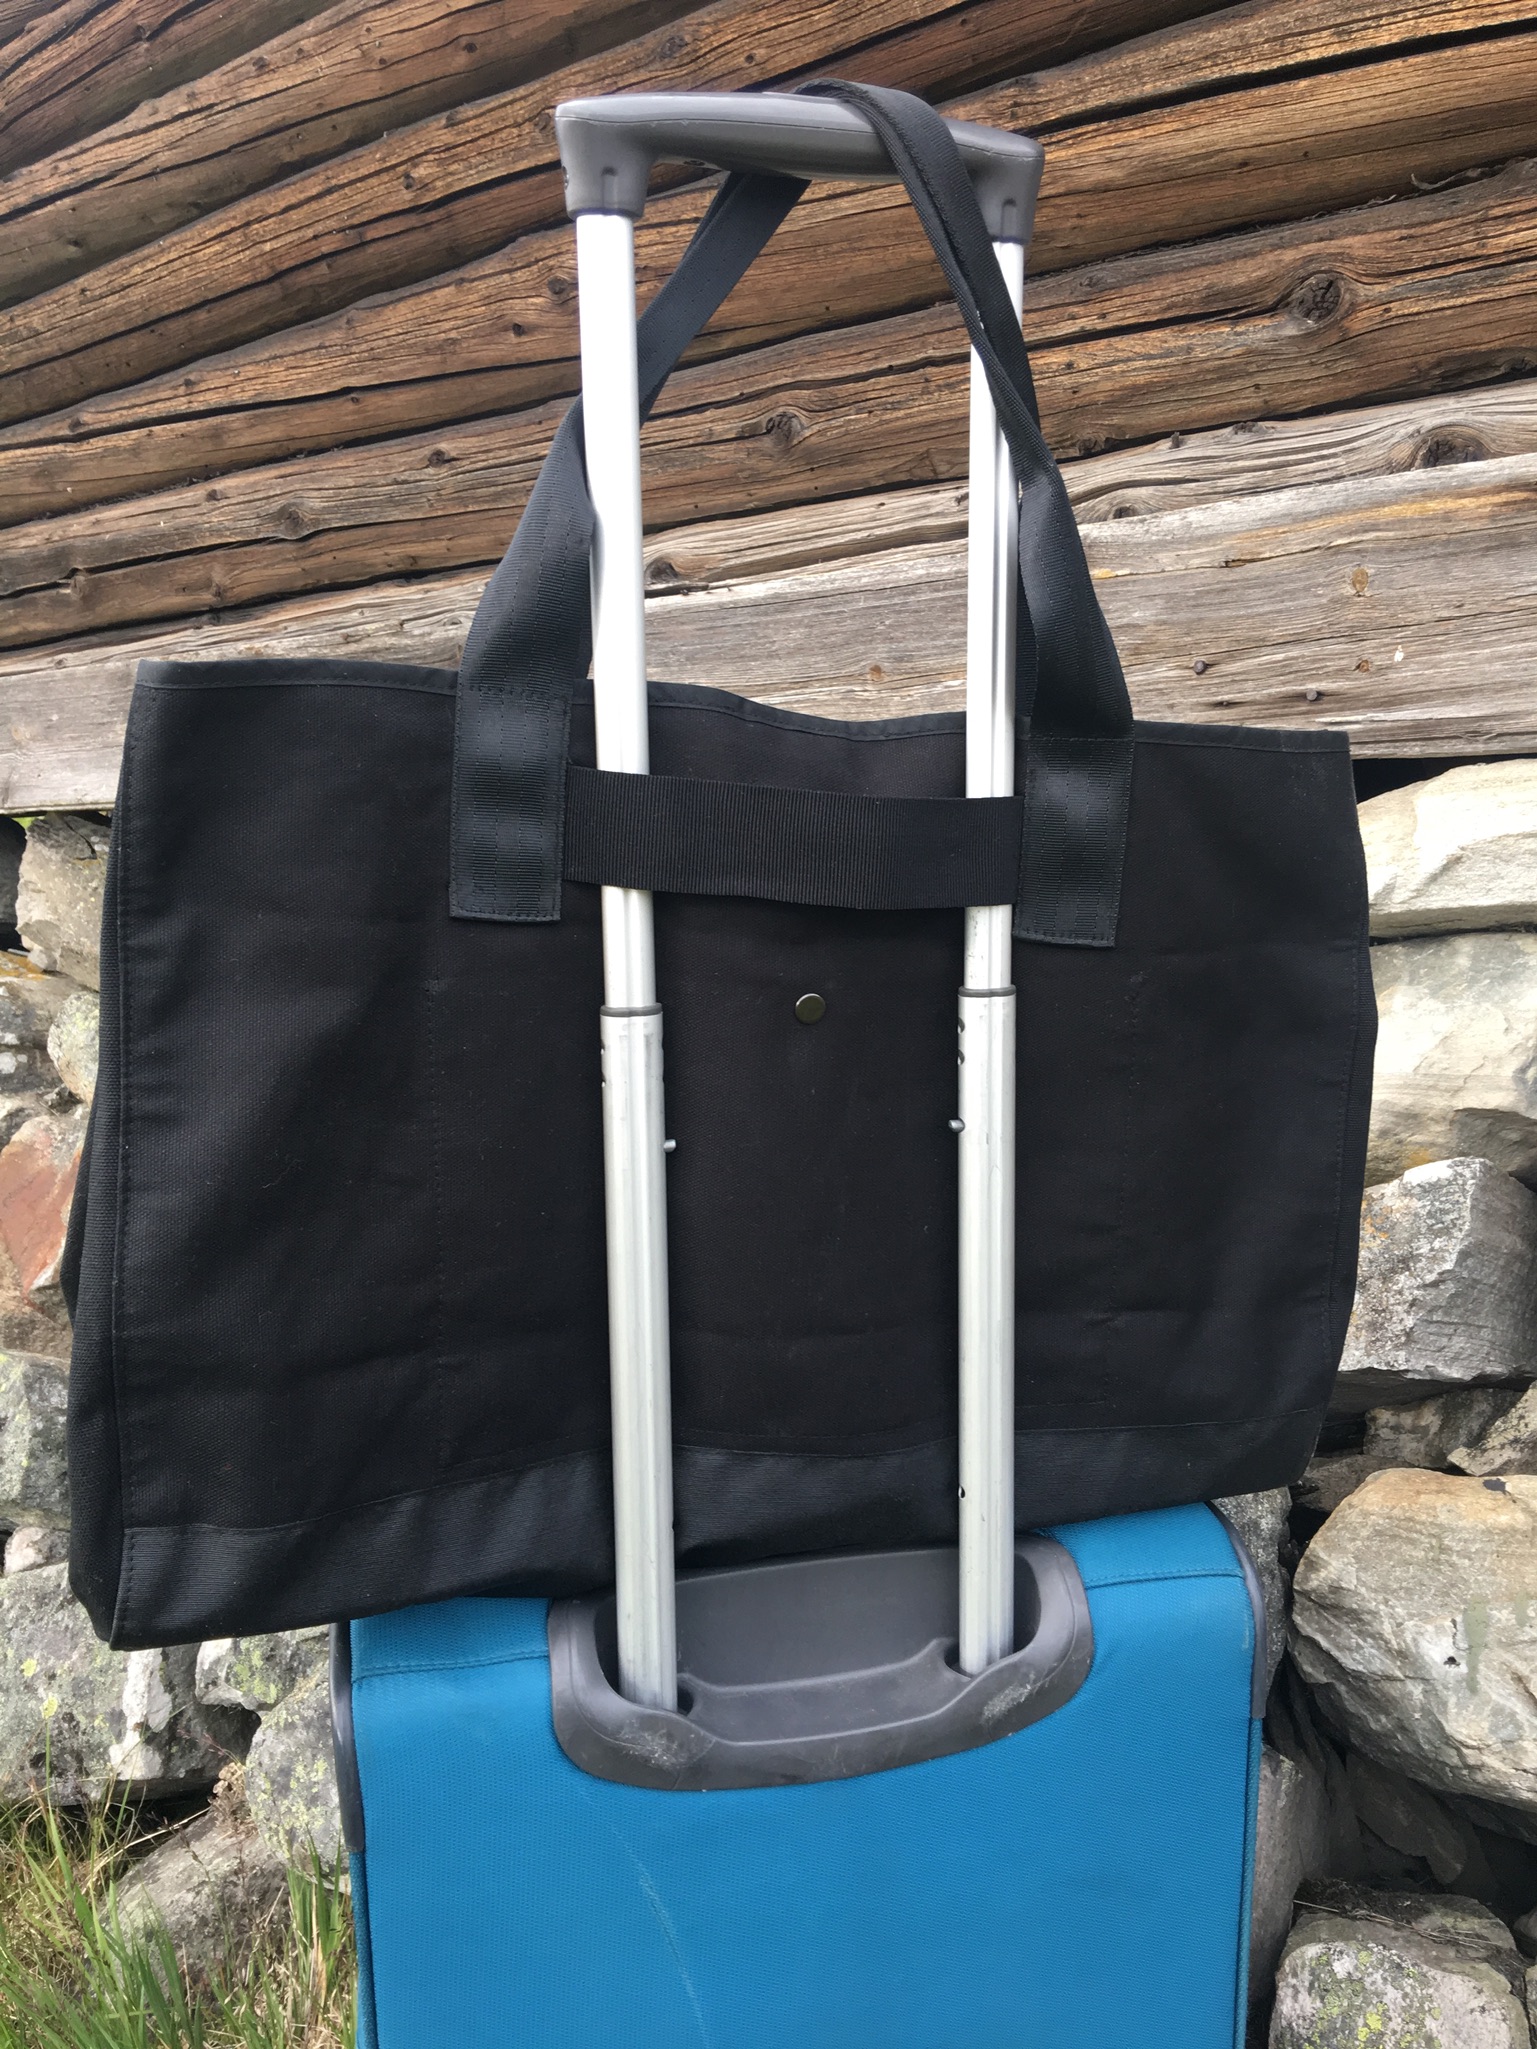
Two handles and a back strap that will hold the bag on your luggage (I used 32 mm /1,26 in webbing )
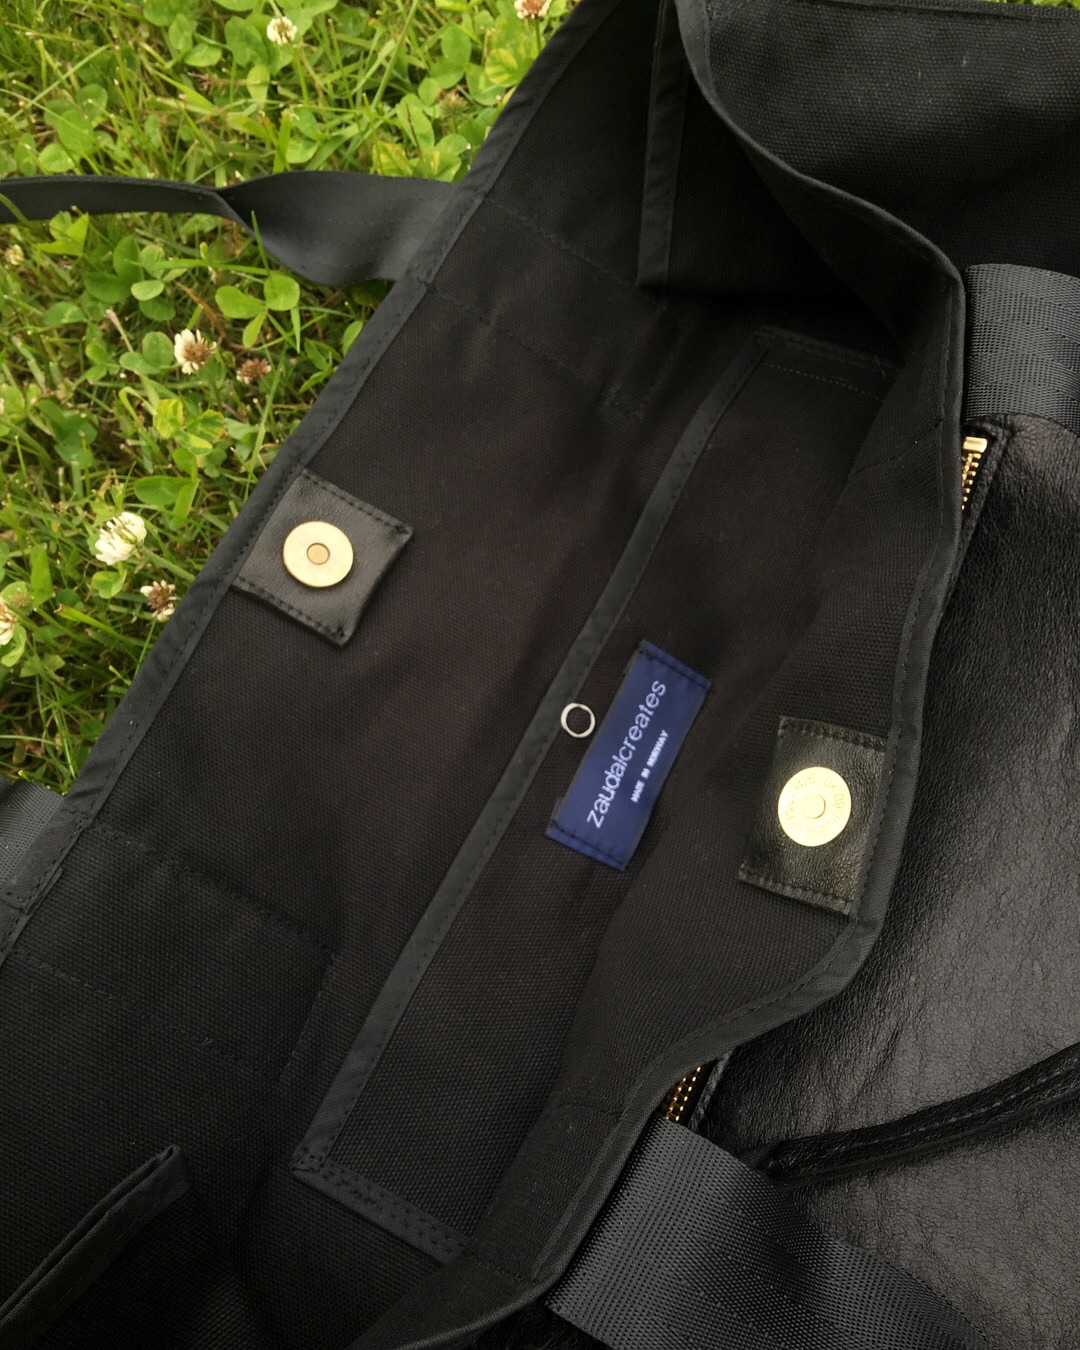
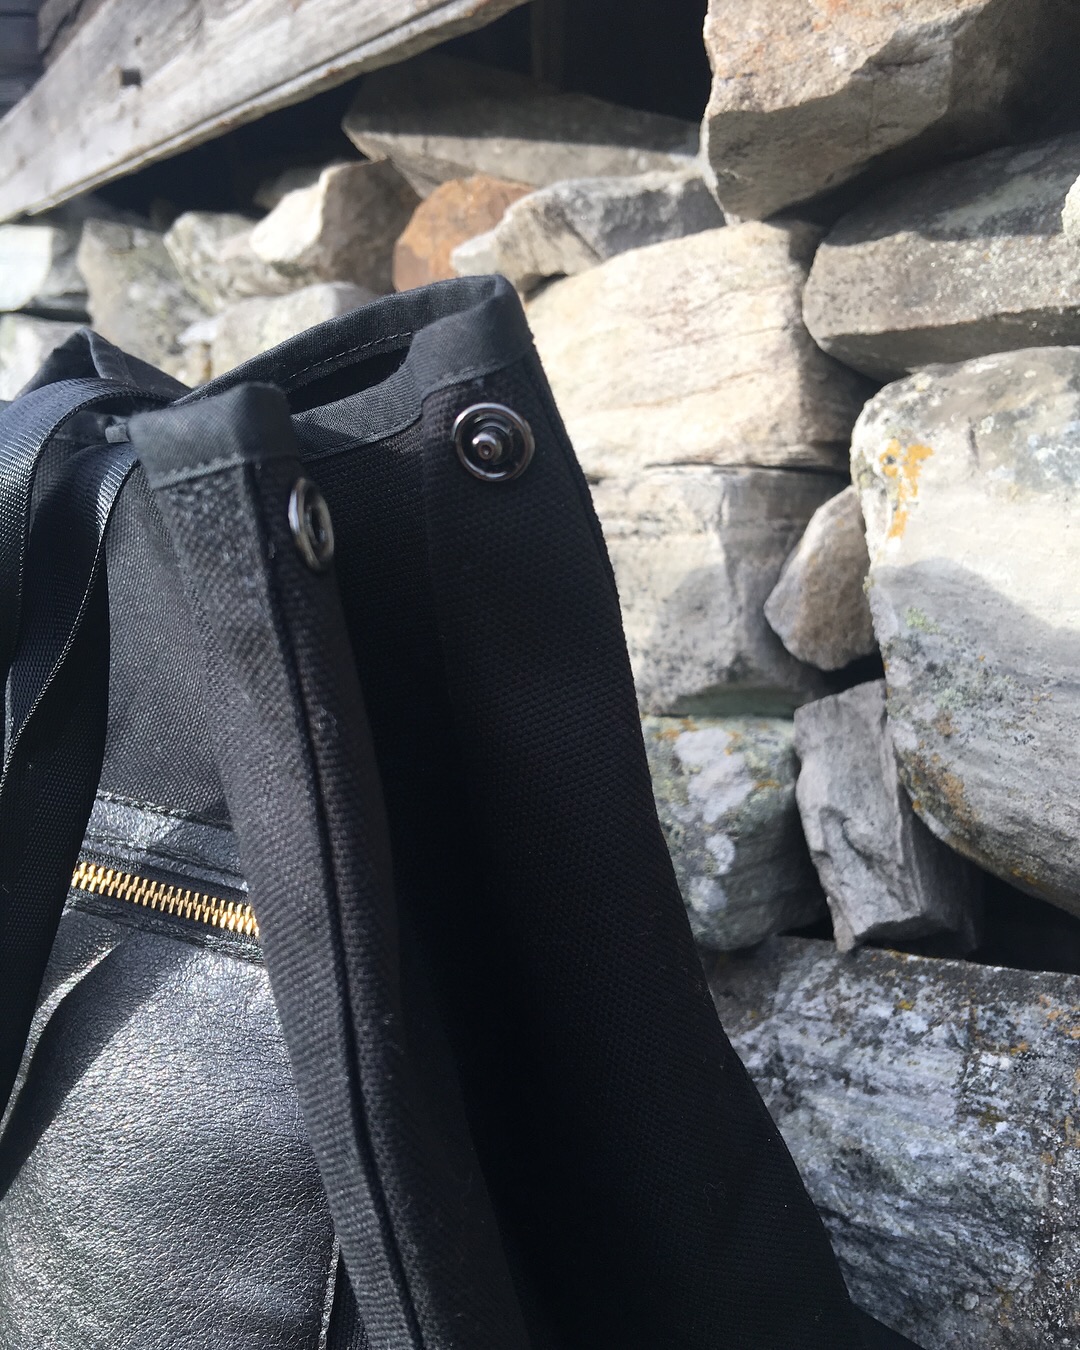
One big magnetic snap, and two smaller snaps for side panels
Polyester thread
Fabric glue/double tape (for attaching zipper)
Wonder clips
Metal hook for the keys (optional)
Use rotary cutter for best results
A good needle, thick jeans needle for example. I usually use the biggest I can find. (Do not use needle for leather when you sew canvas)
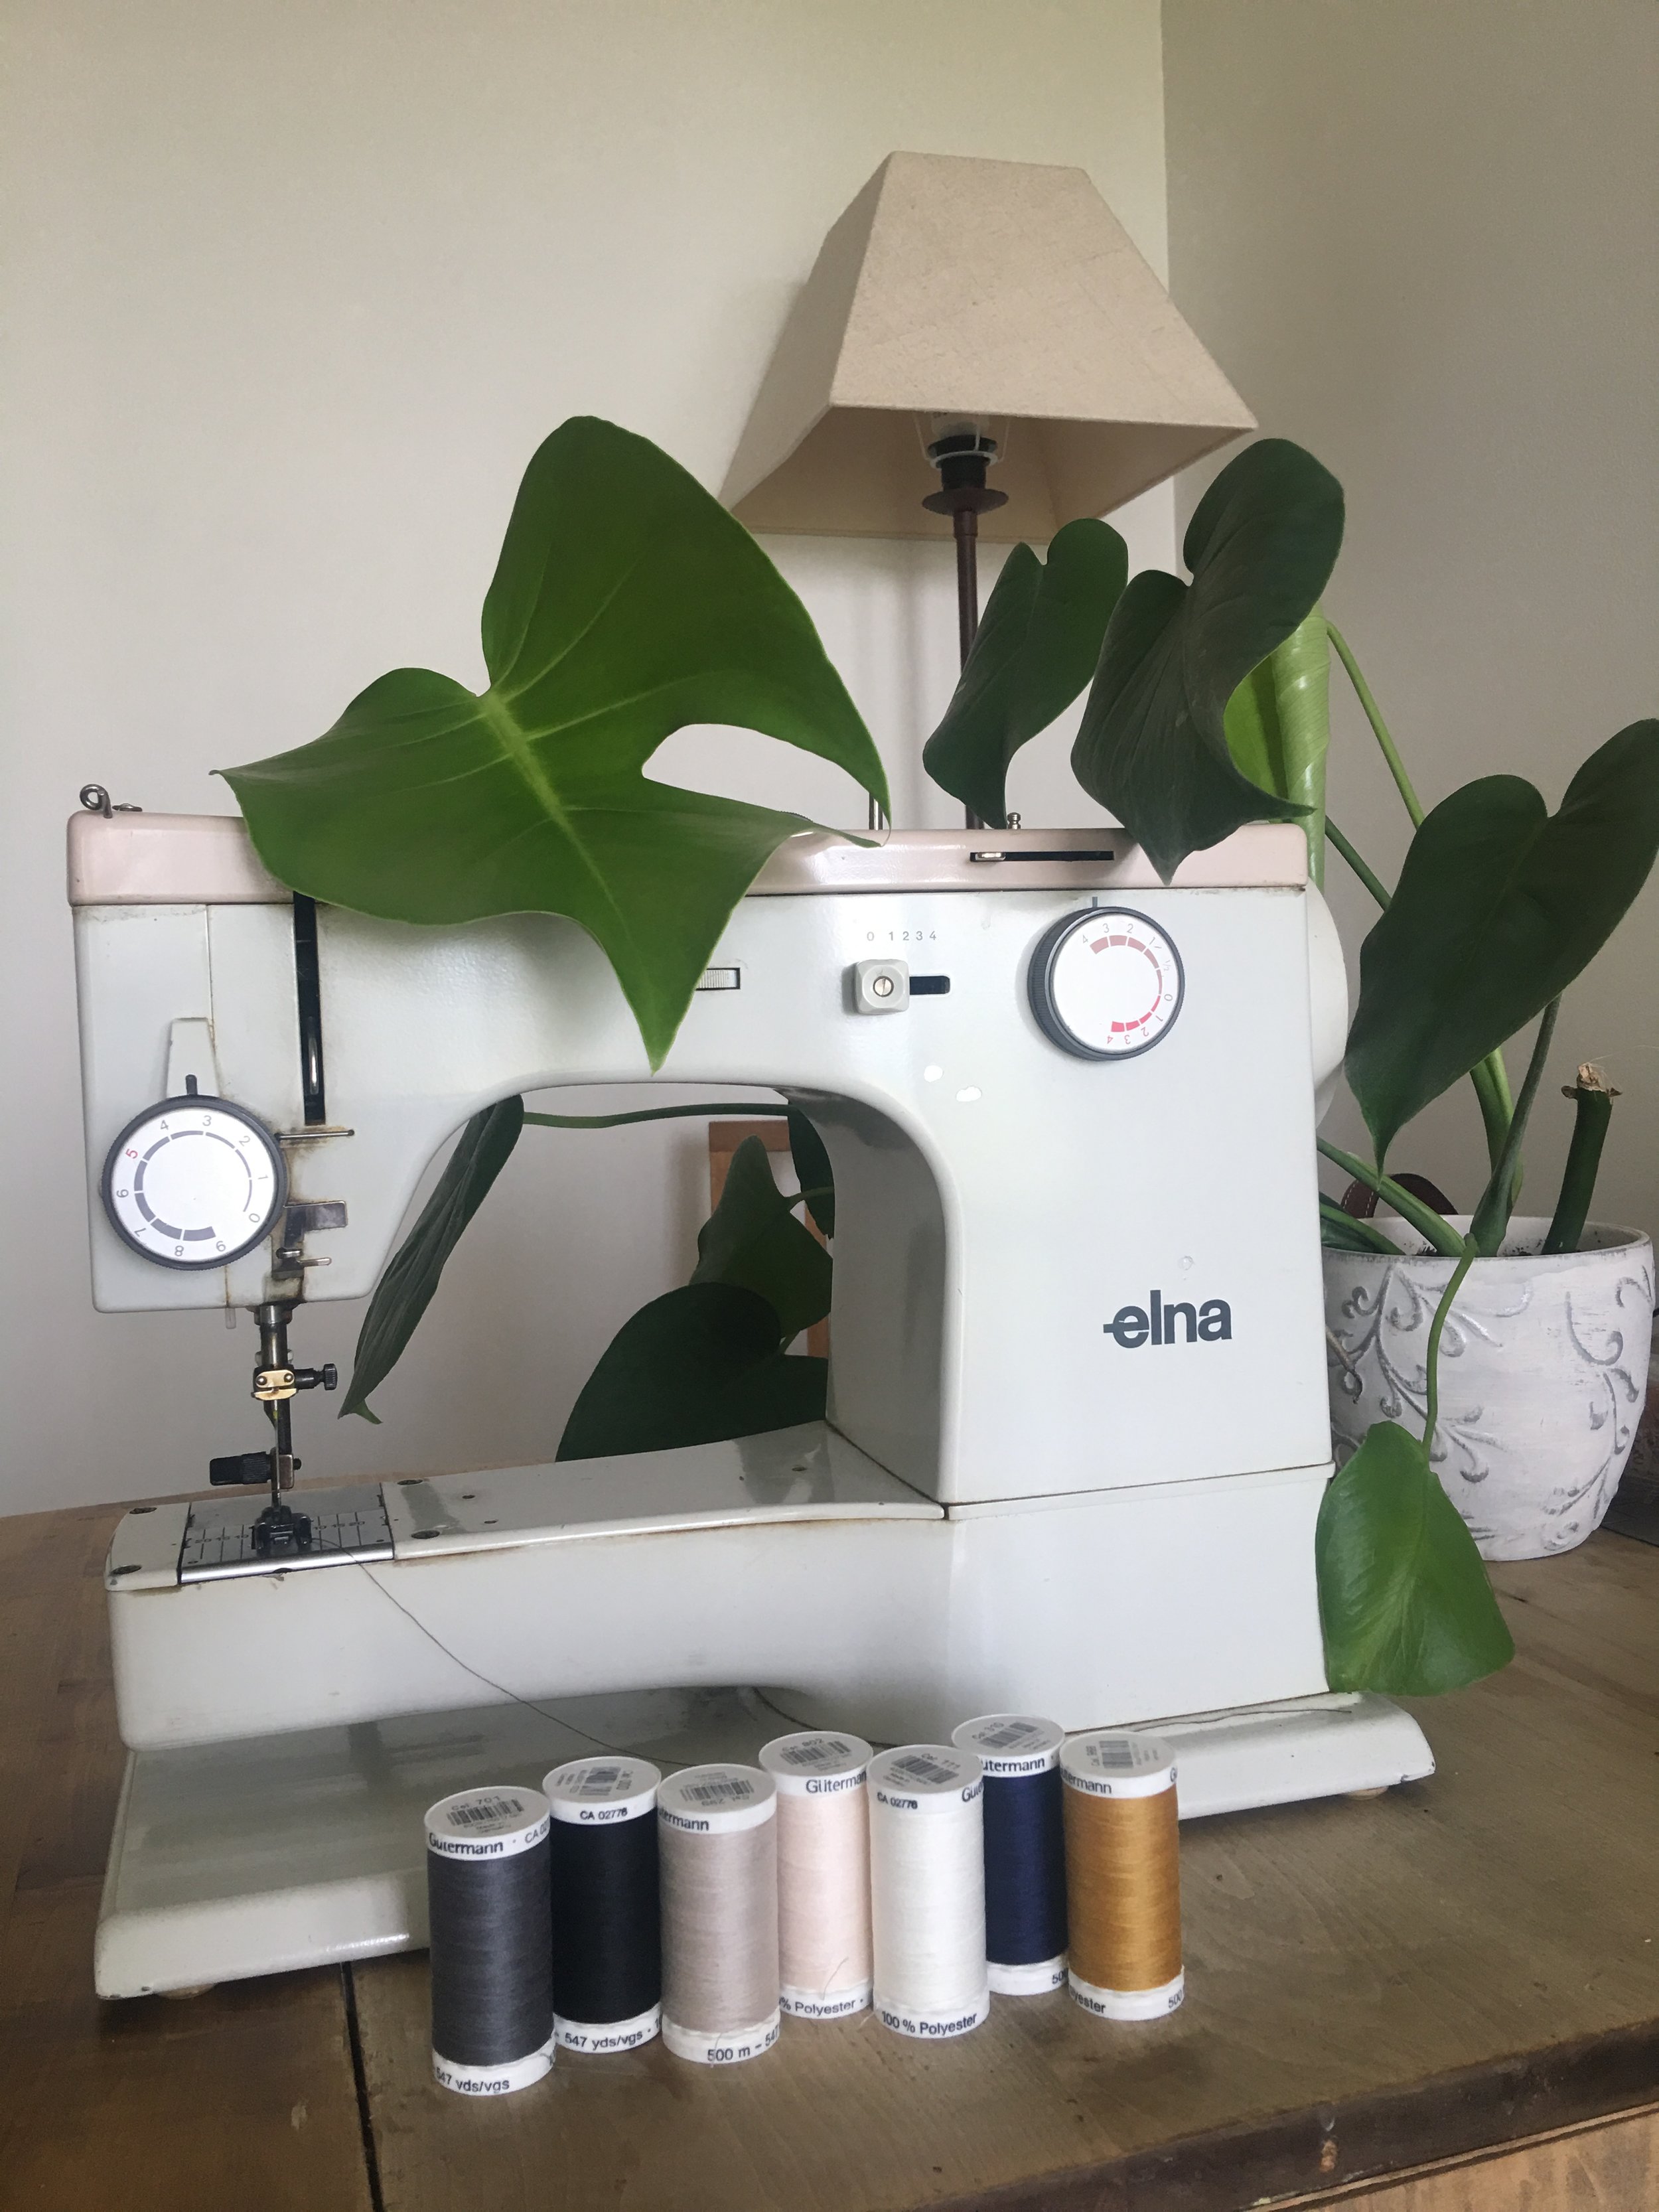
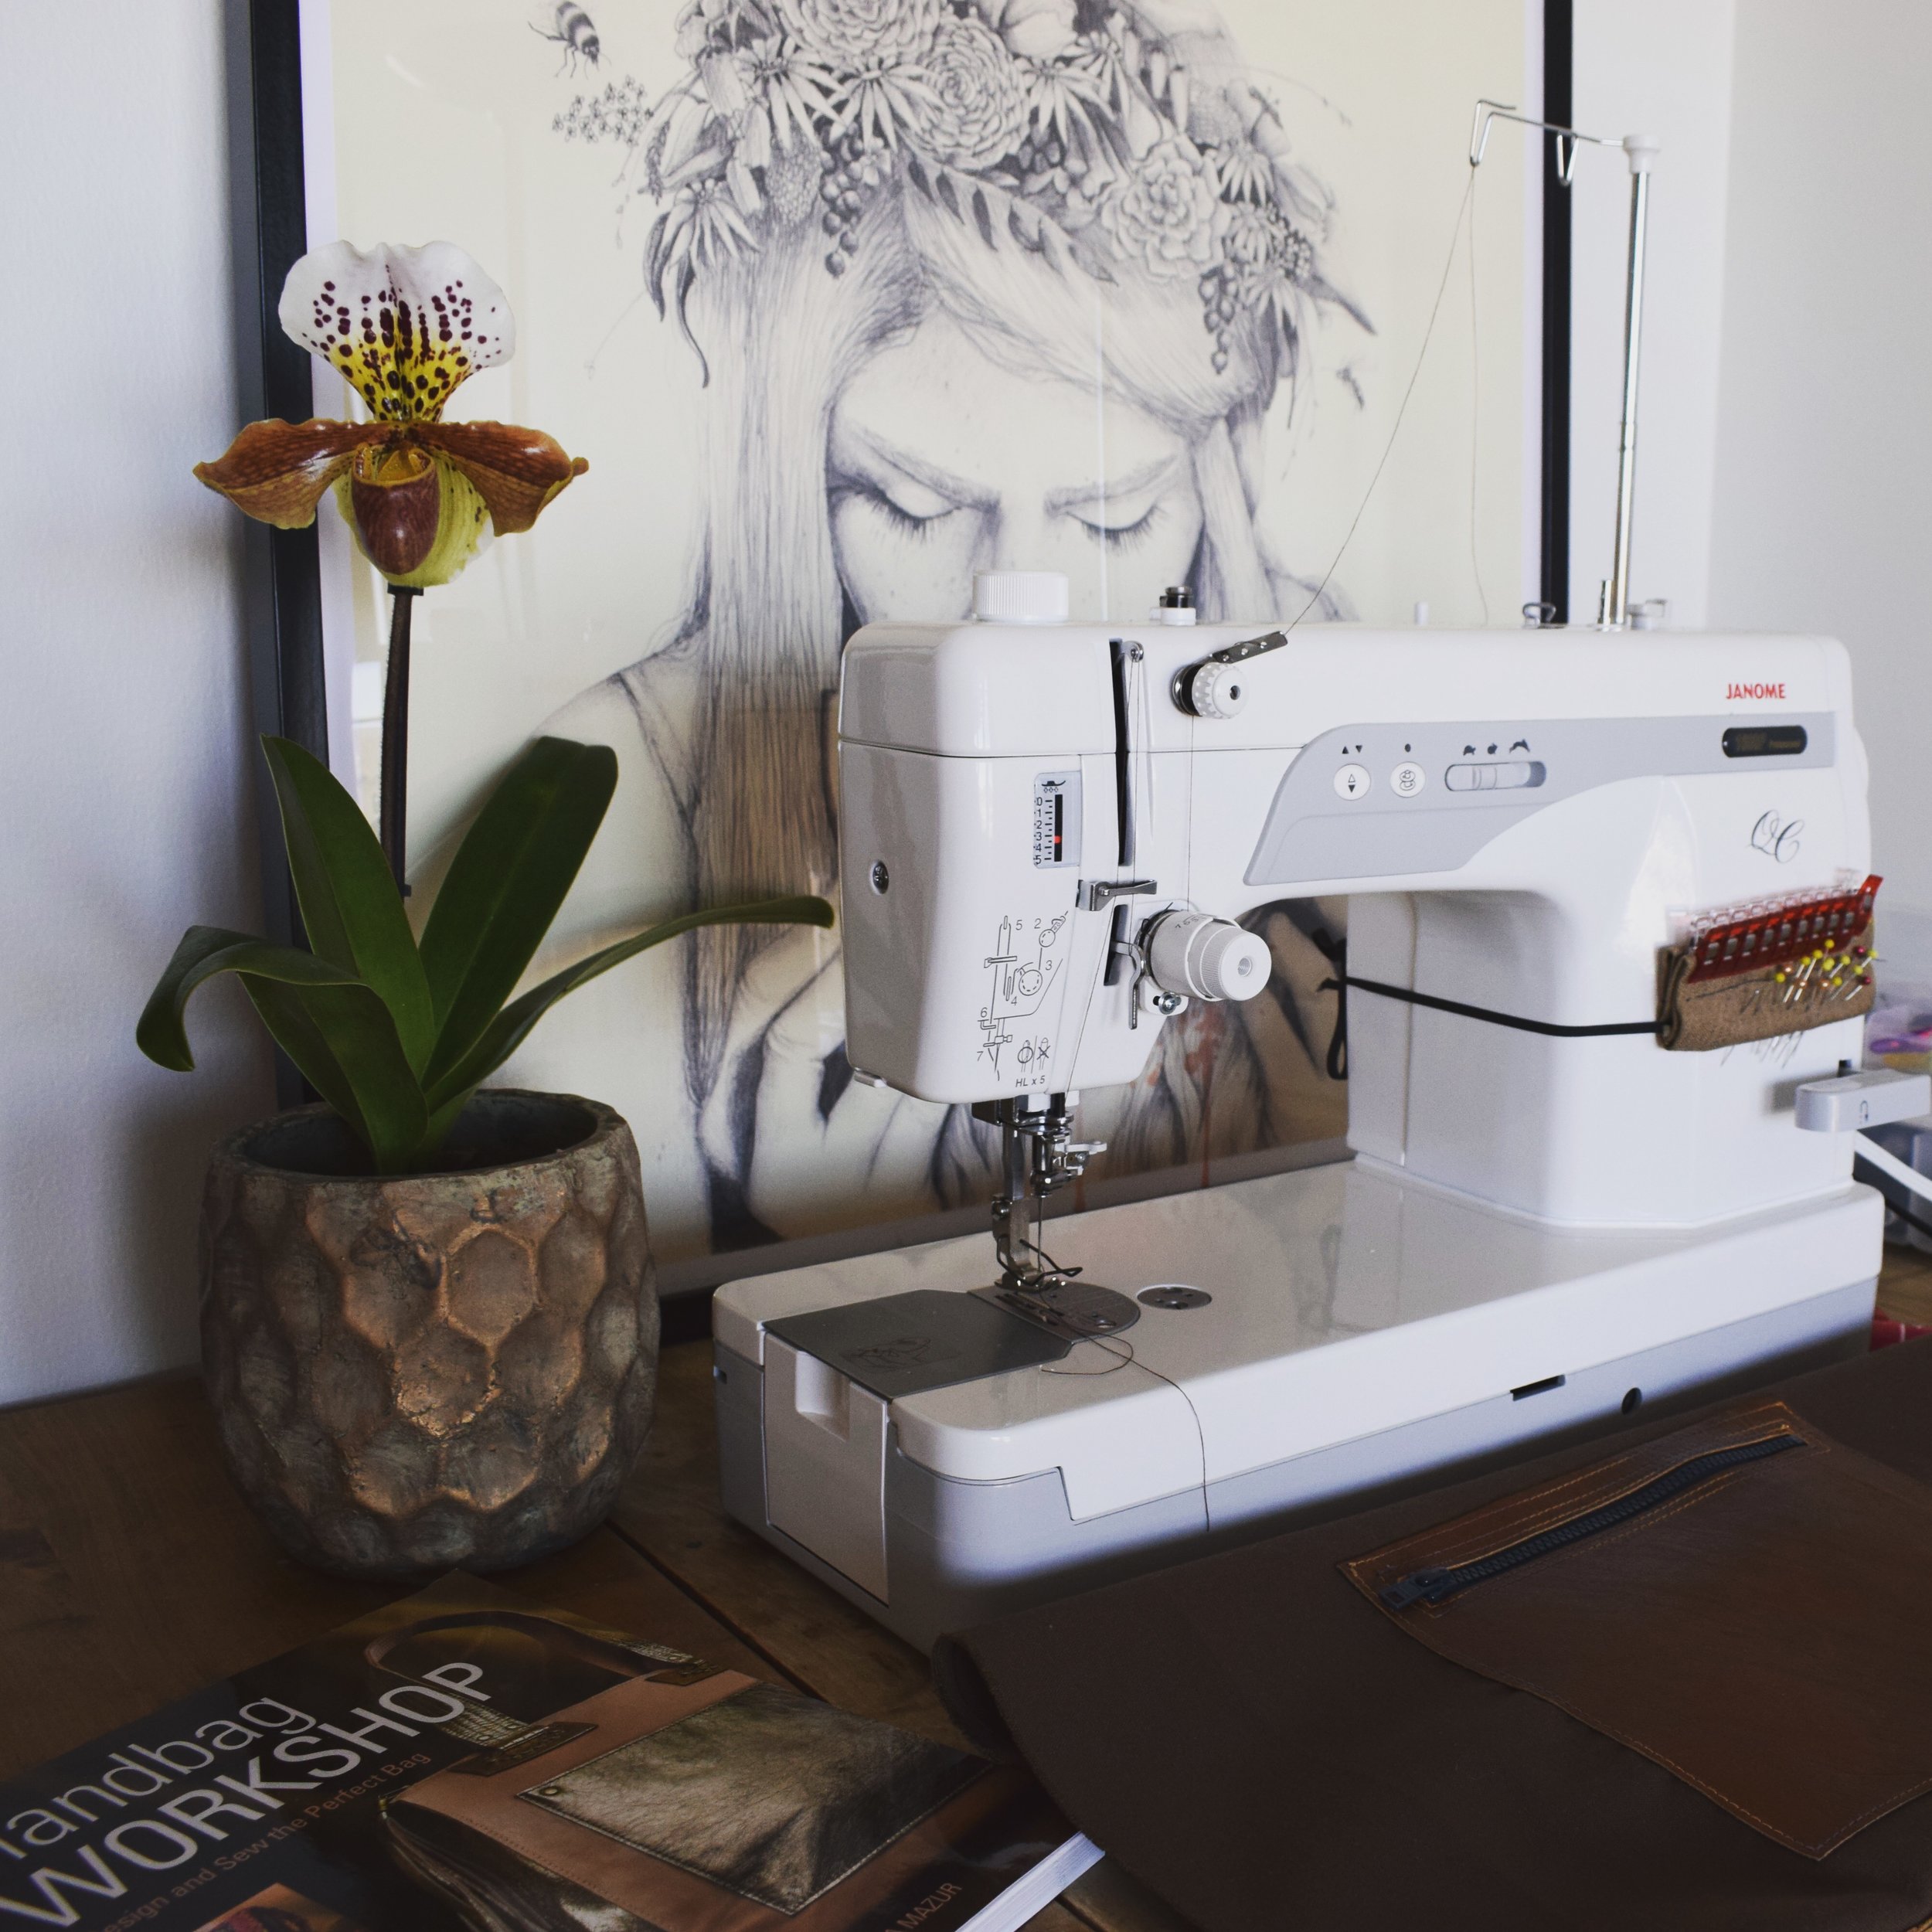
And of course a sewing machine! The stronger - the better. But you can for sure use whatever you have just helping your machine with a hand on the bulky seams. These two are the best I have to sew leather and canvas: an old Elna and new Janome 1600P. My two other machines are from Pfaff, mechanical and electrical, they also can easily sew leather and canvas, but old Elna and Janome 1600P are more suitable for this job because its easier to steer them. And they sew much faster!
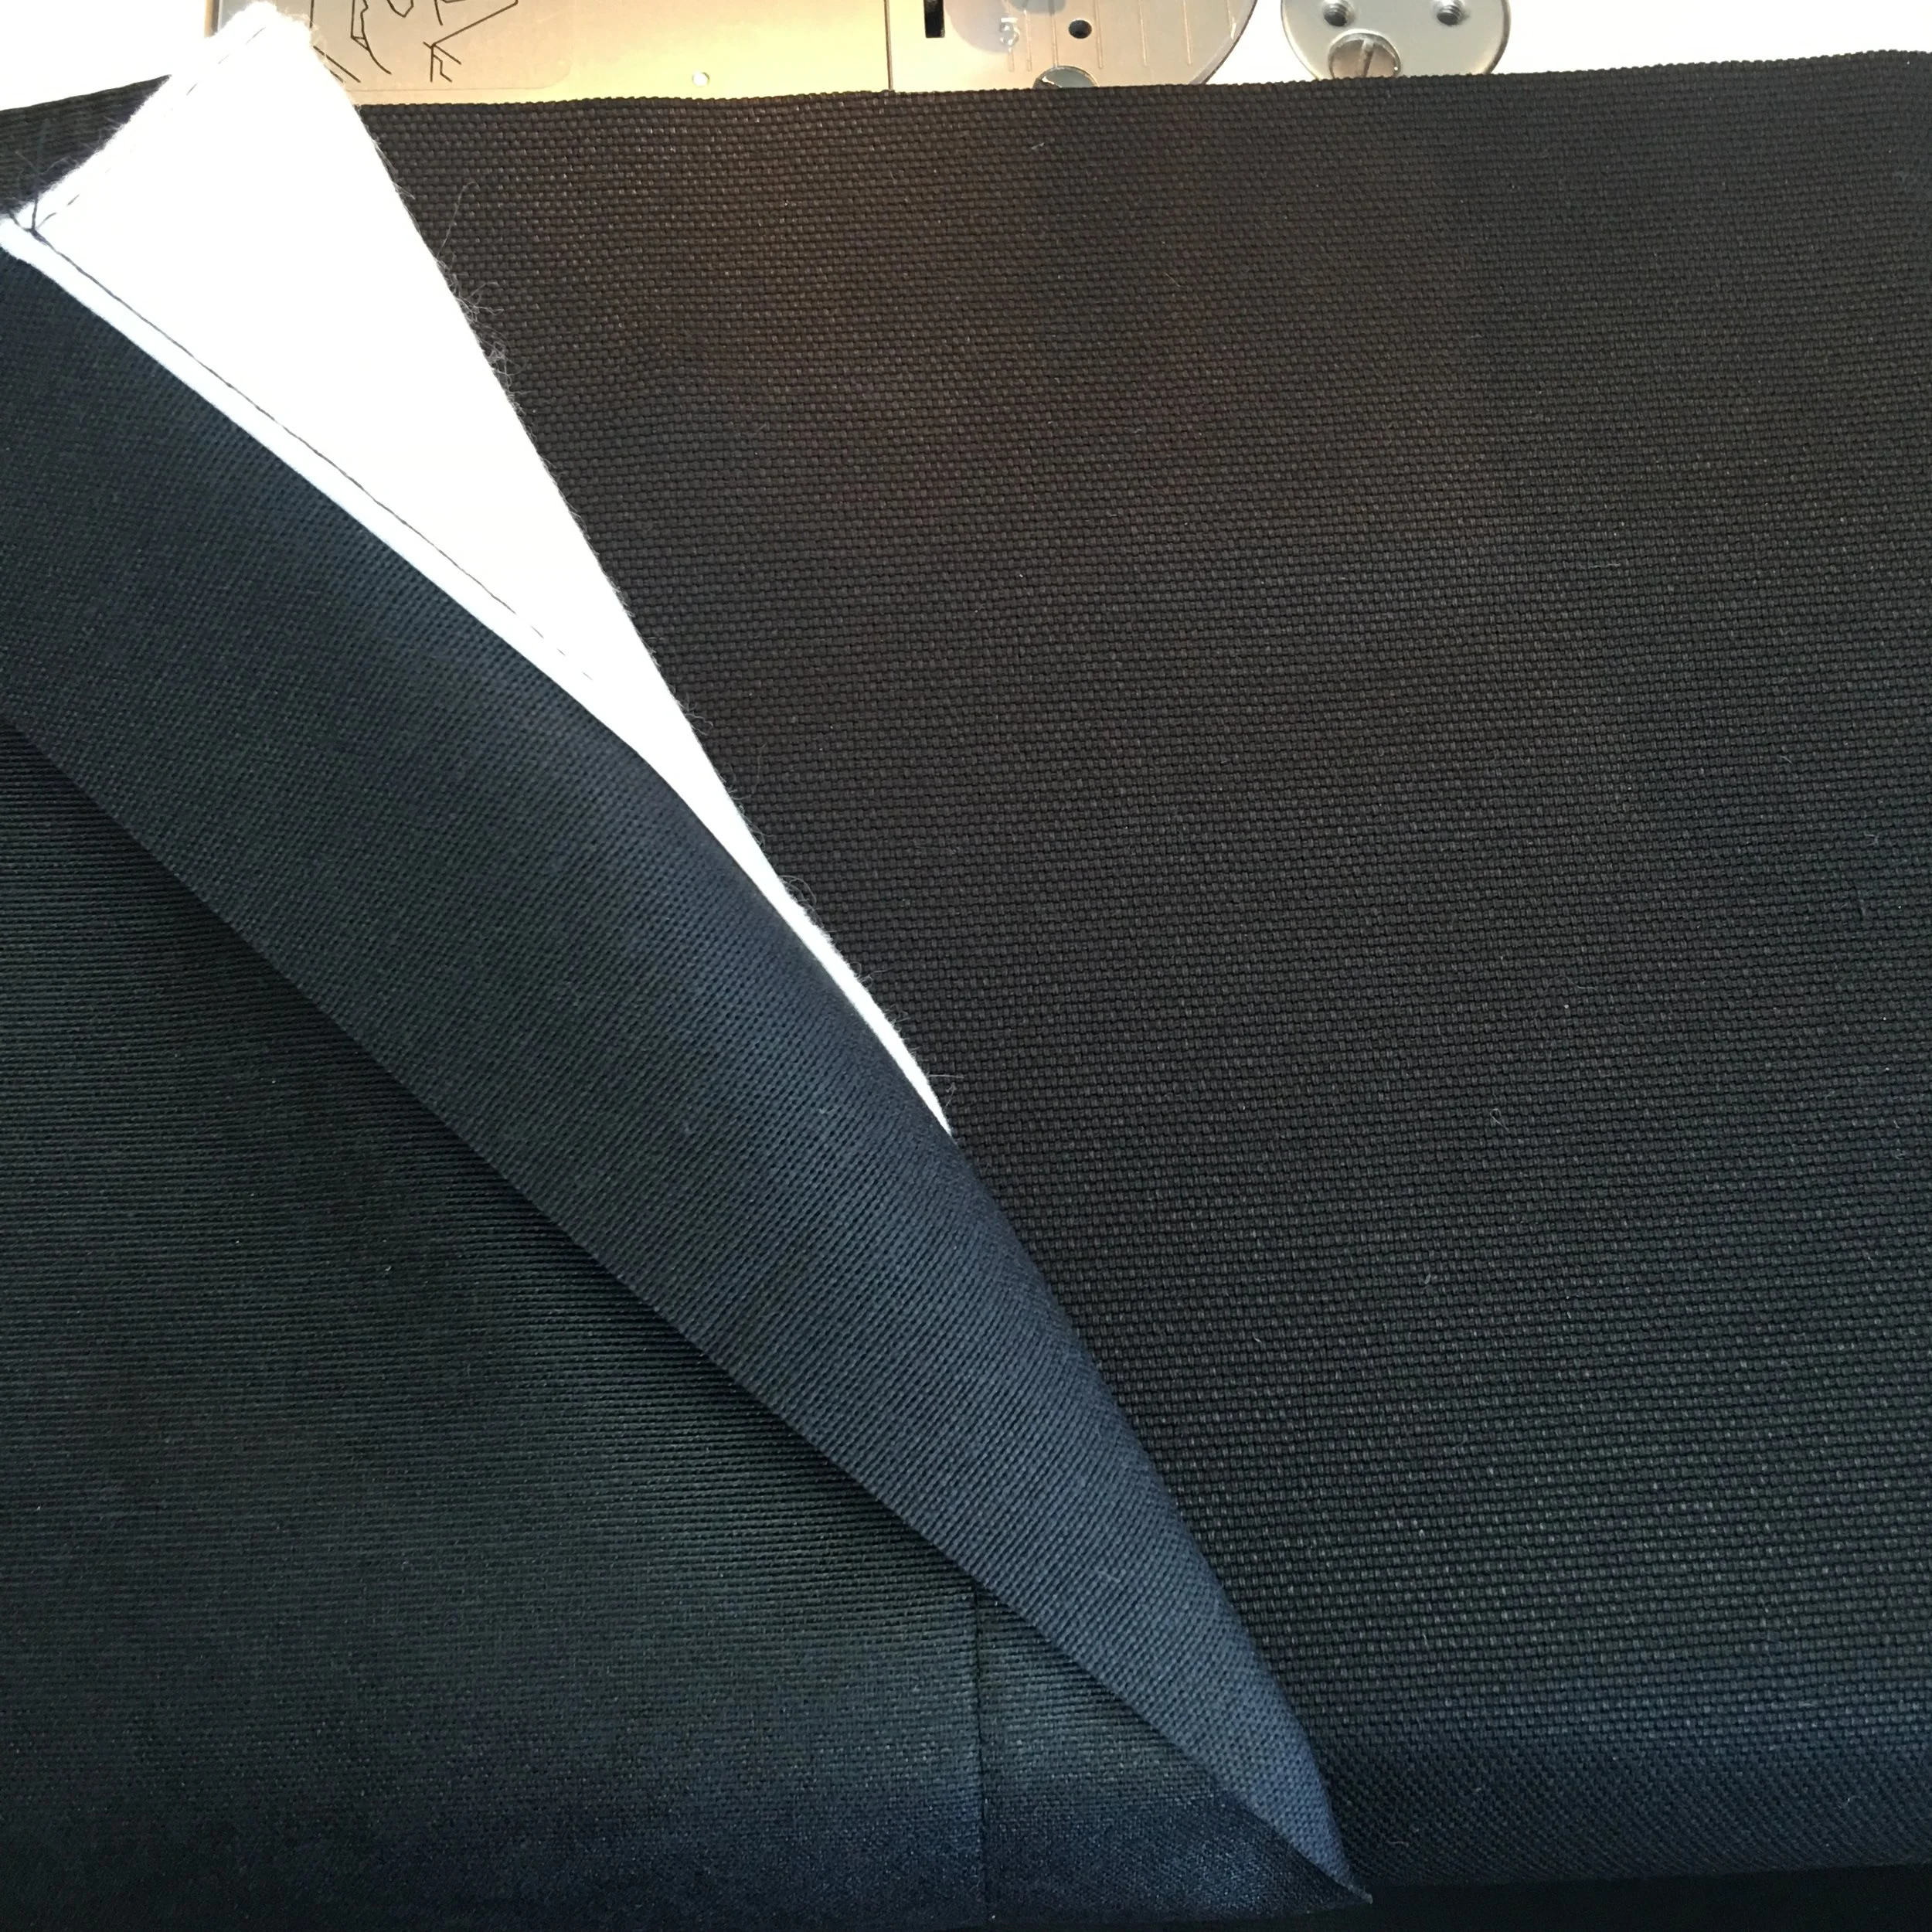
Step one: Making a leather pocket with a fusible interfacing and a zipper.

IMG_0609
Cut the desirable piece of leather and fusible interfacing. The side with the adhesive goes against the wrong side of leather piece. (See picture) Press interfacing to the wrong side of the leather. Keep the iron moving for about 10 sec or until the interfacing adhere to the leather piece. After you press it together the leather might stretch so you need to adjust the pocket again with the rotary cutter or scissors. Make a window for a zipper. Using a zipper foot, stitch the zipper in the window. Use fabric glue before stitching to prevent stretching of the leather! Some tips: you can use thick thread and topstitch needle when sewing the pocket, make sure you have equal upper and under thread. Try the stitches first on the fabric or leather scrap.

IMG_0612
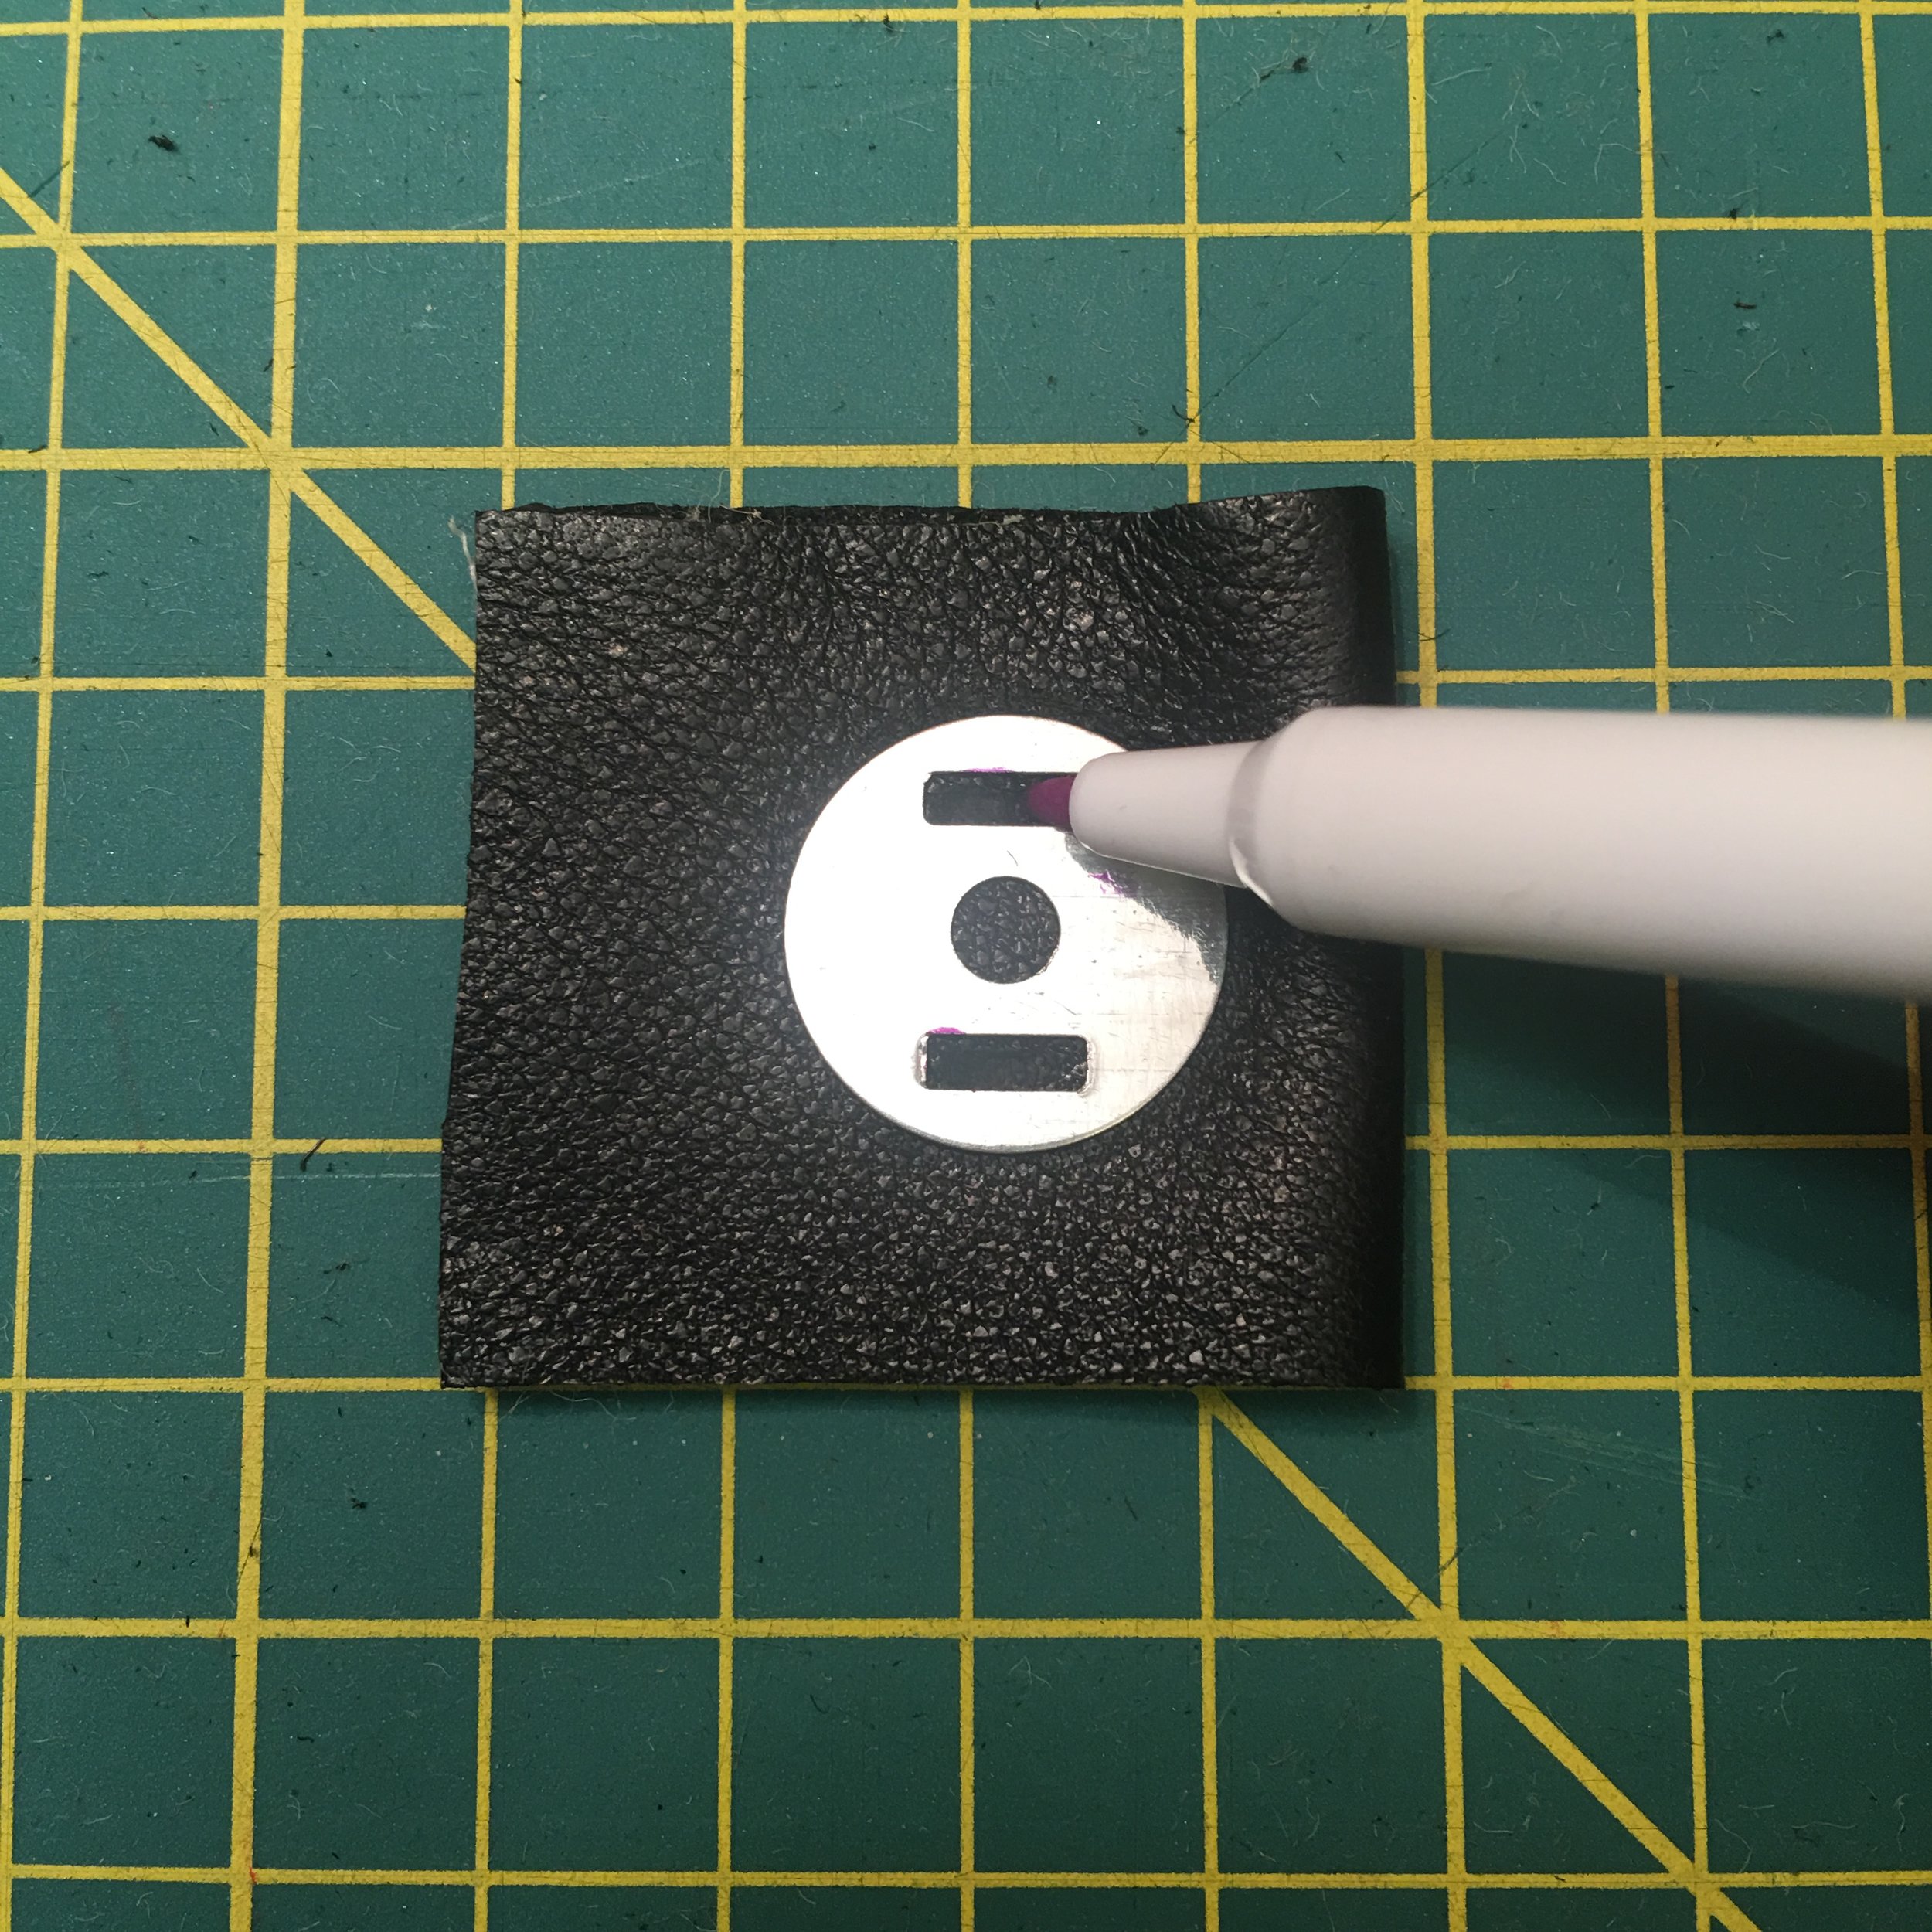
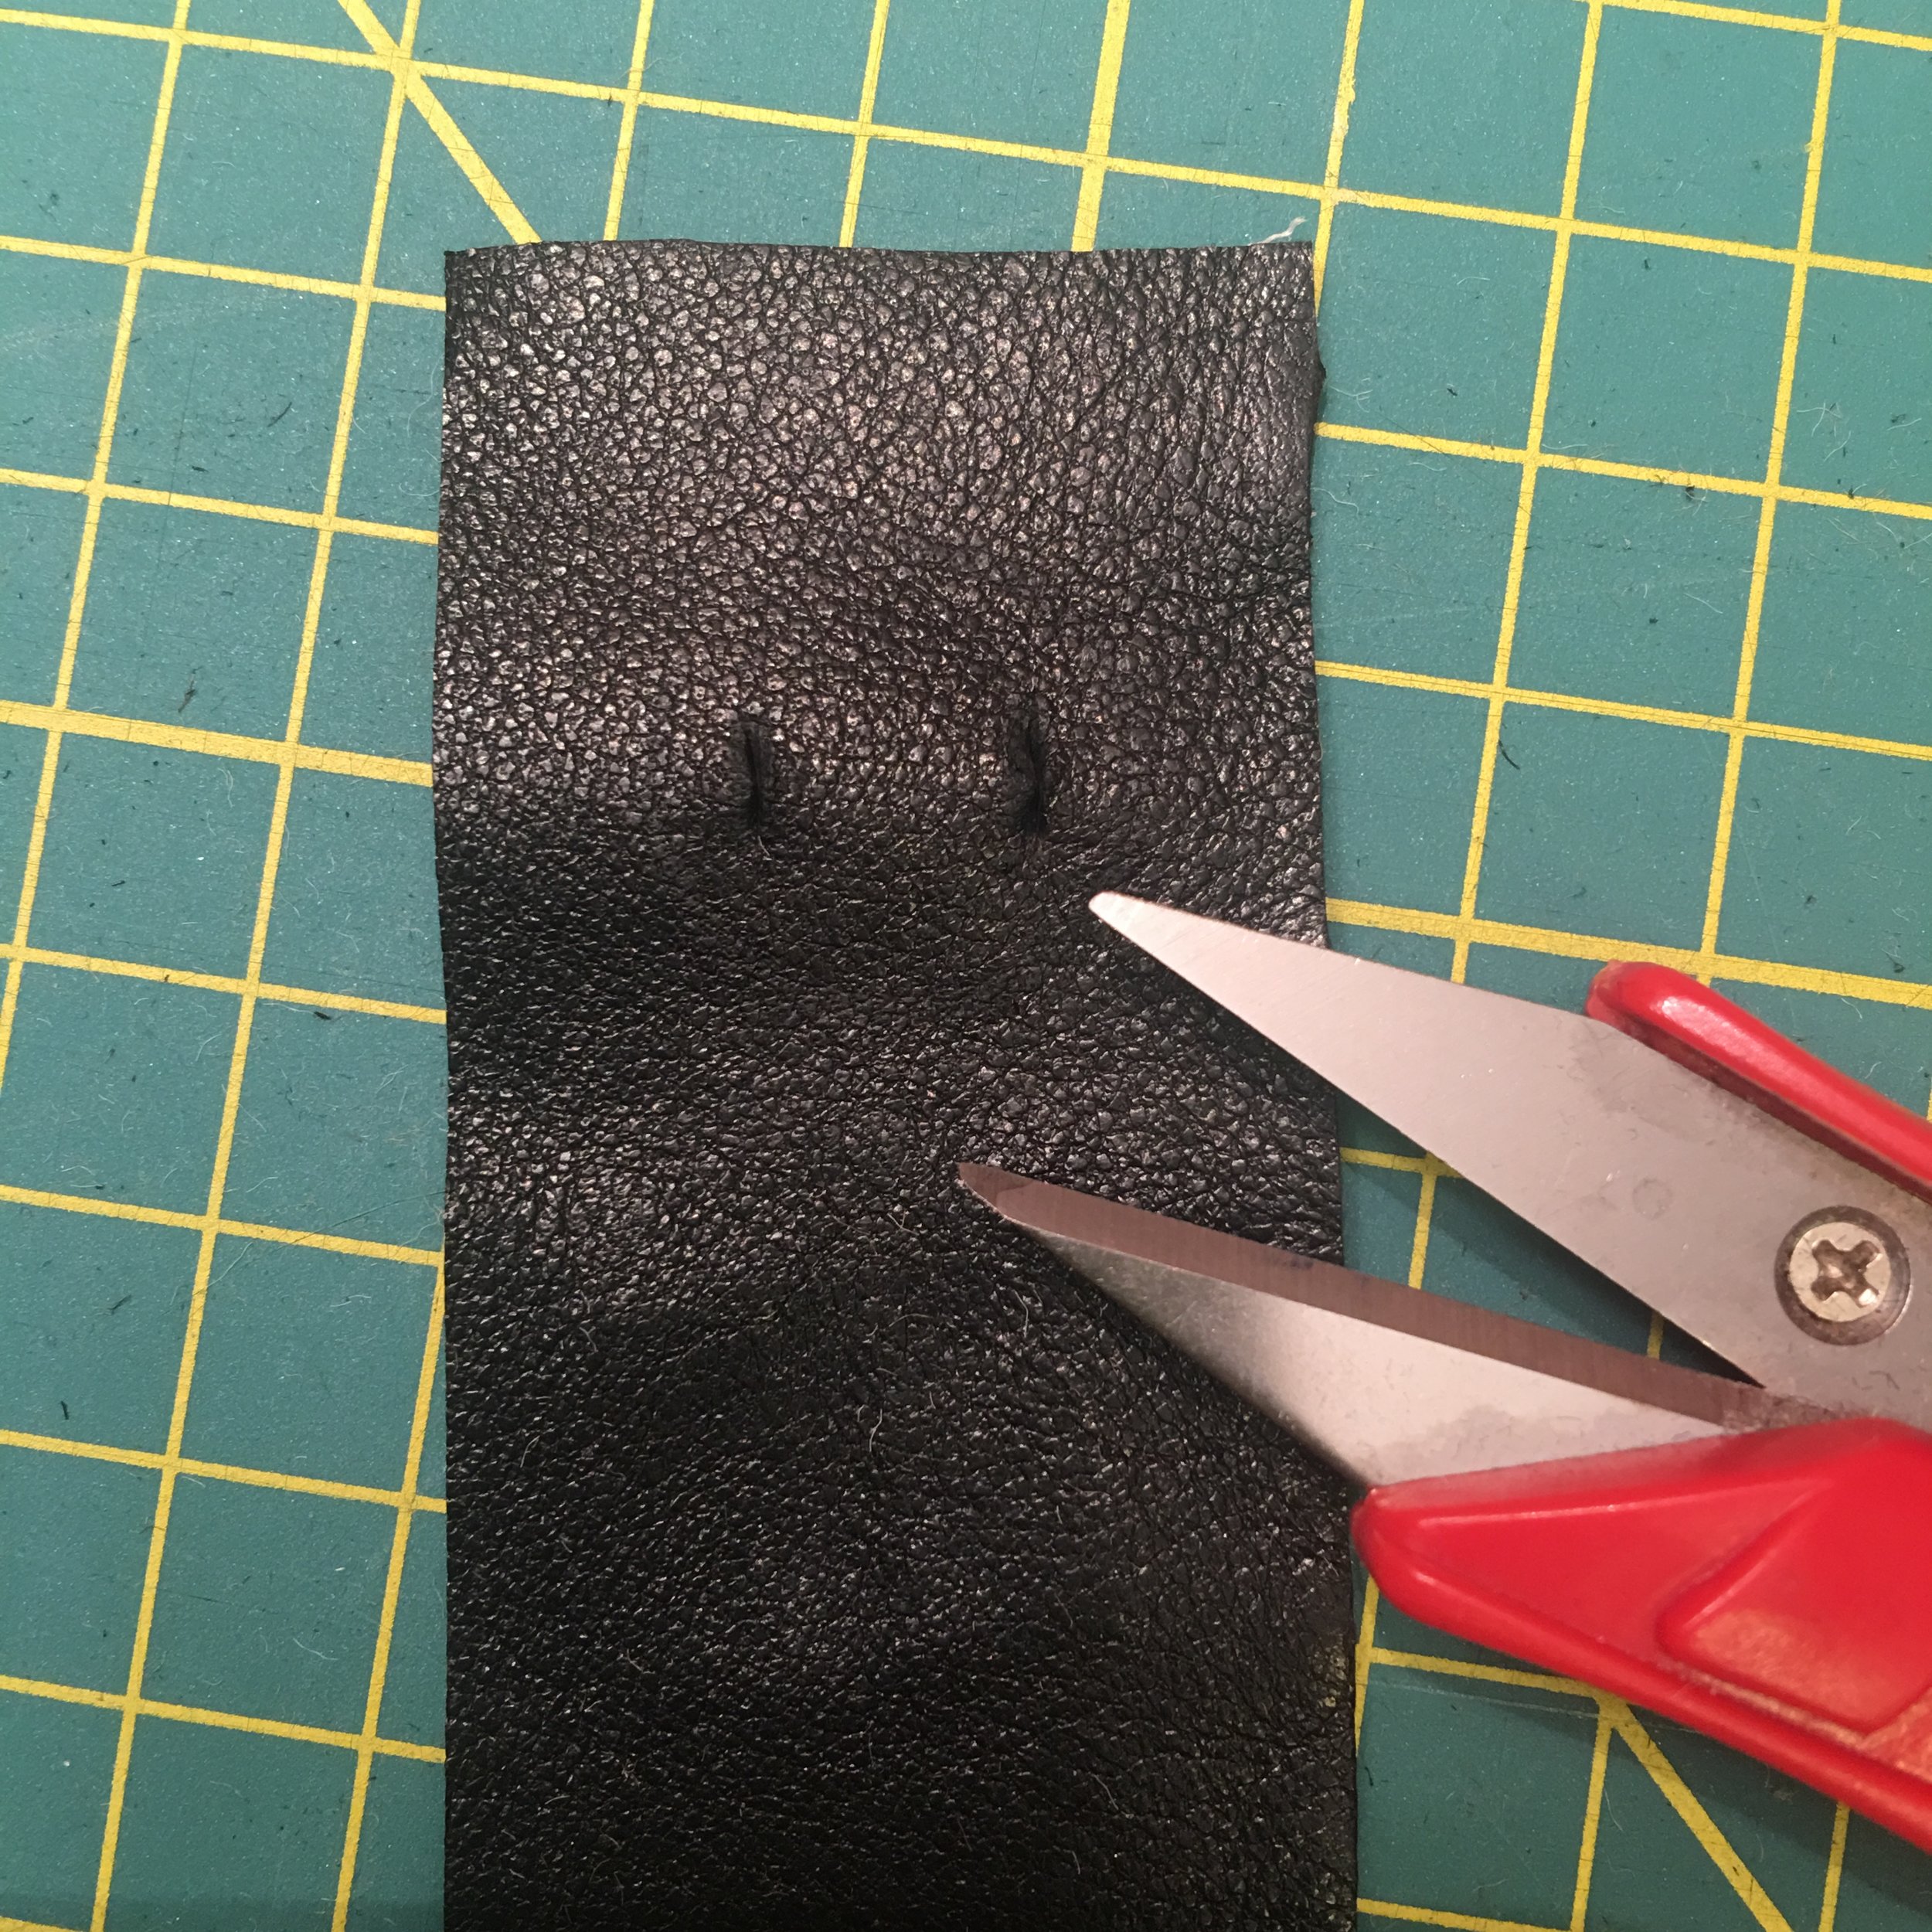
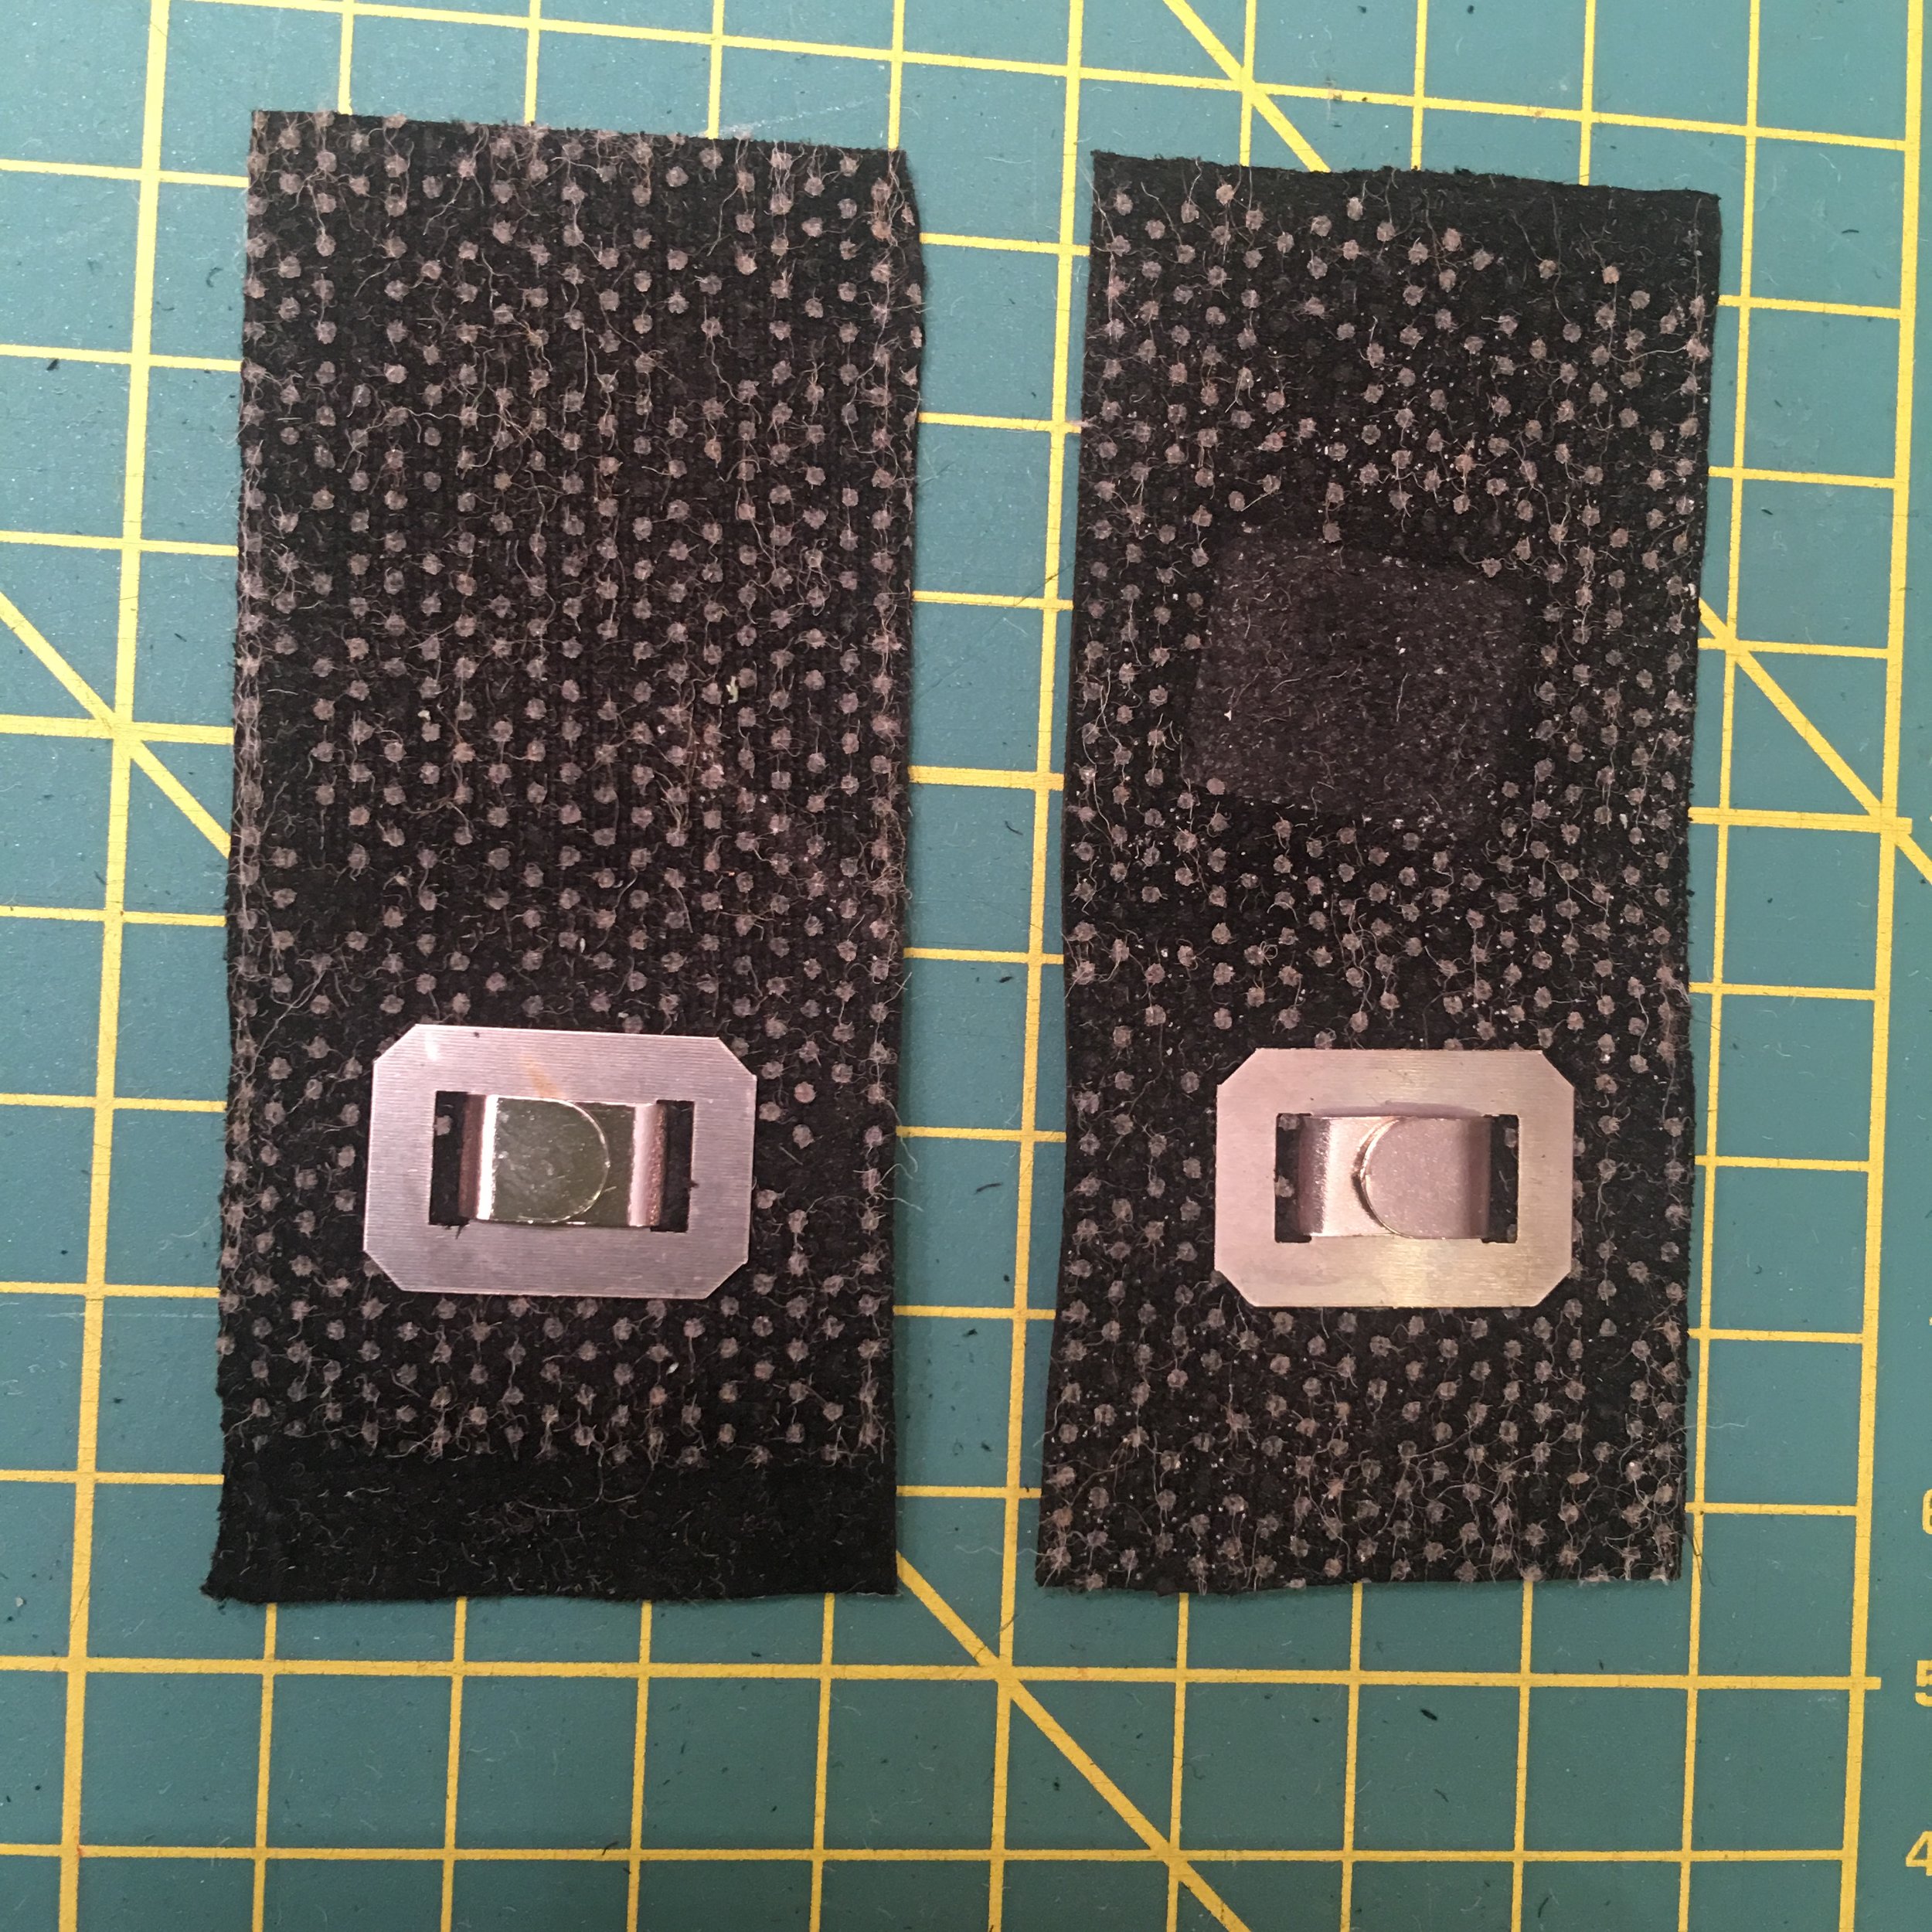
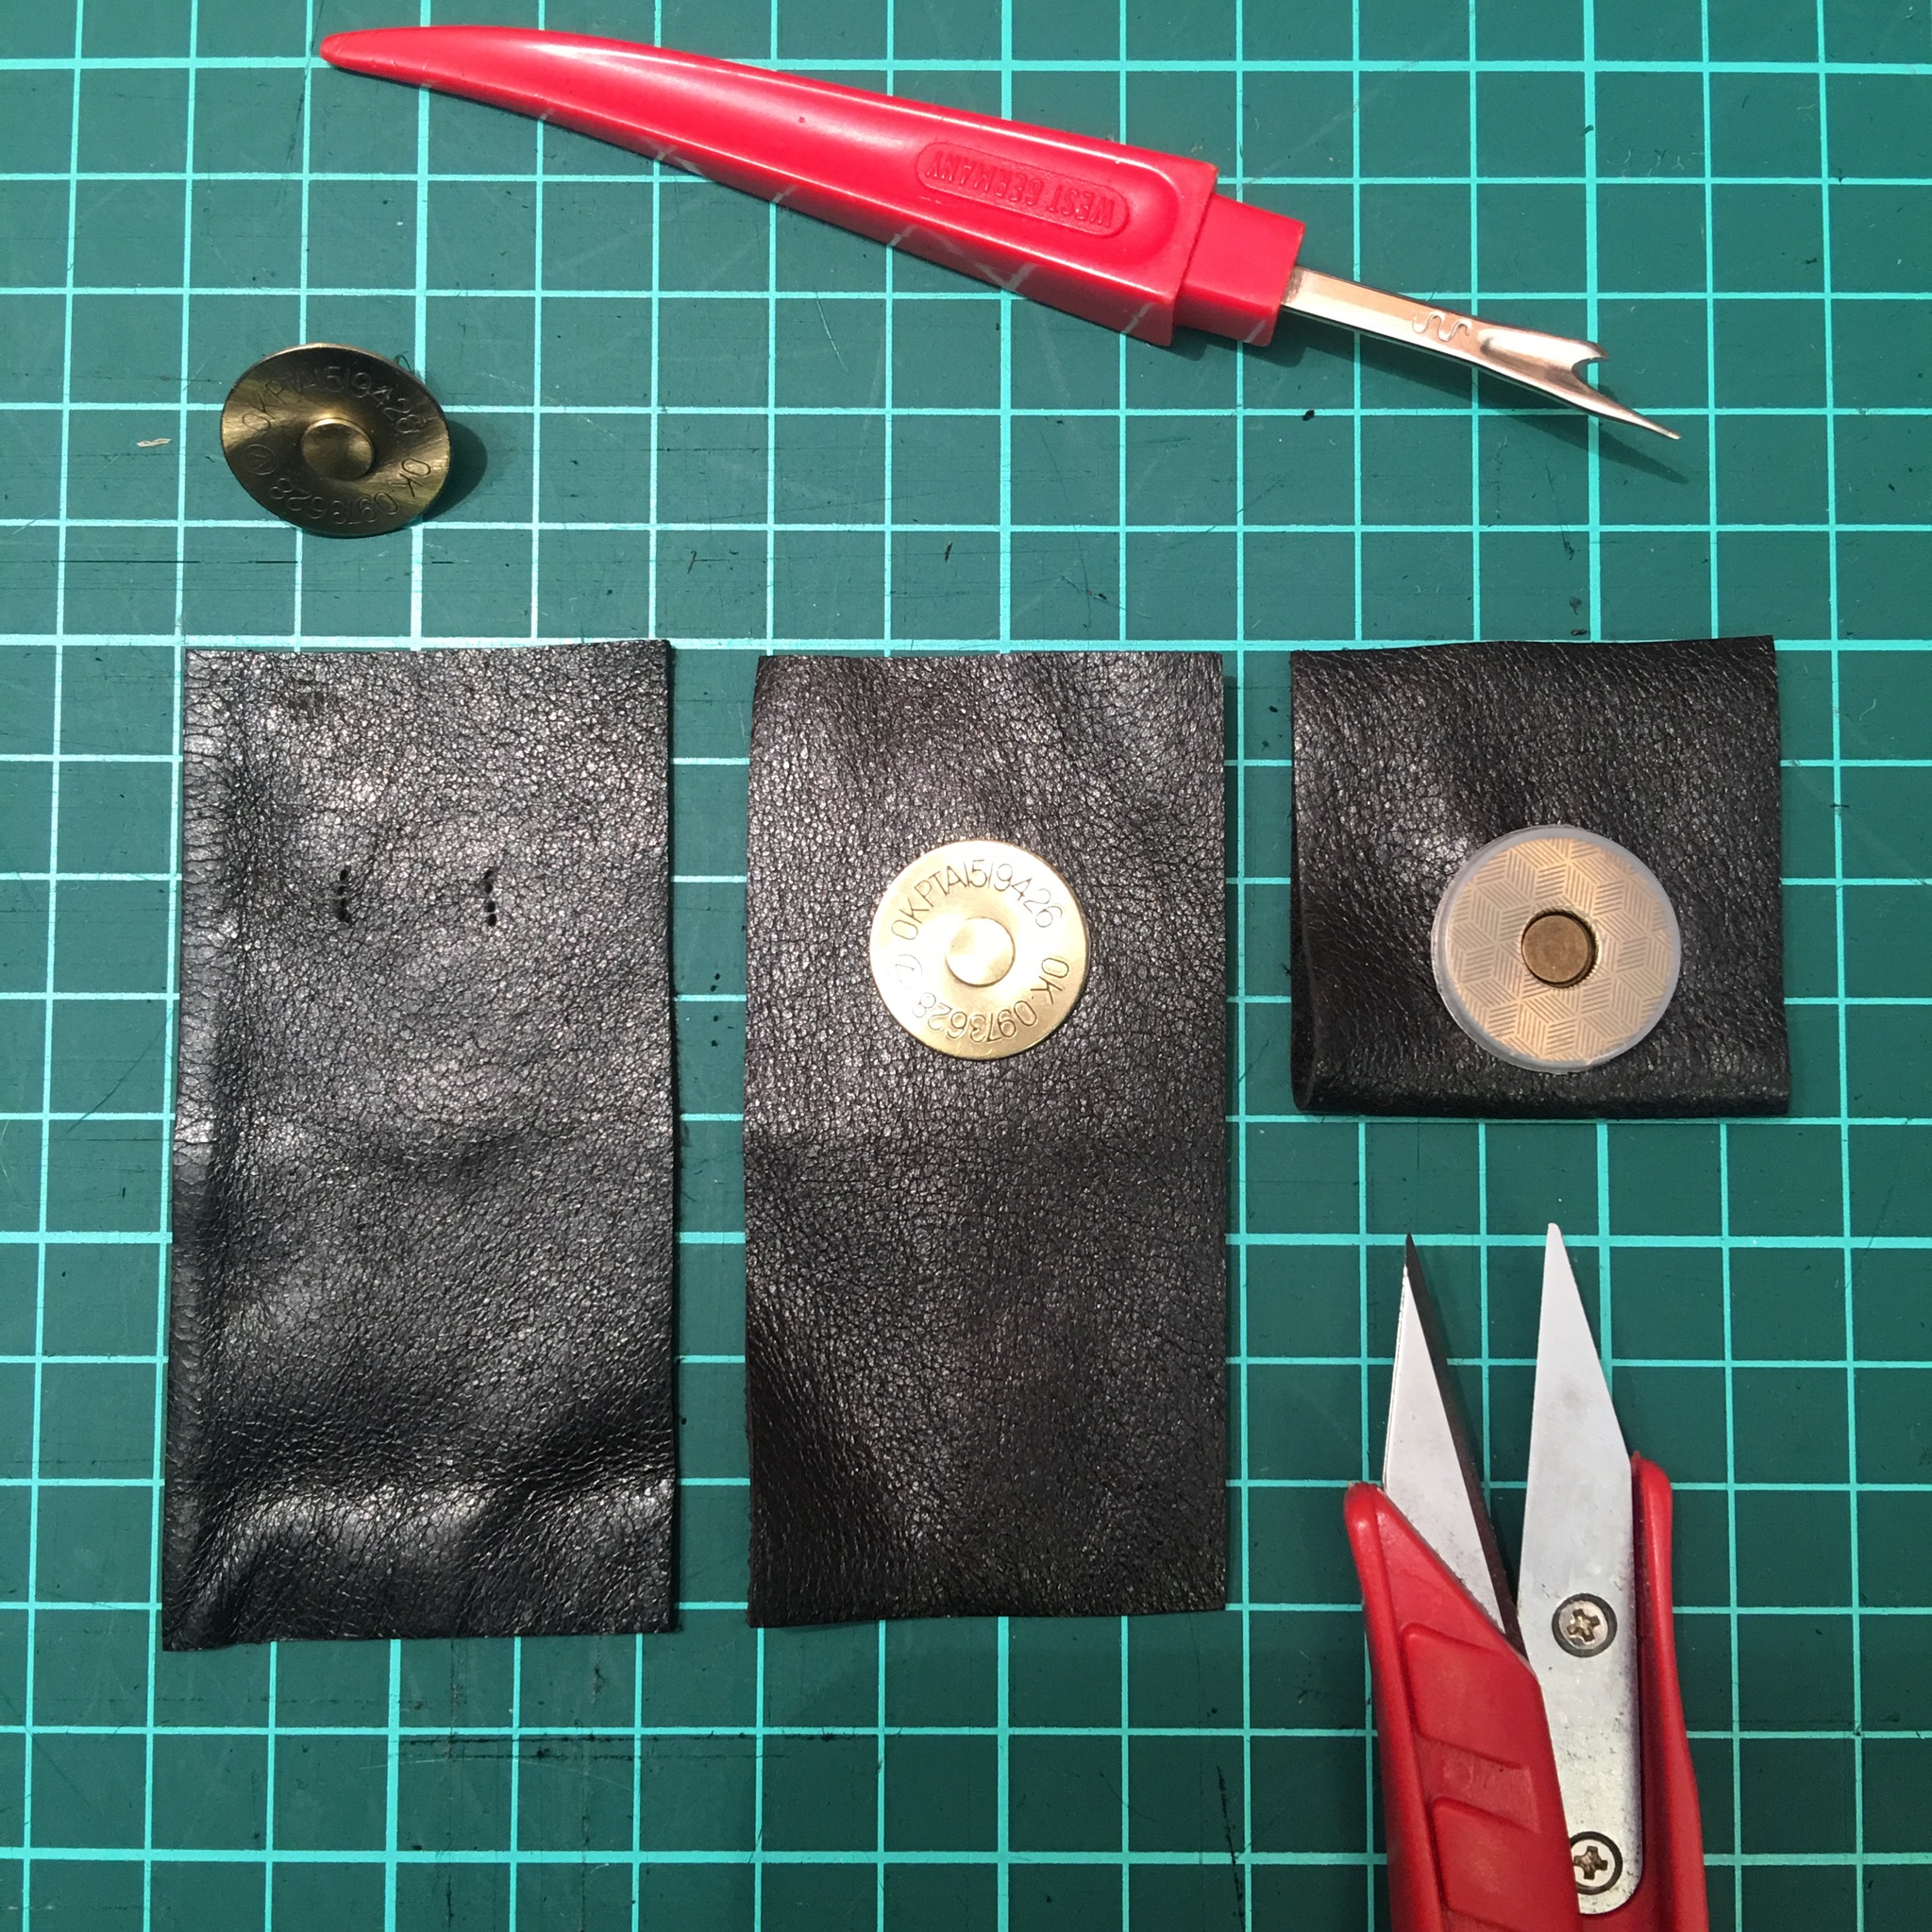
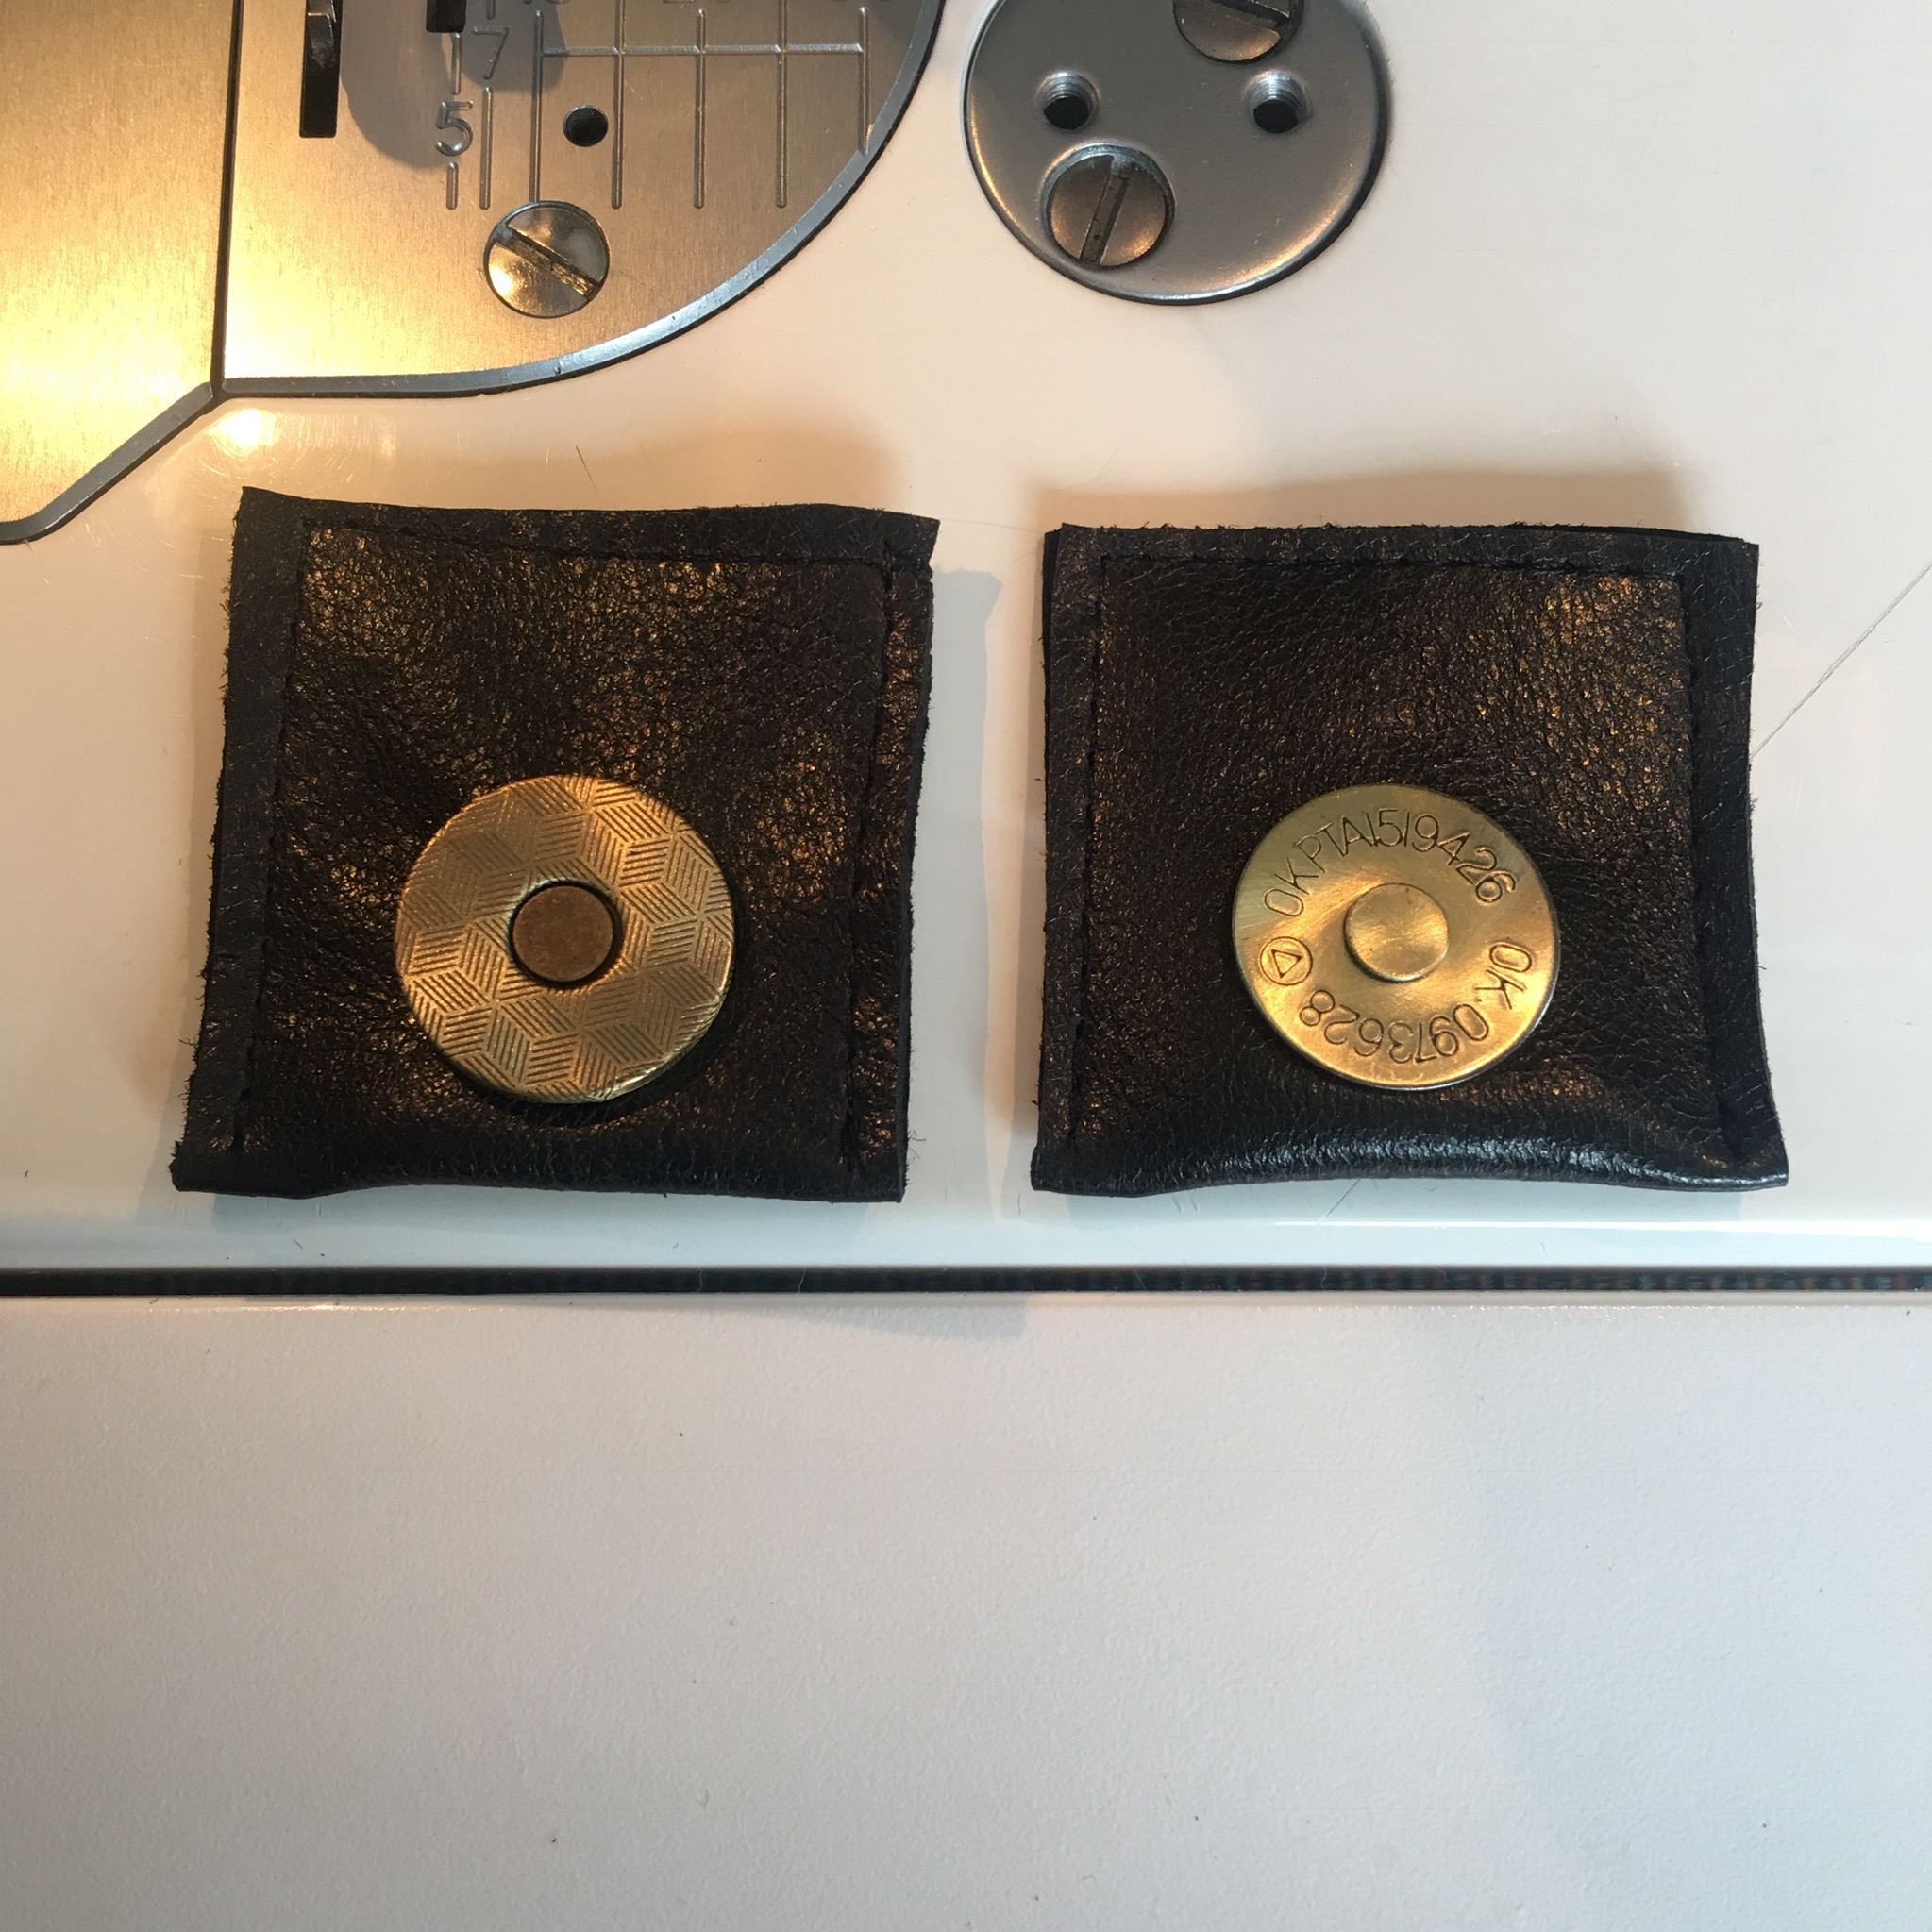
Step two: Attaching a magnetic snaps to the piece of leather
Cut two pieces of leather 4 x 8 cm. Mark the slits and cut the holes. Insert the snap..
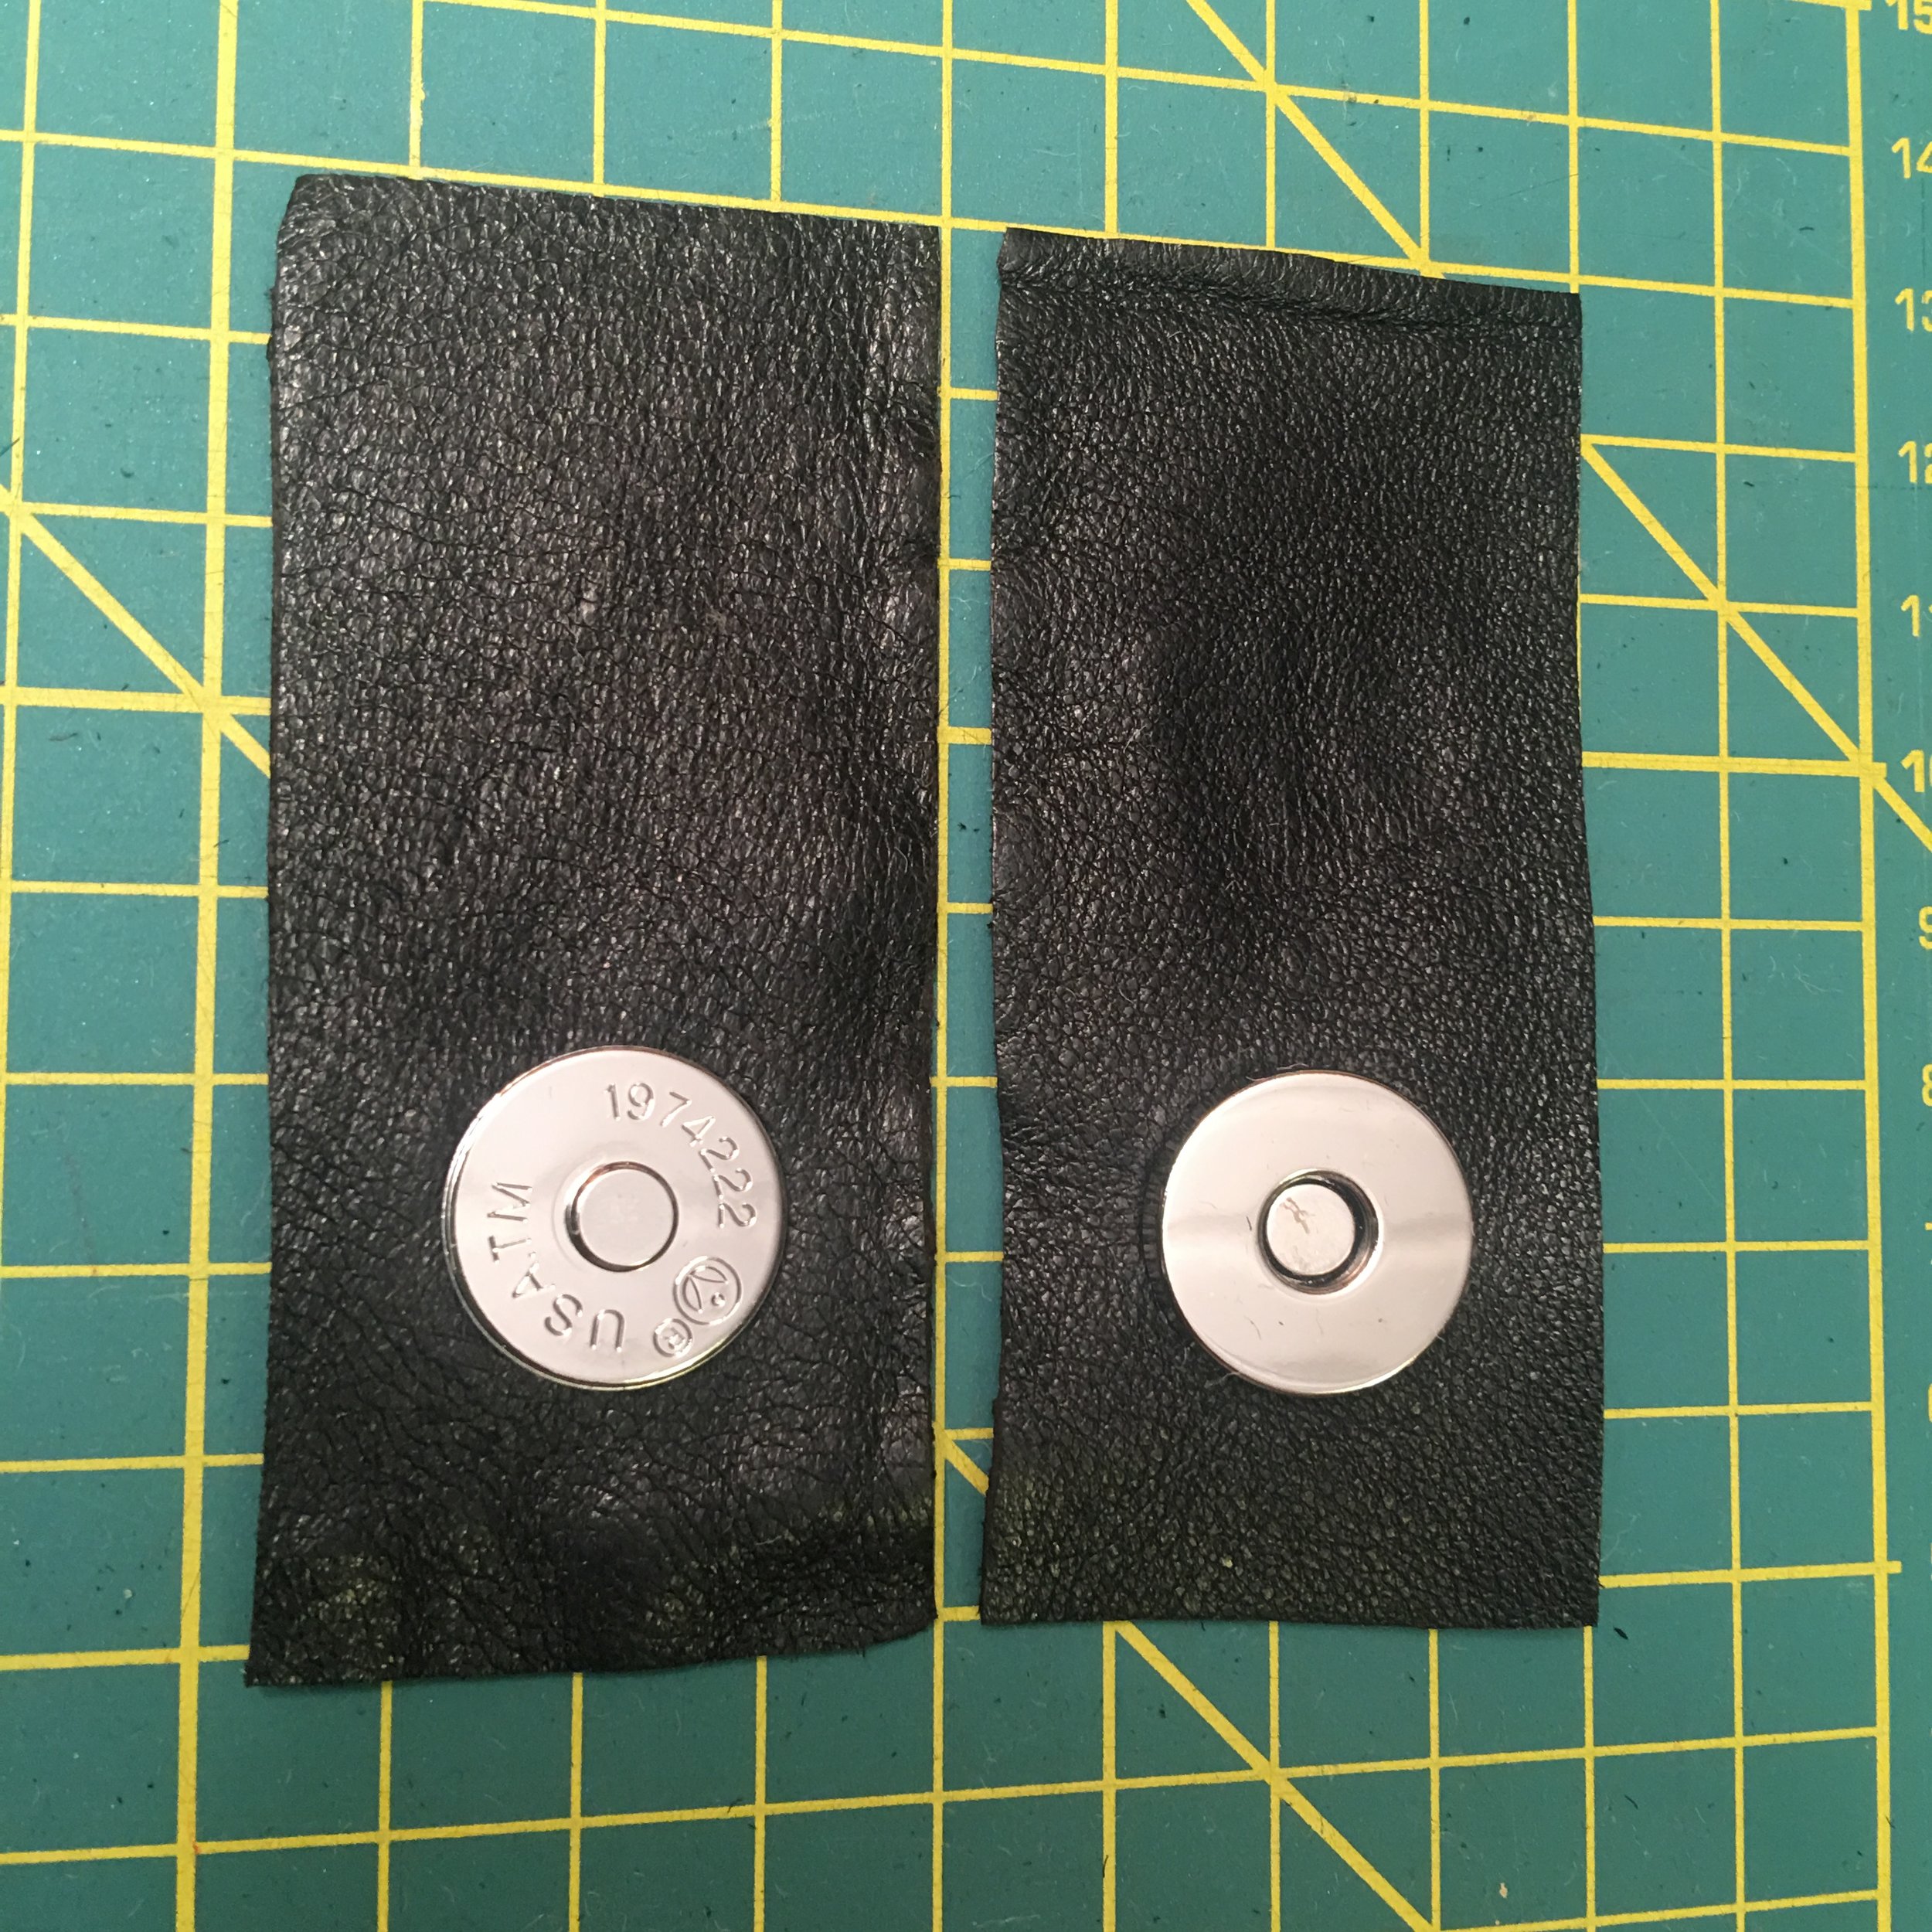
Fold it in half and sew on three sides.
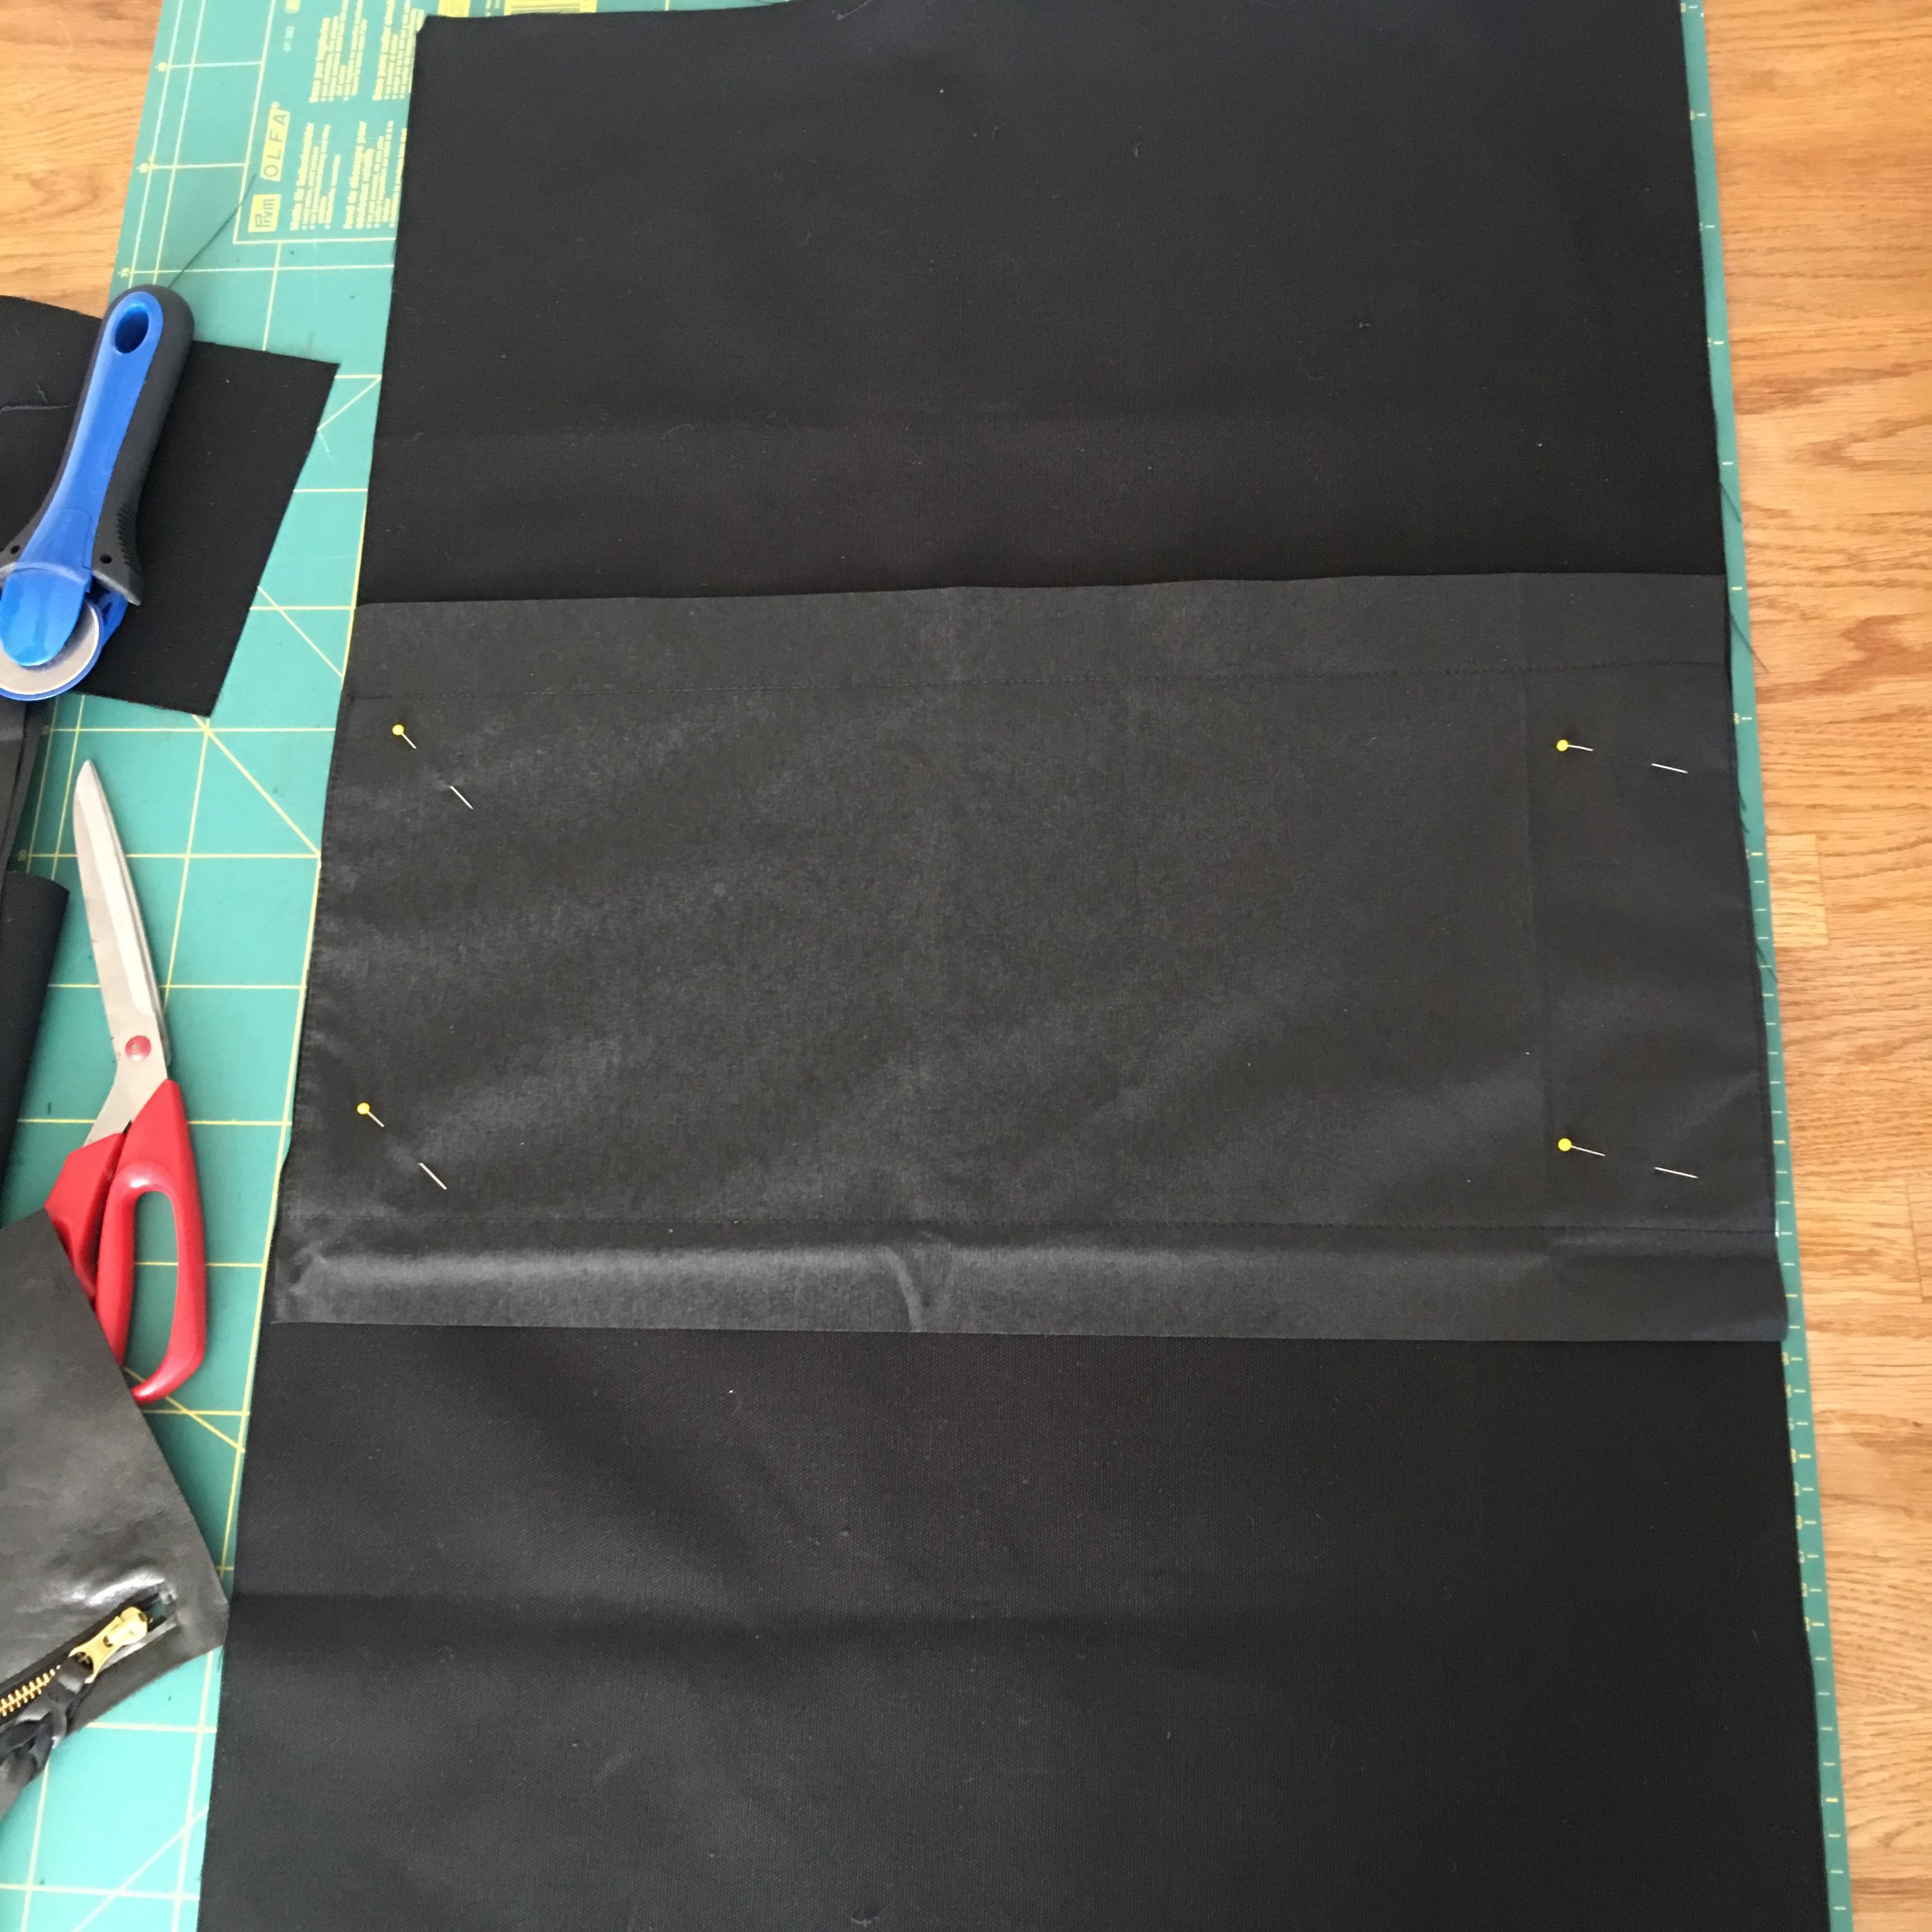
Step three: Making and attaching the bottom
Place interfacing in the middle of the oil cloth. Oil cloth must overlap the heavy interfacing. Sew them together and then place them in the middle of main fabric,
IMG_0729
Pin it and stitch on four sides. So the bottom is ready.
IMG_0728
Step four: Make markings for the snaps in the centre and for the handles on the sides.

IMG_0769
Step five: stitching the pocket.
Centre the leather pocket on the front side, pin it. Topstitch the pocket in place 1,5 mm from the edge, backtracking two stitches at each corner. I use stitch length between 3 and 3.5 cm (thicker the thread longer the stitch)

IMG_0731
After your pocket, snaps and the bottom are ready sewn you can put your regular foot back on.
Step six: Make and attach the pocket to the inner side of the bag making a little triangles on the top corners.
You can make as many pockets as you wish just keep in mind that all the outer seams will be visible on the right side. Use a matching thread!

IMG_0730
Step seven: Attaching the side panels
Attach the side panels. Use bias tape to cover the seams. All the seams must be inside.

IMG_0735

IMG_0737
Step eight: Stitch wide bias tape on the top of the bag.
First sew snaps in place and then stitch the bias tape to the top of the bag. It is better to choose thicker bias tape so the bag looks more stabile.
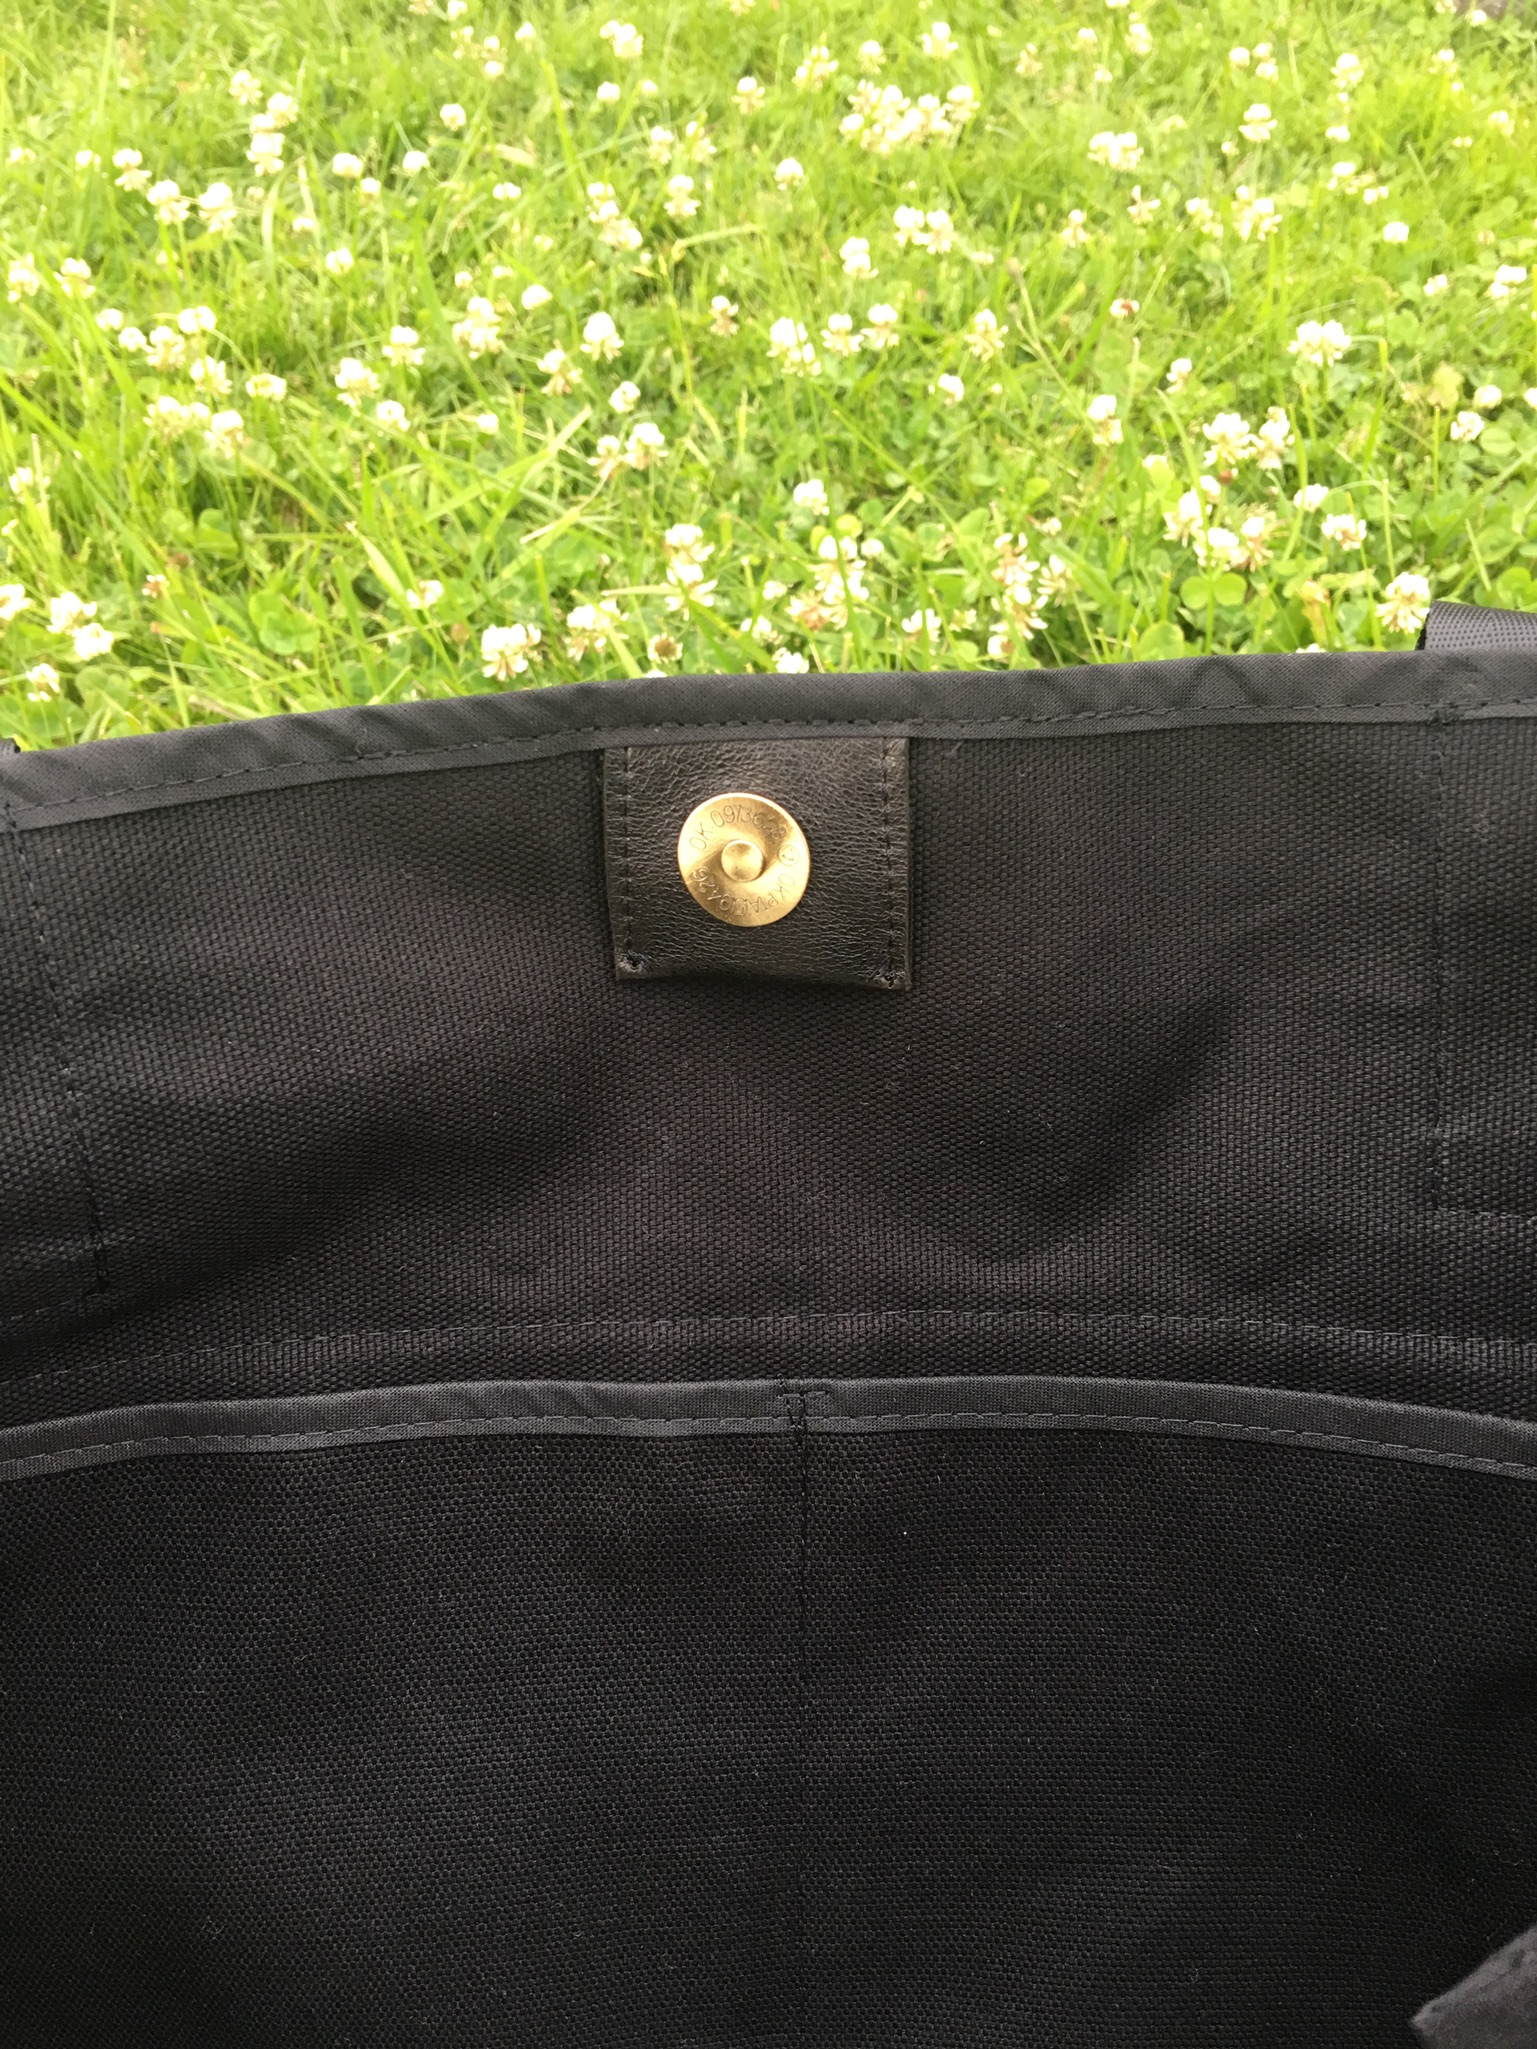
Last step: Install the side snaps. Attach the handles and the back strap.
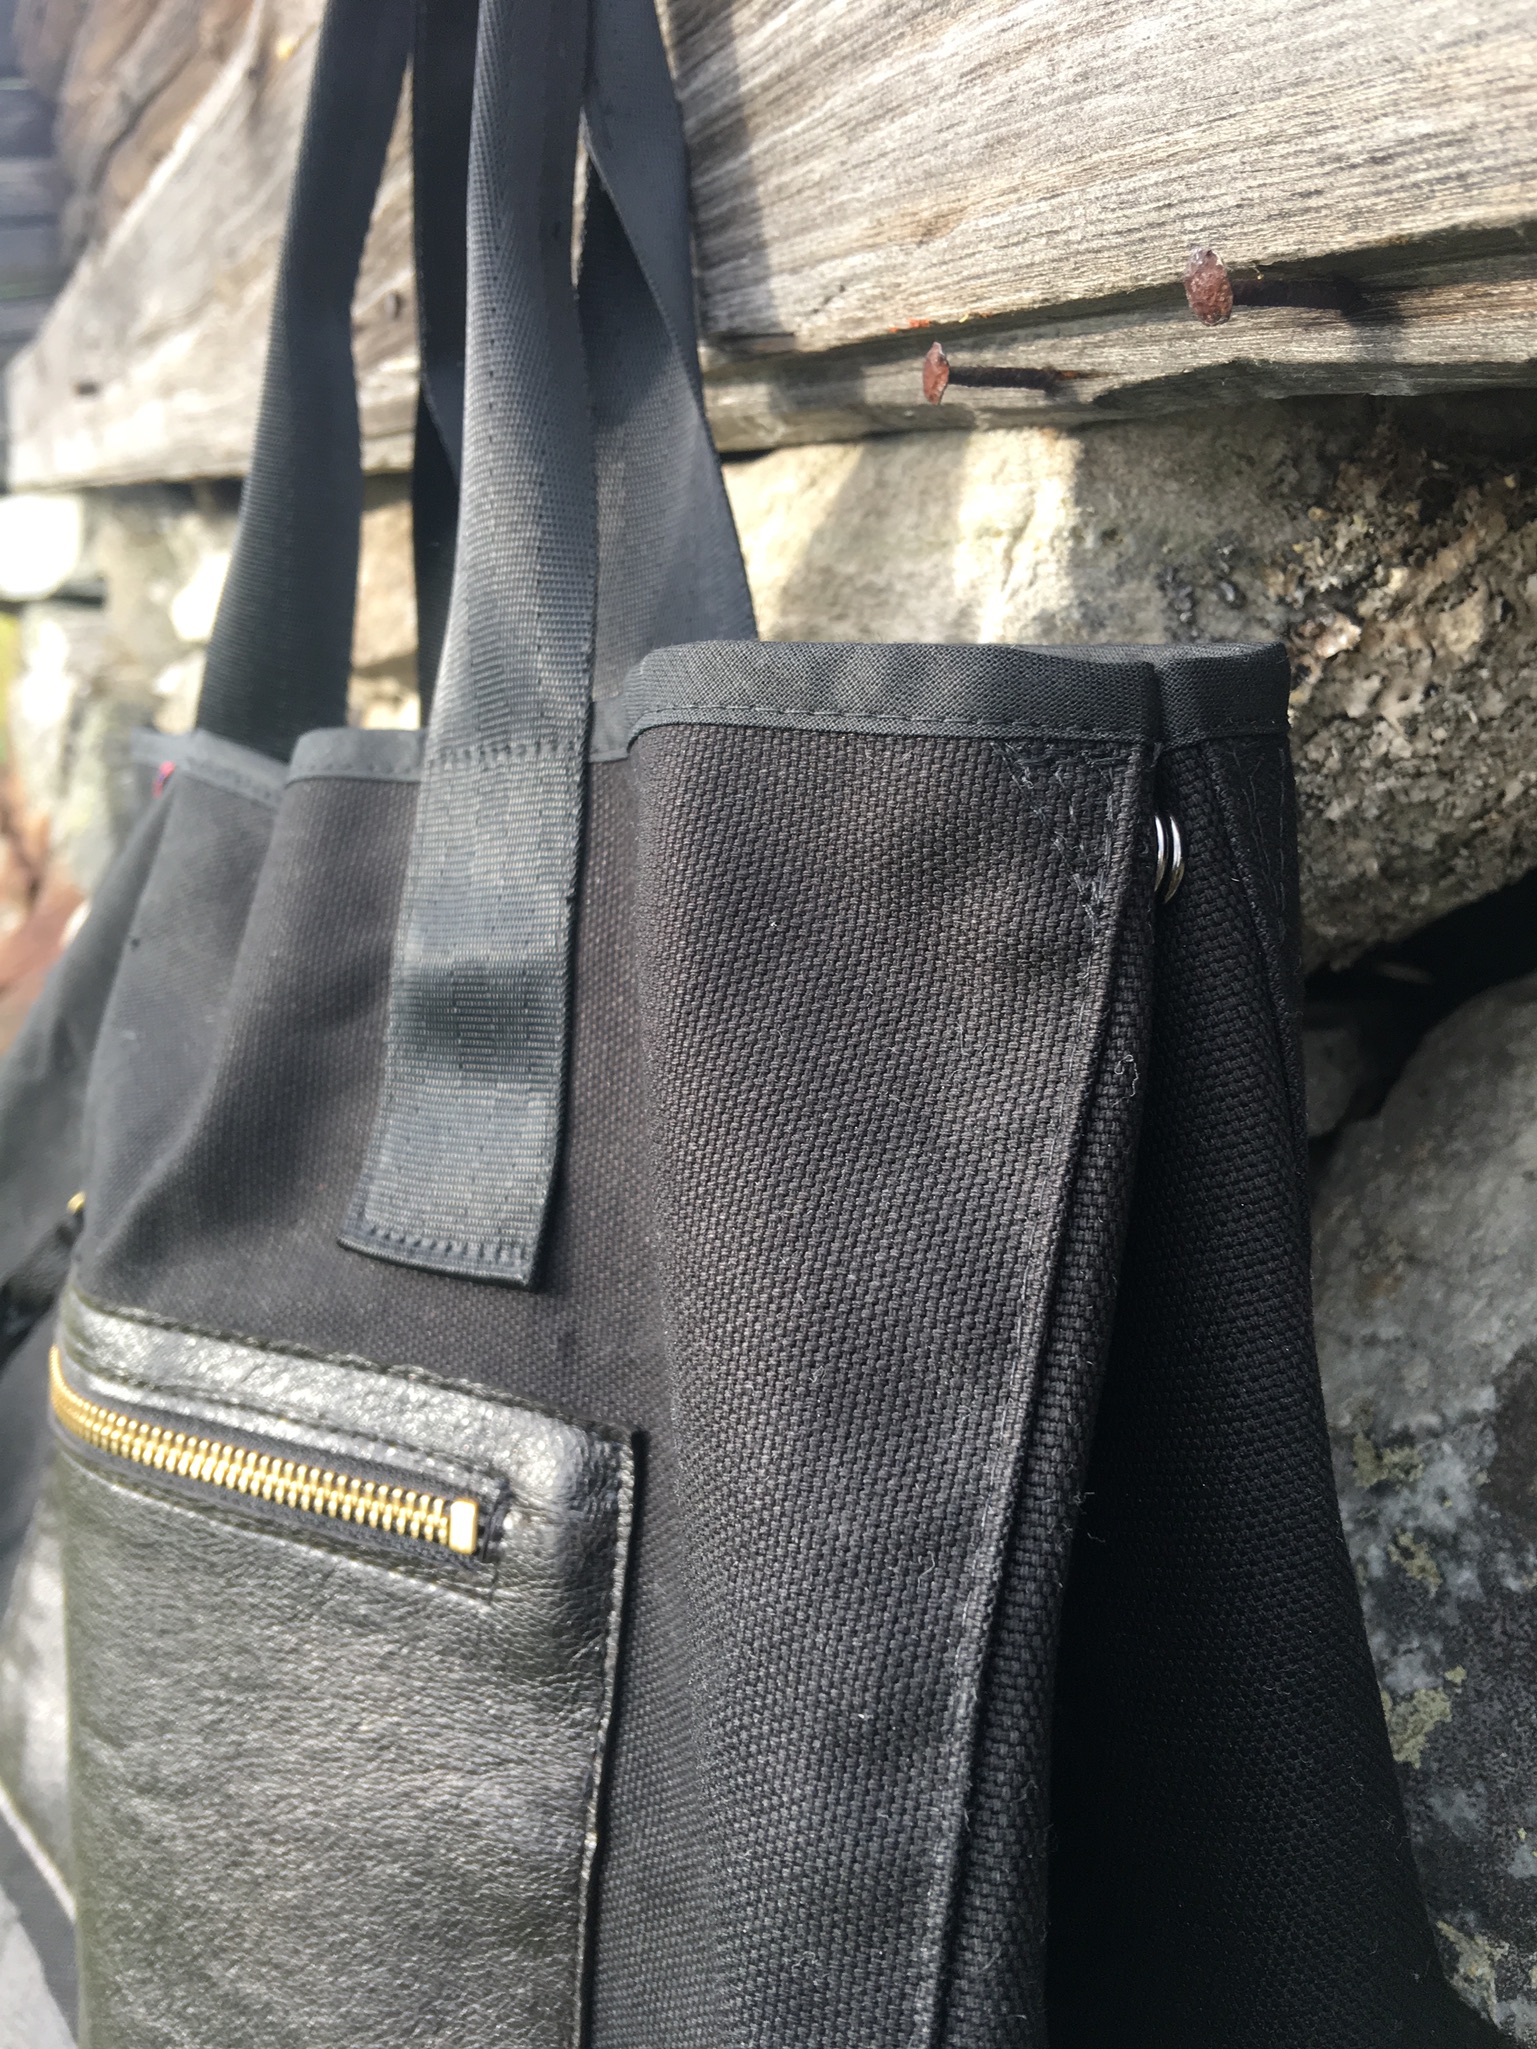
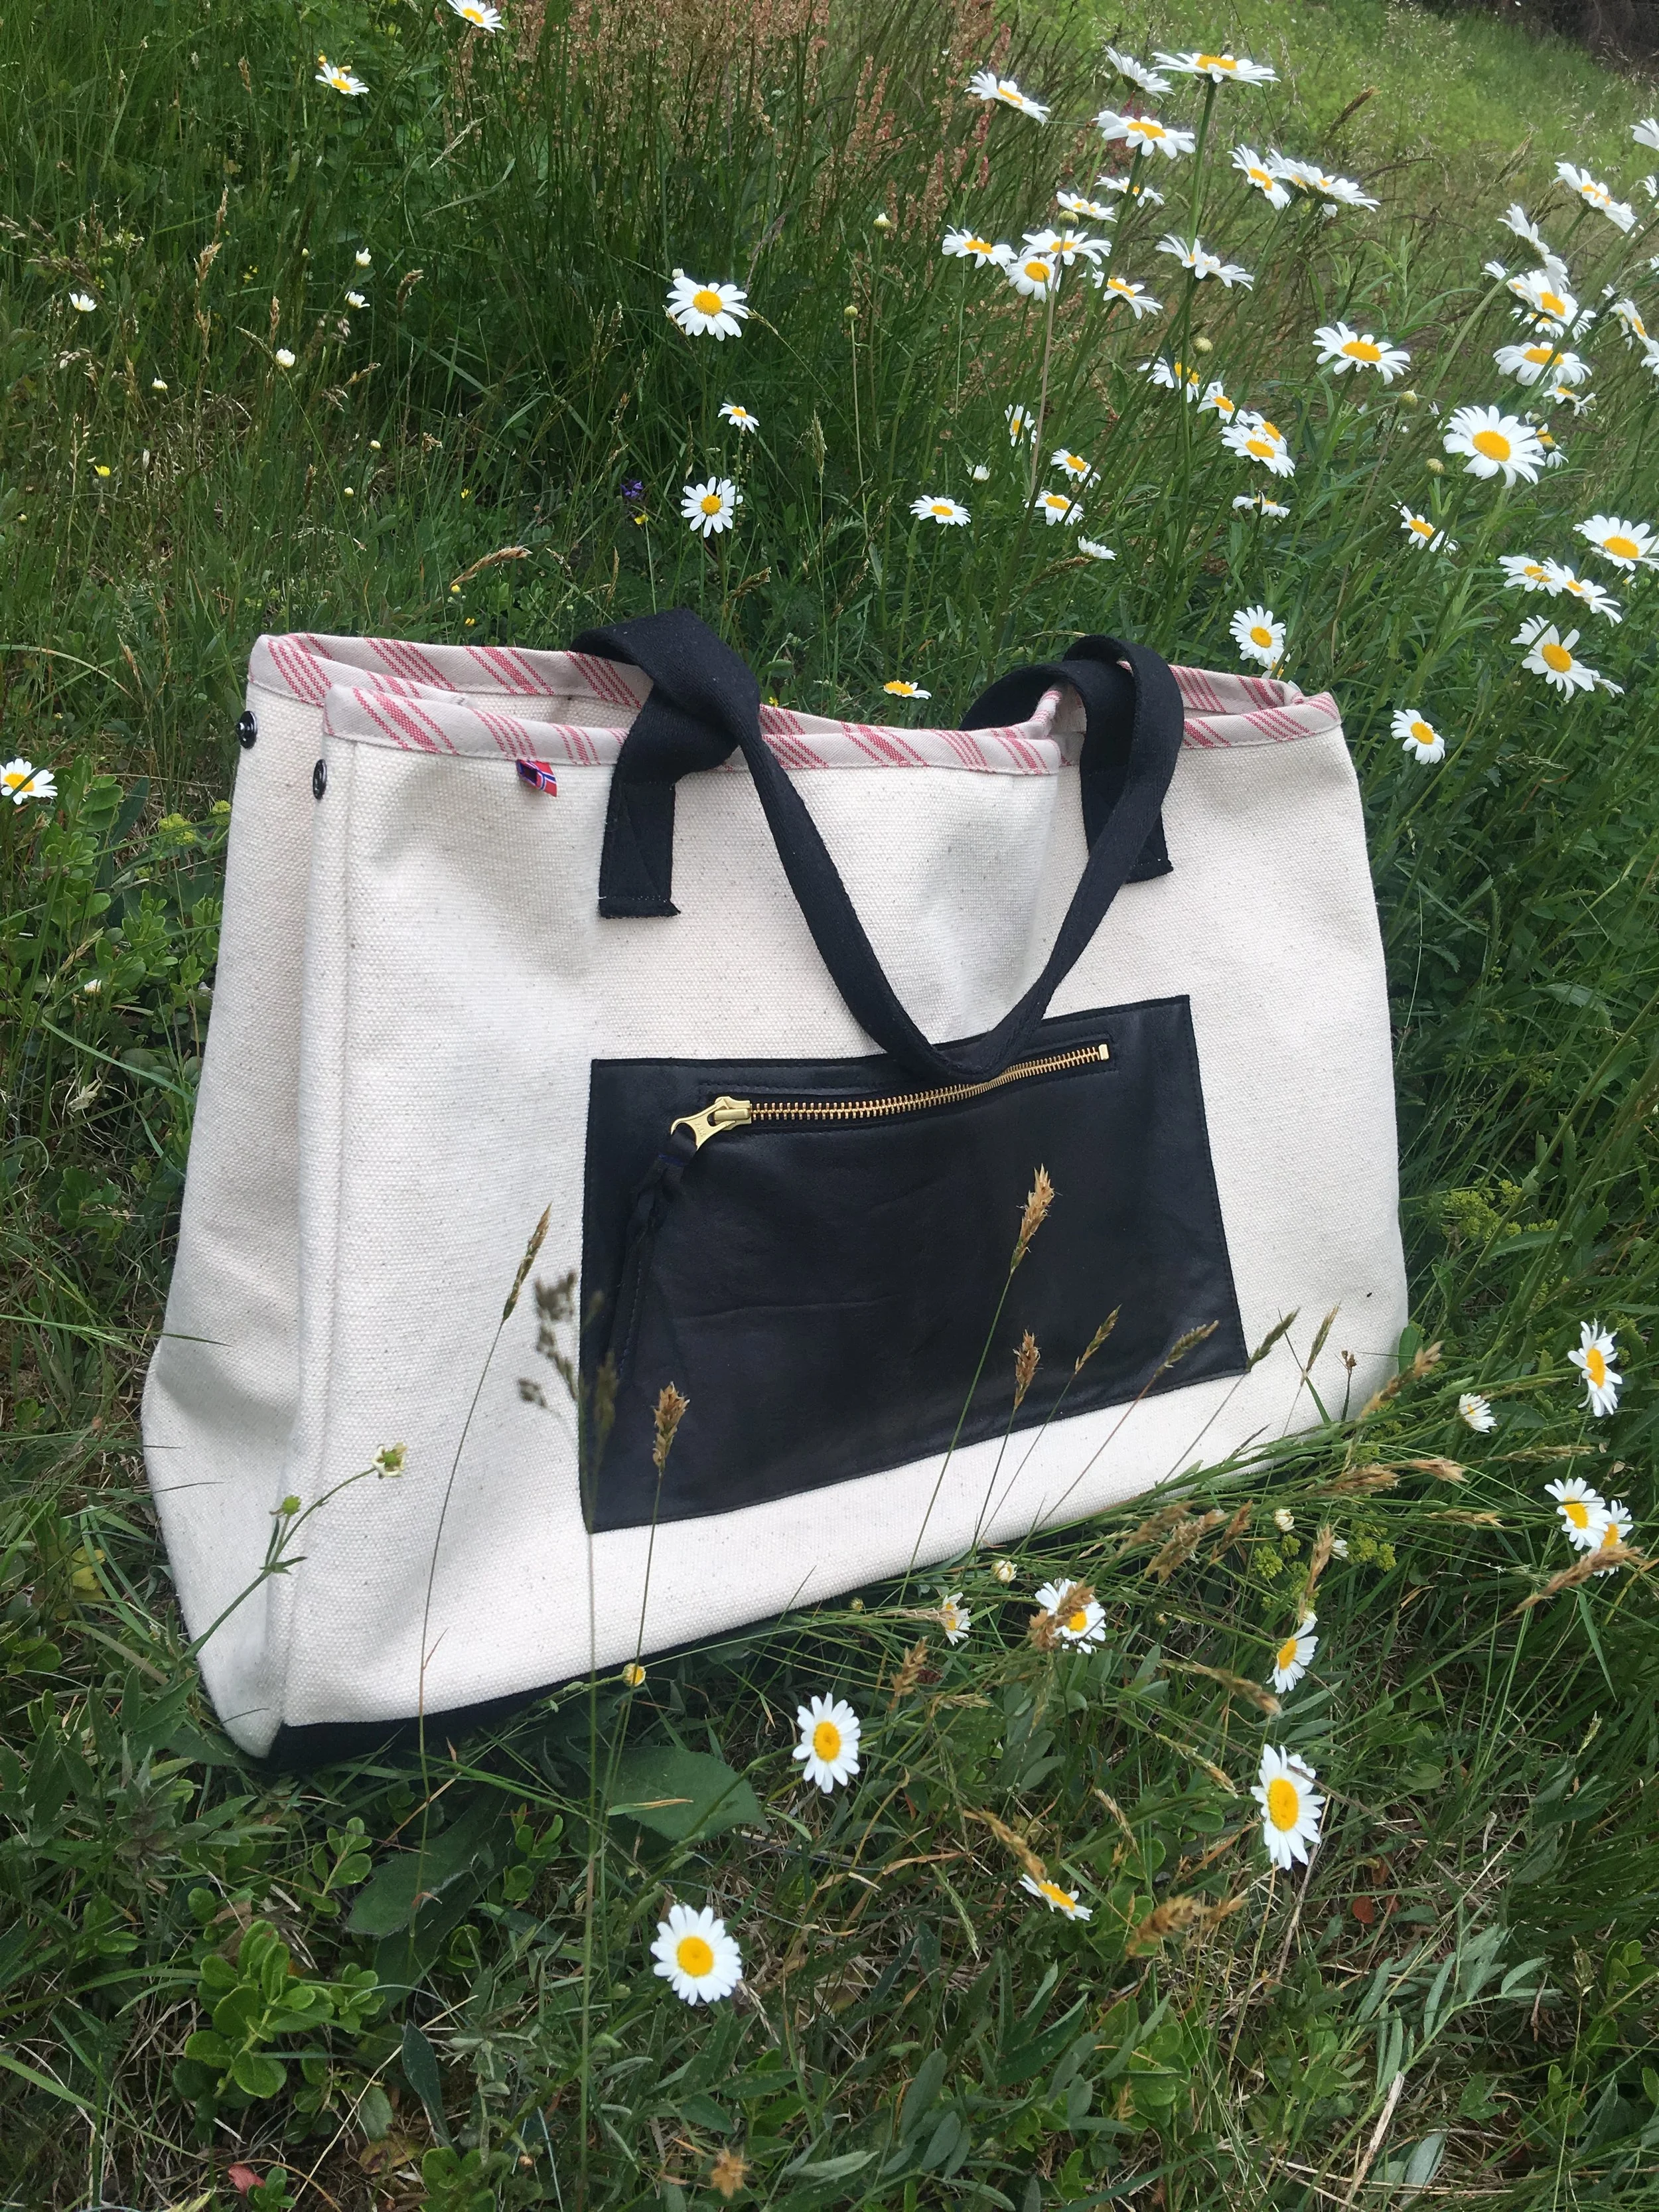
And here is the result.
I think this is the best bag to take with me on a trip. I can fold it easily and place it in my other bag. And when I need a bigger bag I always have it with me.

IMG_0660
This bag is pretty easy to make, it does not have a lining so its not very thick for a household sewing machine to sew.
.................................................................................................................................................
Good luck with your project and please let me know if you think that some instructions are missing or unclear.