Making a perfect shopper.
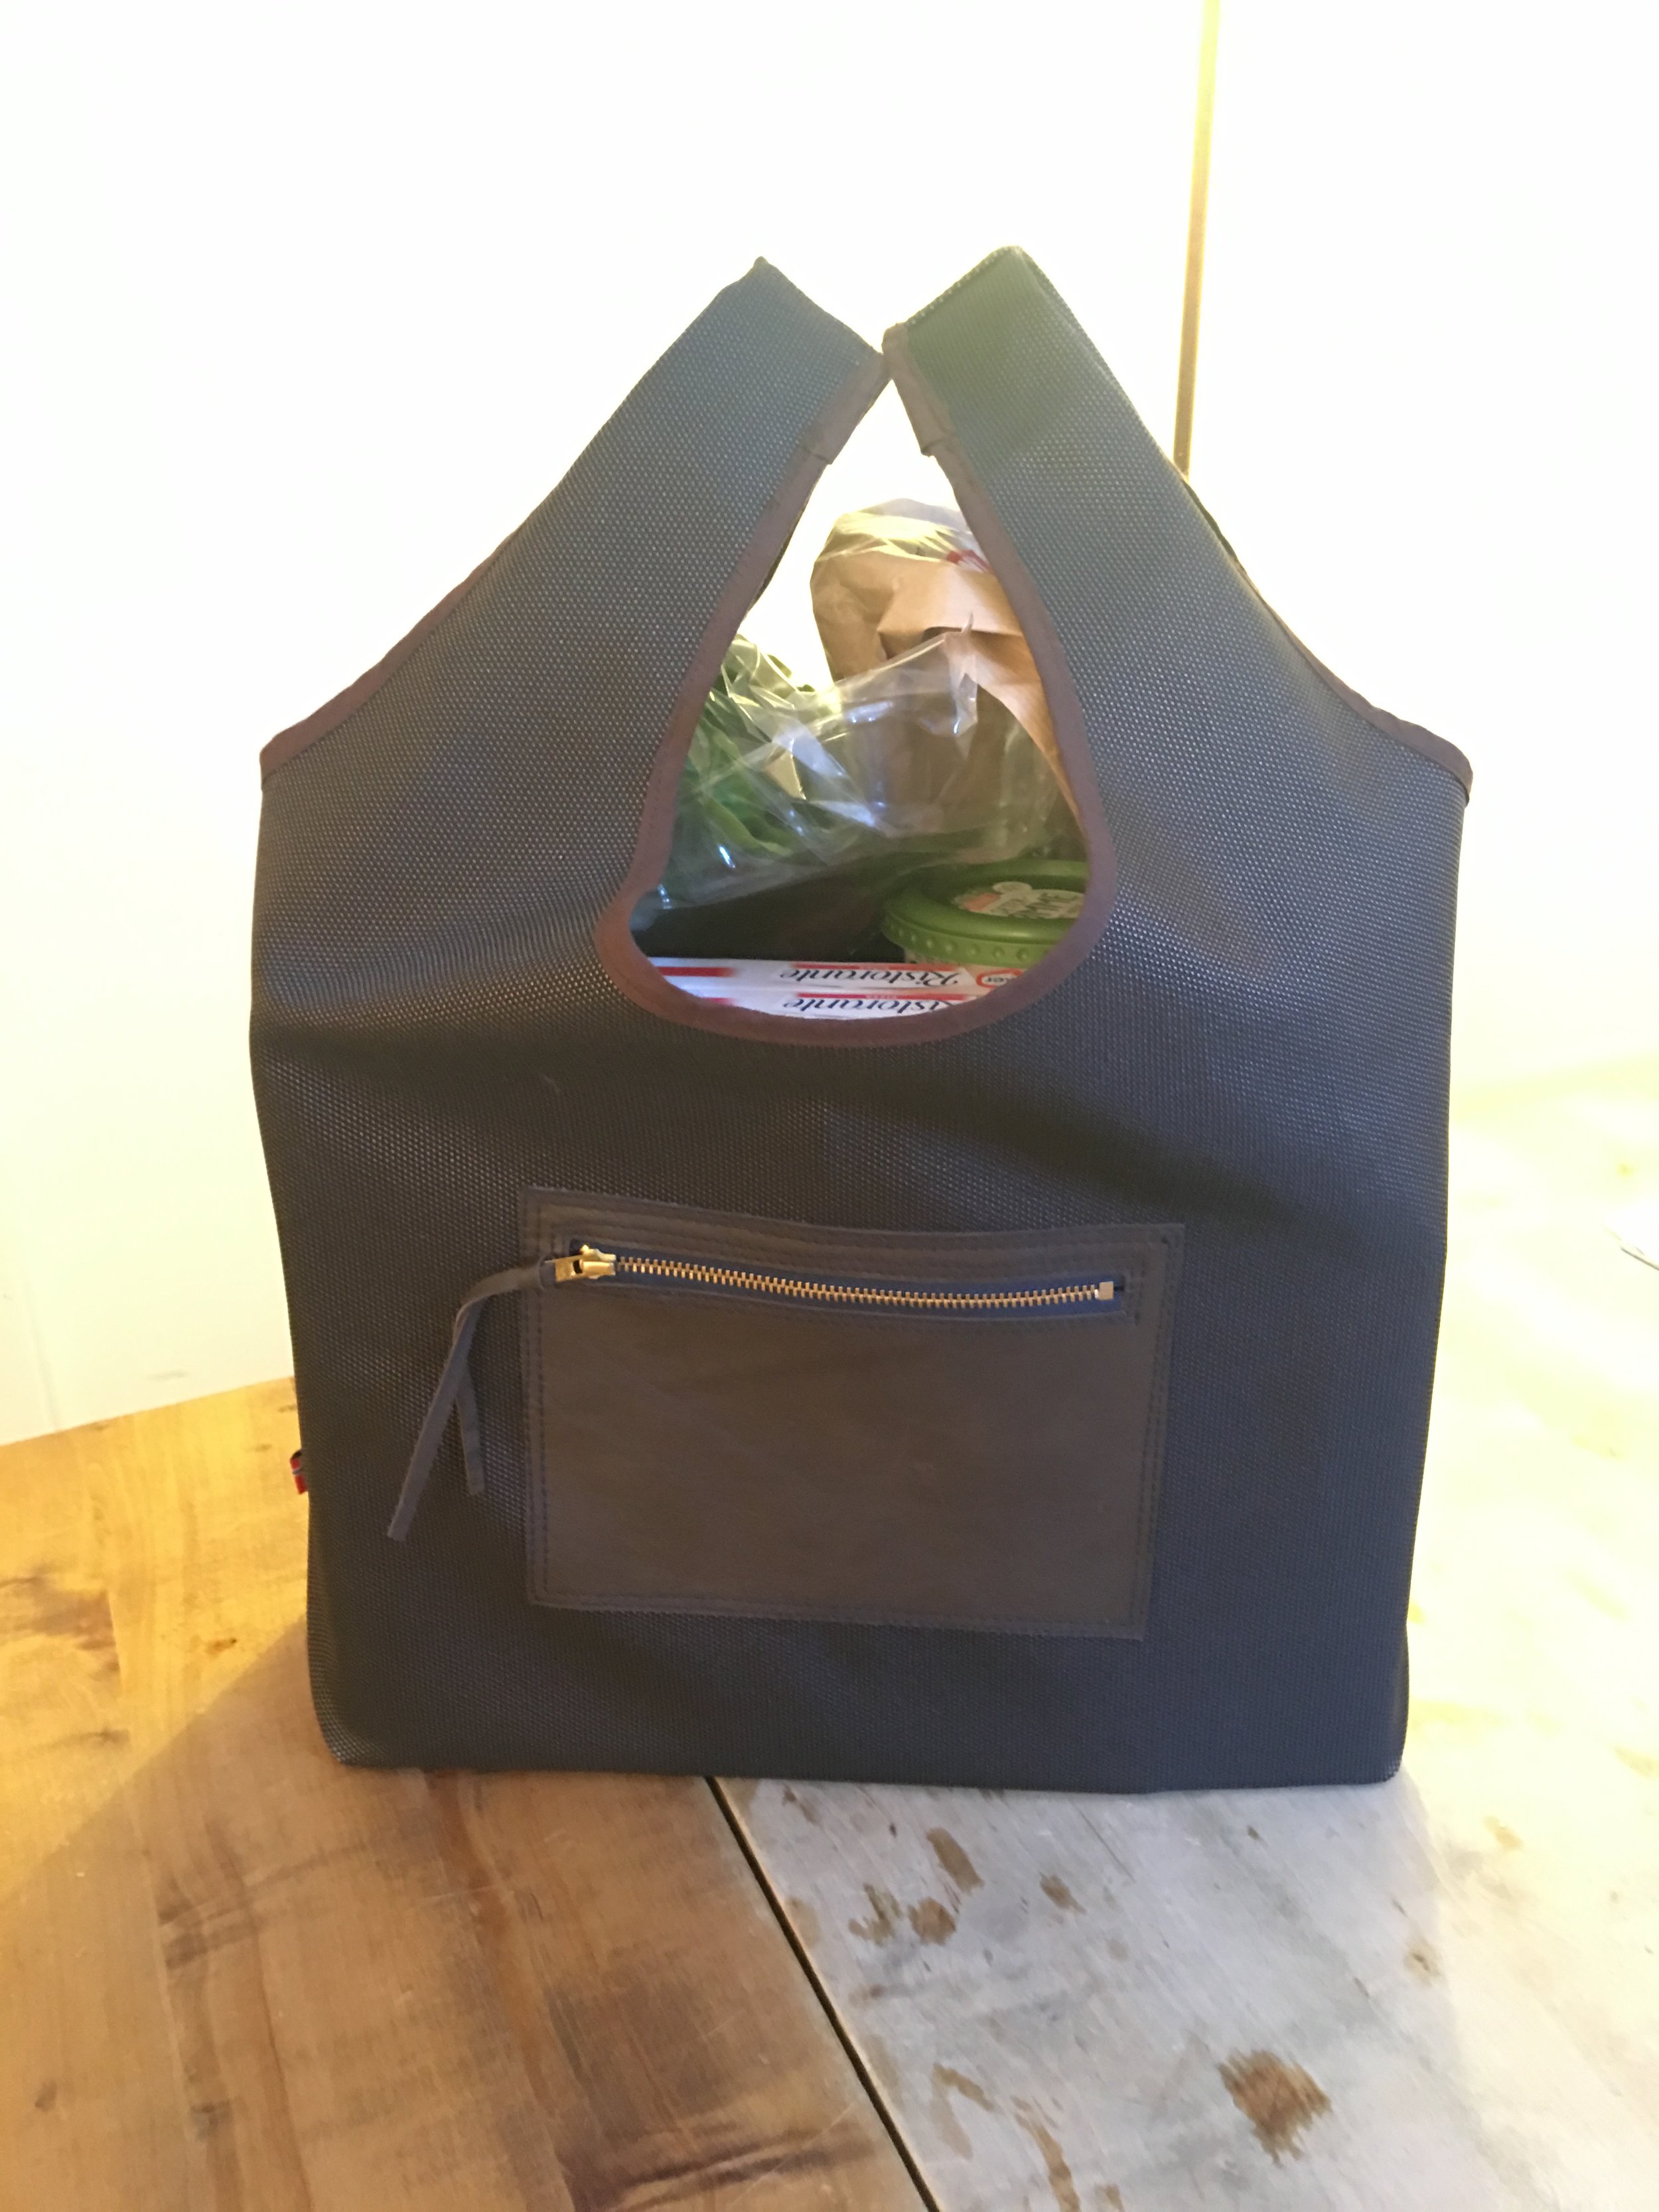
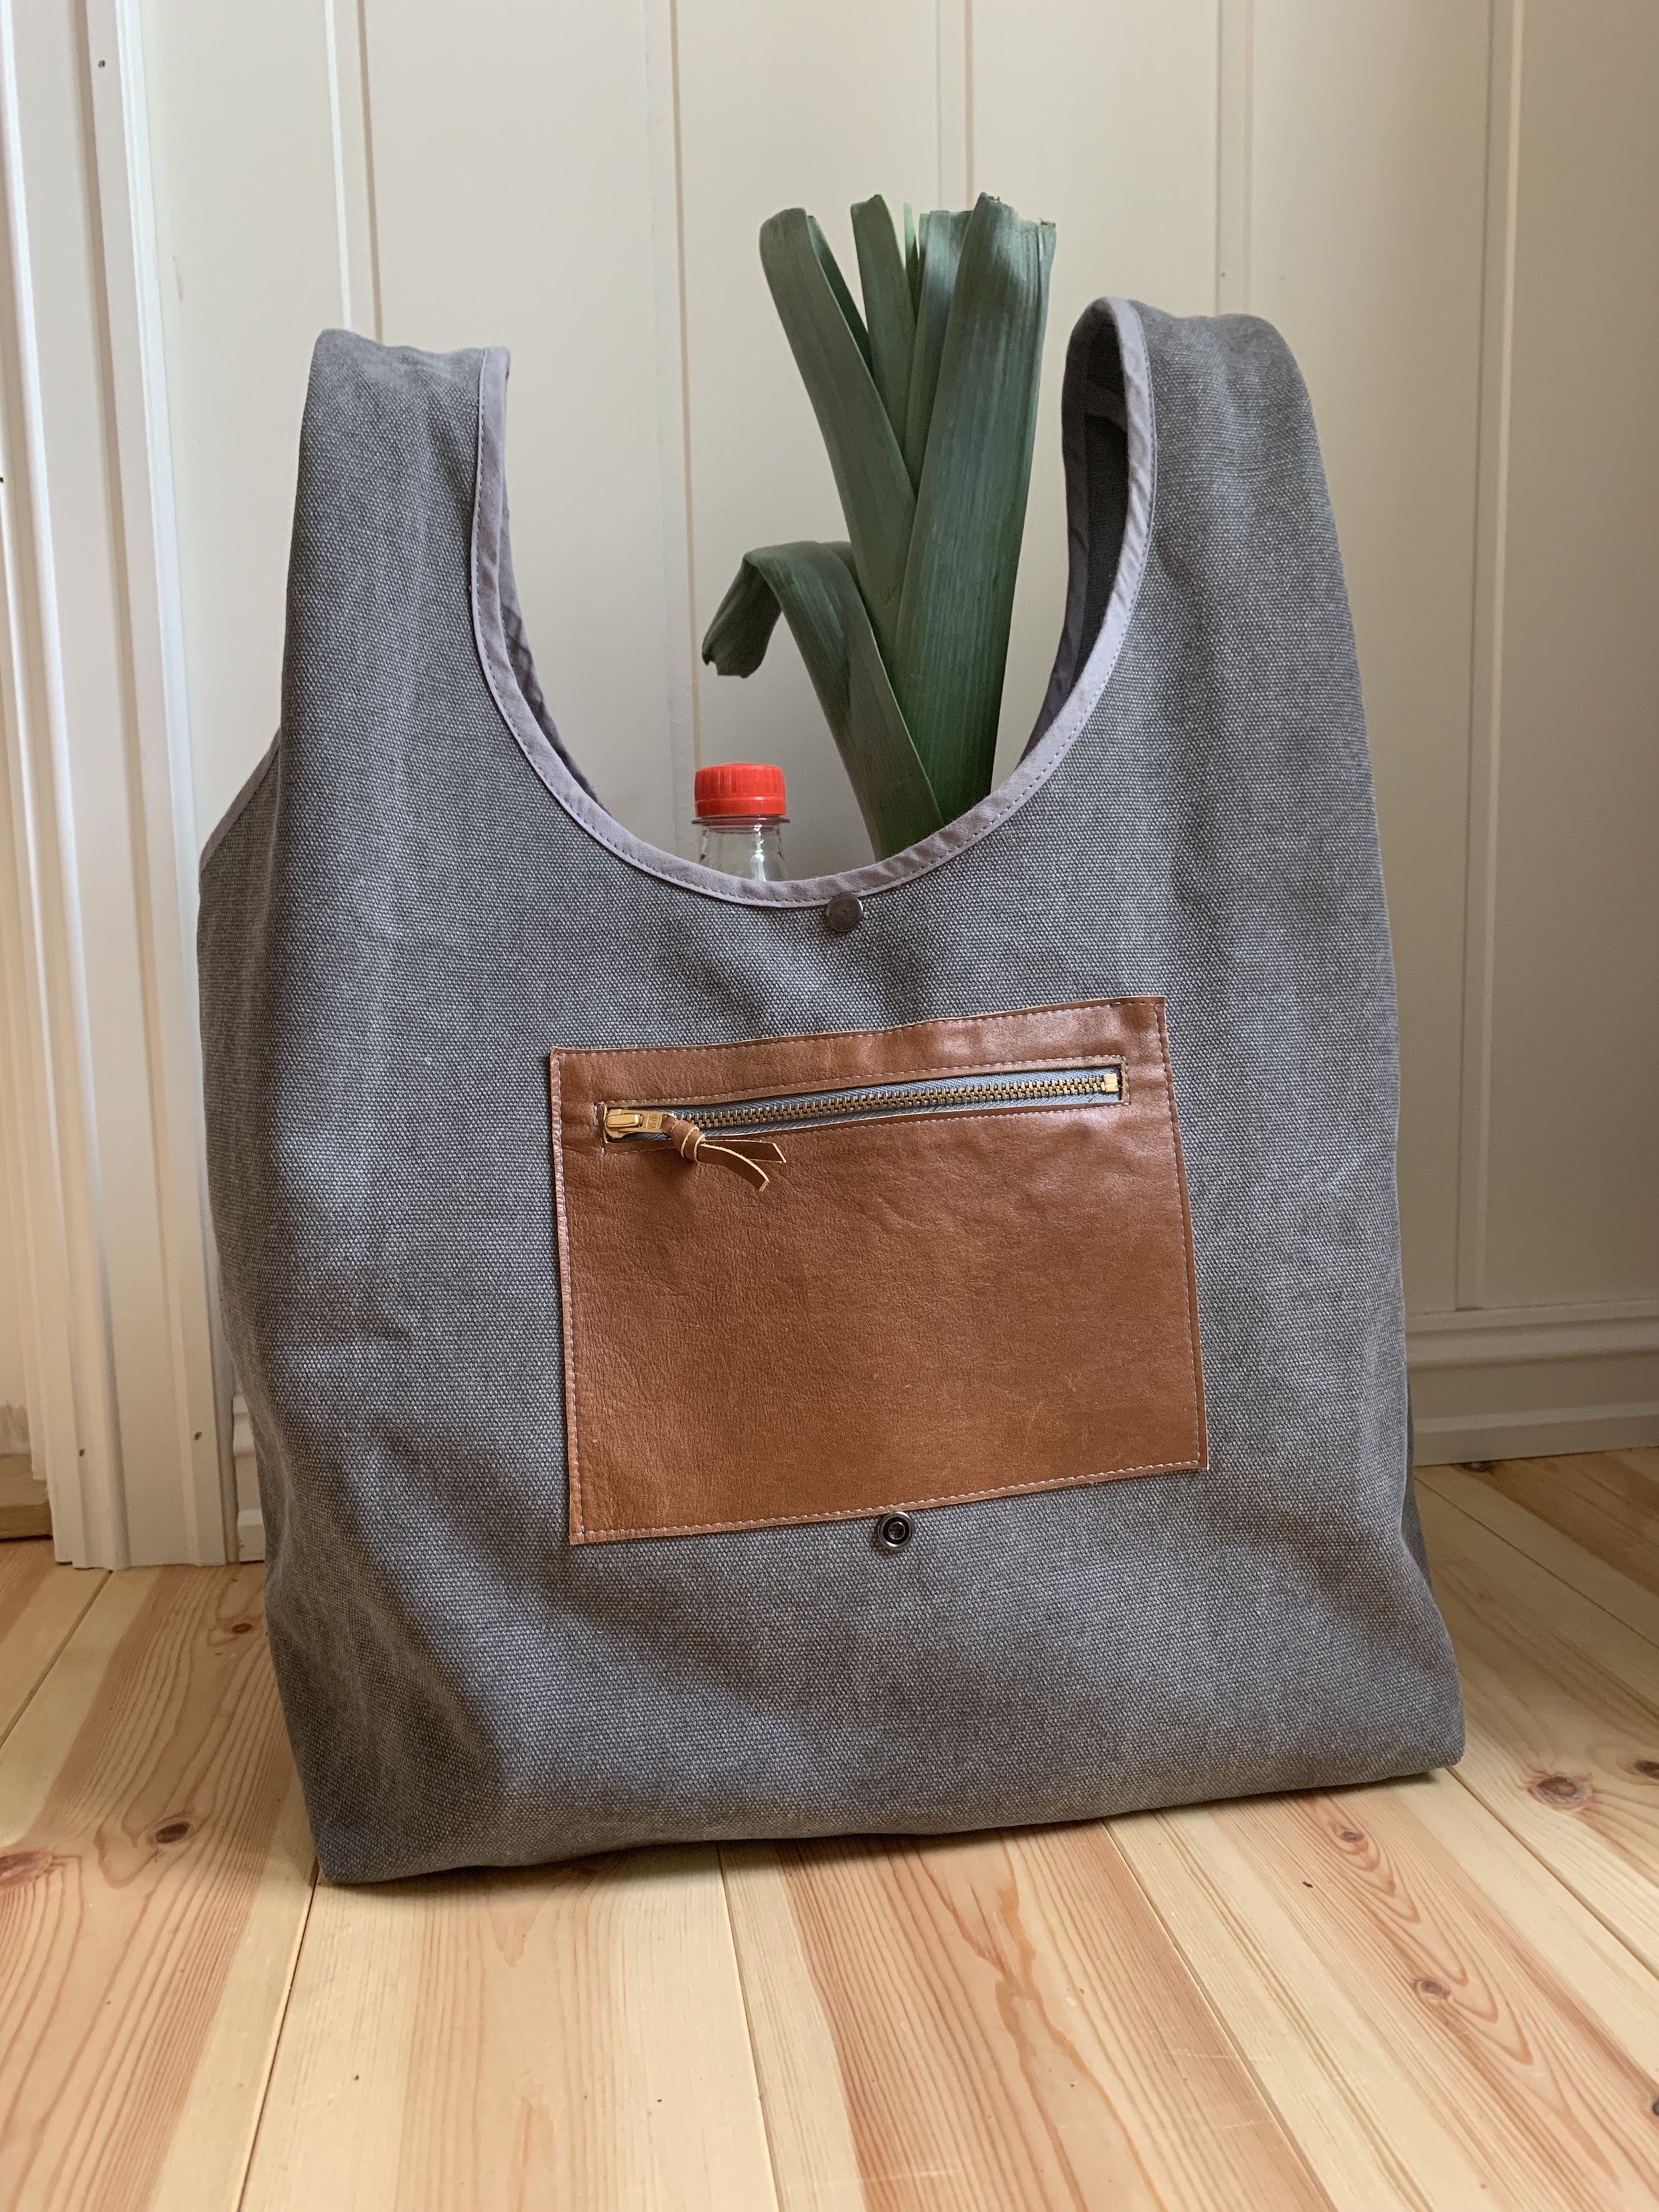
You guys probably noticed these kind of bags in the grocery and other stores, which are made out of nylon and they are usually bright colors. So I thought I'll make a similar bag that can be carried on the hand and does not look like a grocery bag, but something more stylish and suitable.
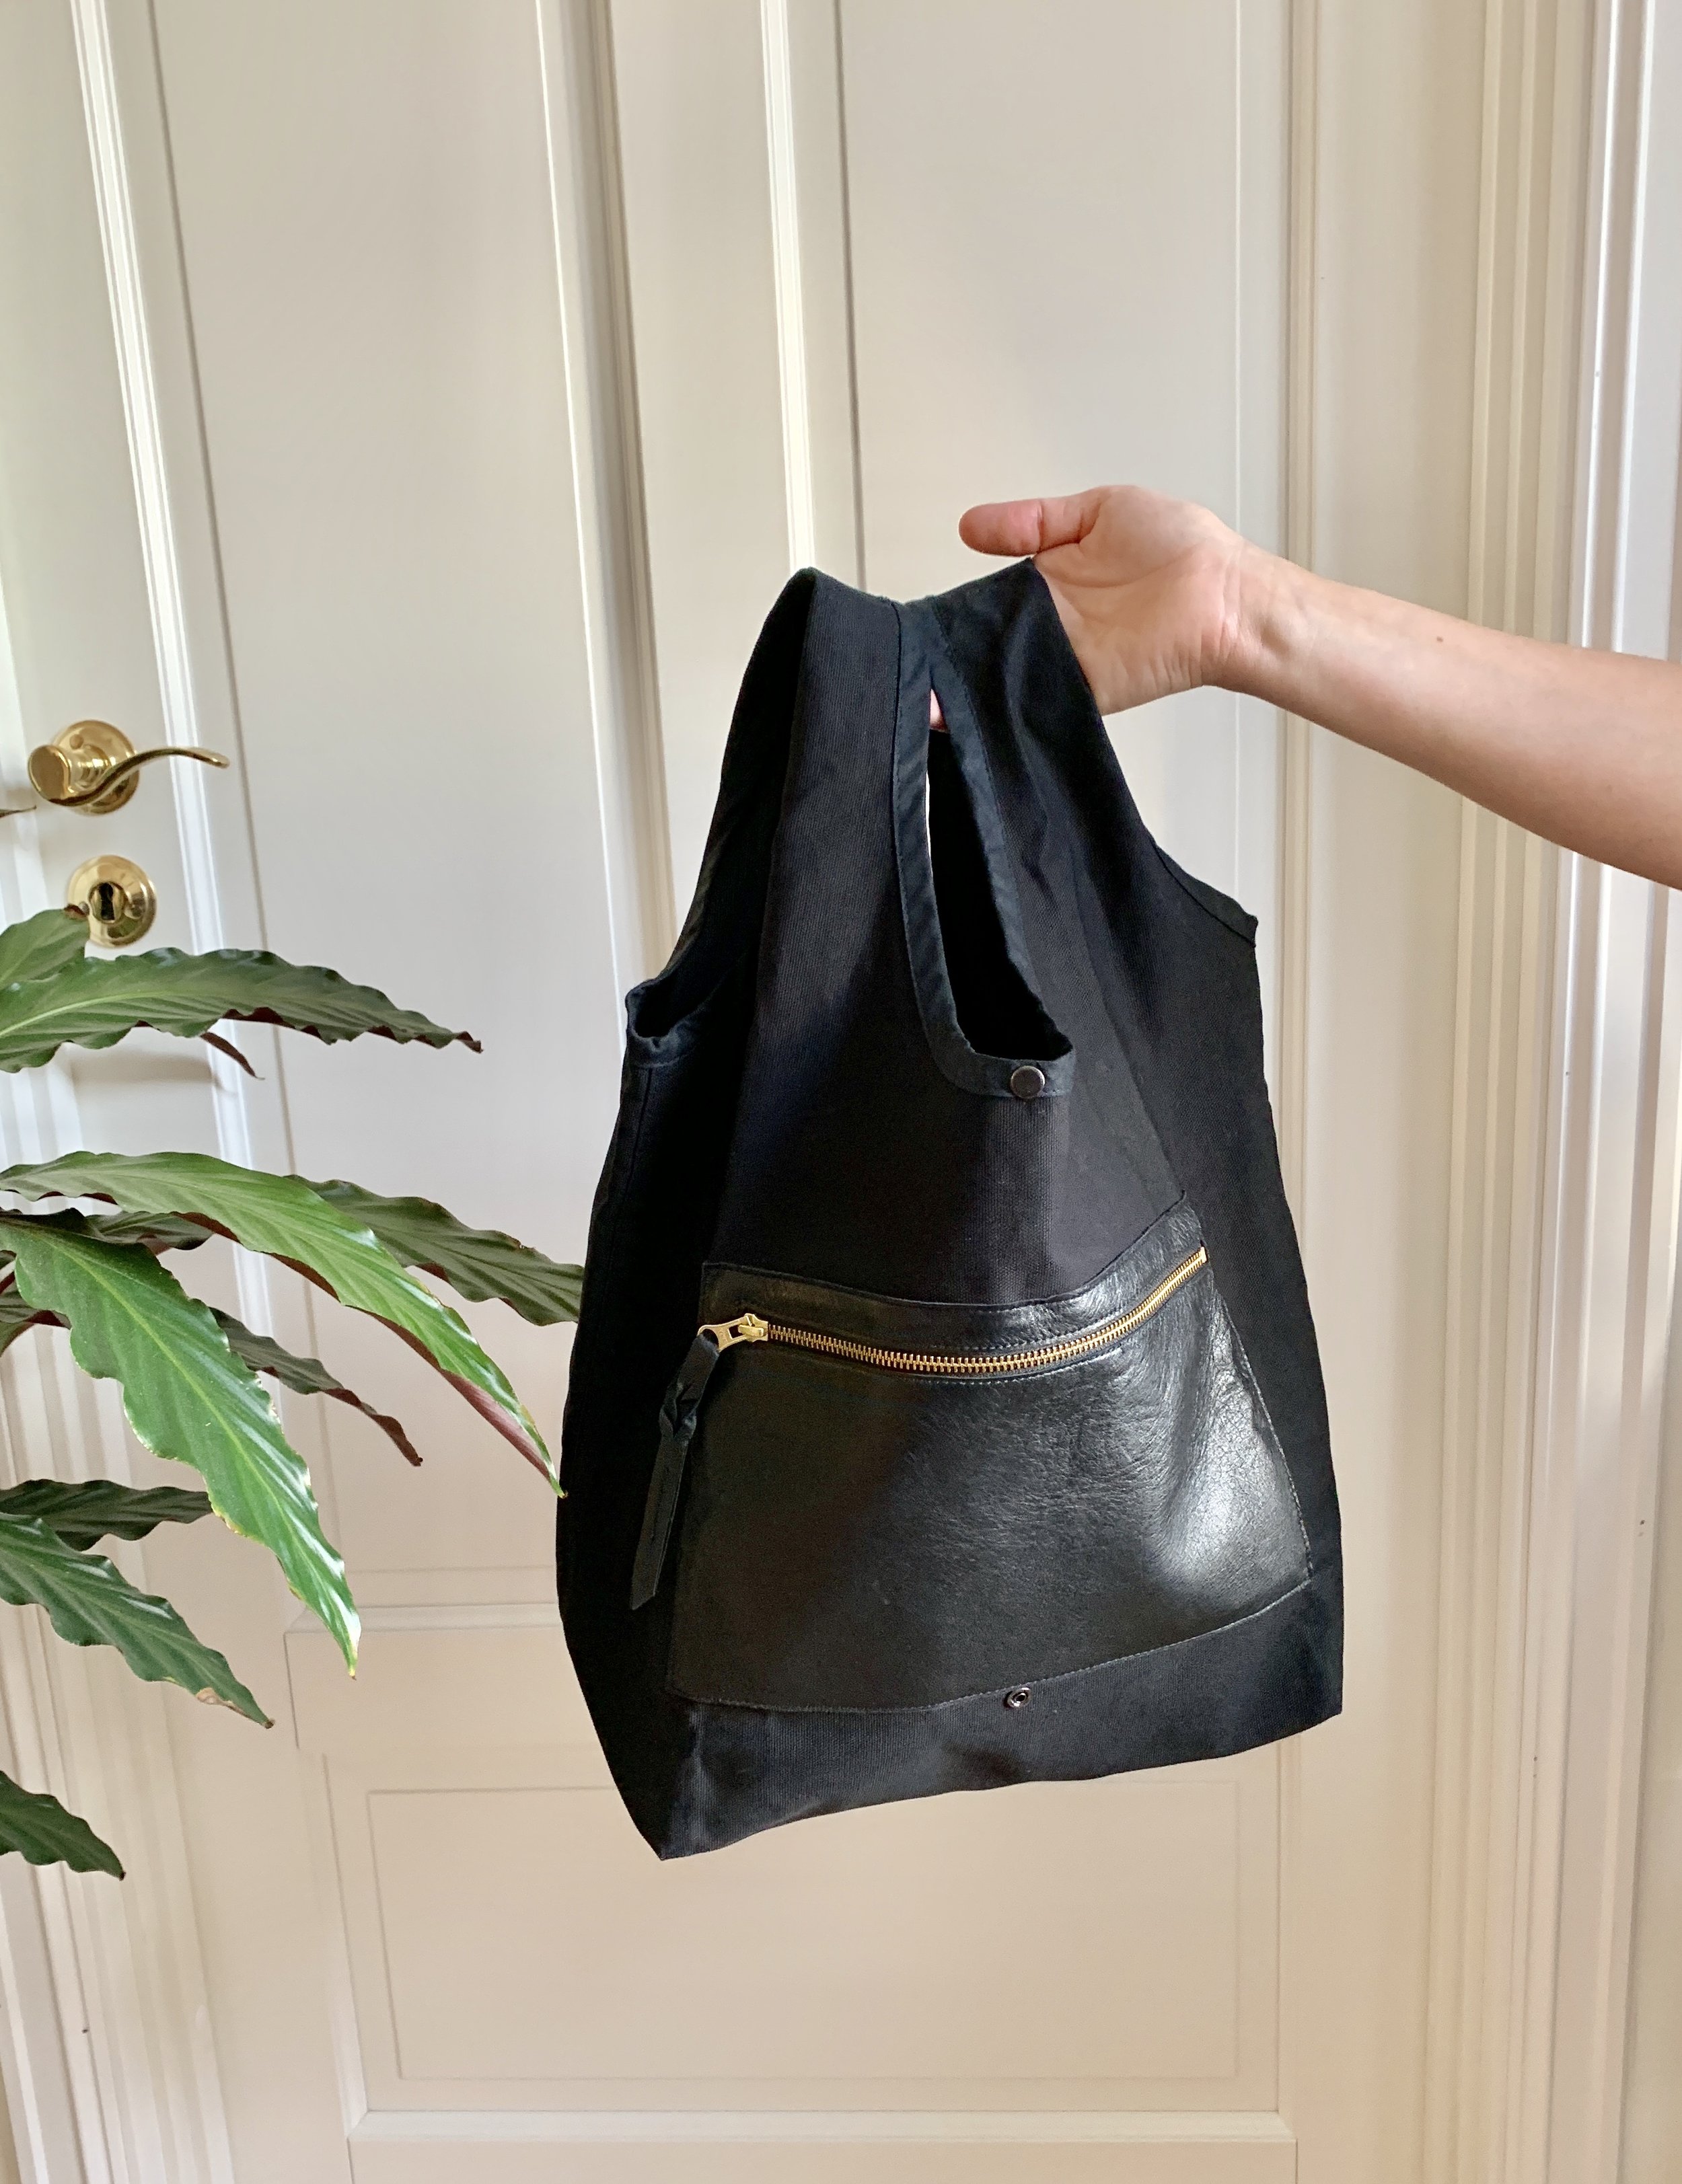
Now I have a bag which I can carry with me after shopping without have to hurry home. I can sit down at a cafe or stop at other shops without looking... well, how do you feel with plastic or other soft bag that is full of groceries? You want to go home, right? Really, you guys have to try this.
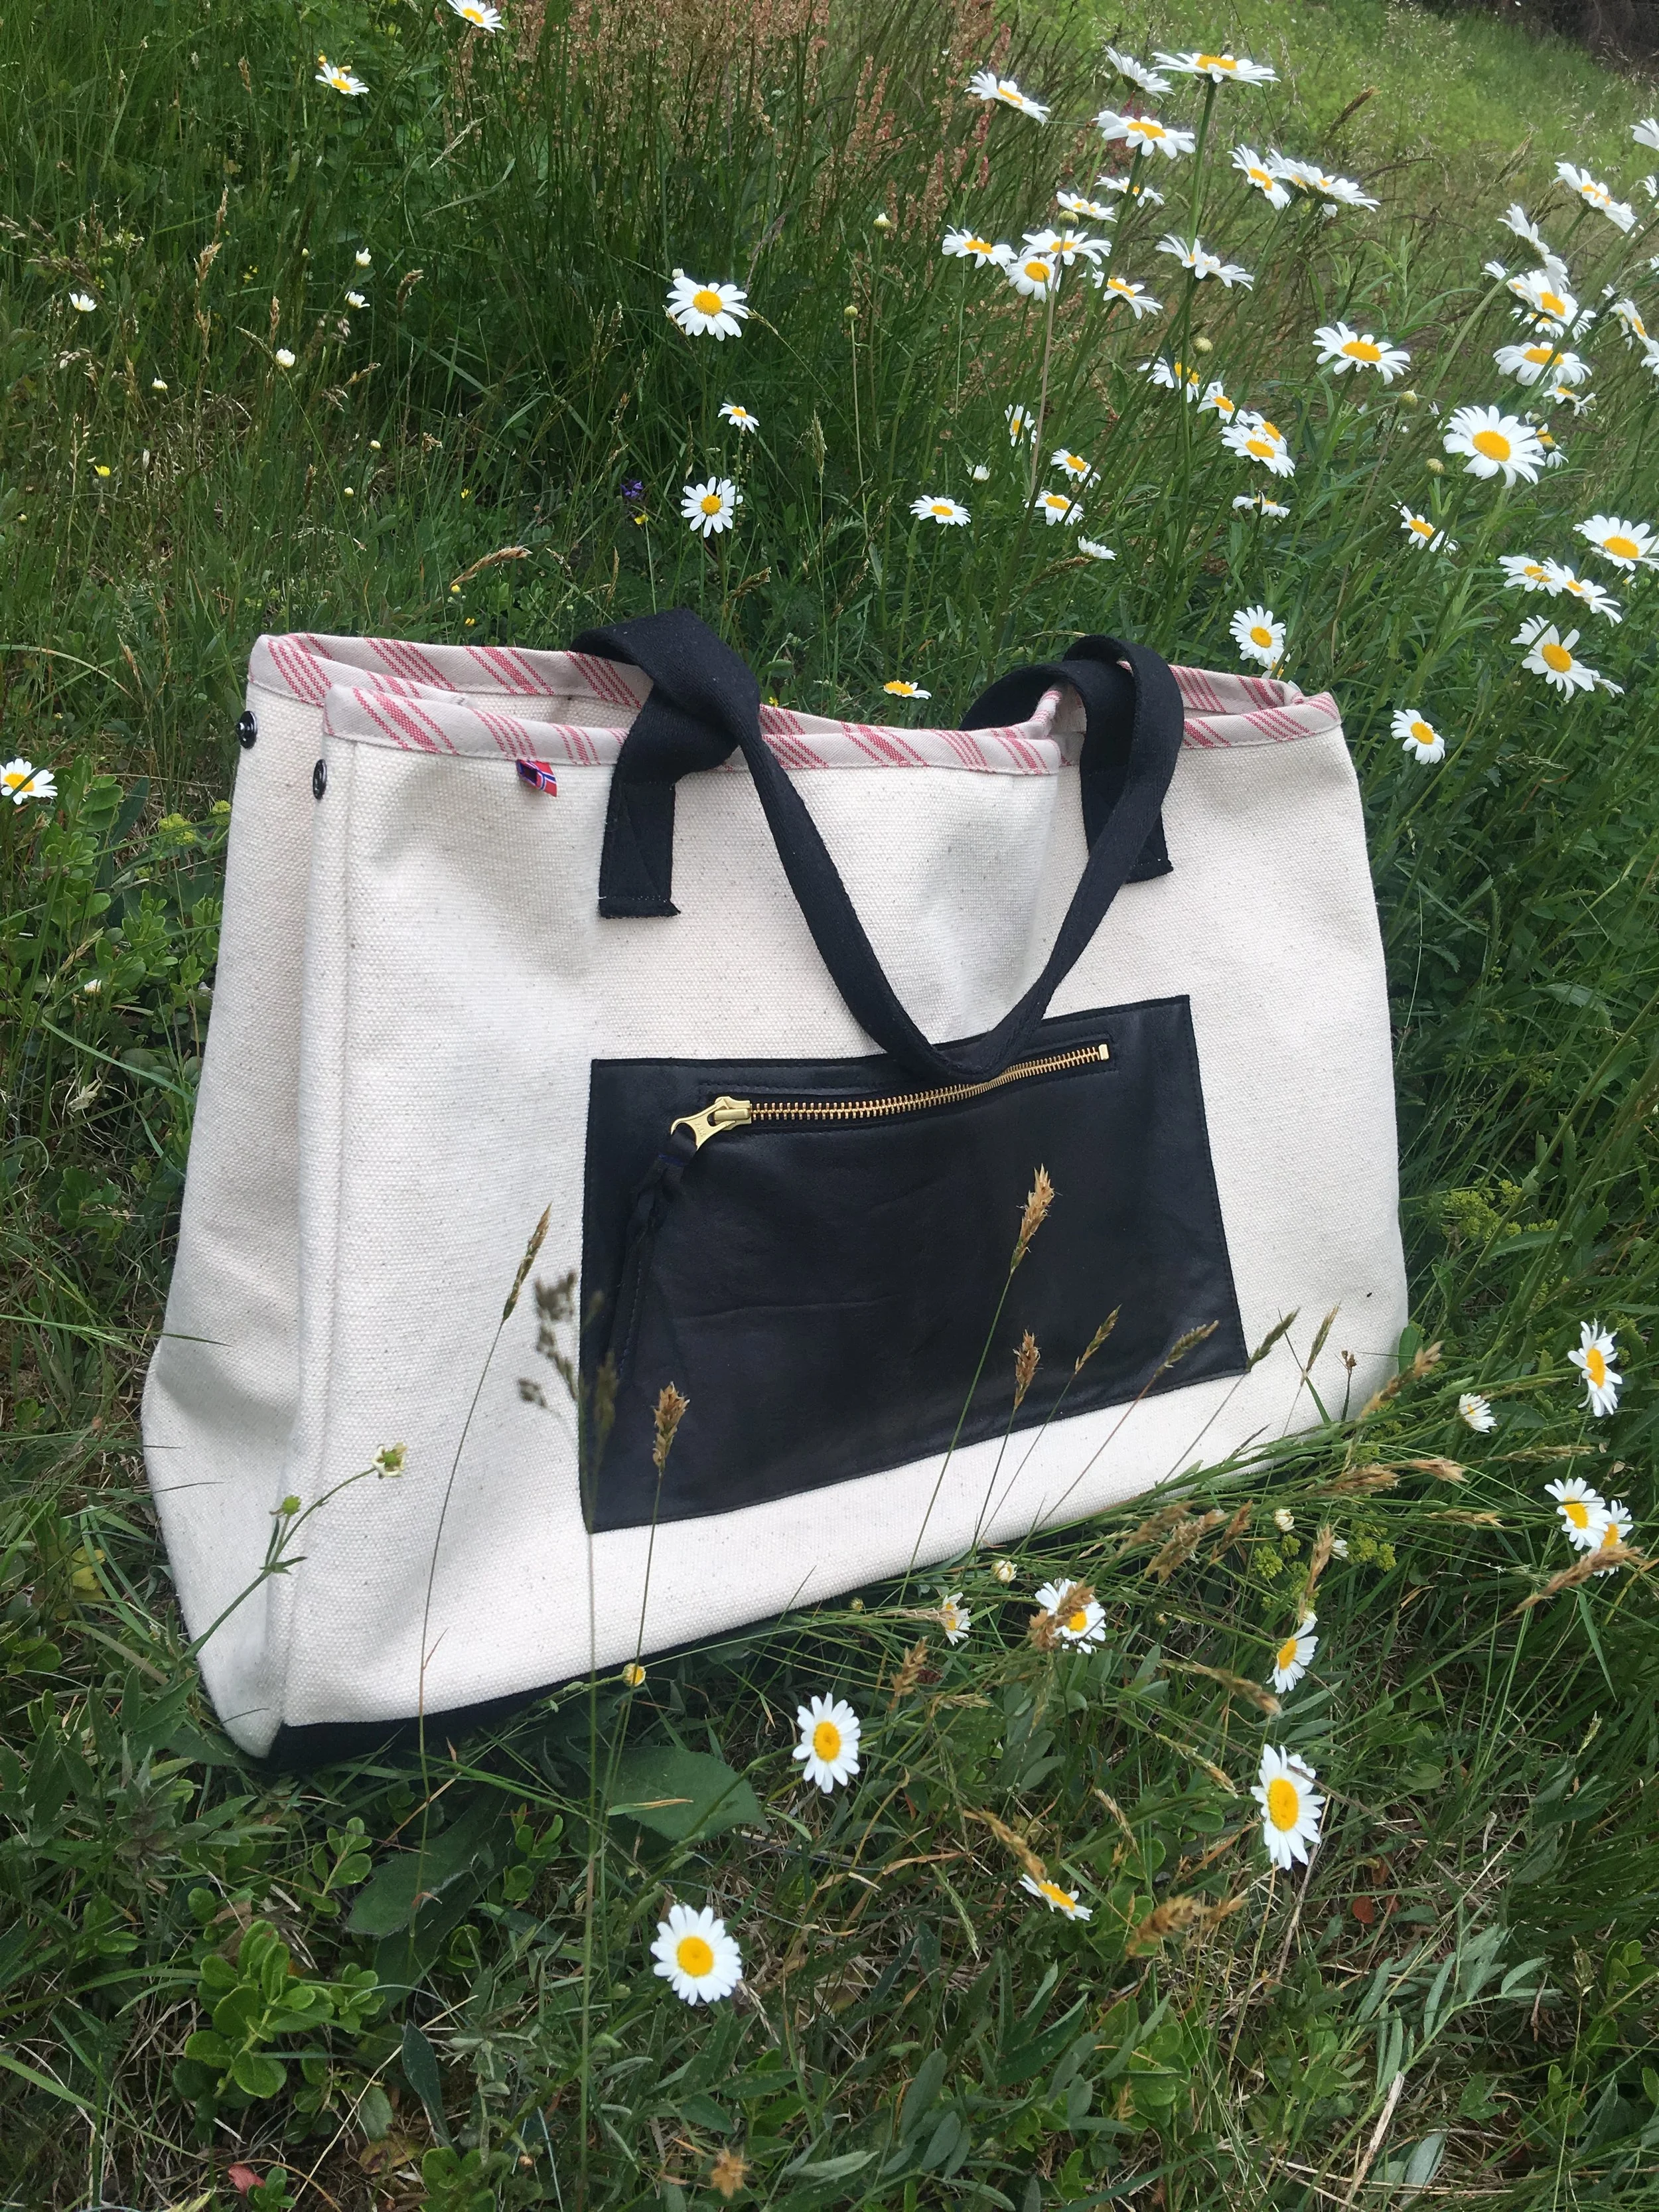
Heavy weight canvas makes this bag steady so it stands by itself. Nylon bags from the grocery store is better than plastic bags, but doesn't look as good as a shopper from canvas that you have made yourself.
Now I will describe how to make this bag. It is pretty easy for a beginner to do.
Materials you will need:
50 cm (20”) of duck canvas or heavy weight canvas, length from bottom to top handles is 60 cm (23” - 24”).
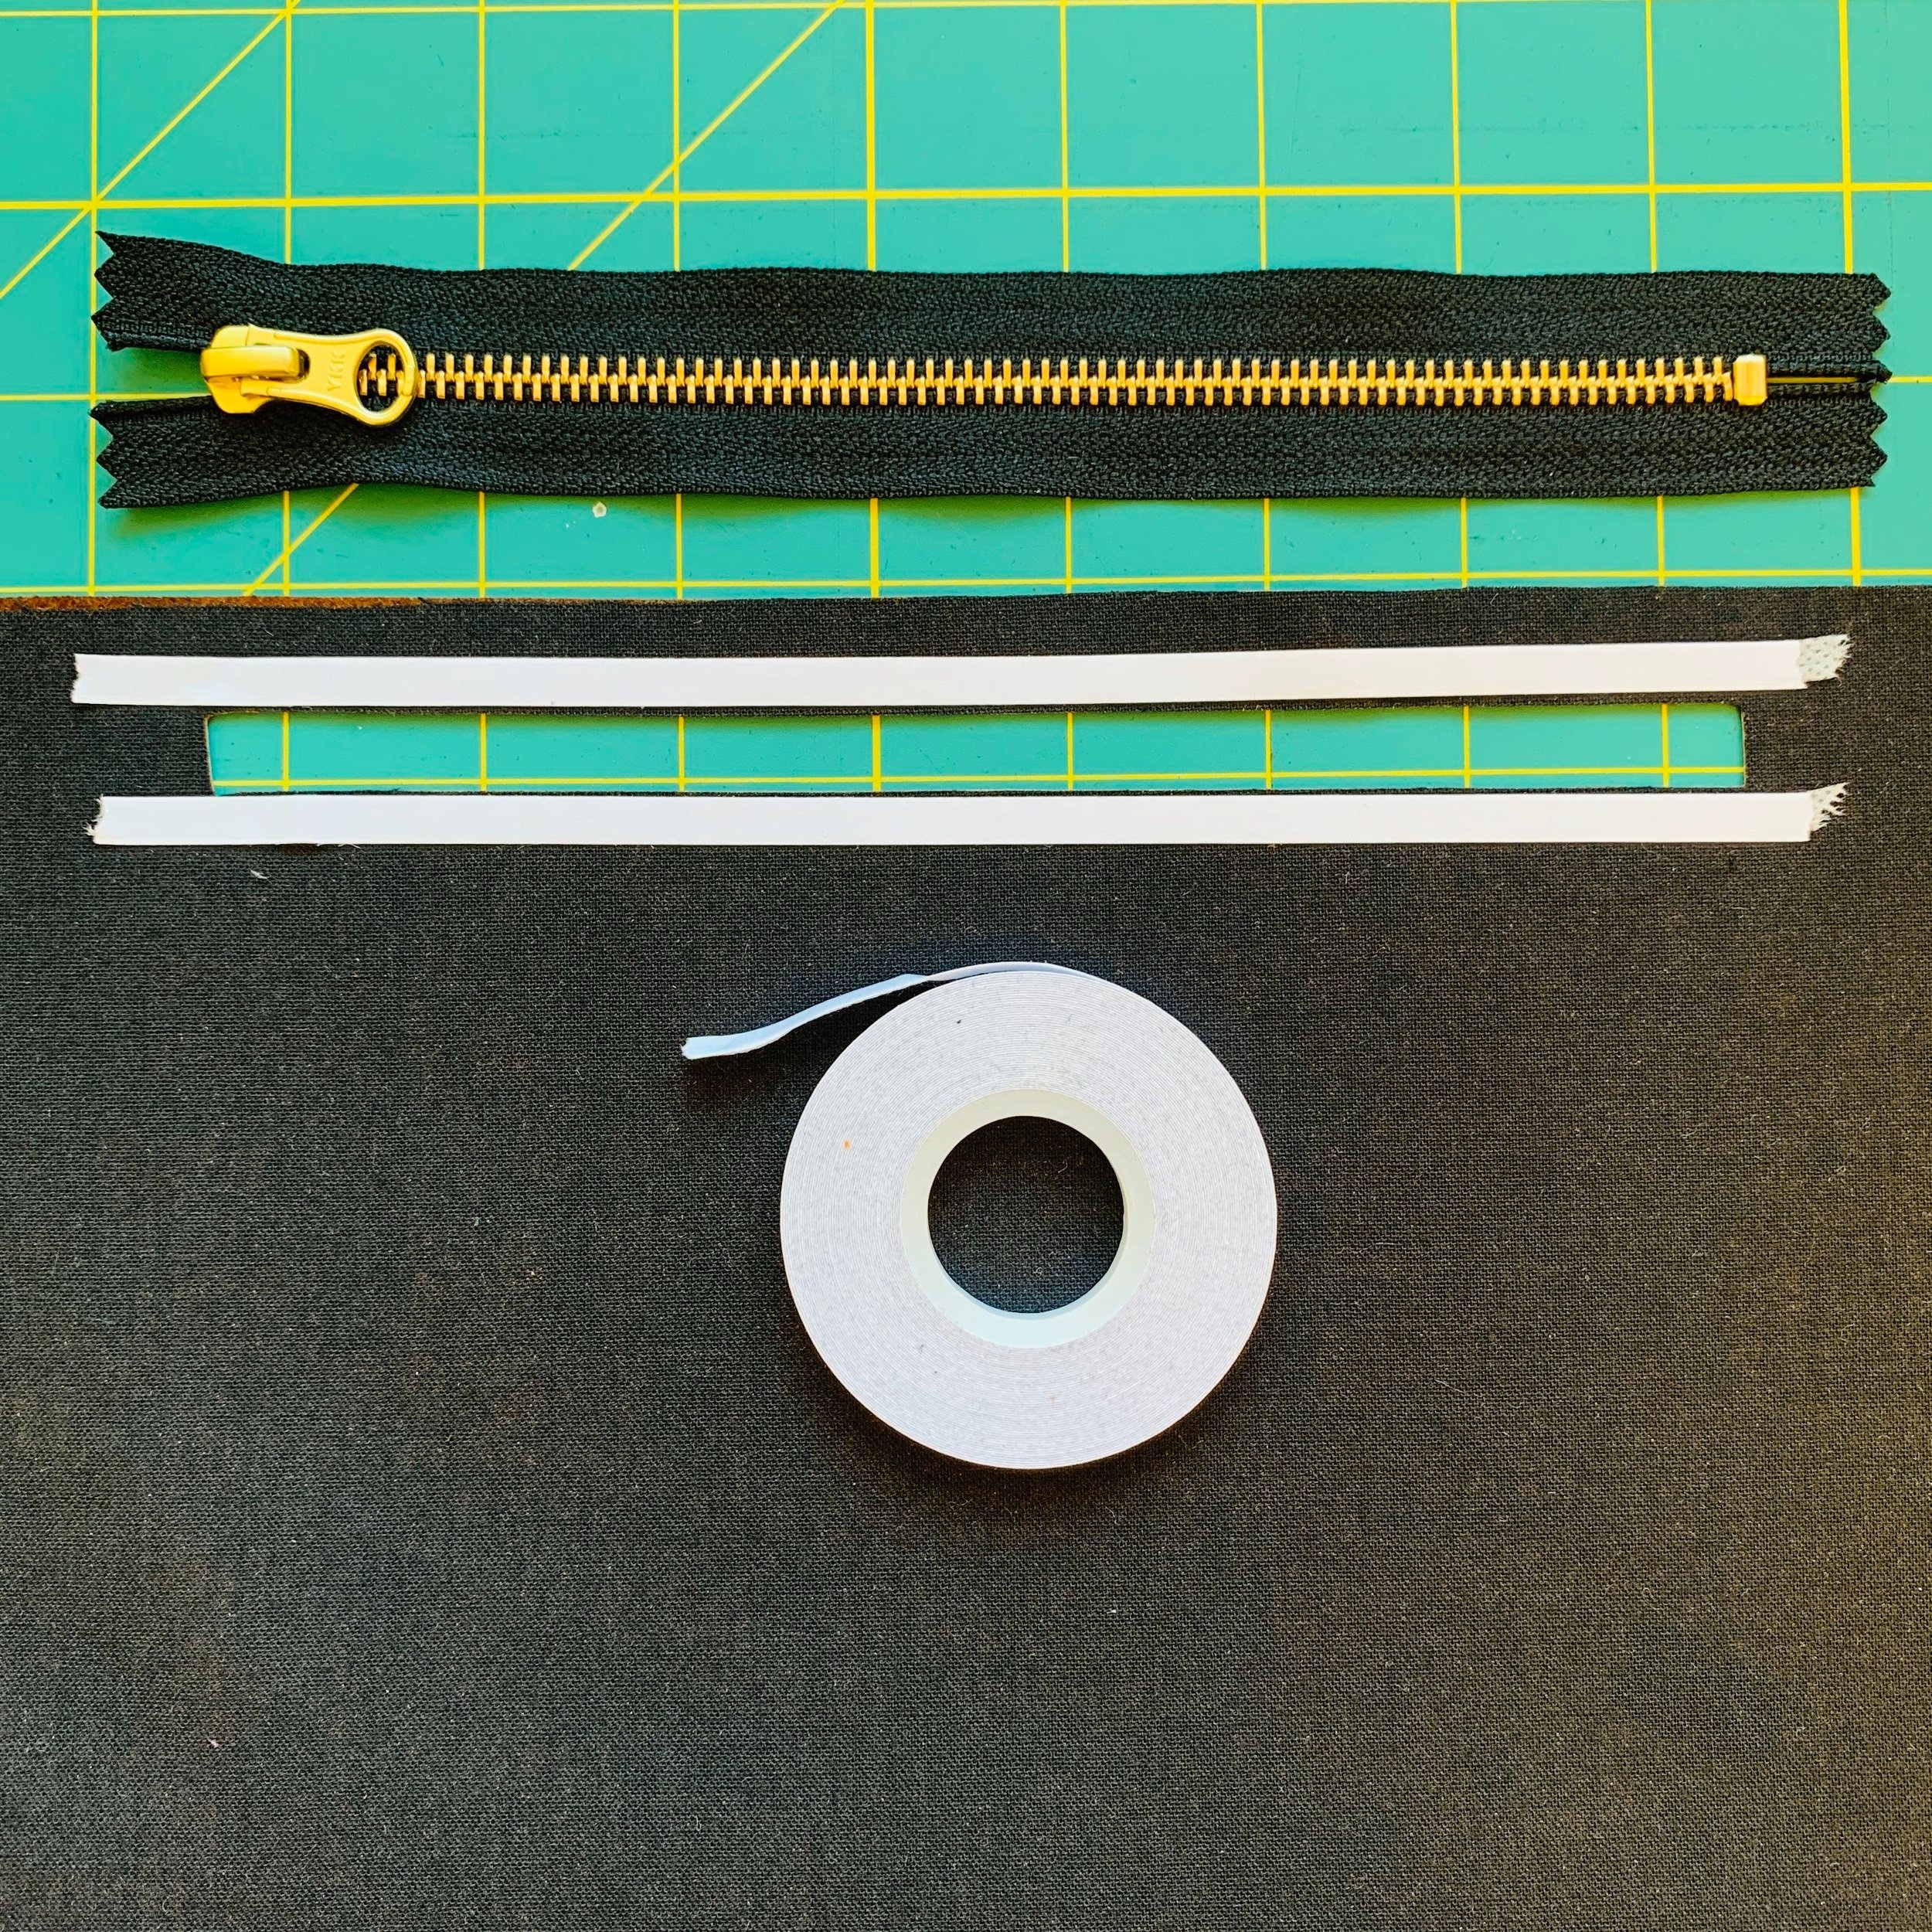
Bias tape
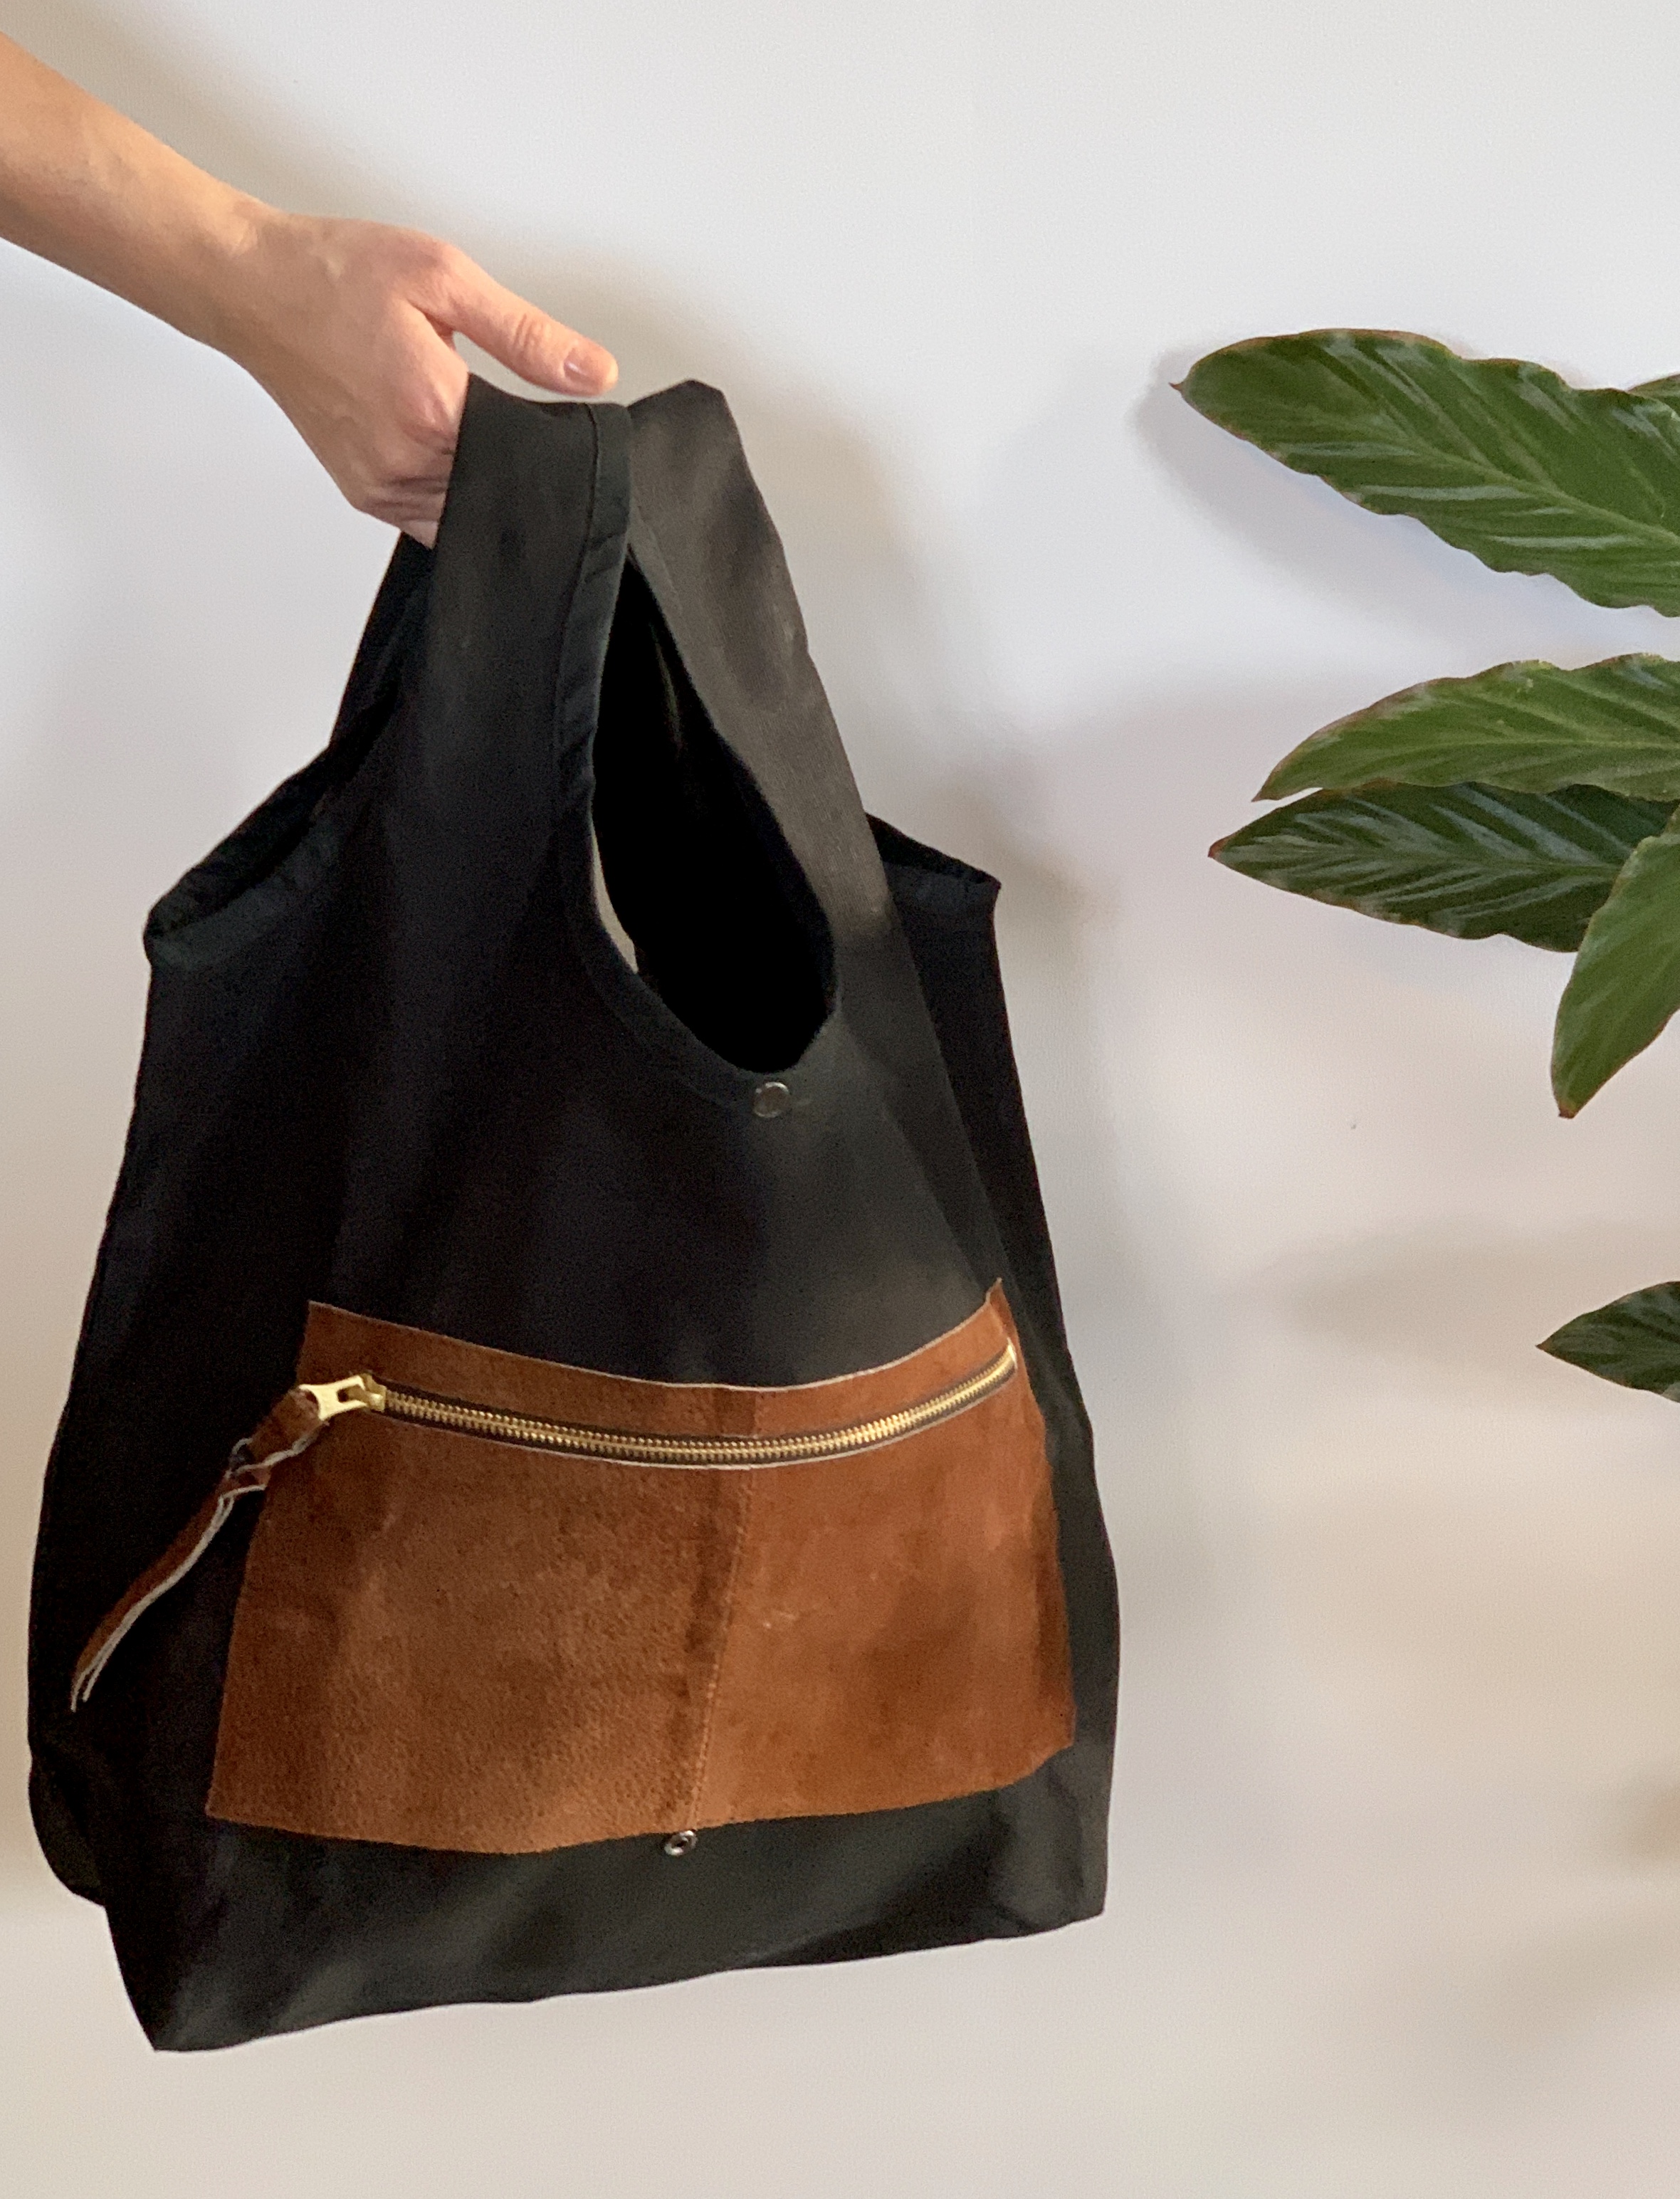
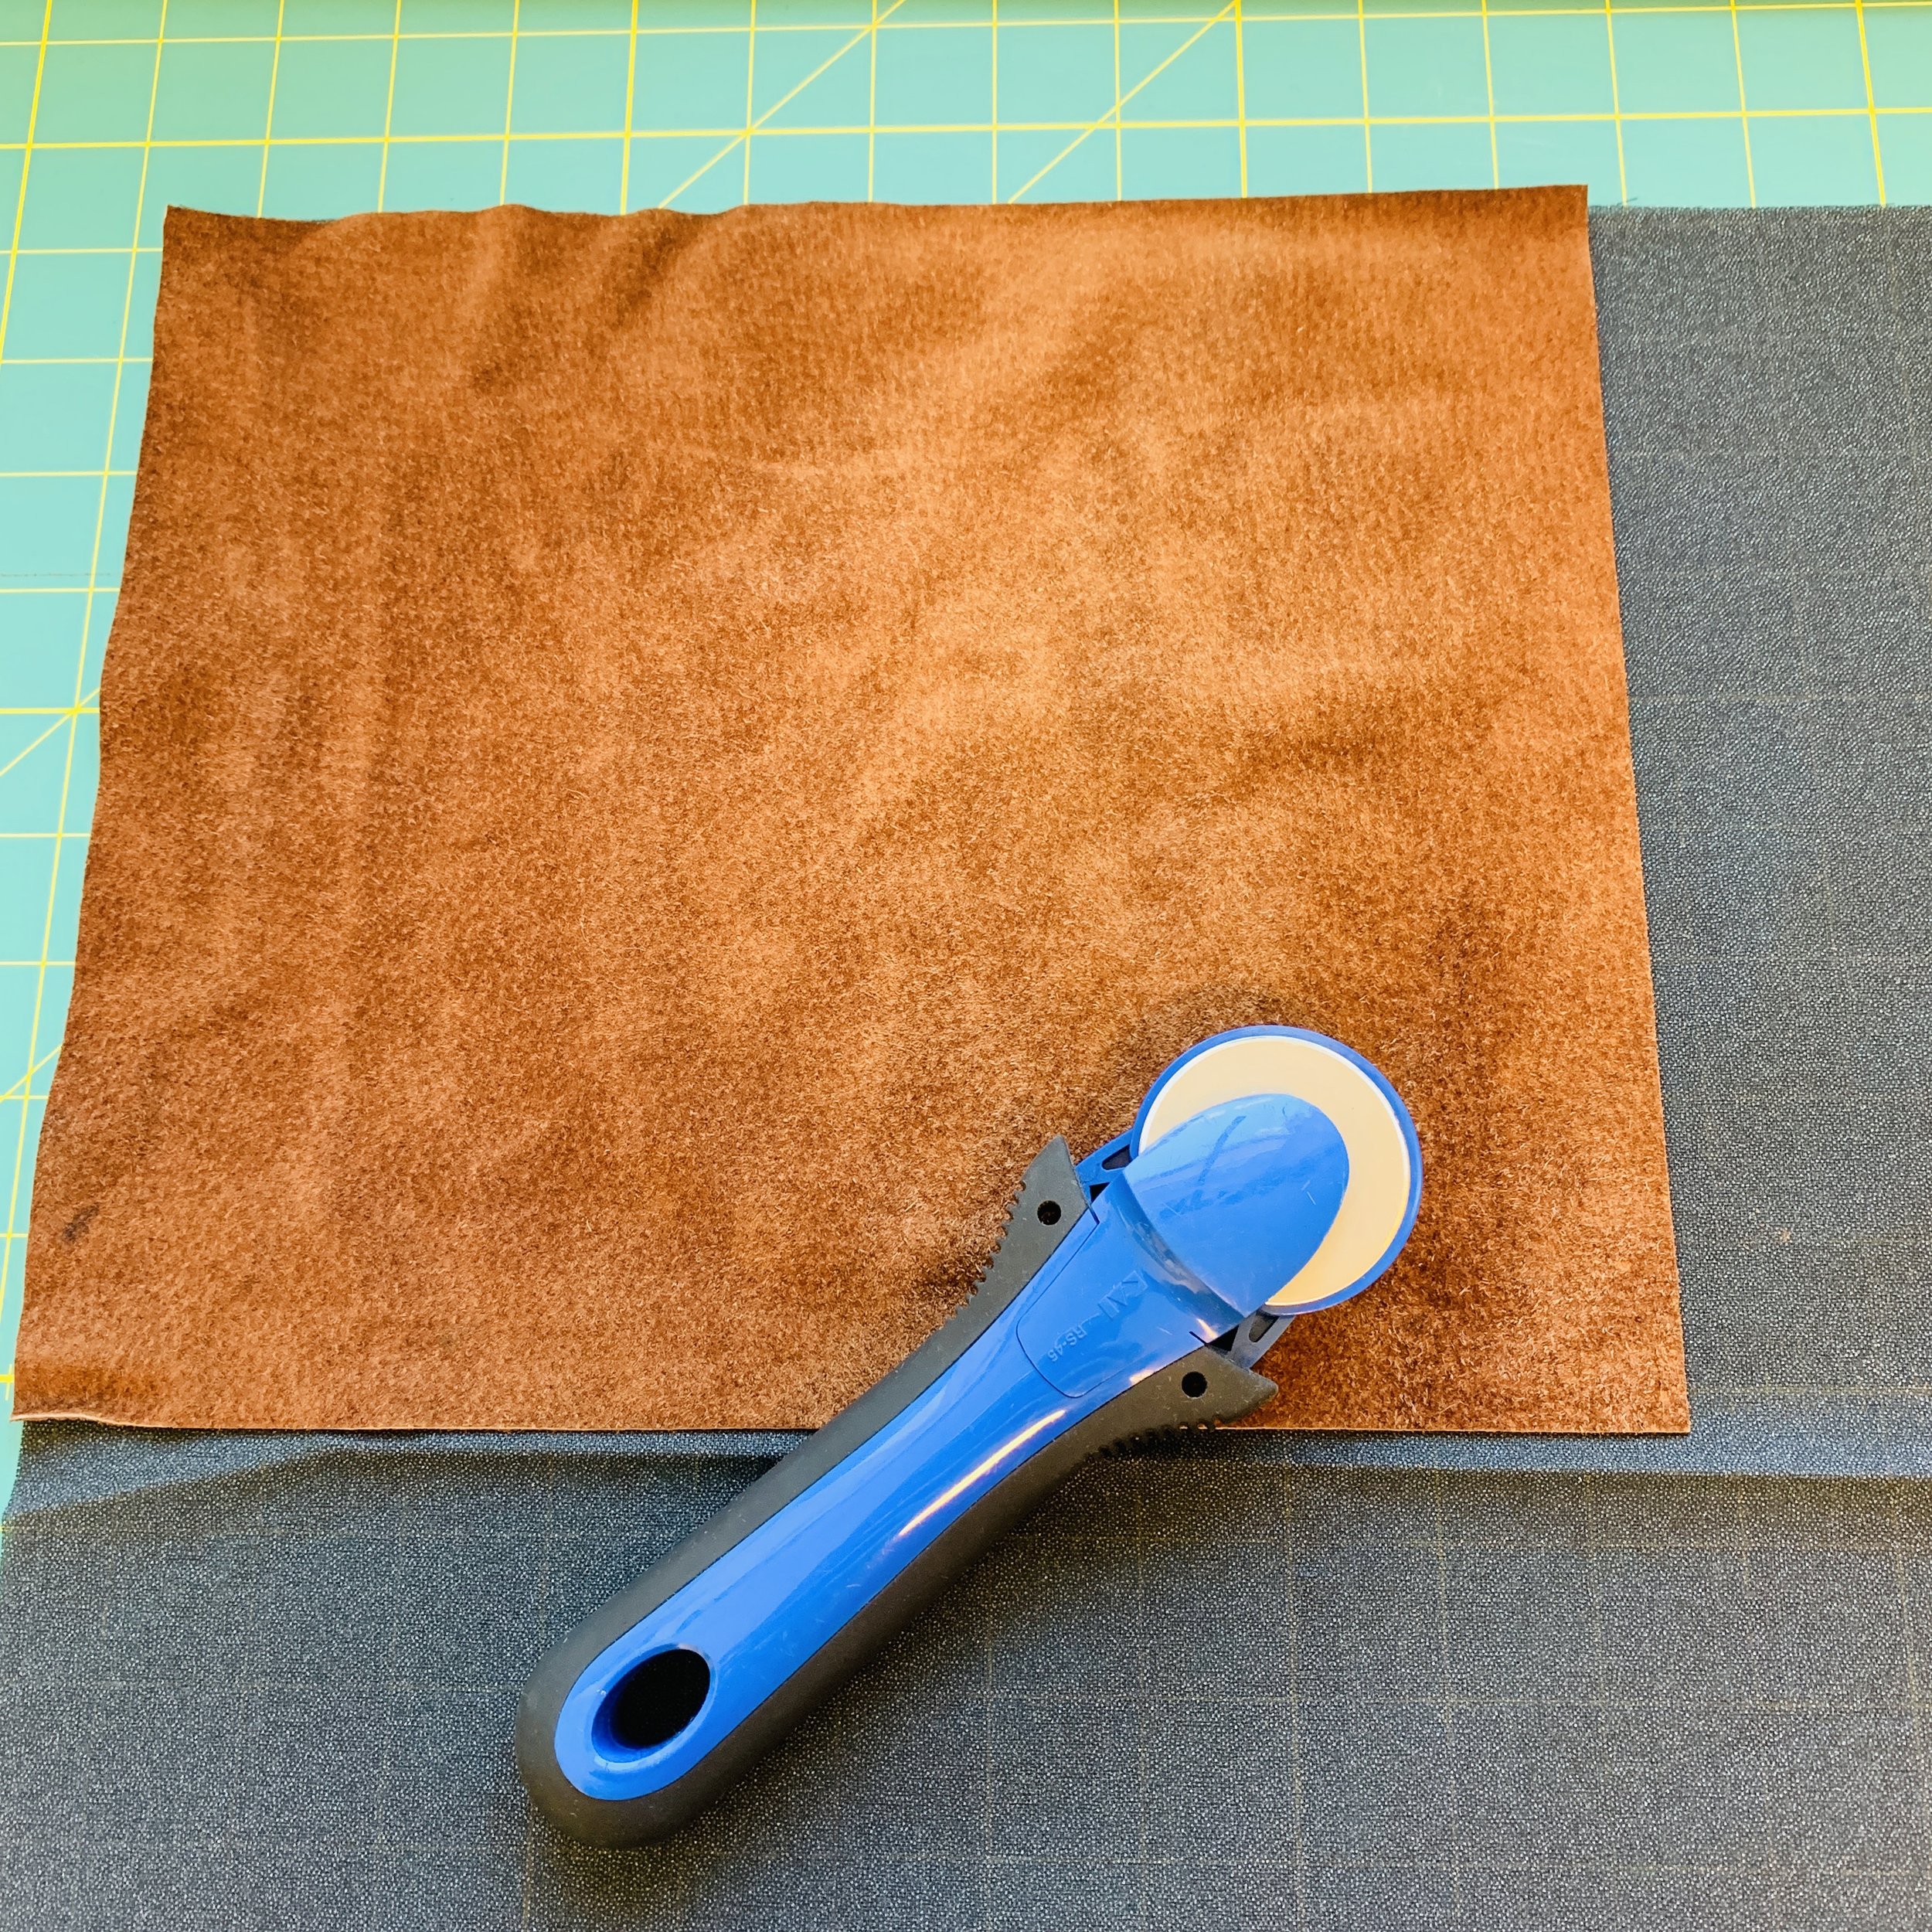
Piece of leather for the pocket approx. 15x25 cm (6”x10”)
Zipper for the pocket 18 - 20 cm (7” - 8”)
Fusible interfacing for the leather pocket approx. 15x25 cm (6”x10”)
Matching thread
Fold your canvas fabric in two, the foldline is in the bottom of the bag. Cut the fabric as it shown in the picture. So here is what the pattern looks like.

Shopper
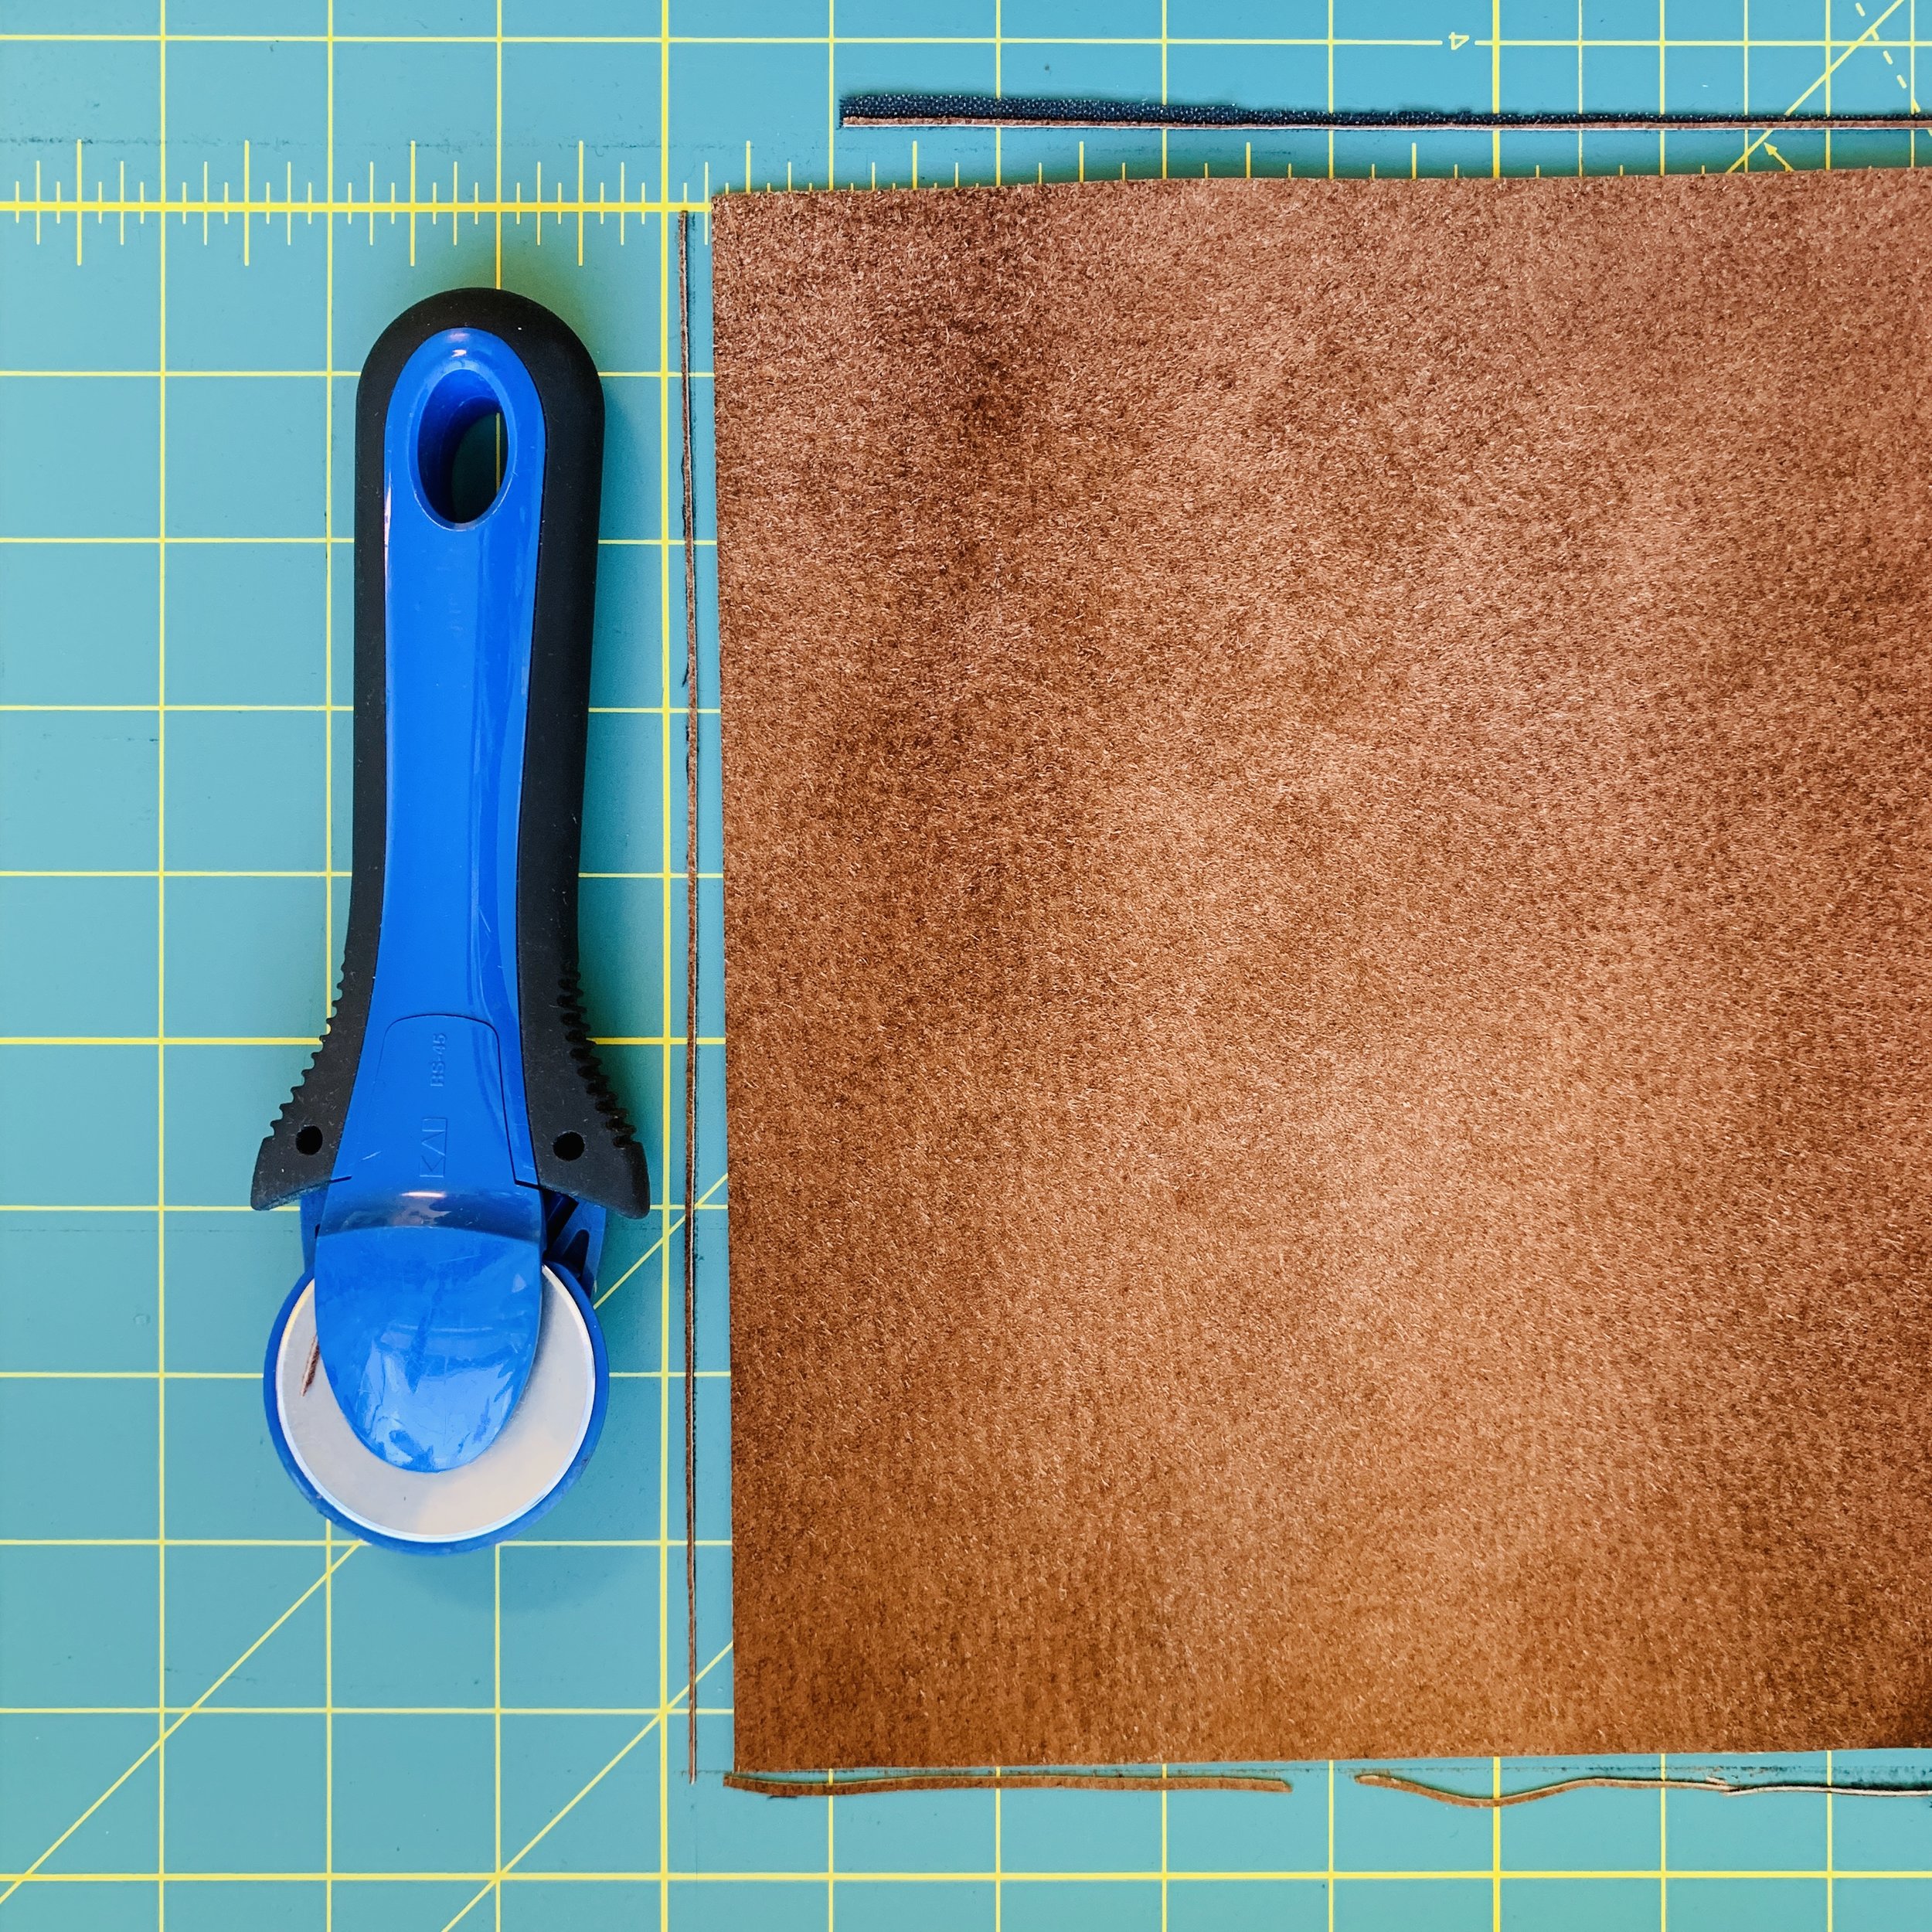
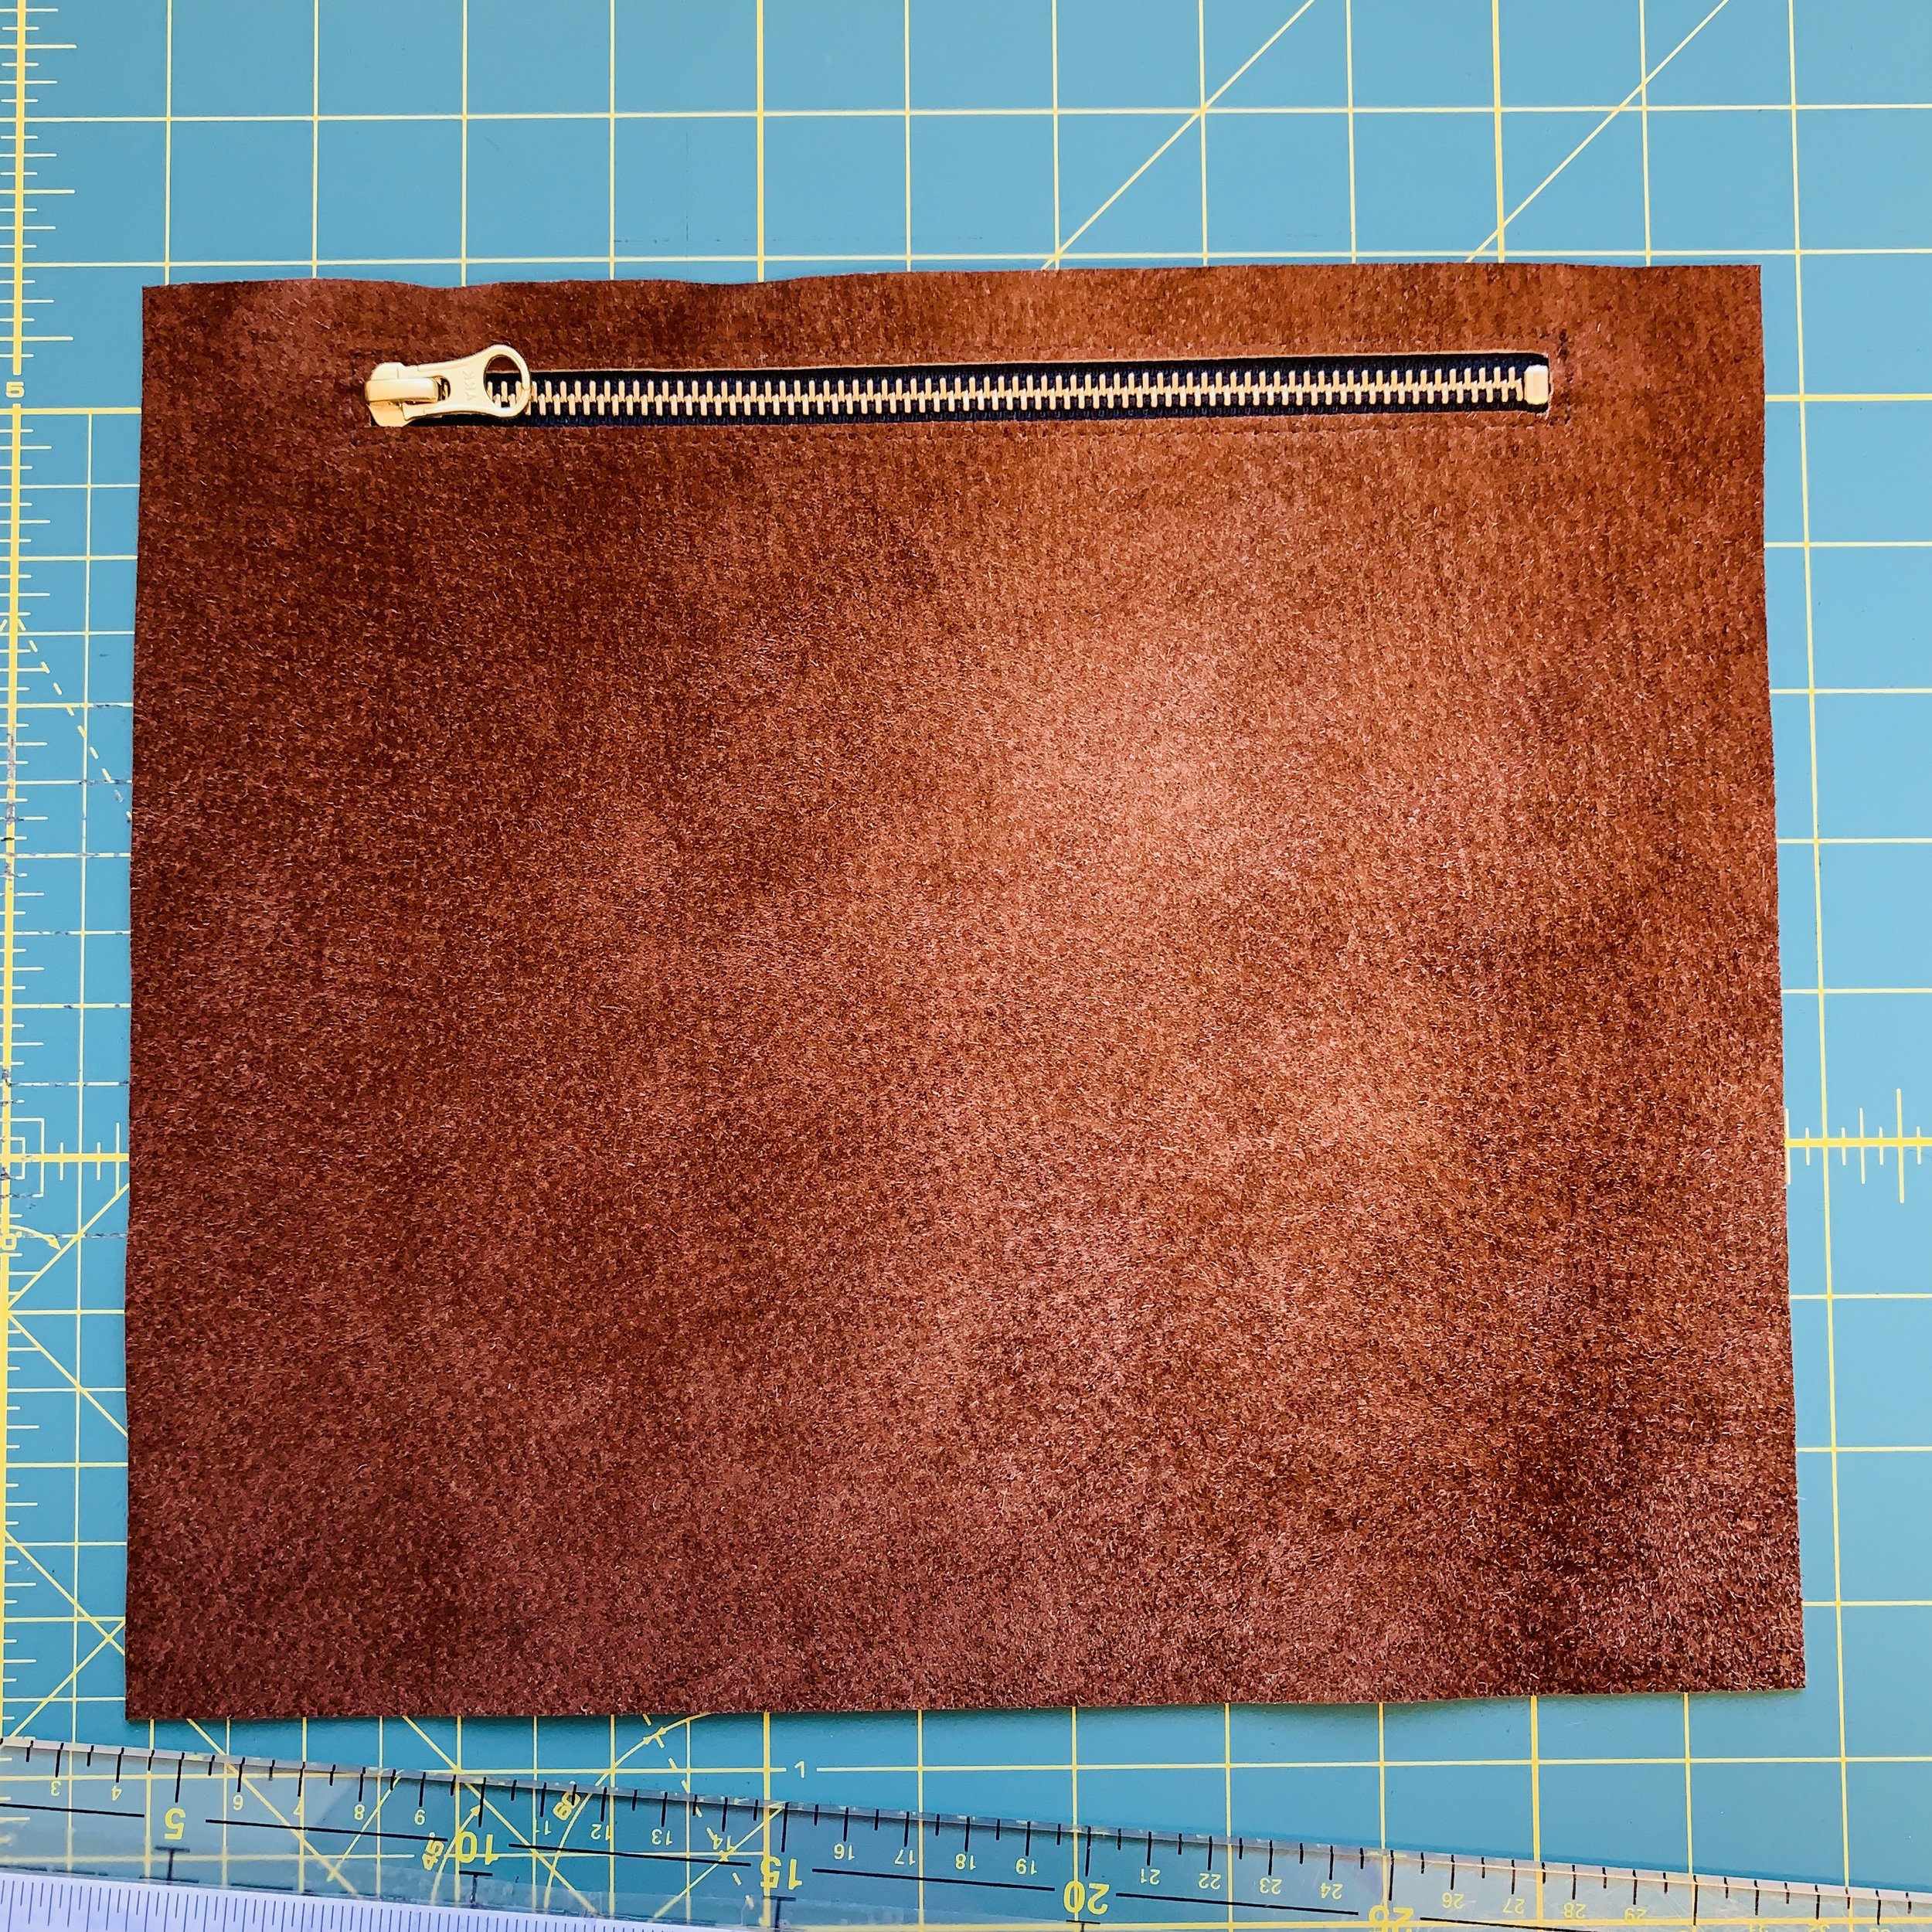
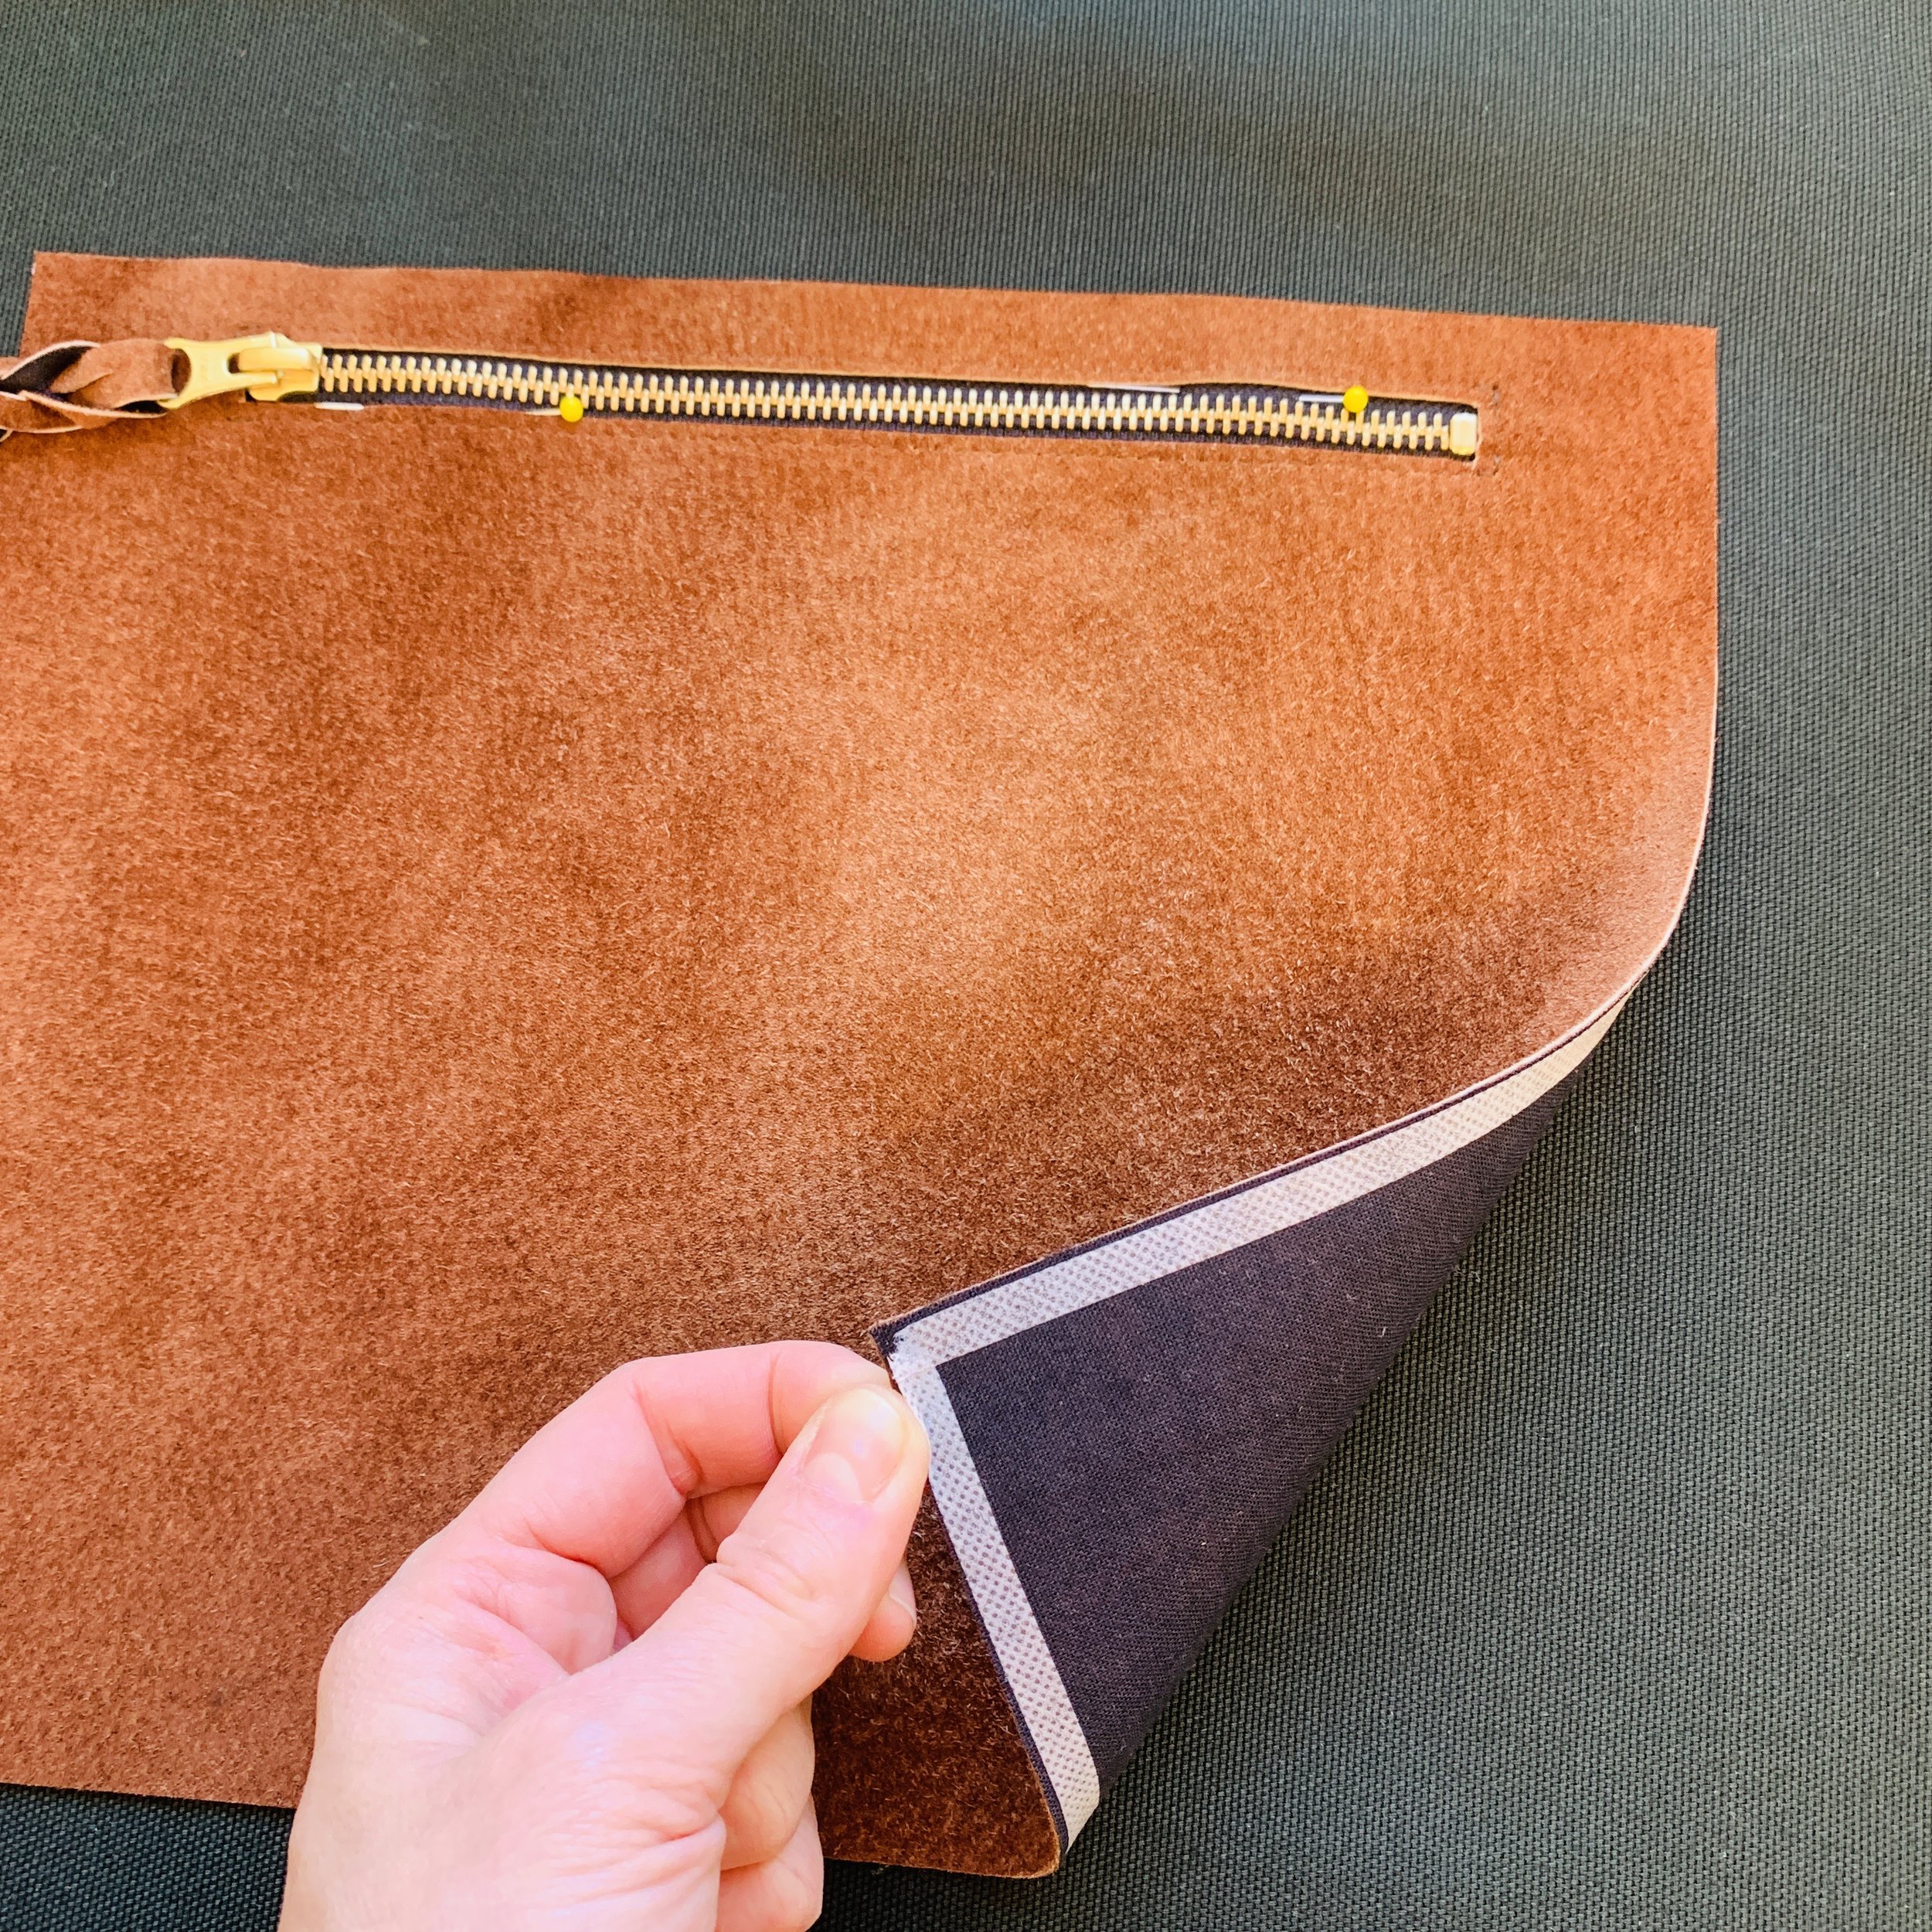
Cut the piece of leather and fusible interfacing together. Press the interfacing with a hot iron on the wrong side of leather. After that cut the pocket a bit more because leather may stretch during ironing.
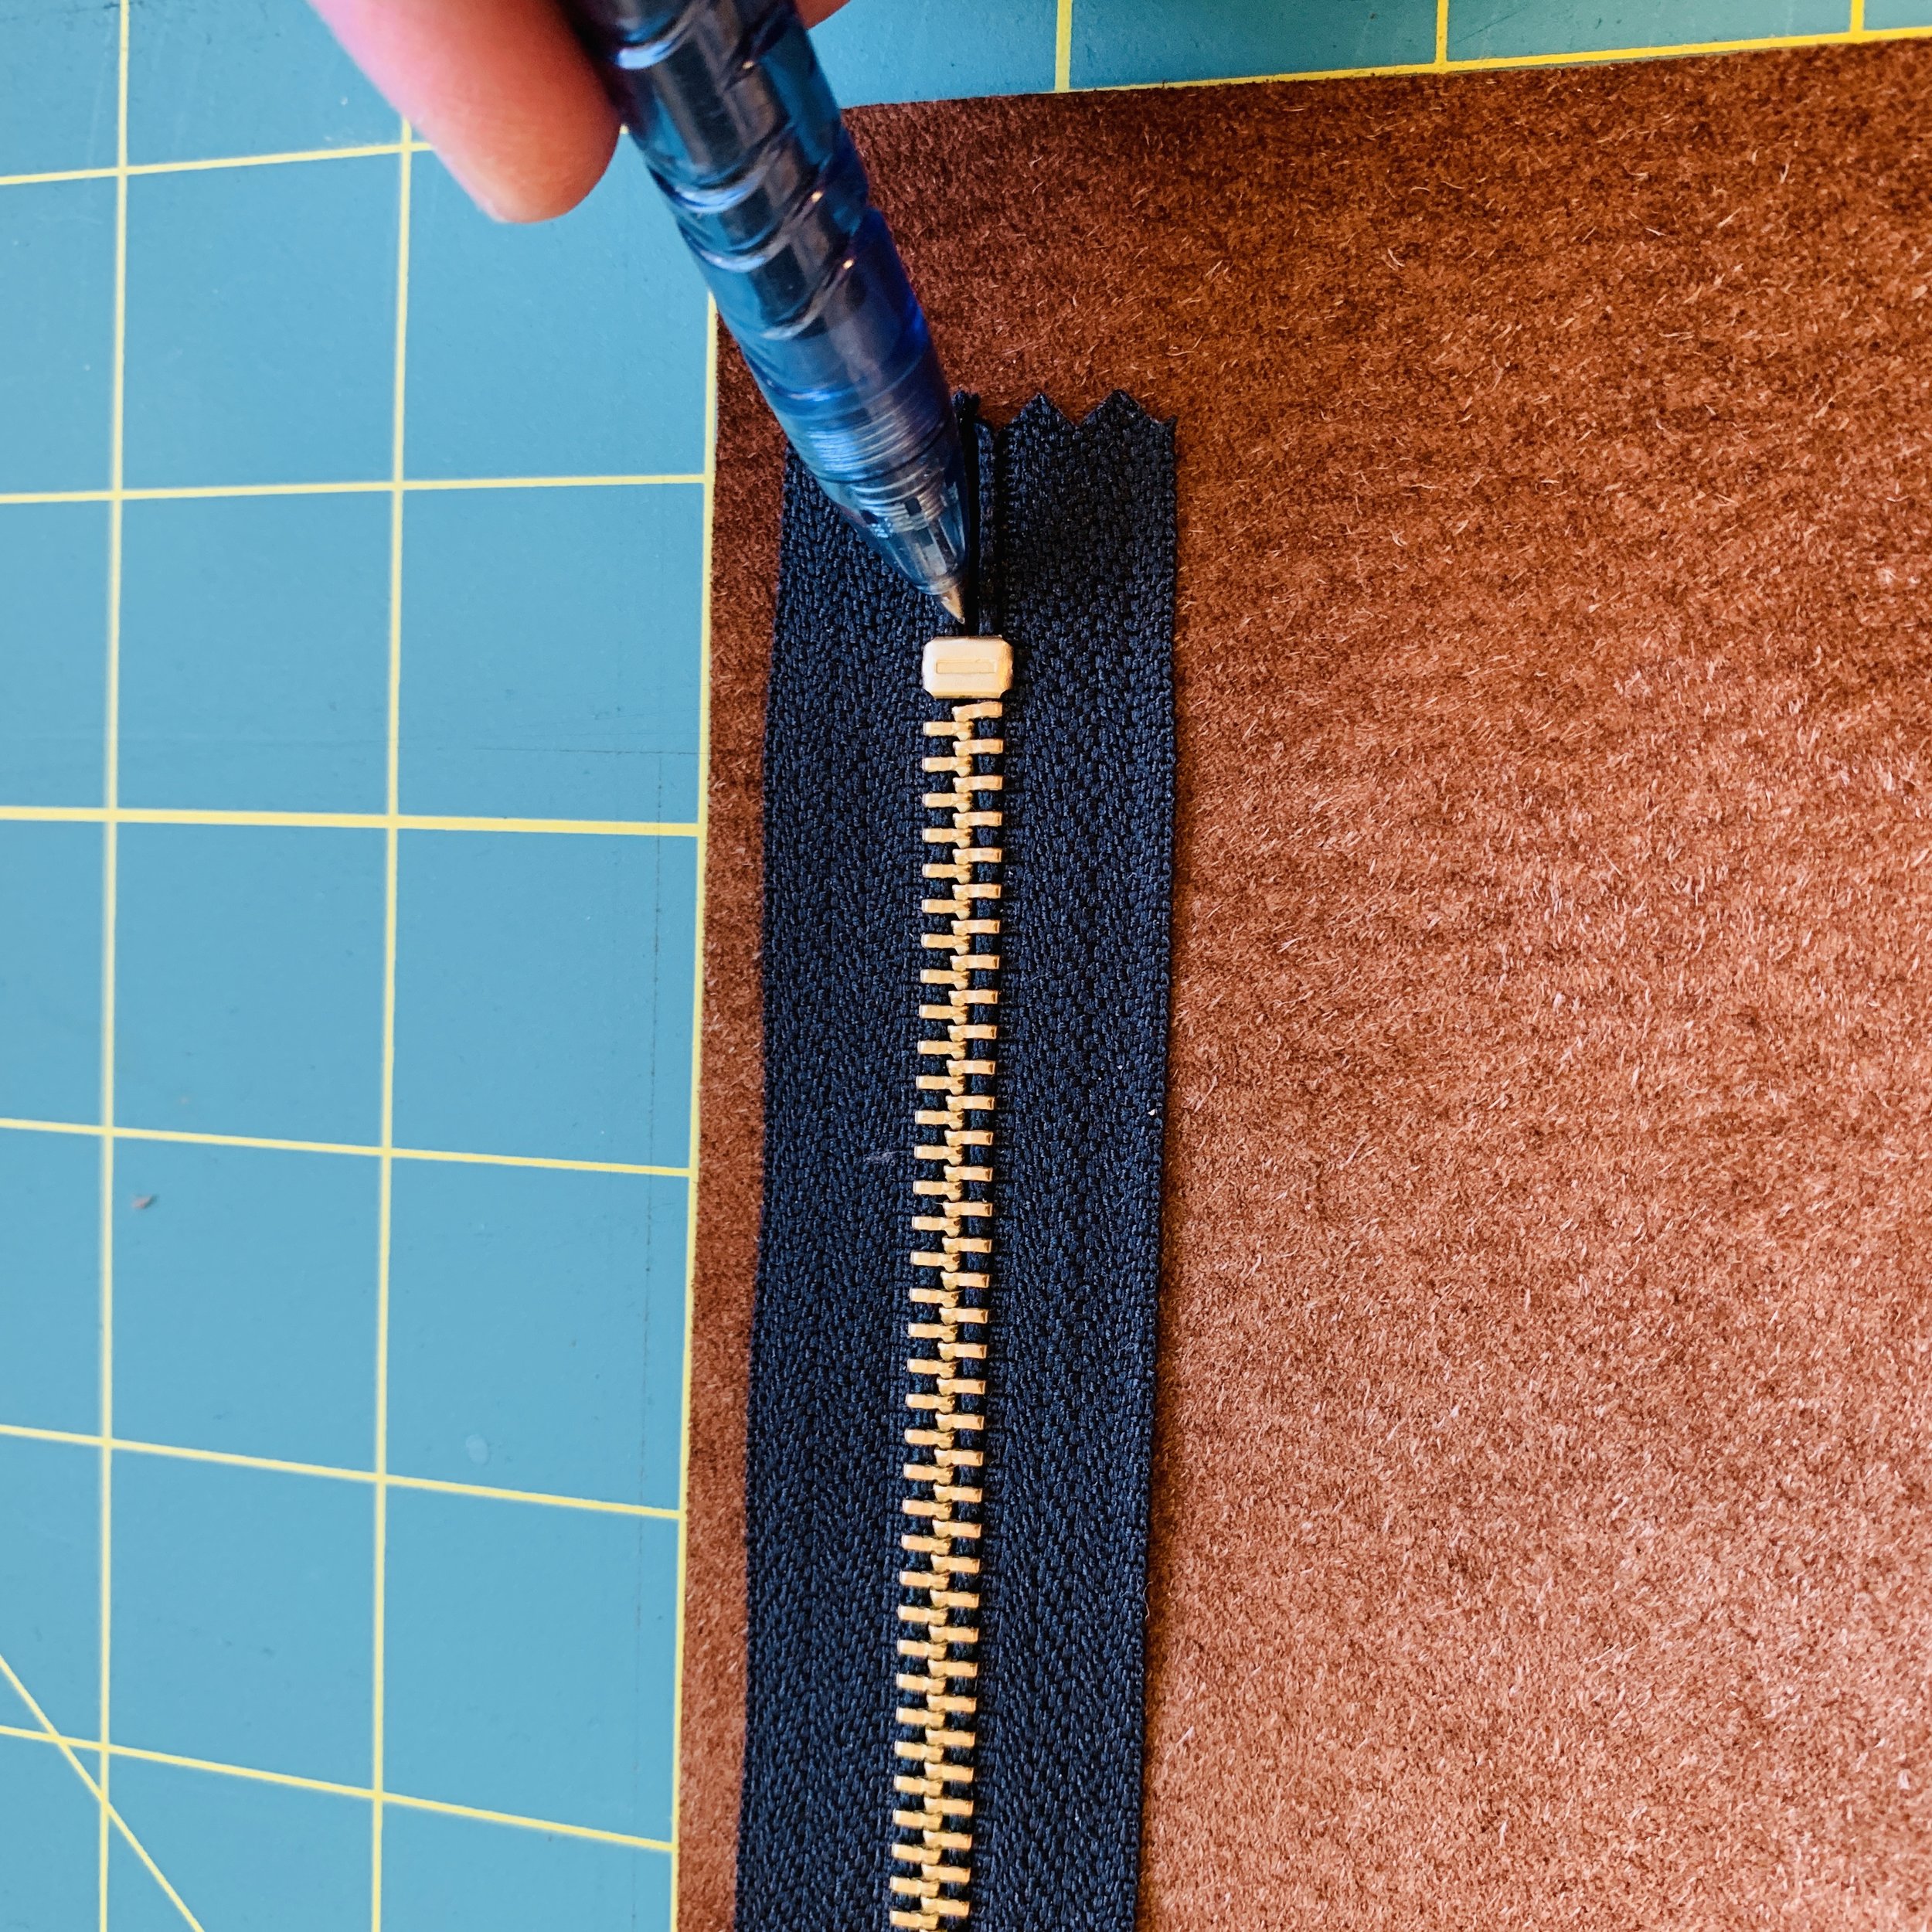
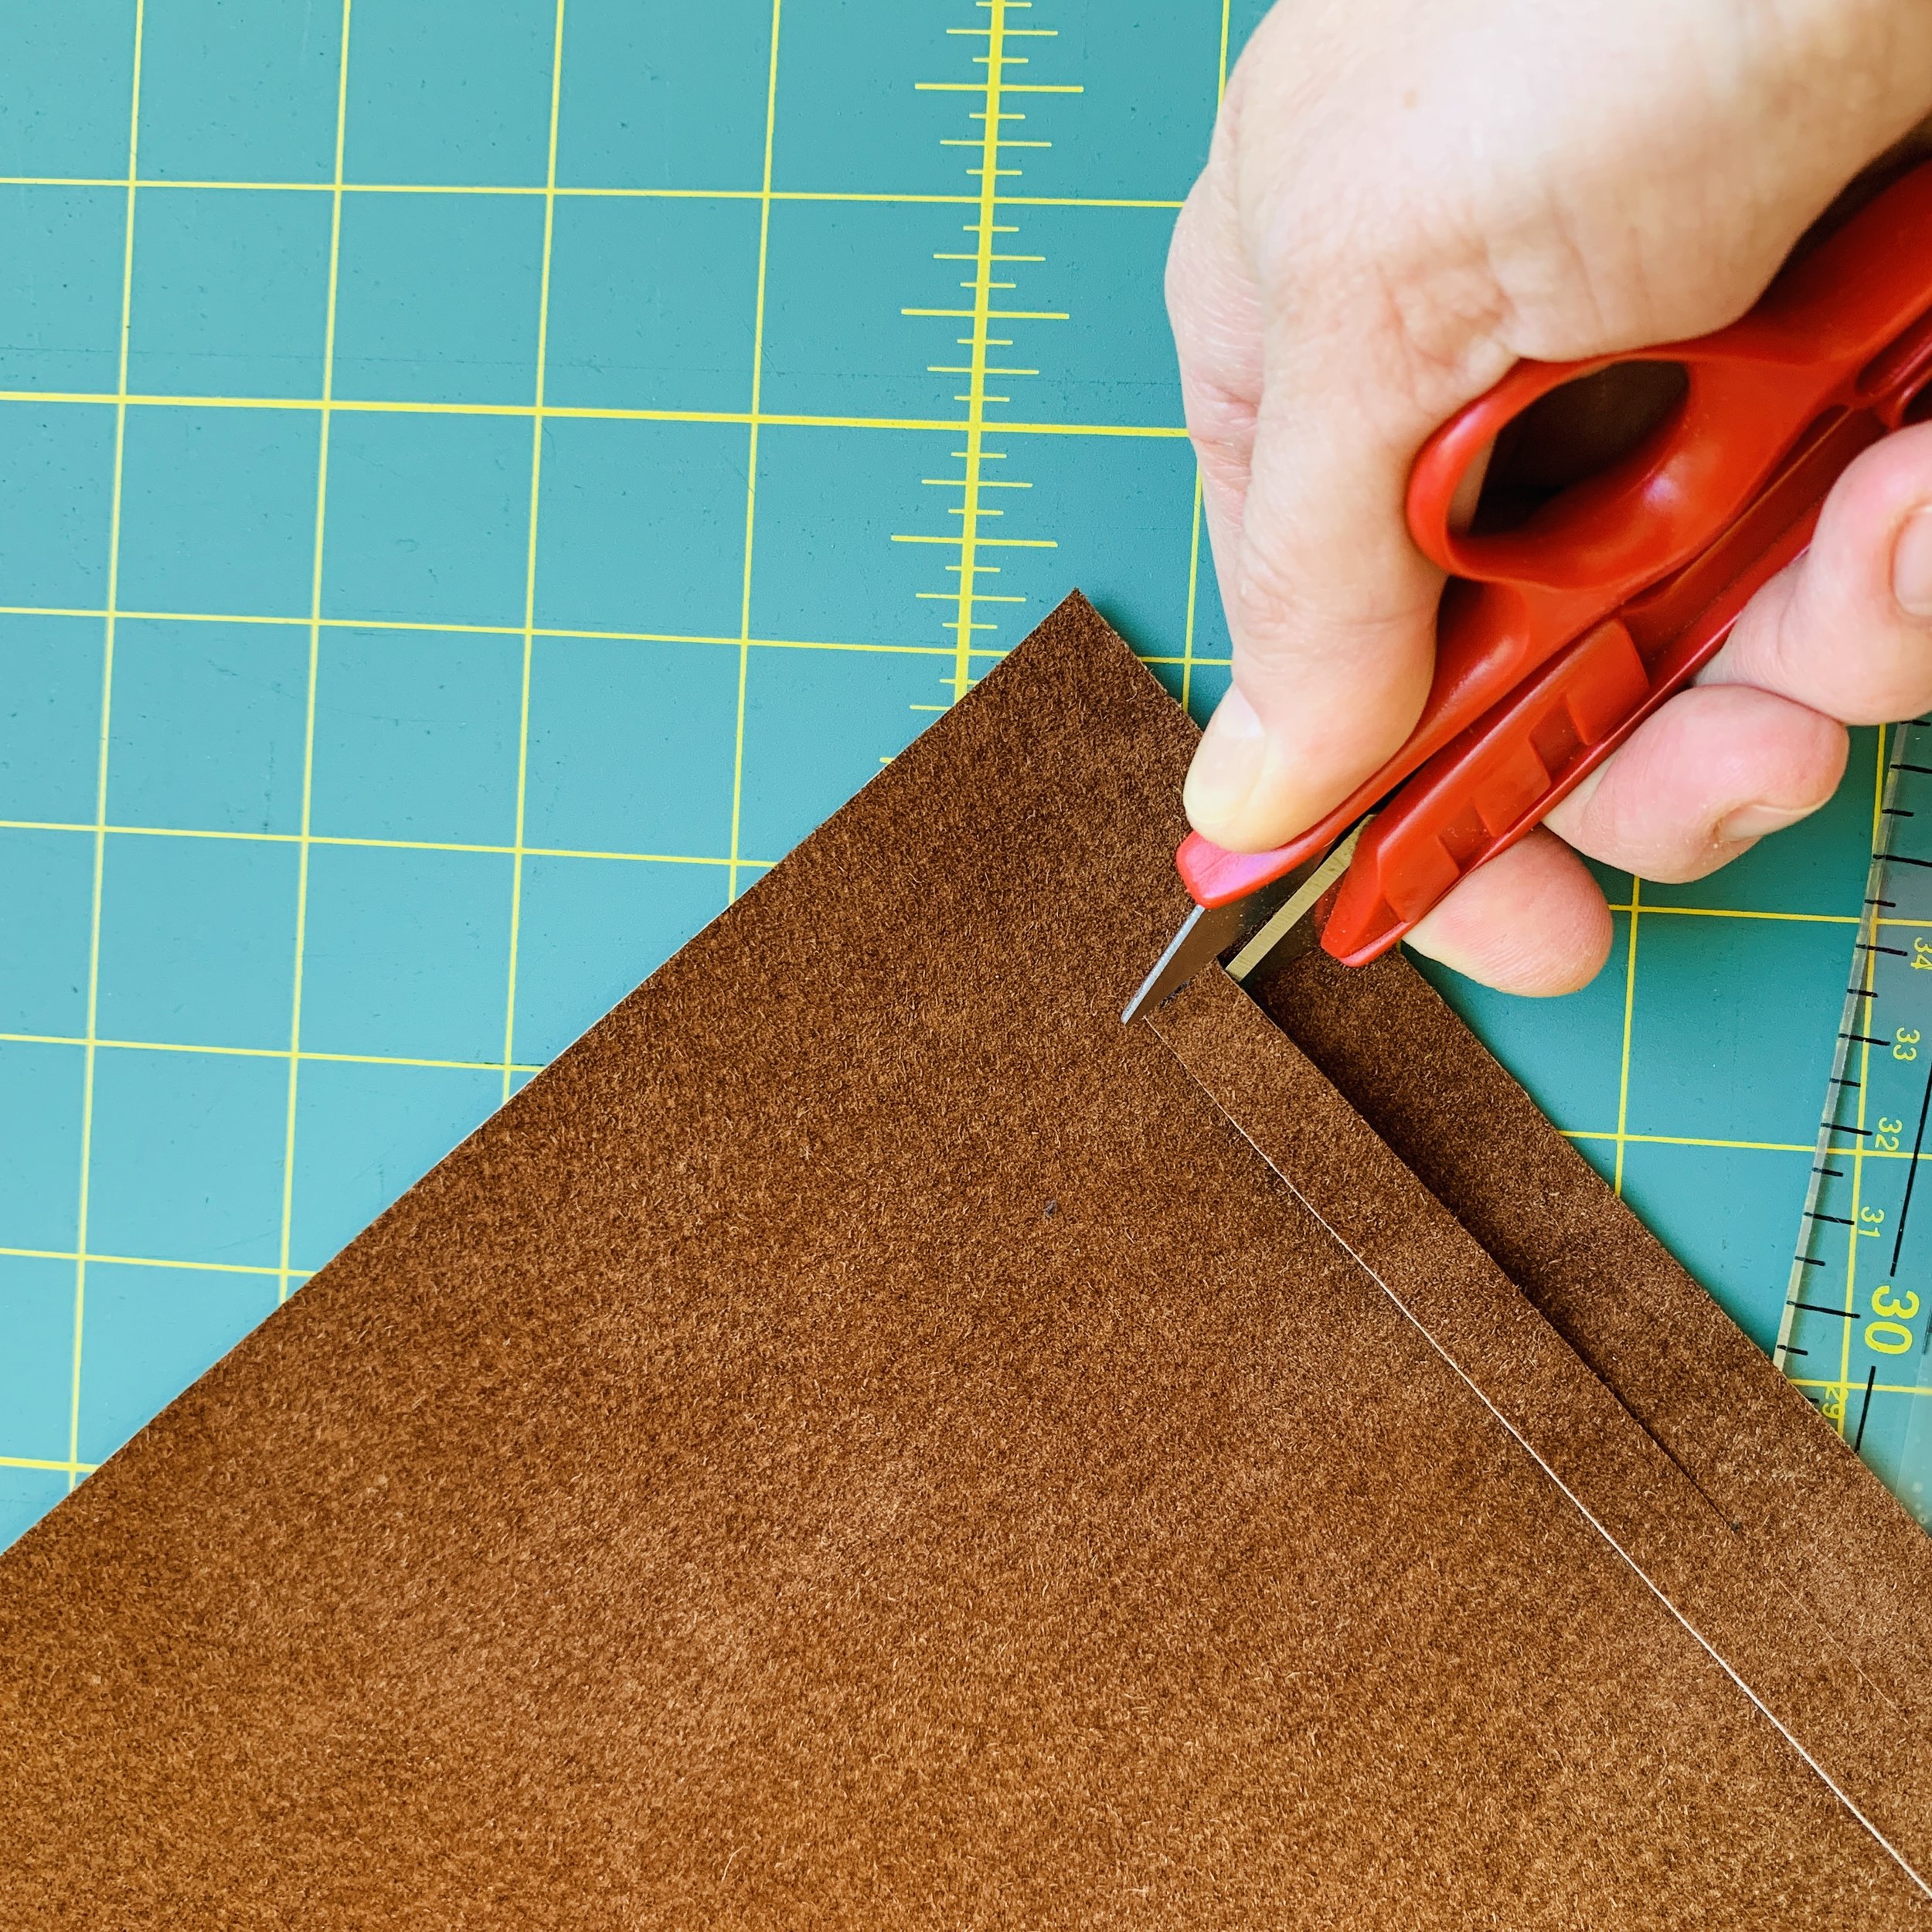
Place the zipper in the middle on the top of the leather, mark the edges of the zipper teeth.
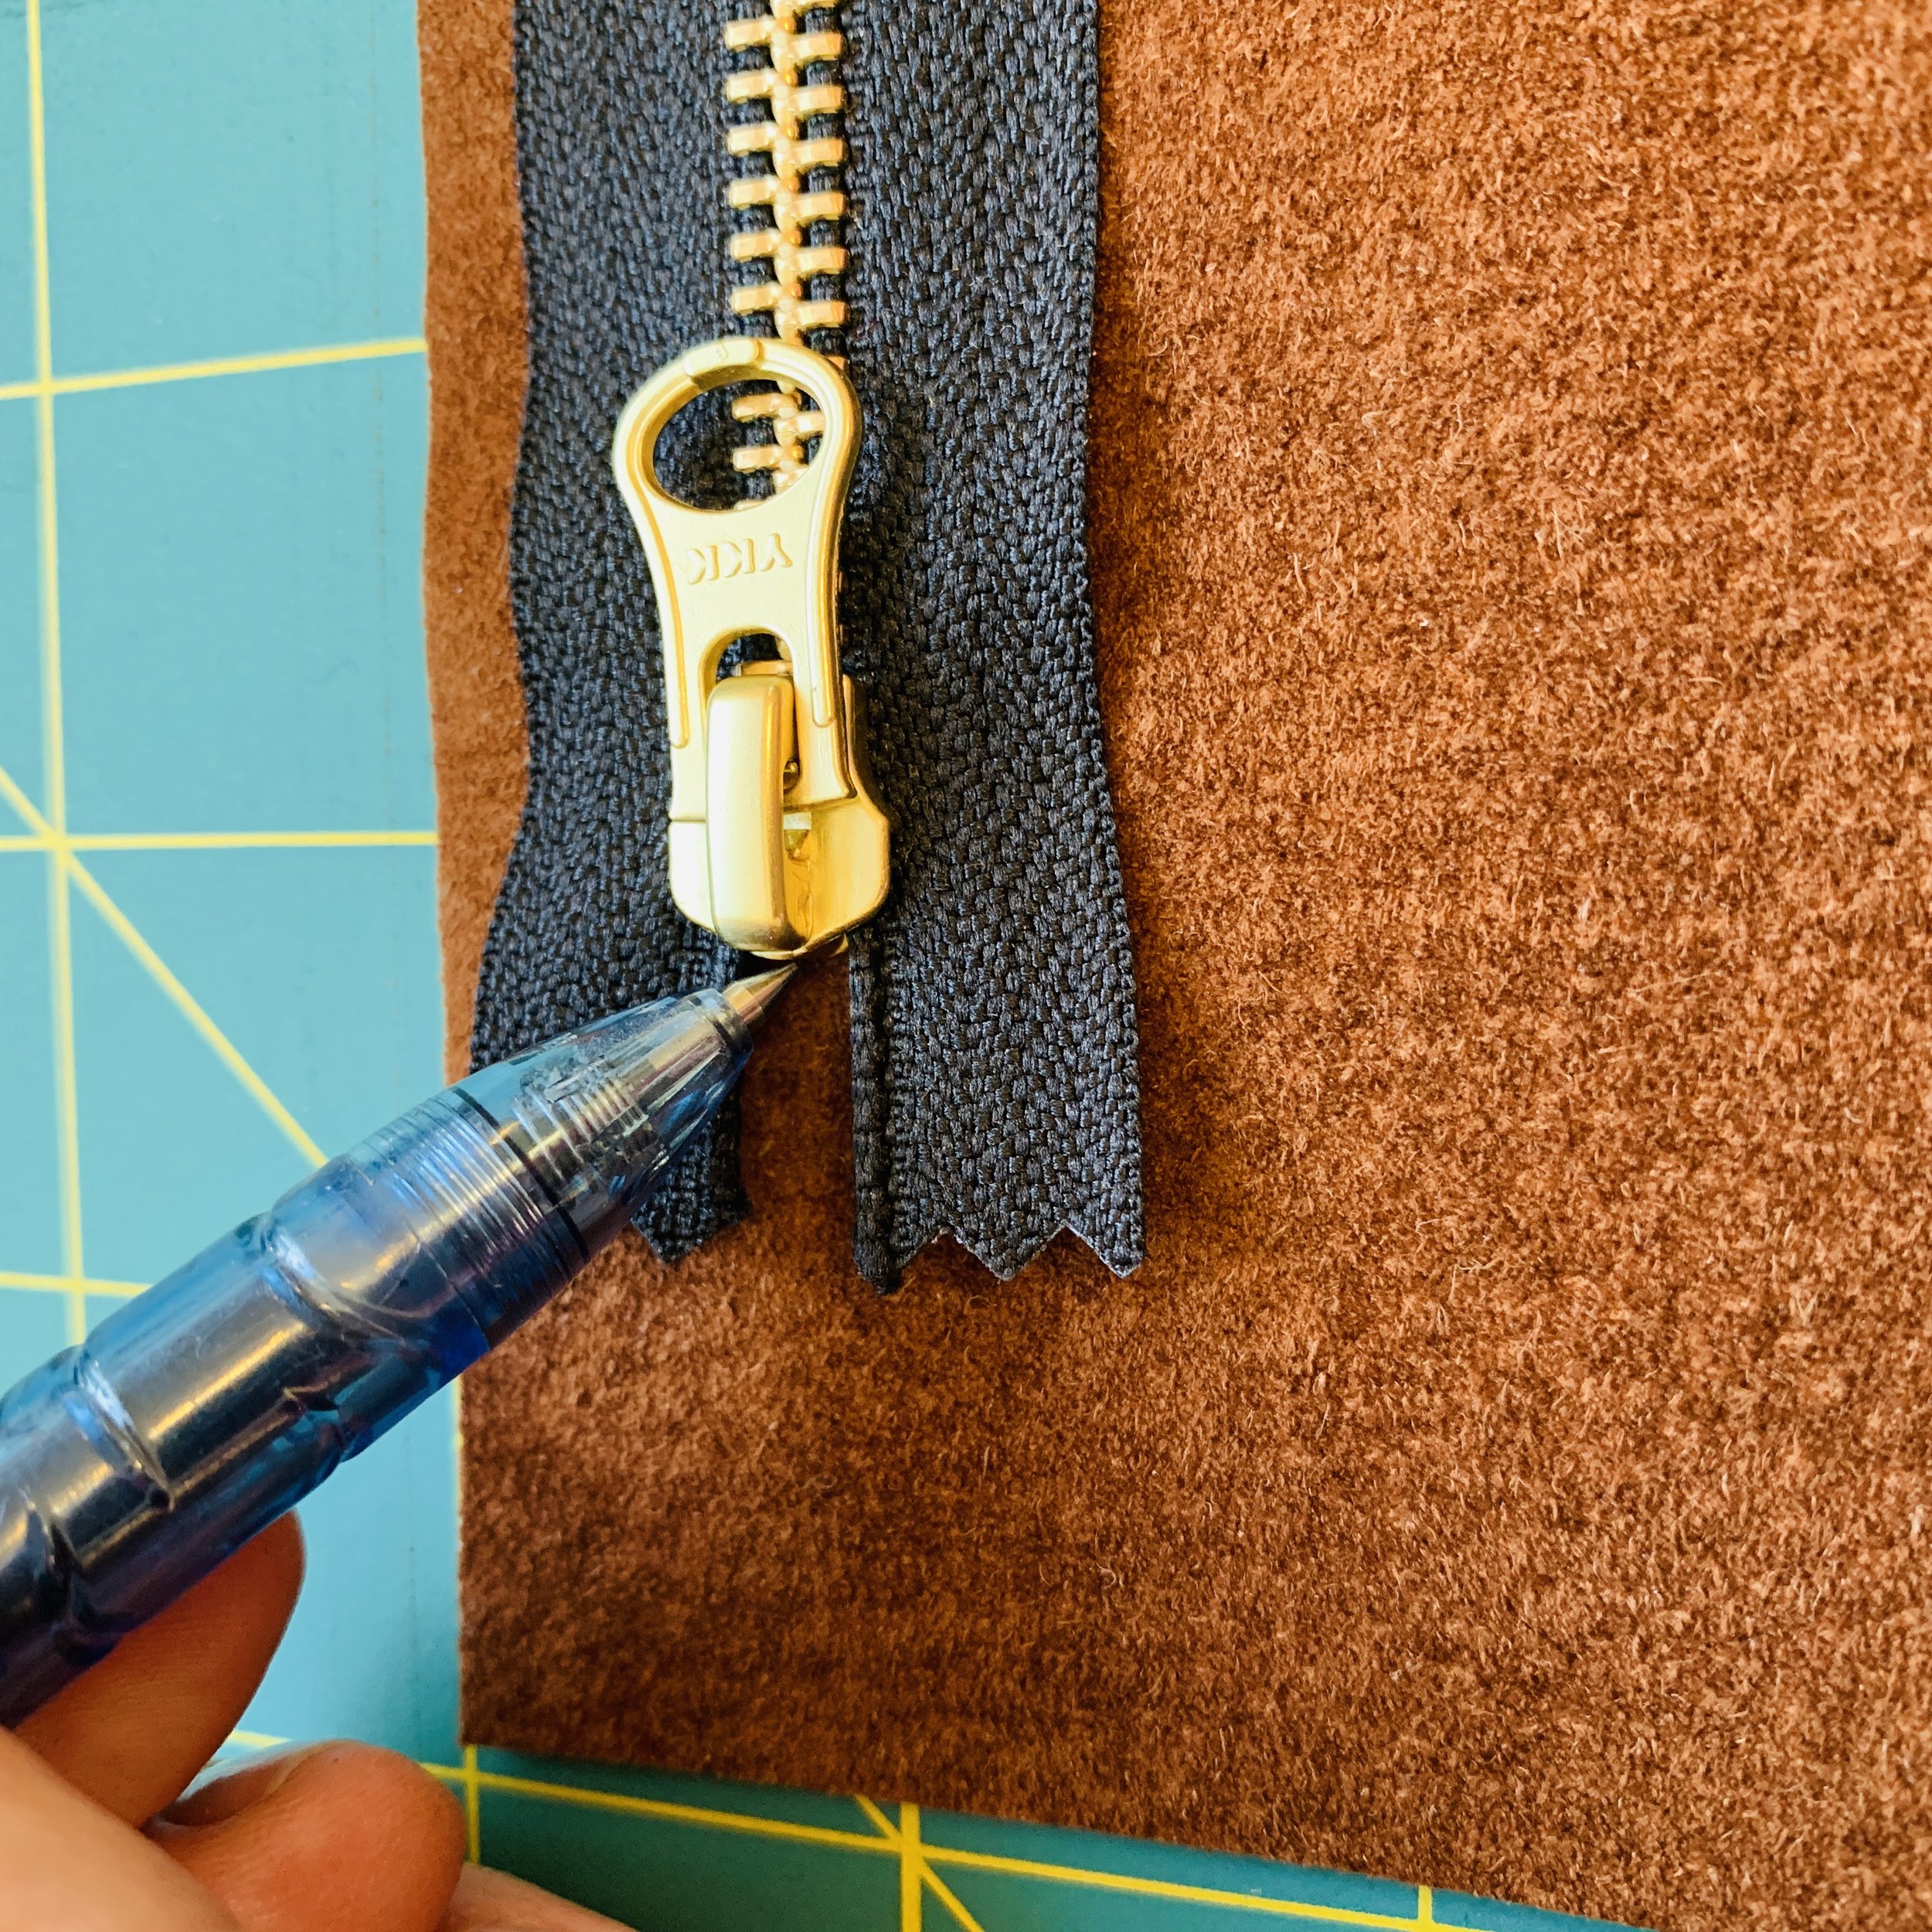
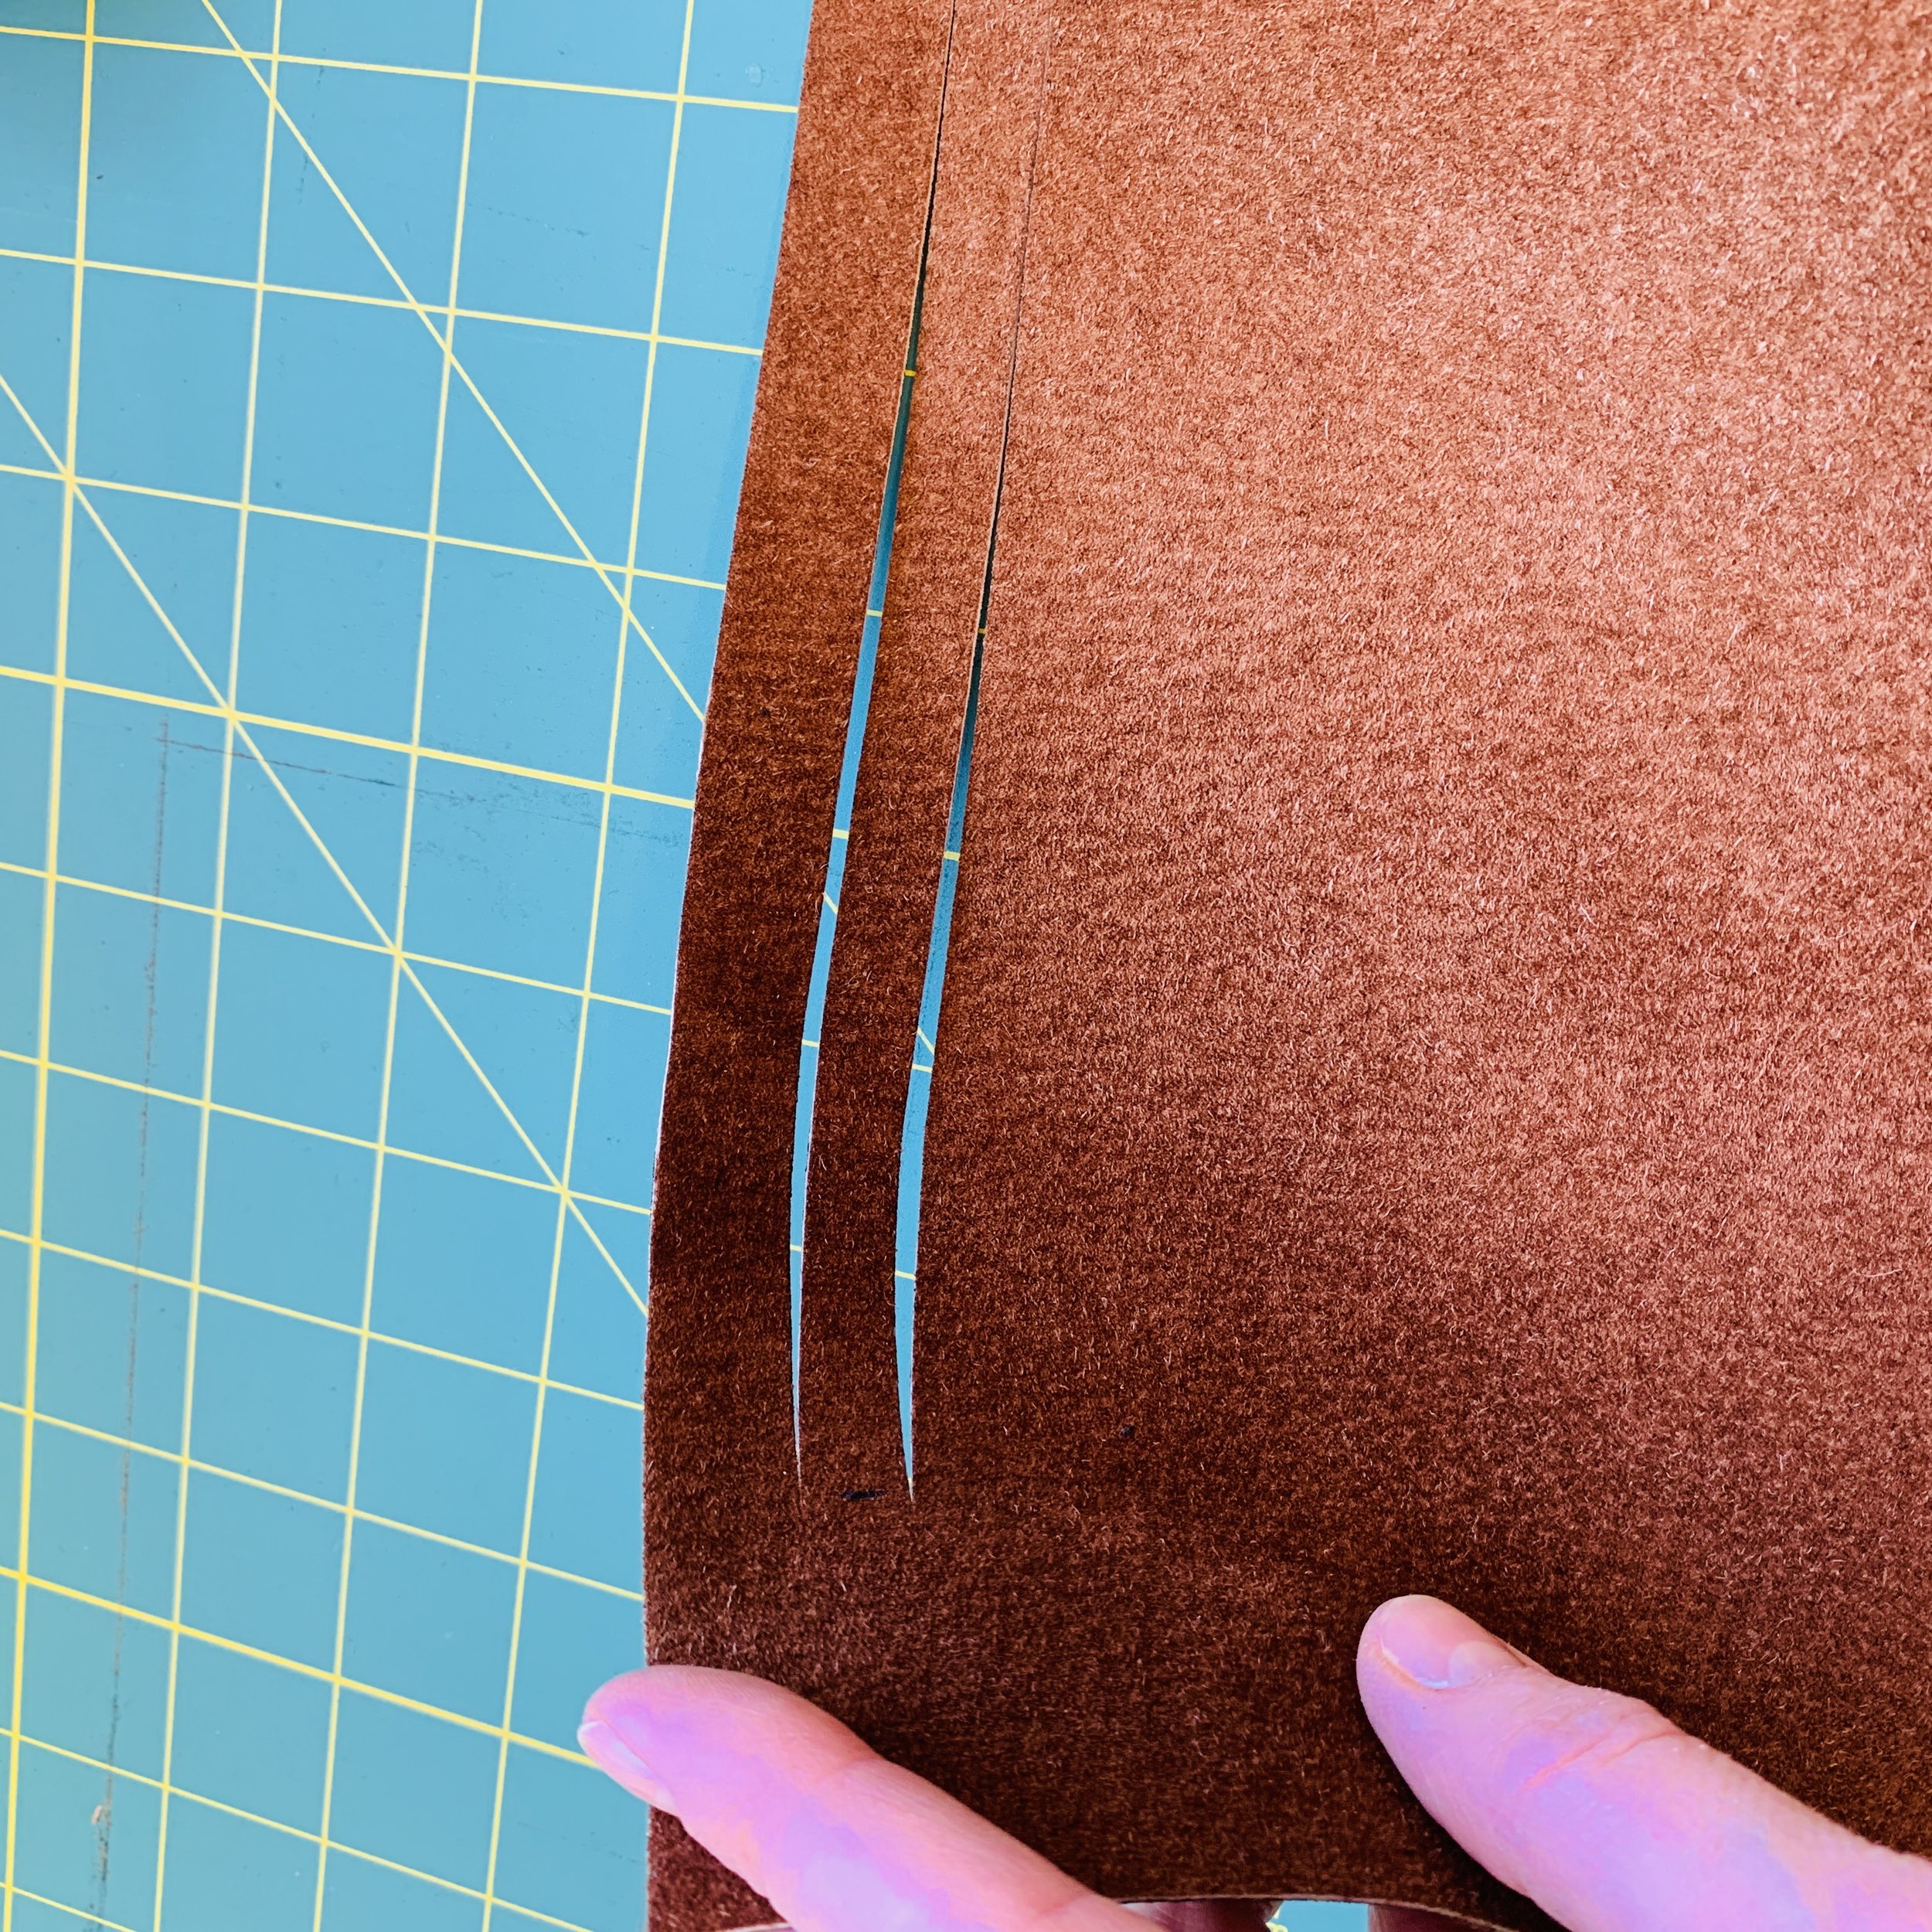
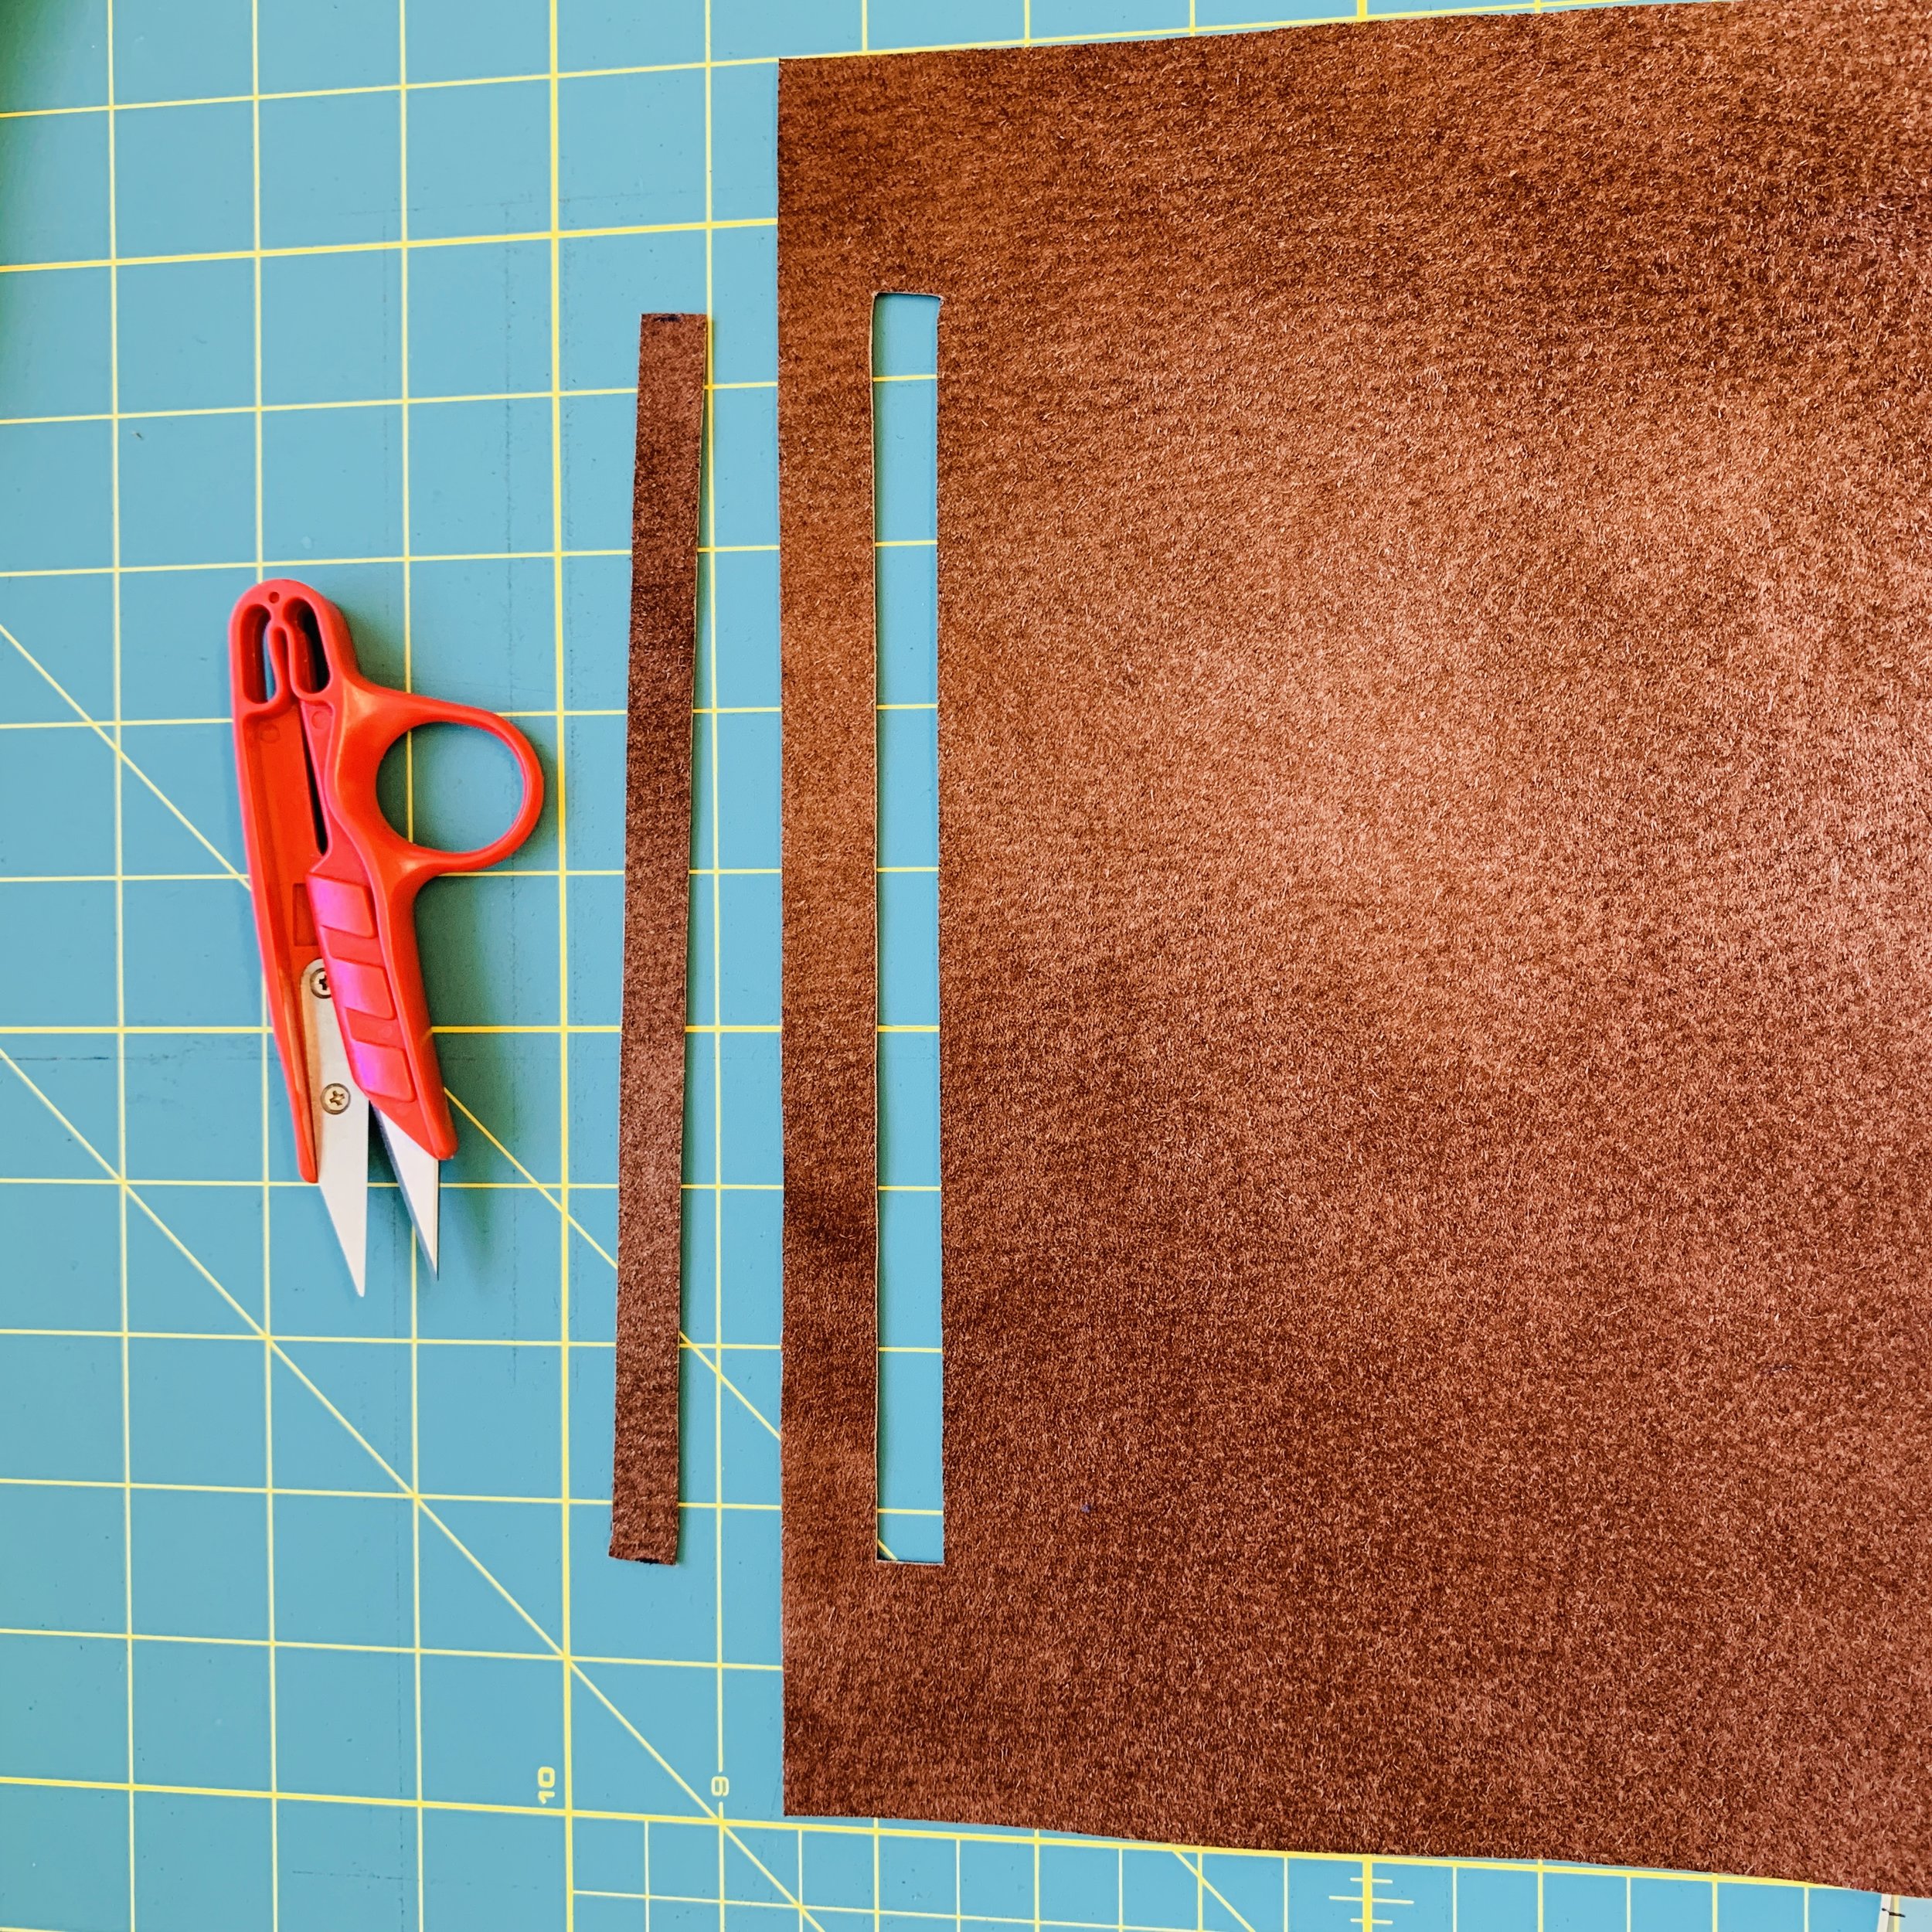
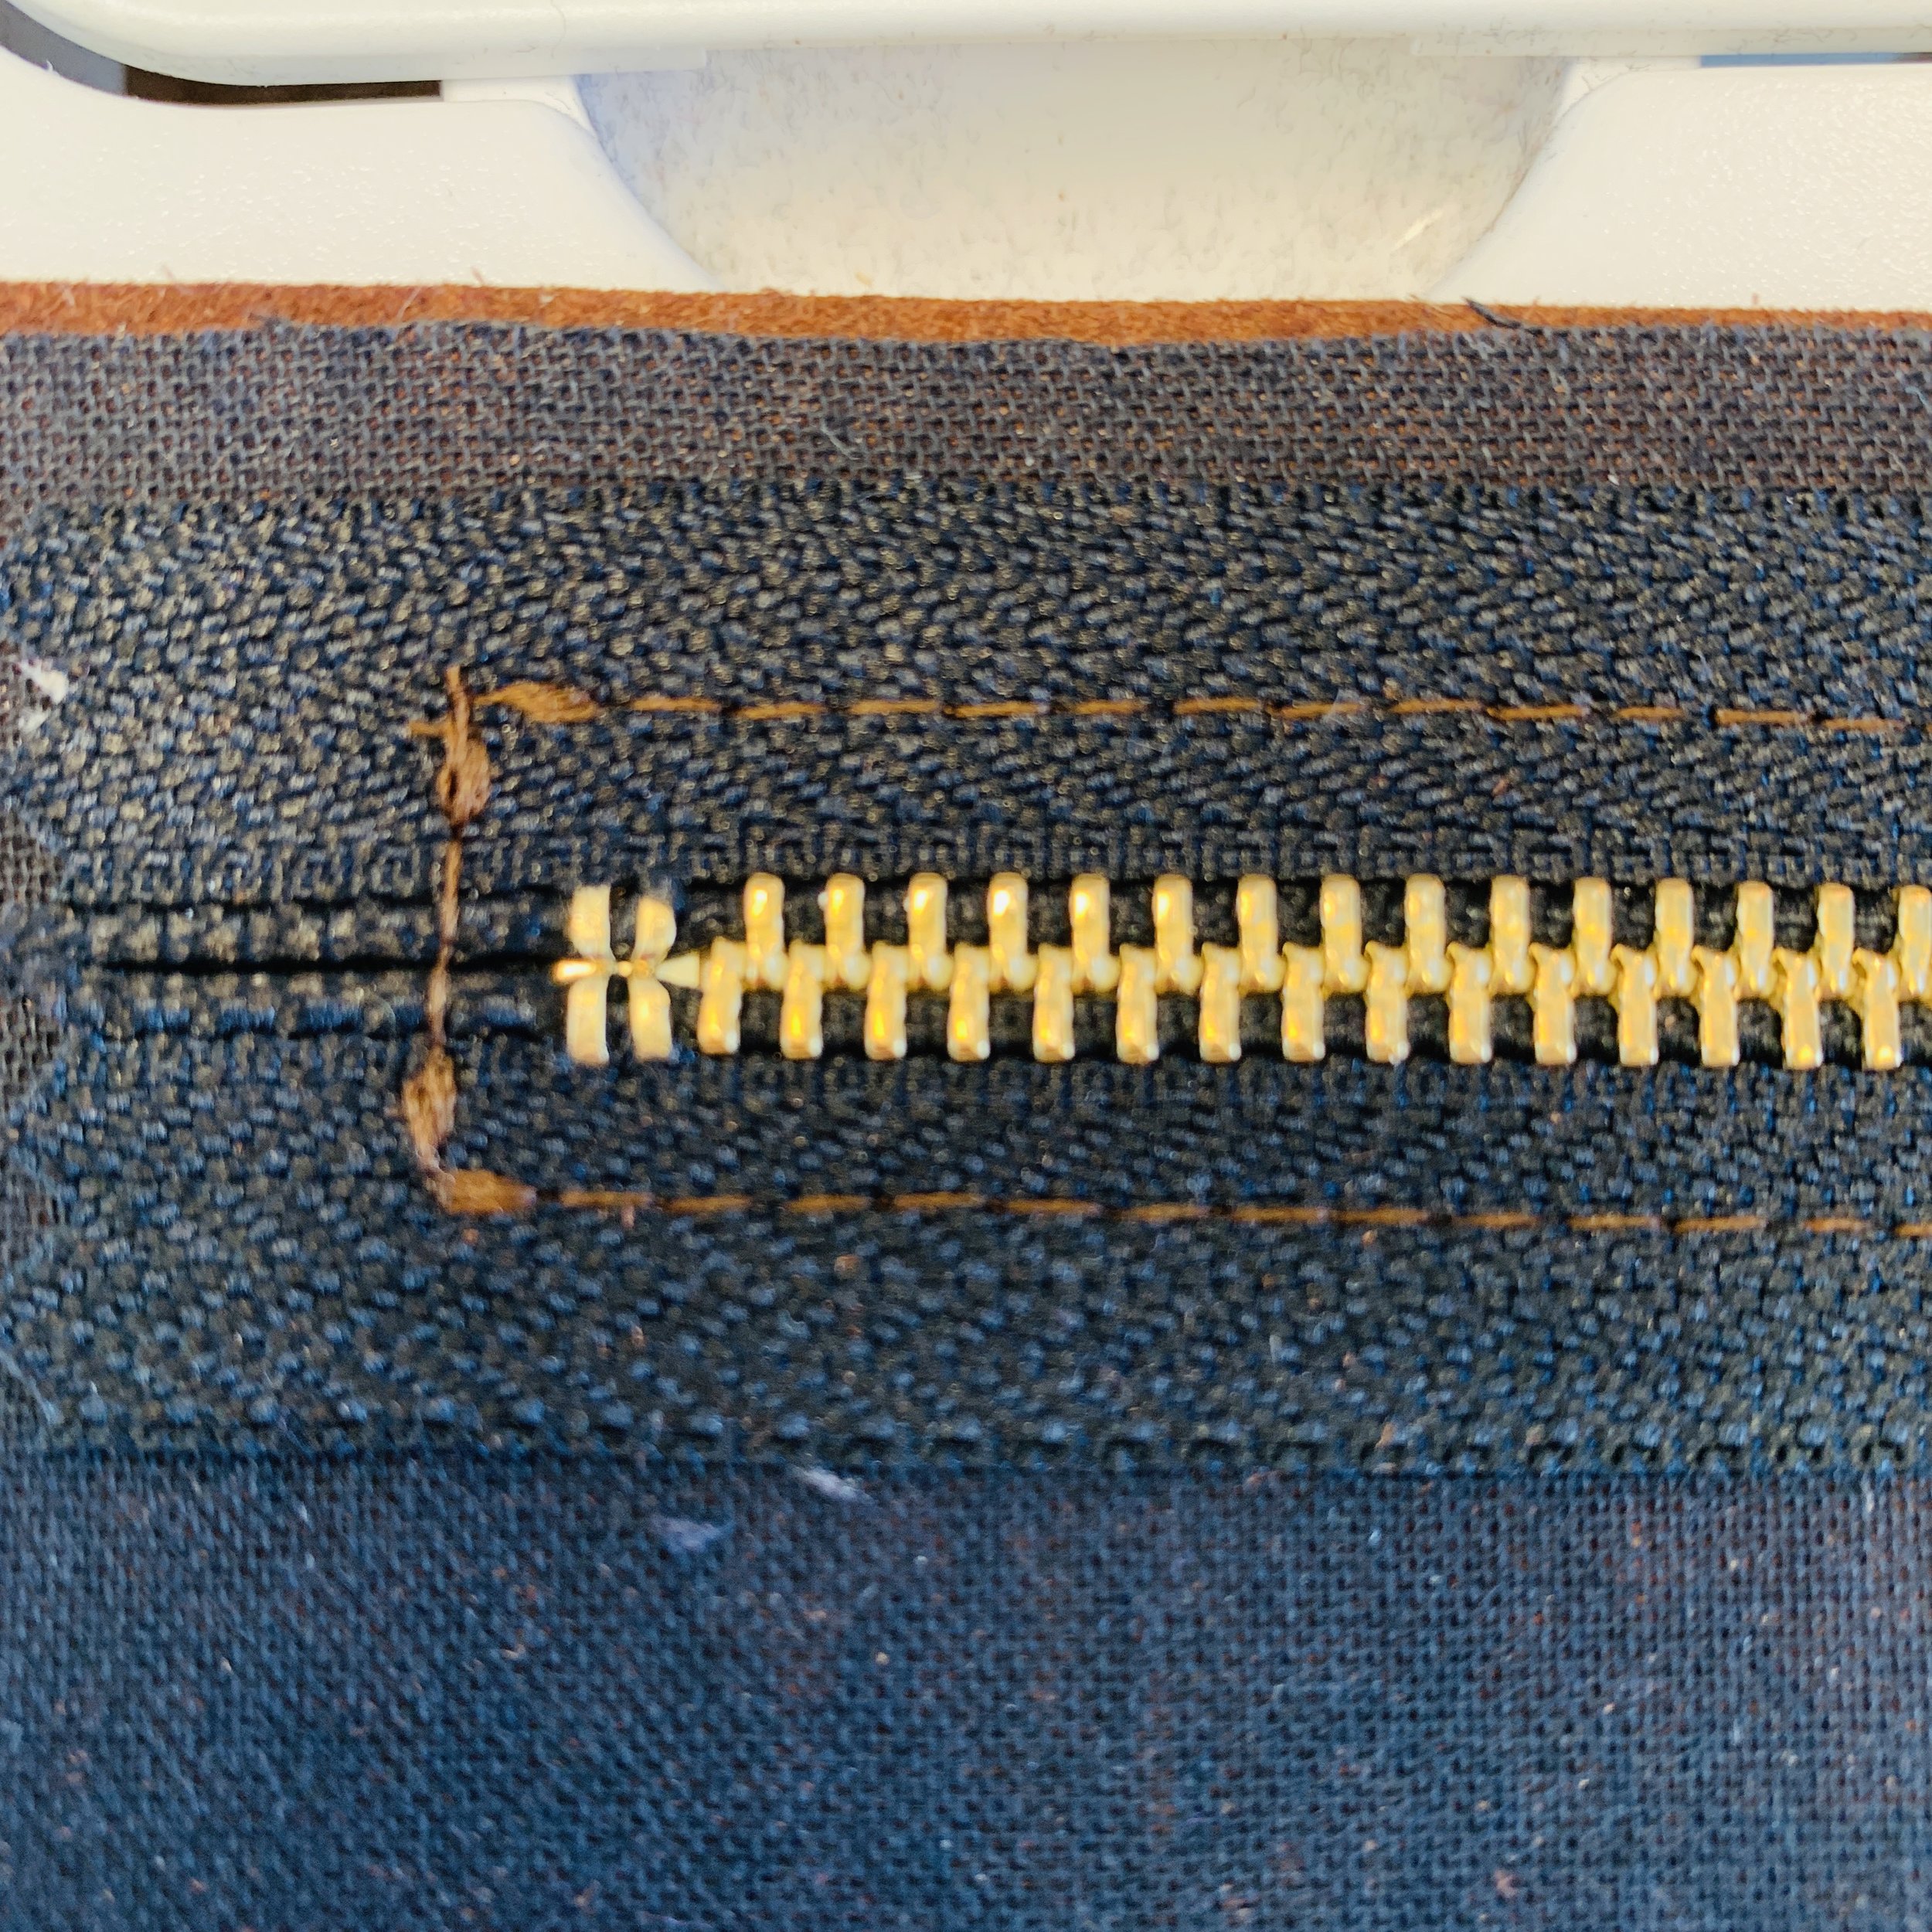
Cut the slide, the opening should be 1 cm (3/4”) wide.
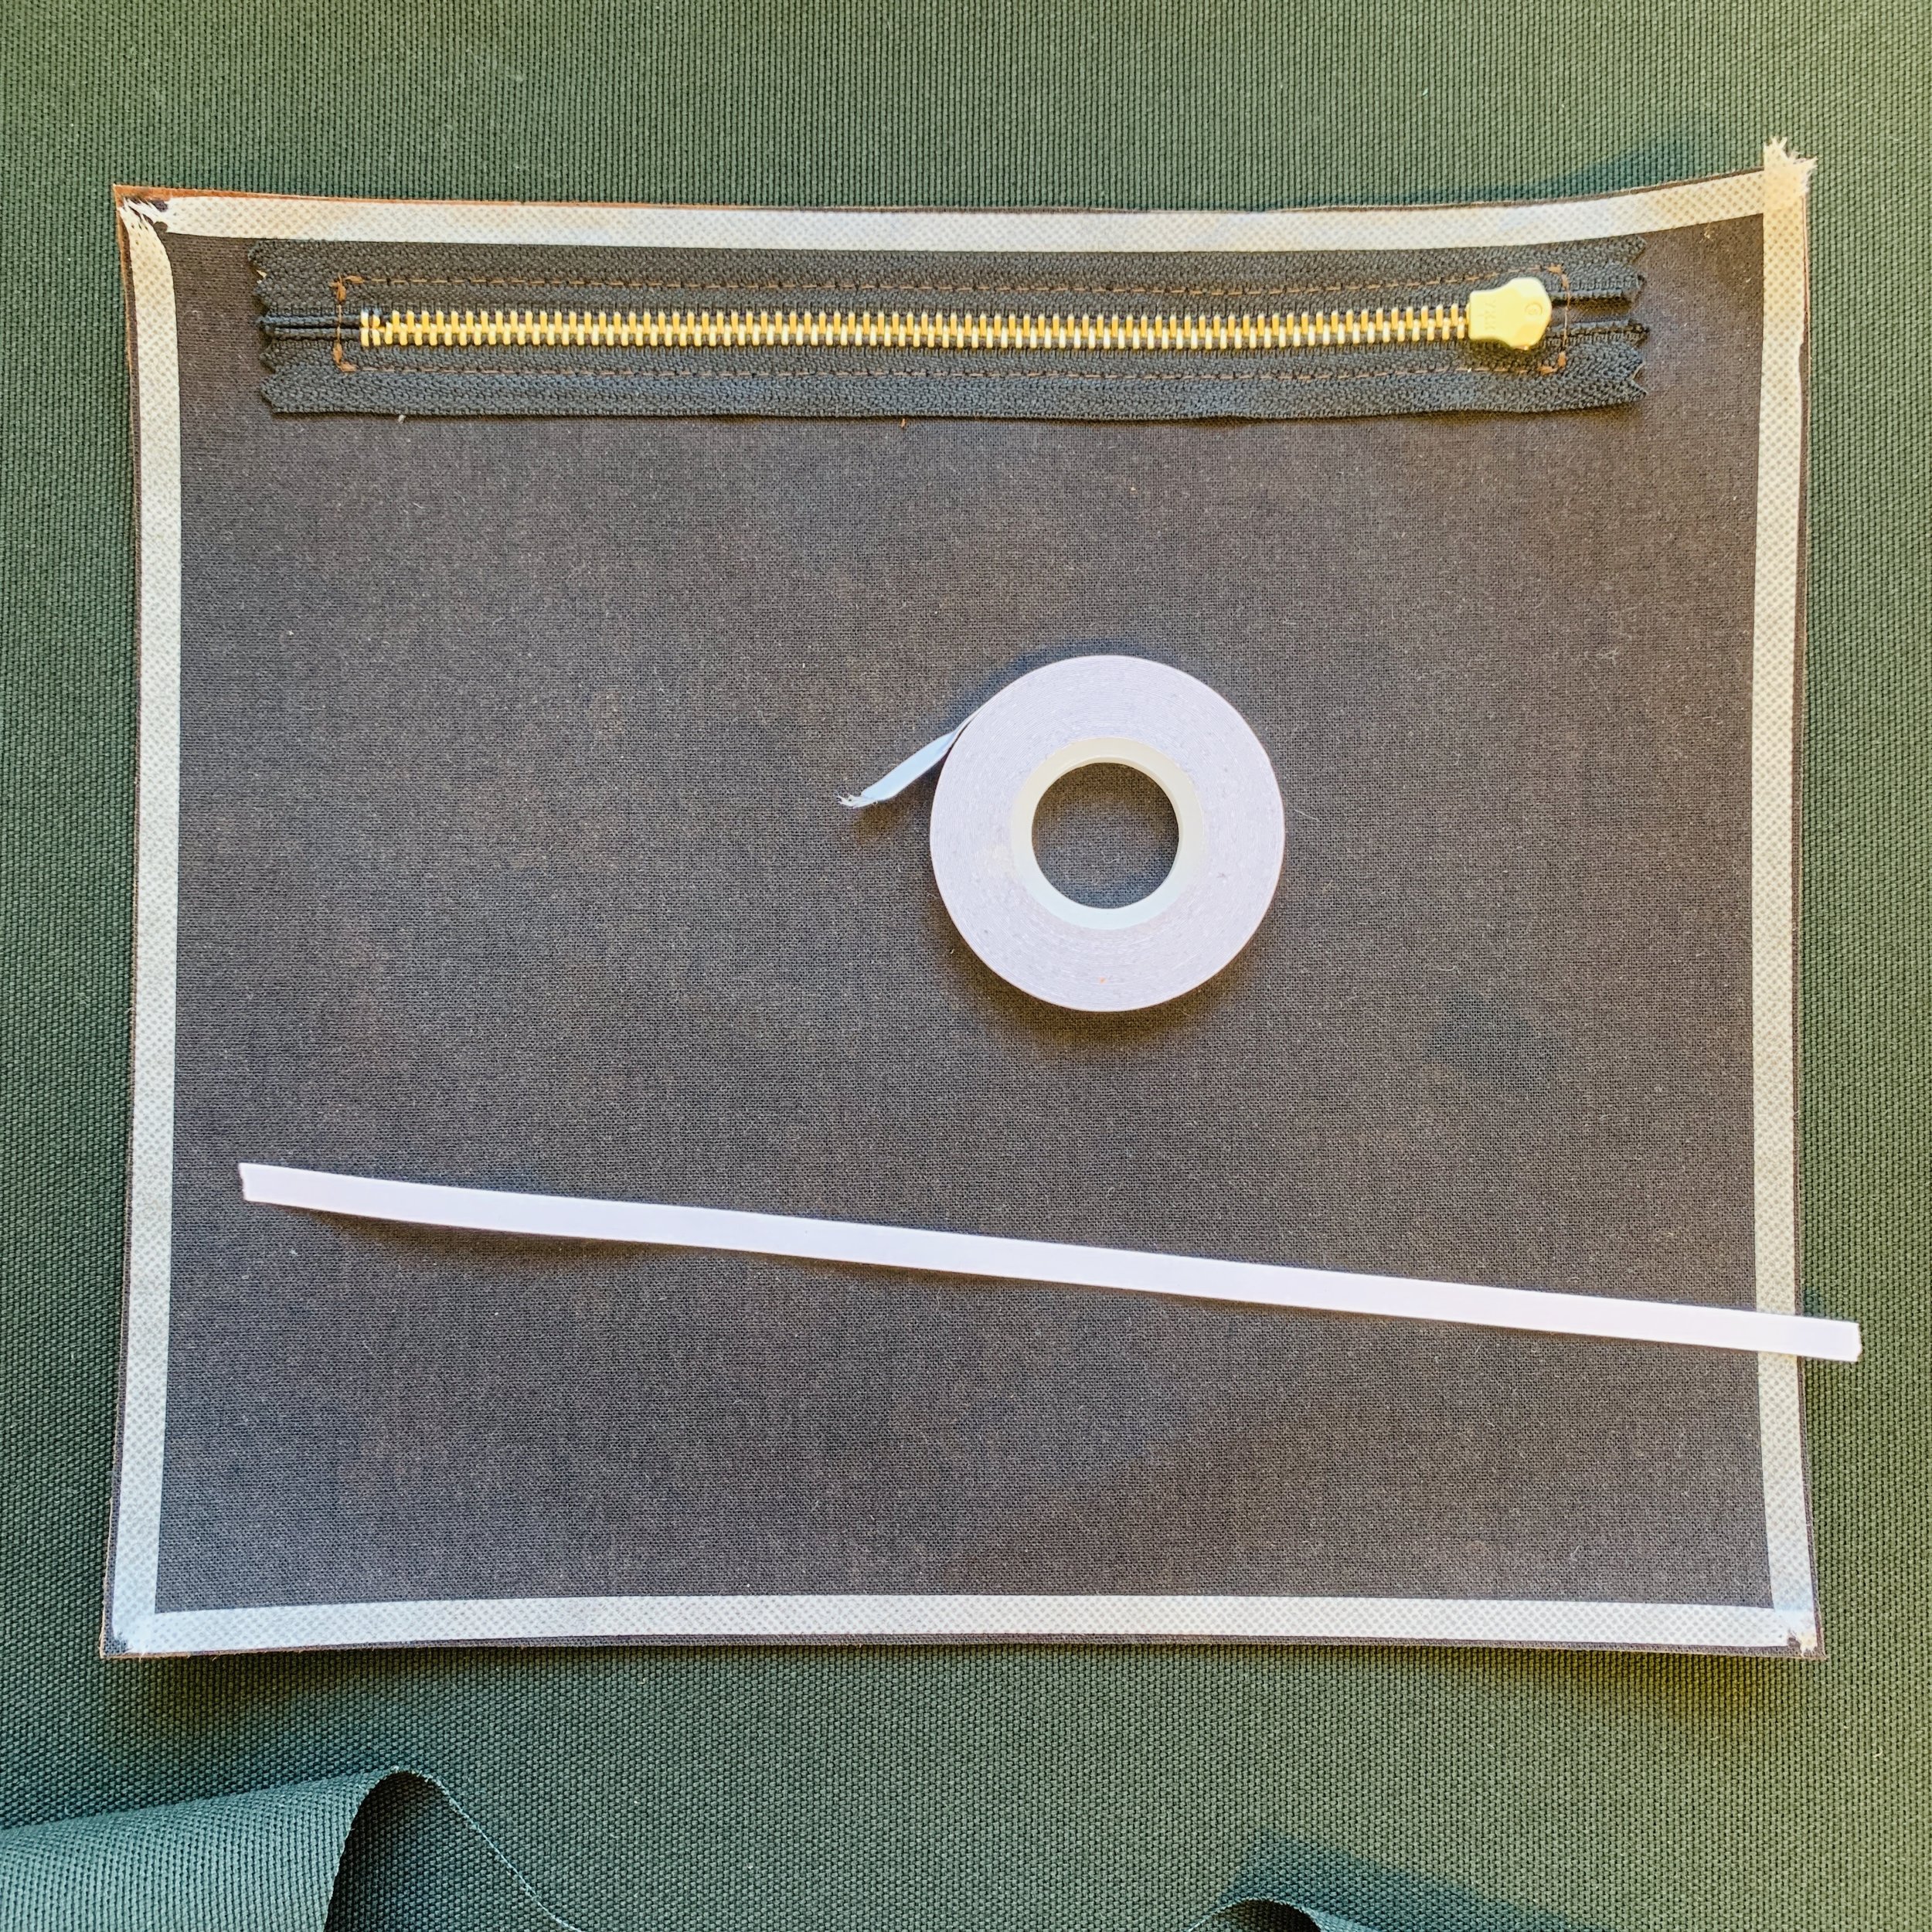
Use double tape on the wrong side of the pocket so the zipper stays in place and does not wrinkles when you stitch it in place. Backstitch at the corners.
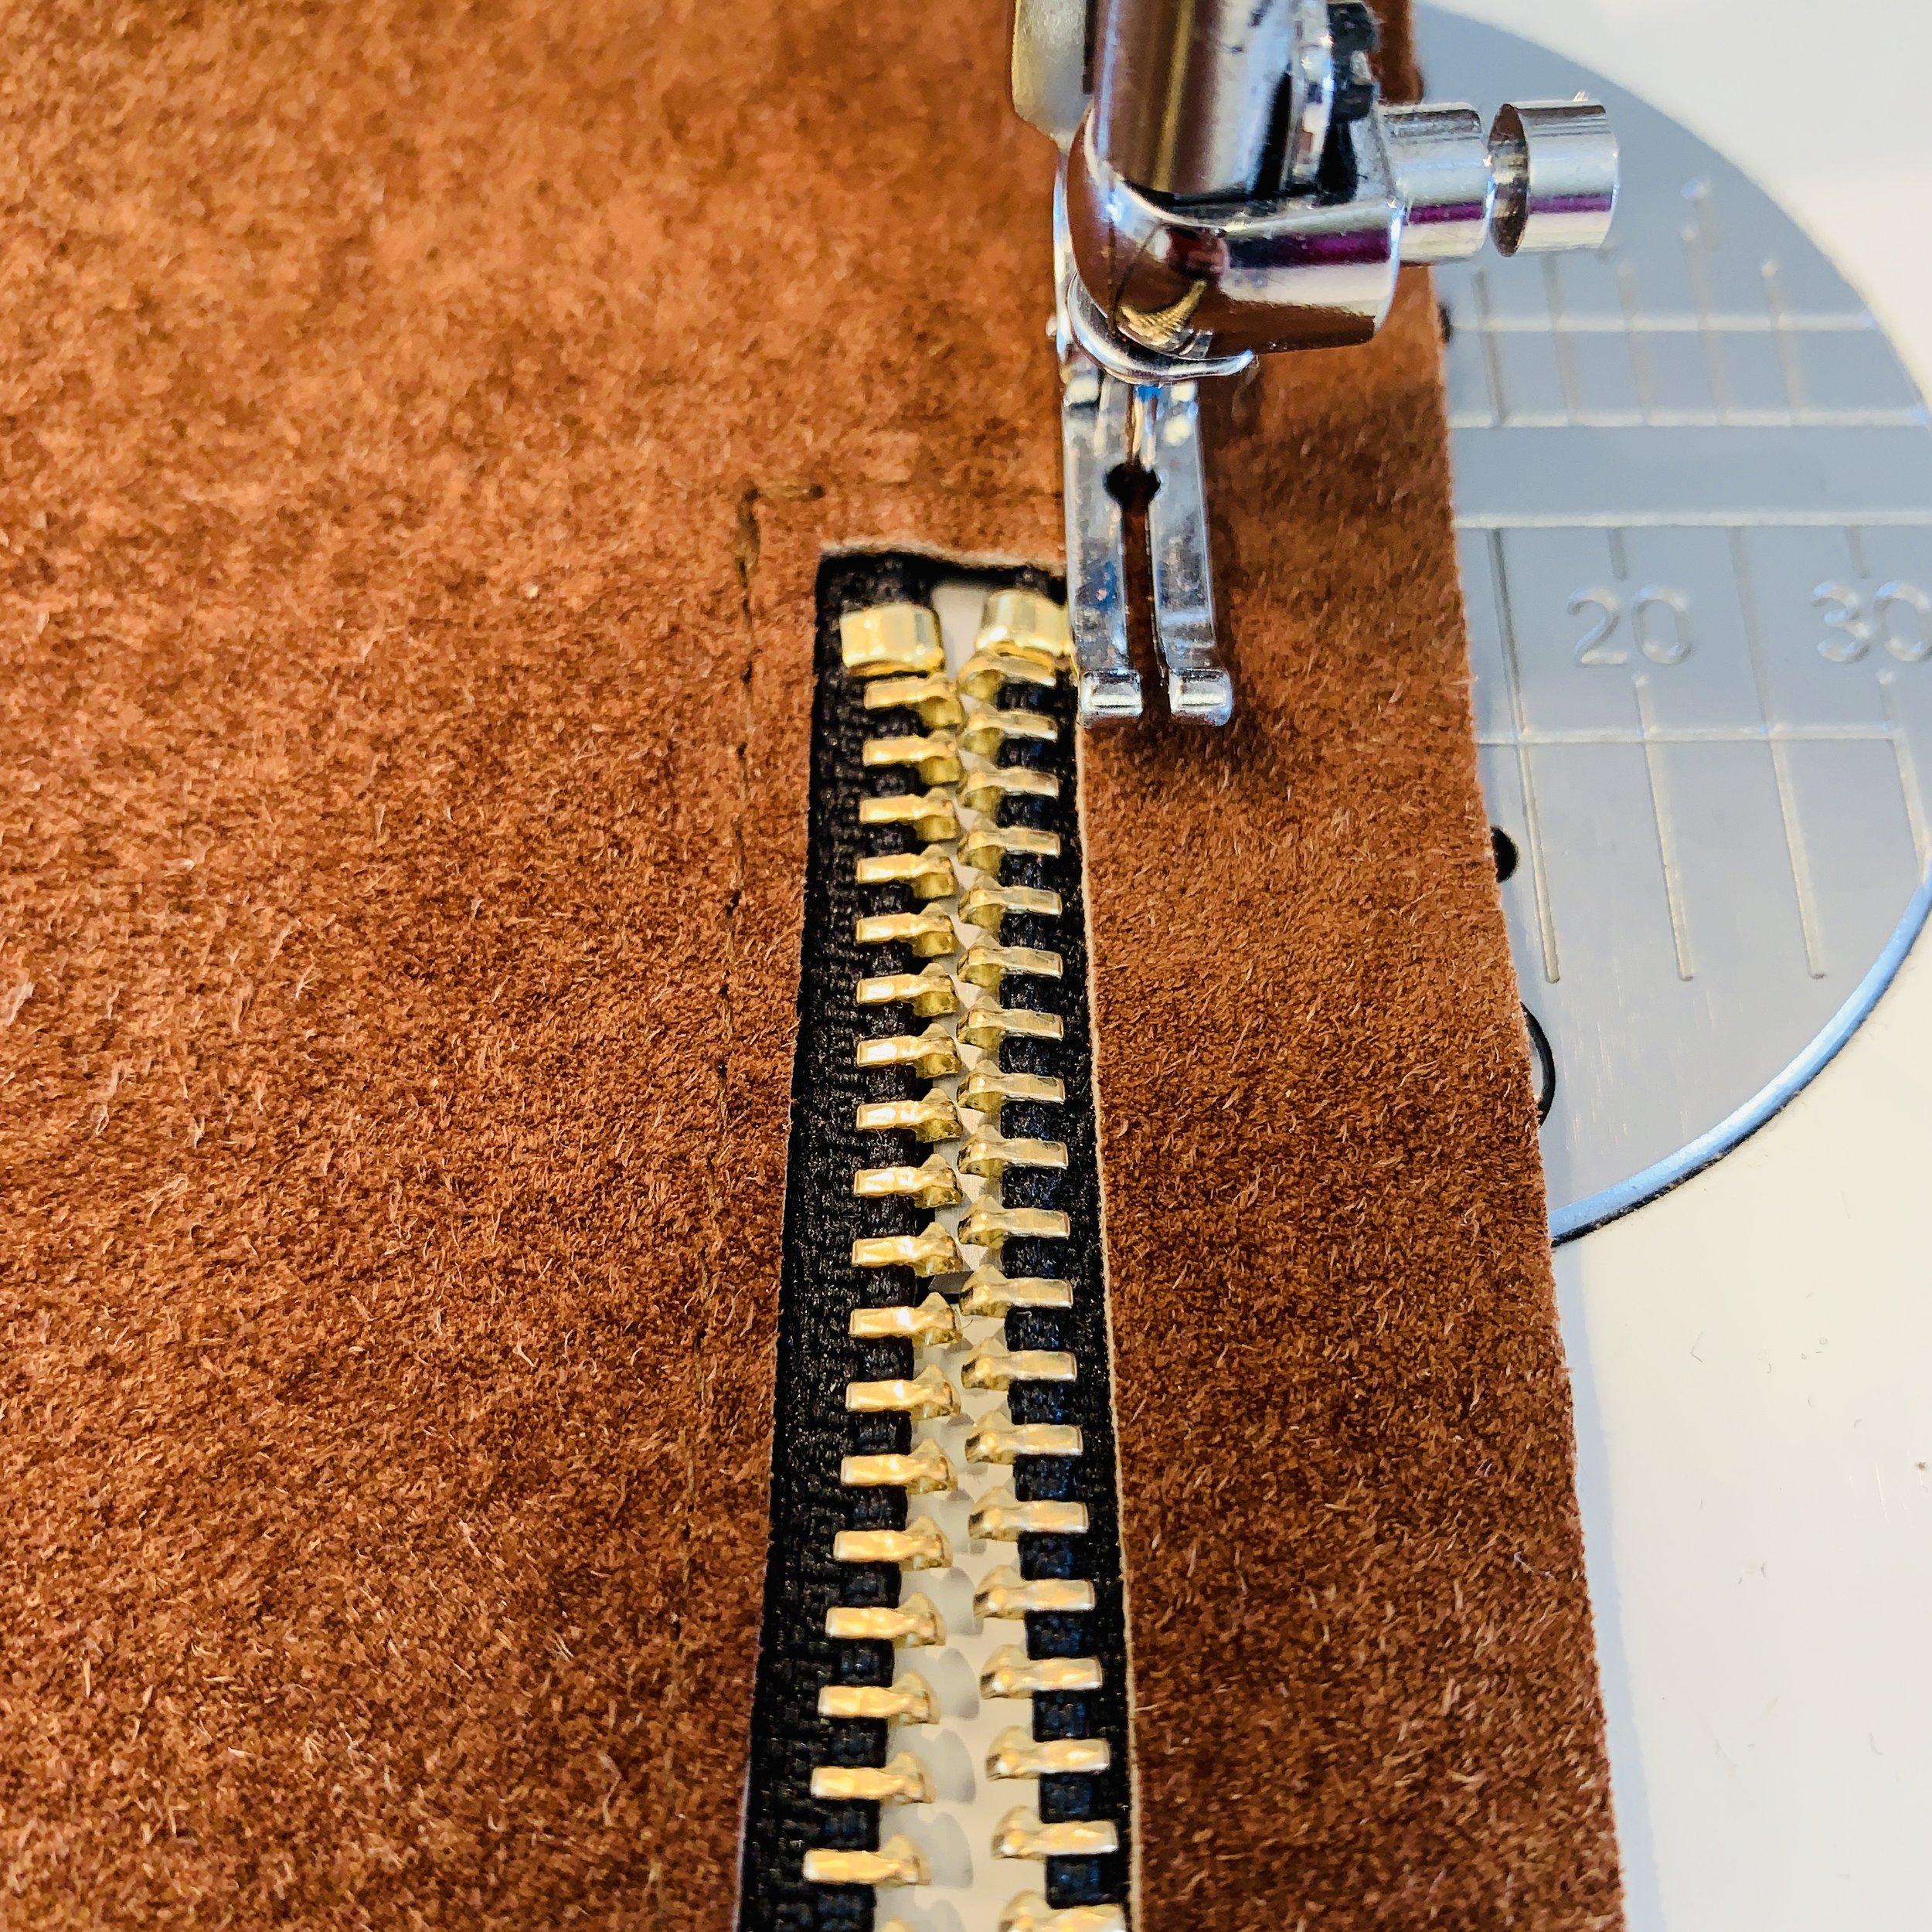
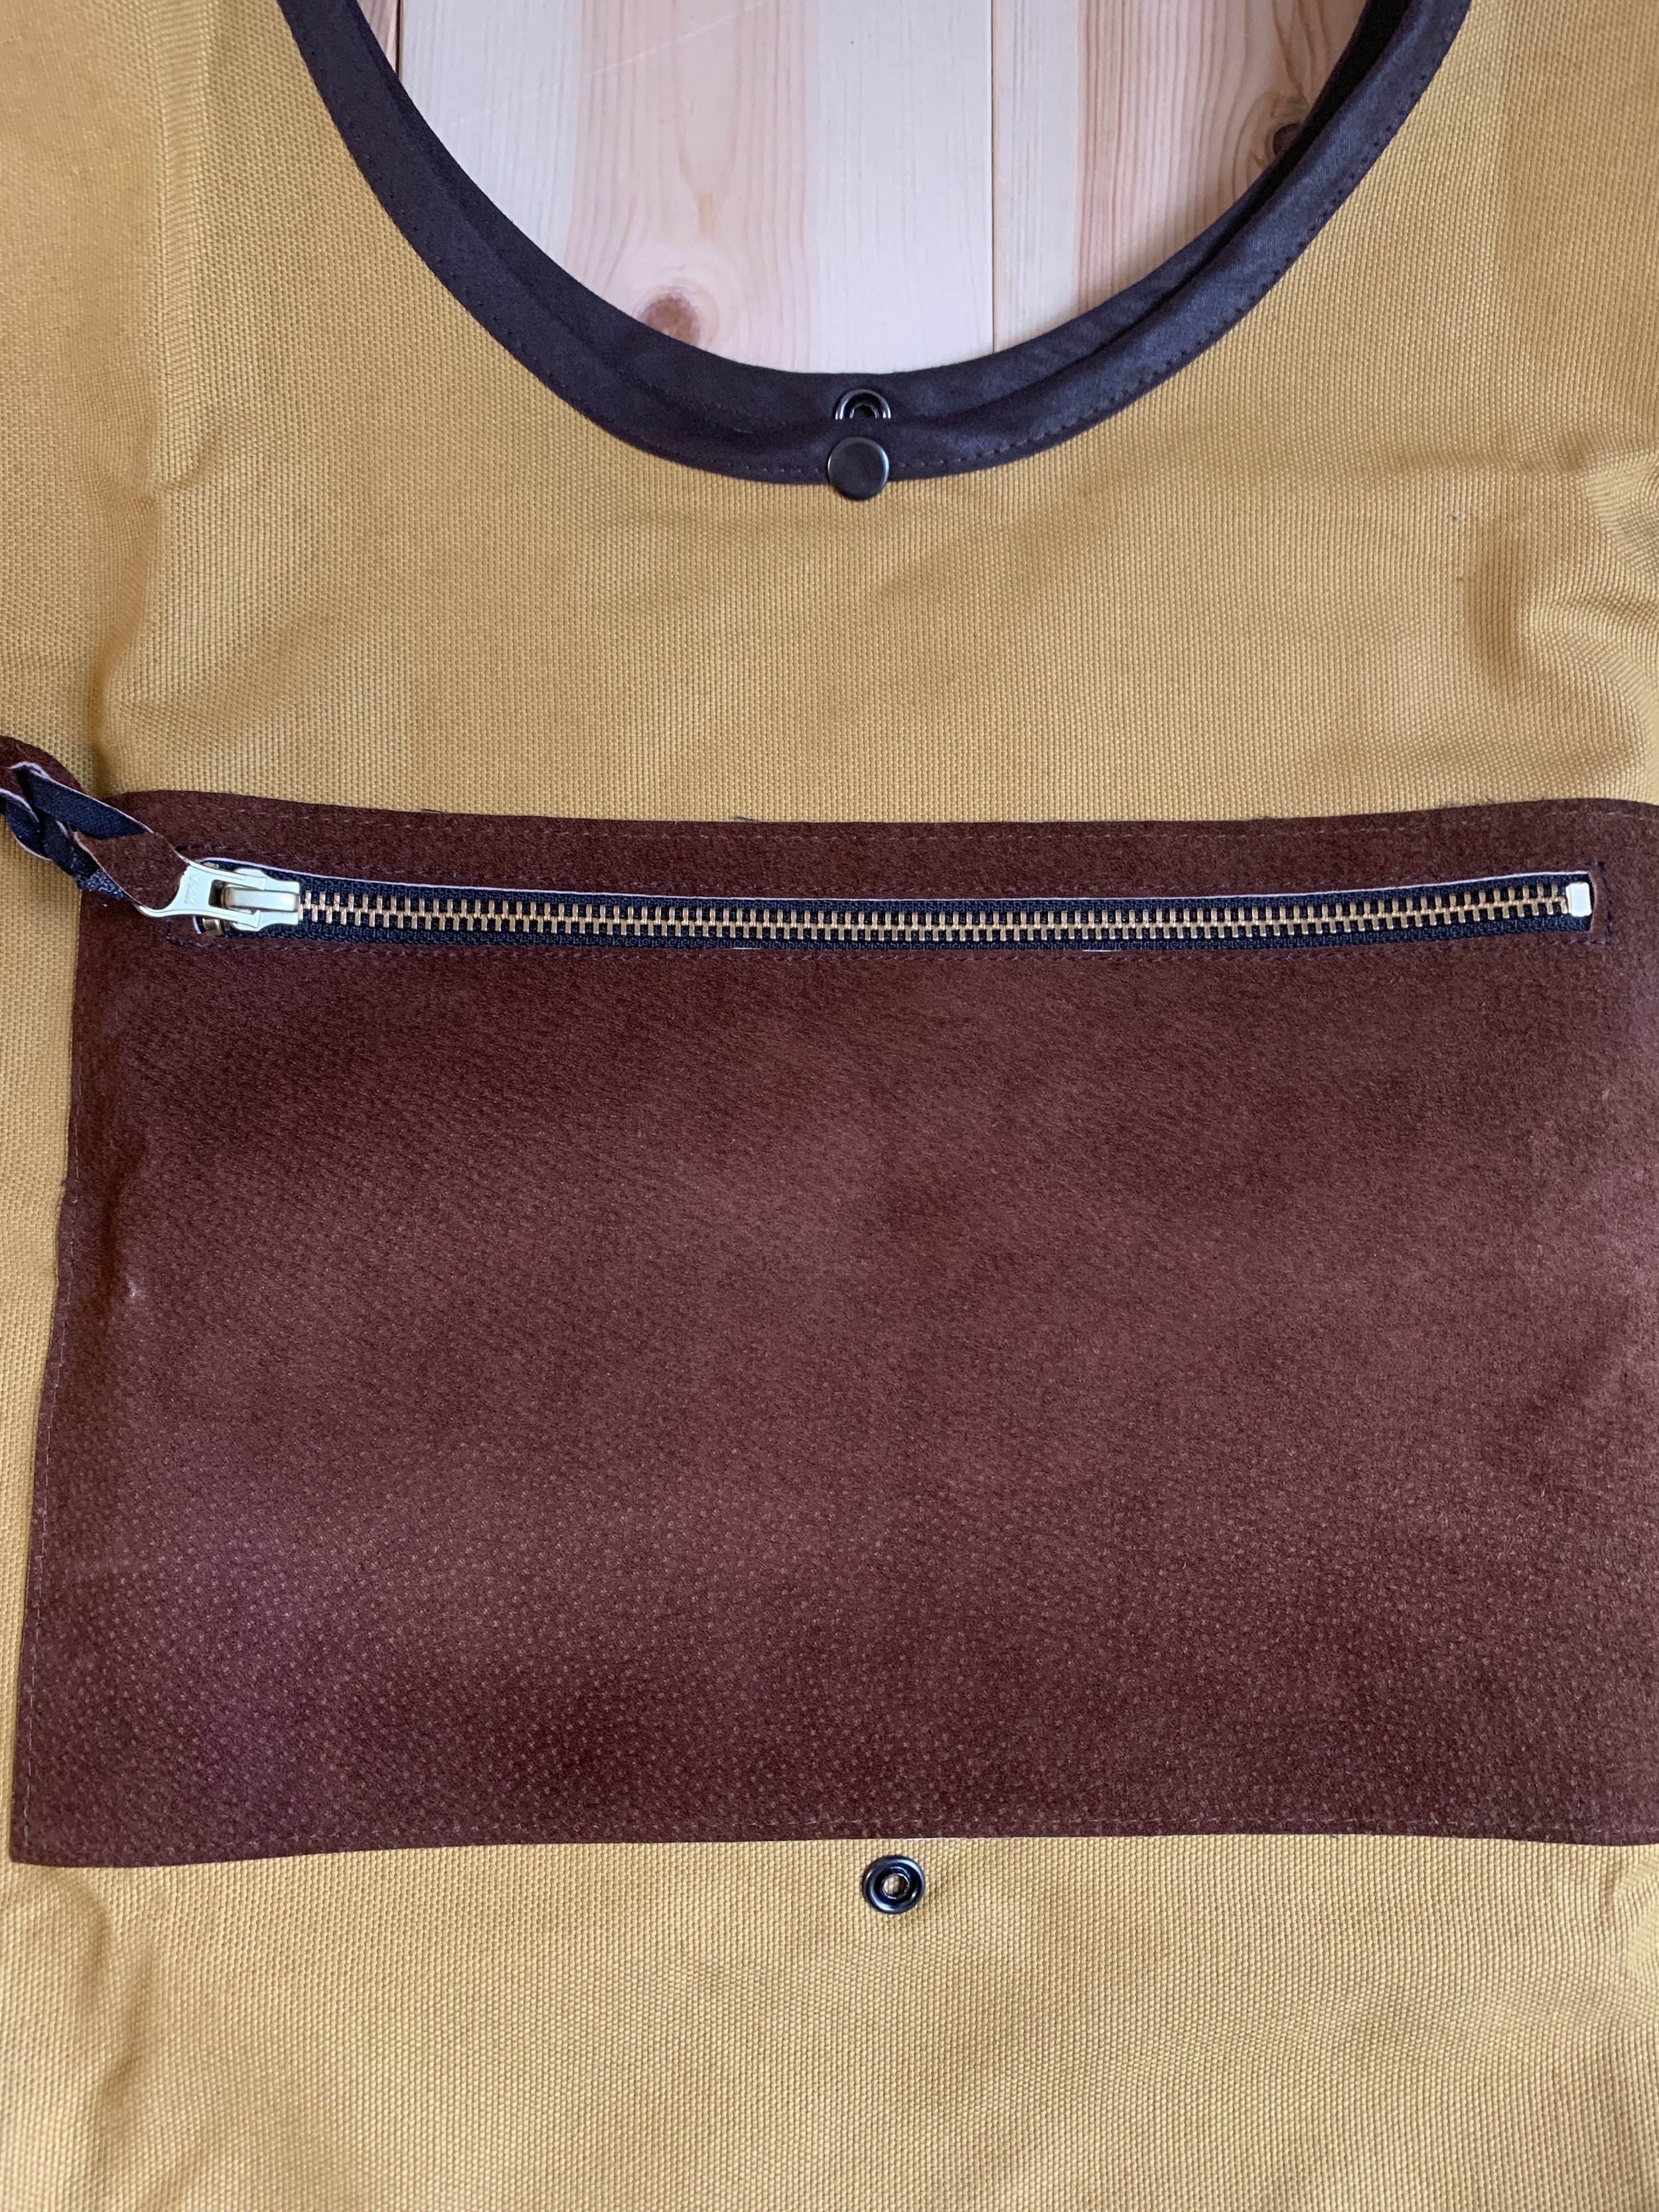
This is how your pocket looks like at this stage.
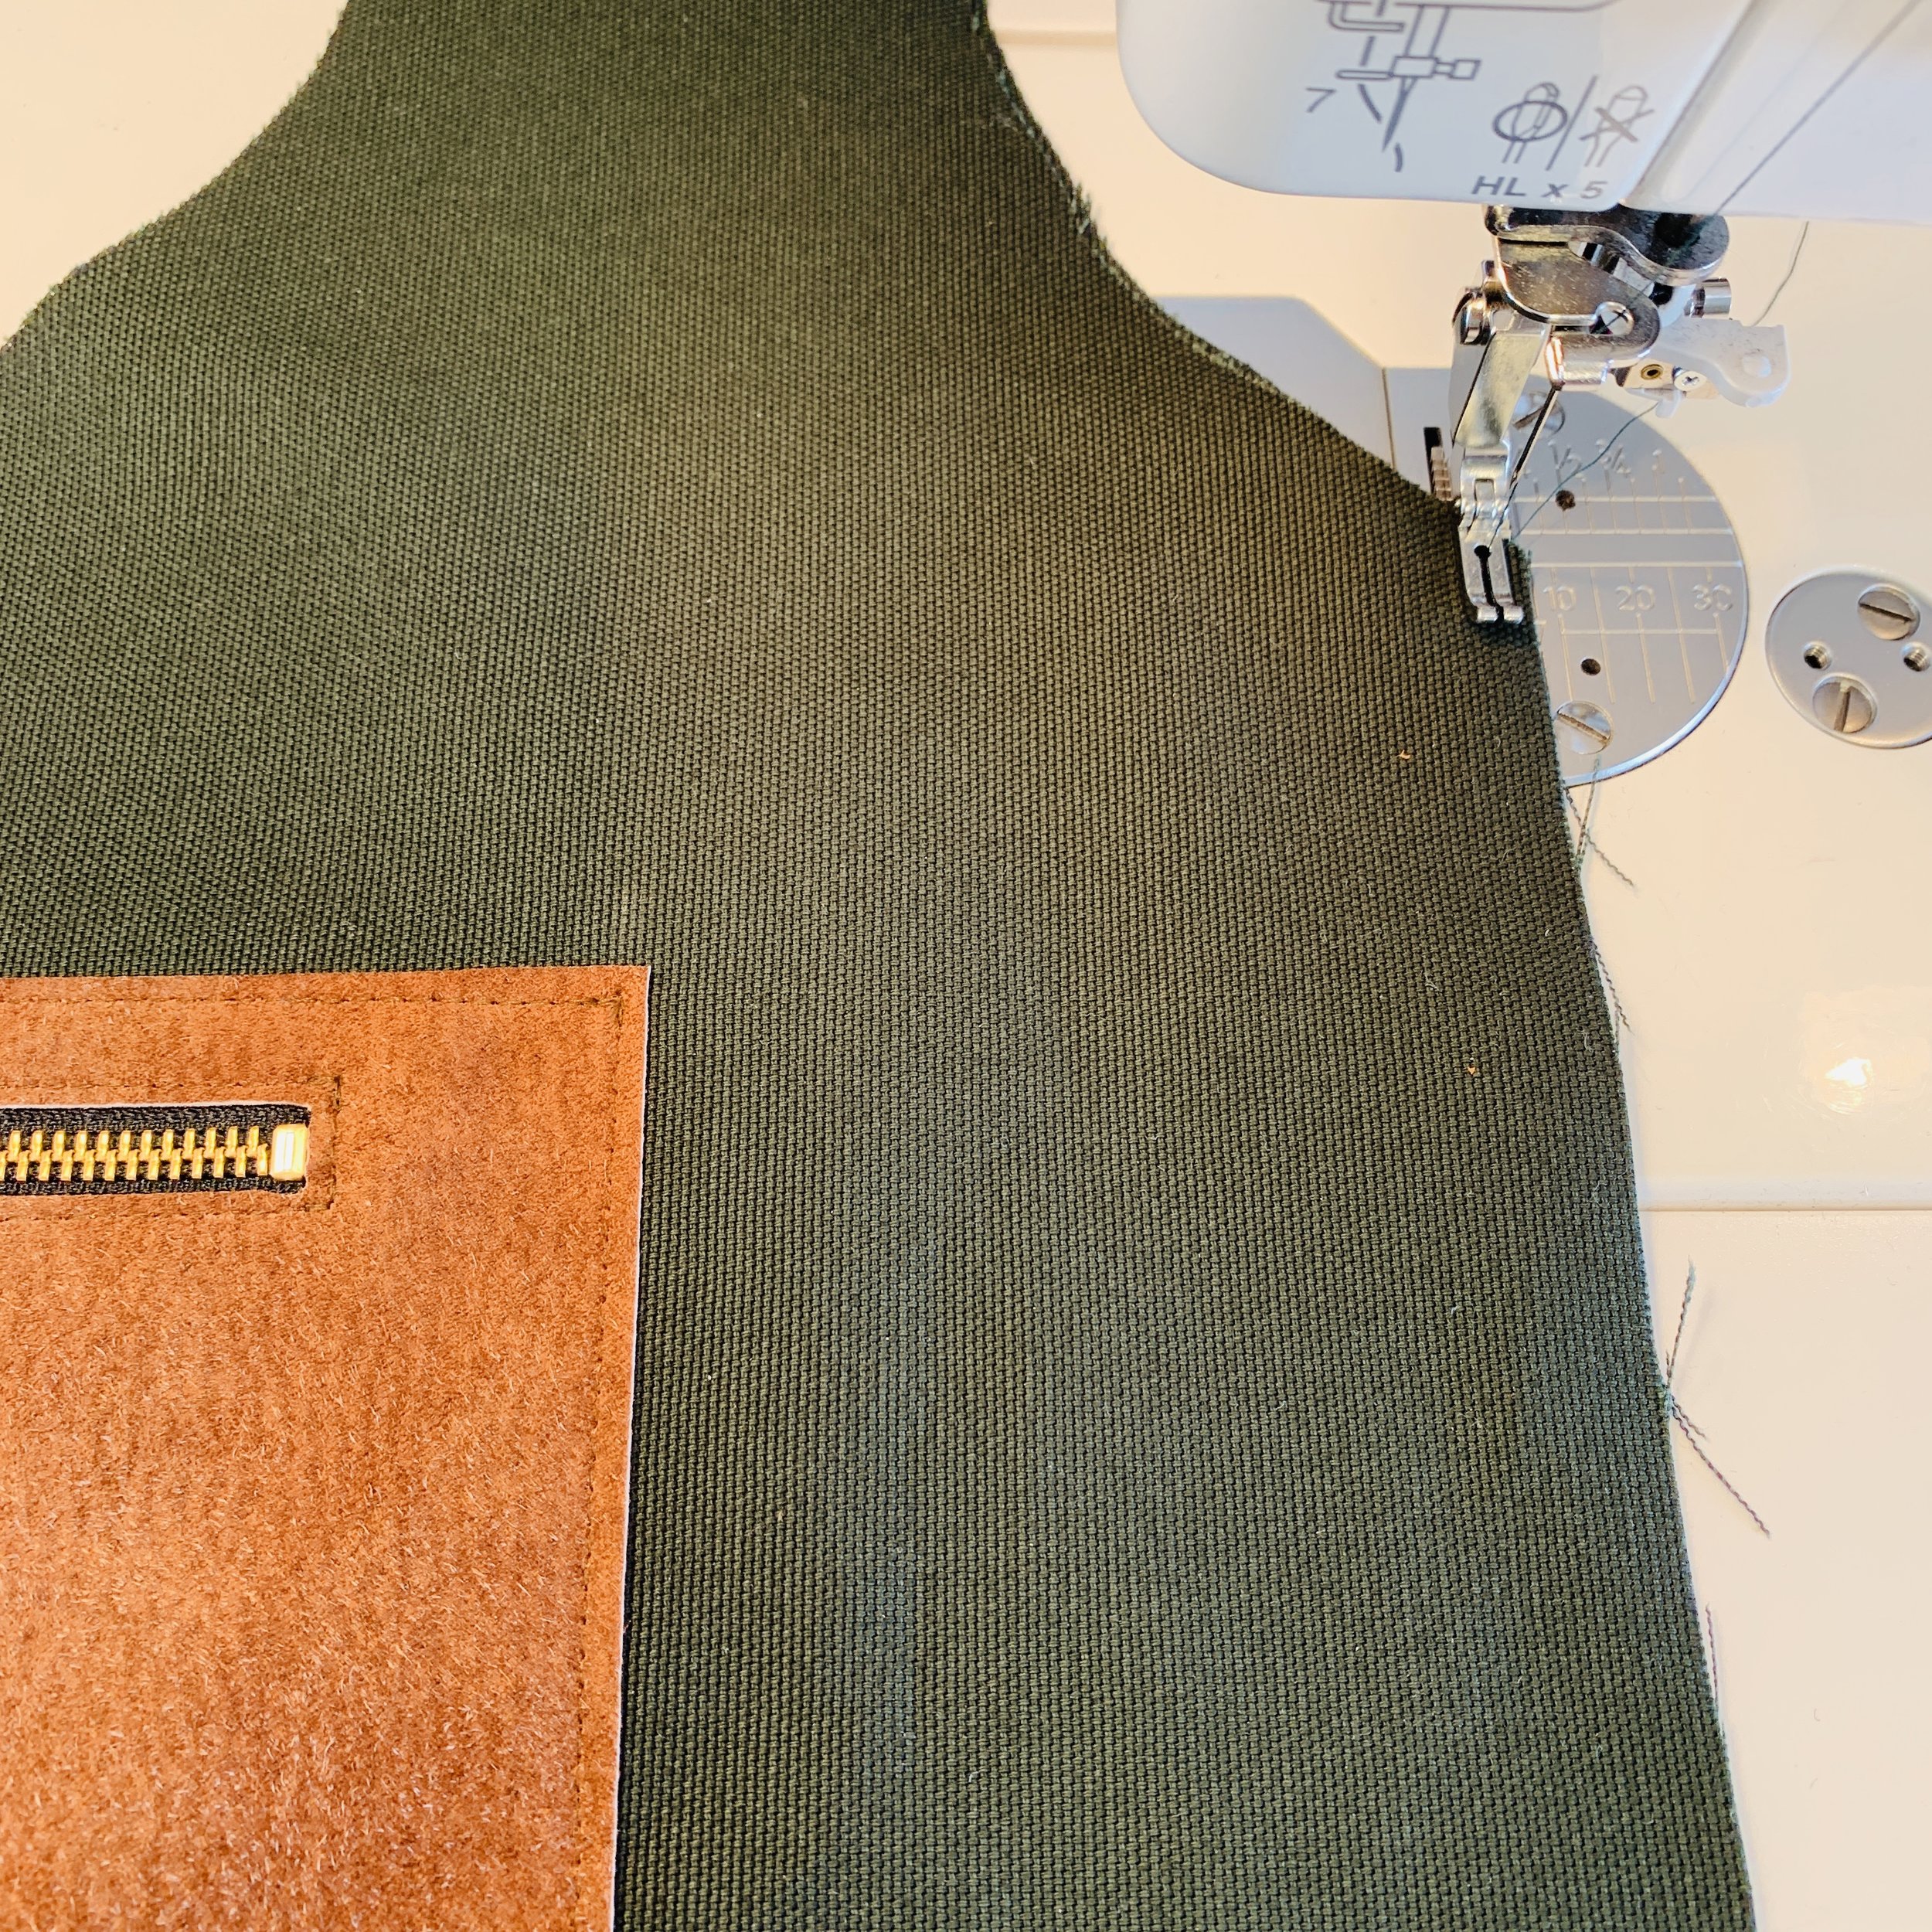
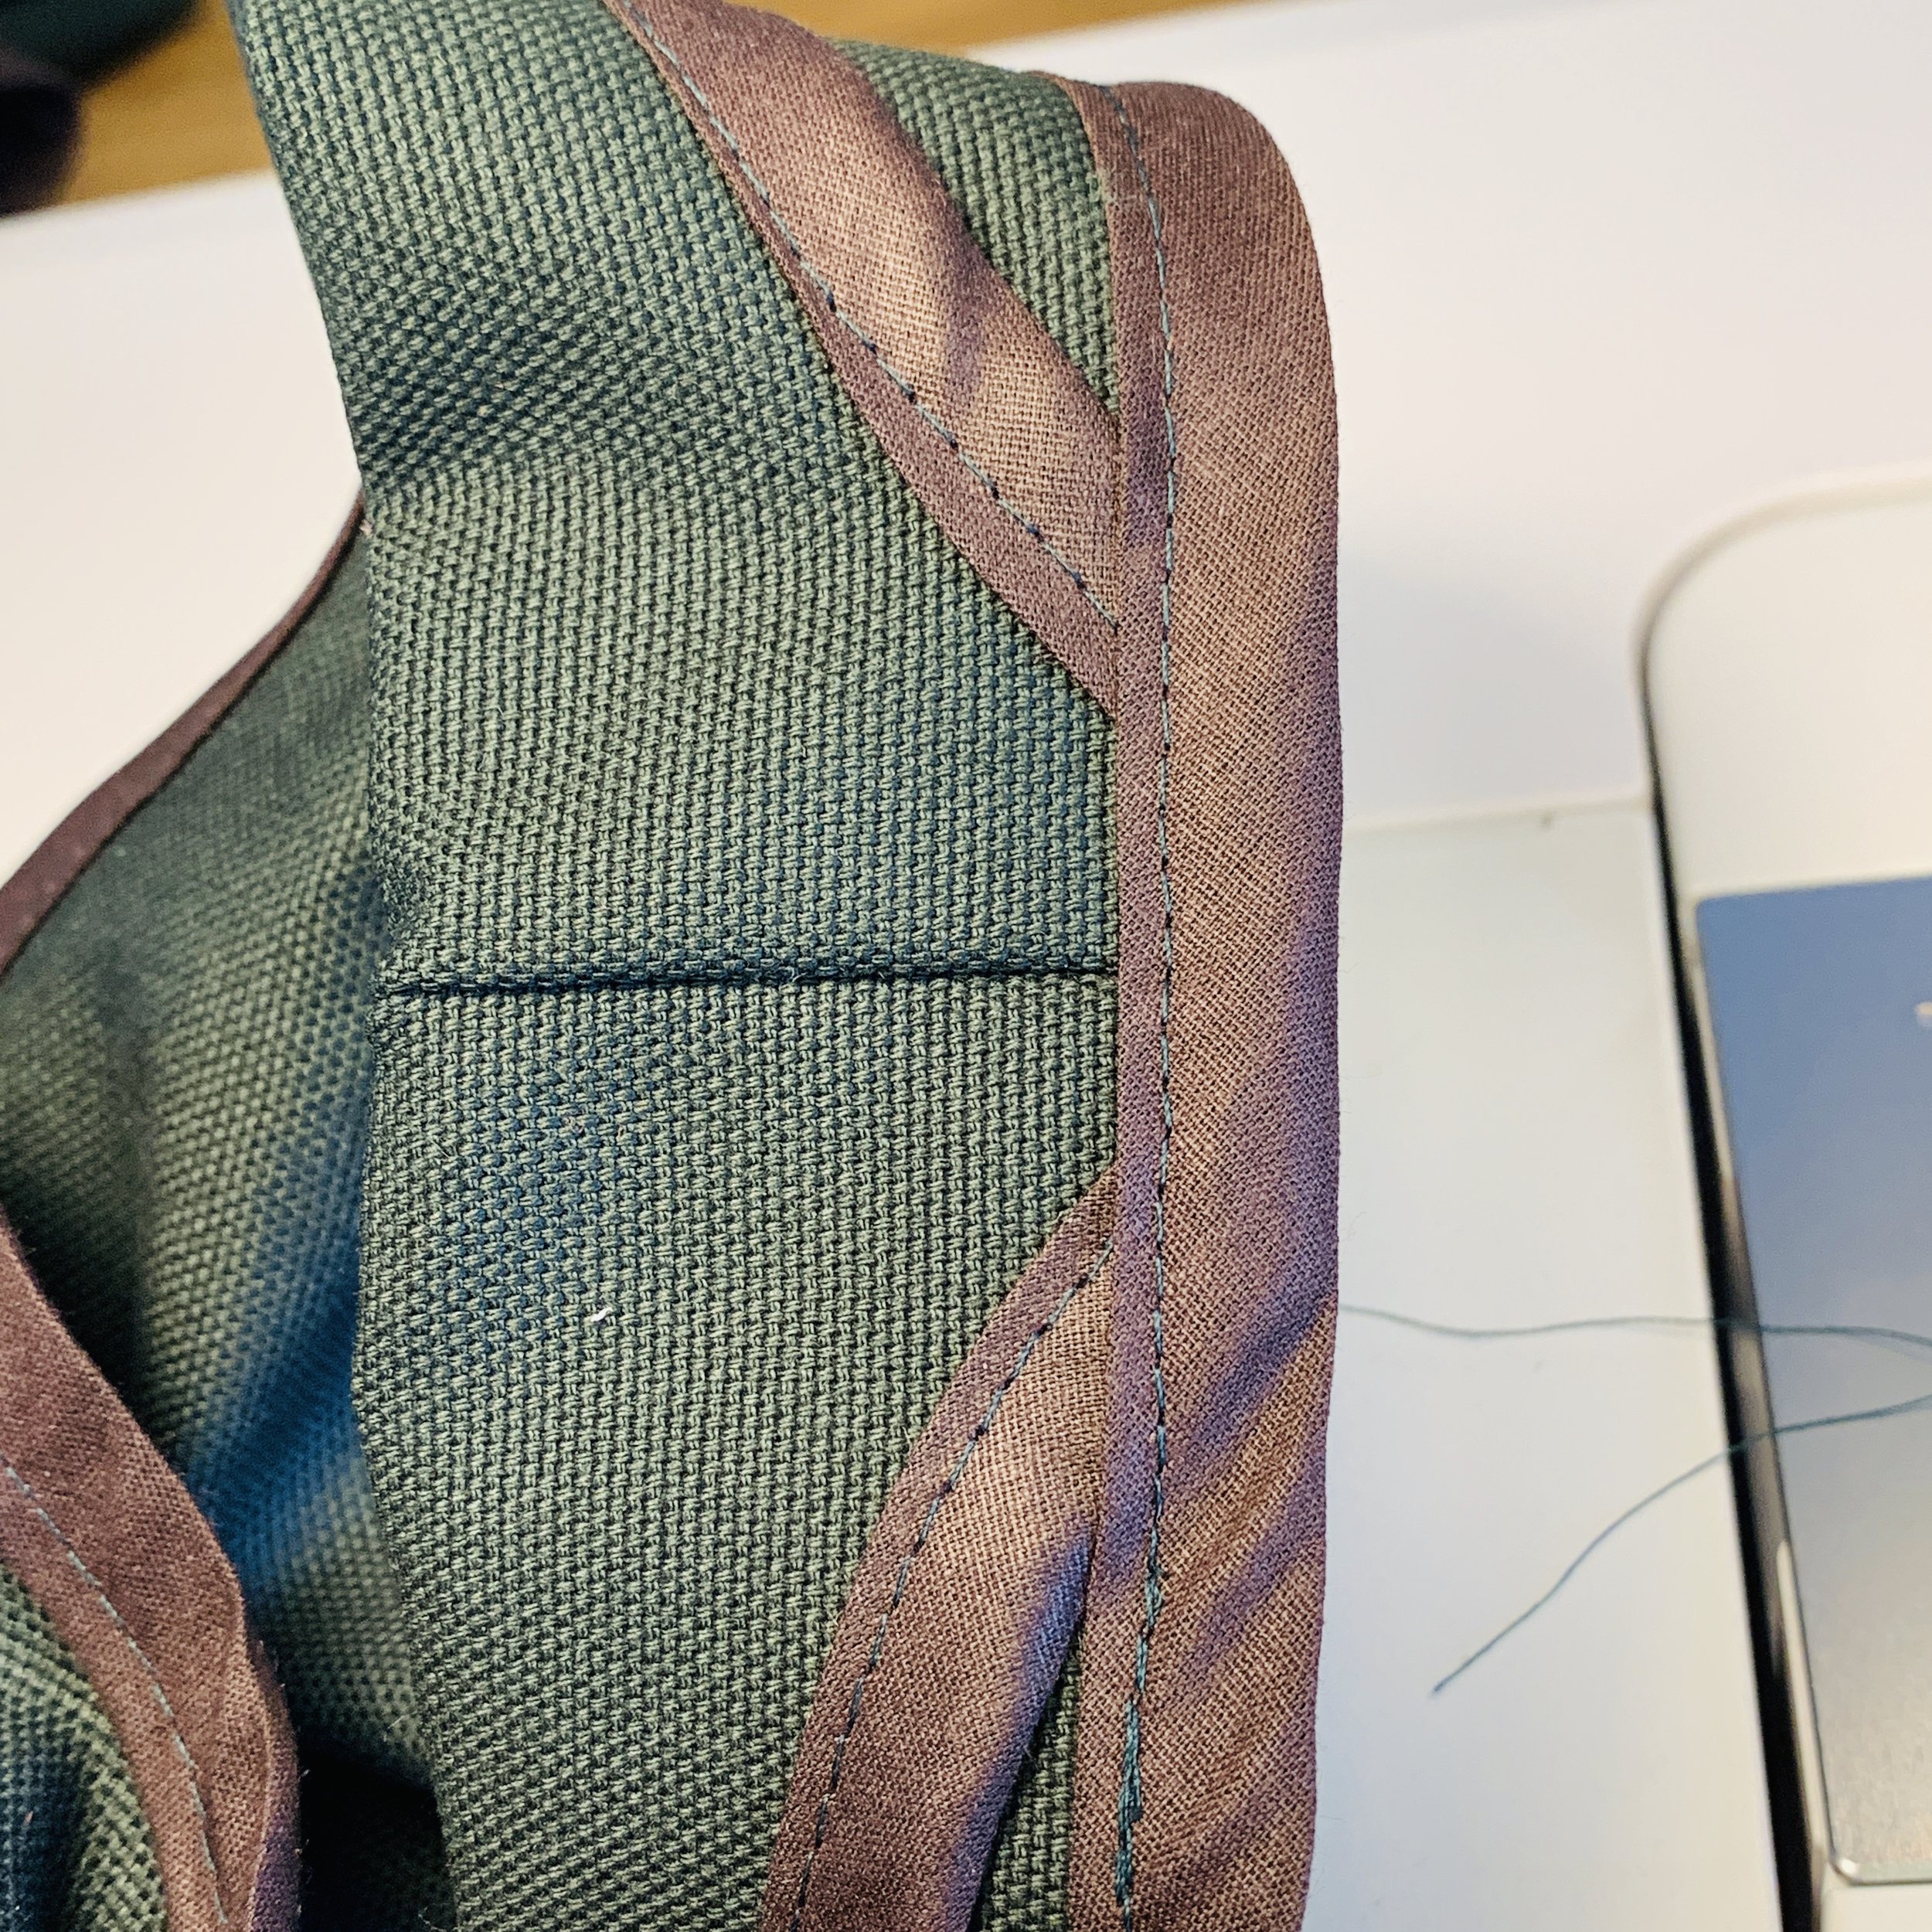
Place the pocket in the middle of your bag, use double sided tape on the perimeter so the leather stays in place and does not wrinkles/stretches when you stitch it on. Pin it and stitch it in place near to the edge (2 mm), backstitch at the corners.

IMG_5062
You can make one more pocket that you place inside the bag. Use bias tape to cover the raw edges. Use matching thread, it will be visible on the outer side. Pin it in the middle, stitch in place.

IMG_5065
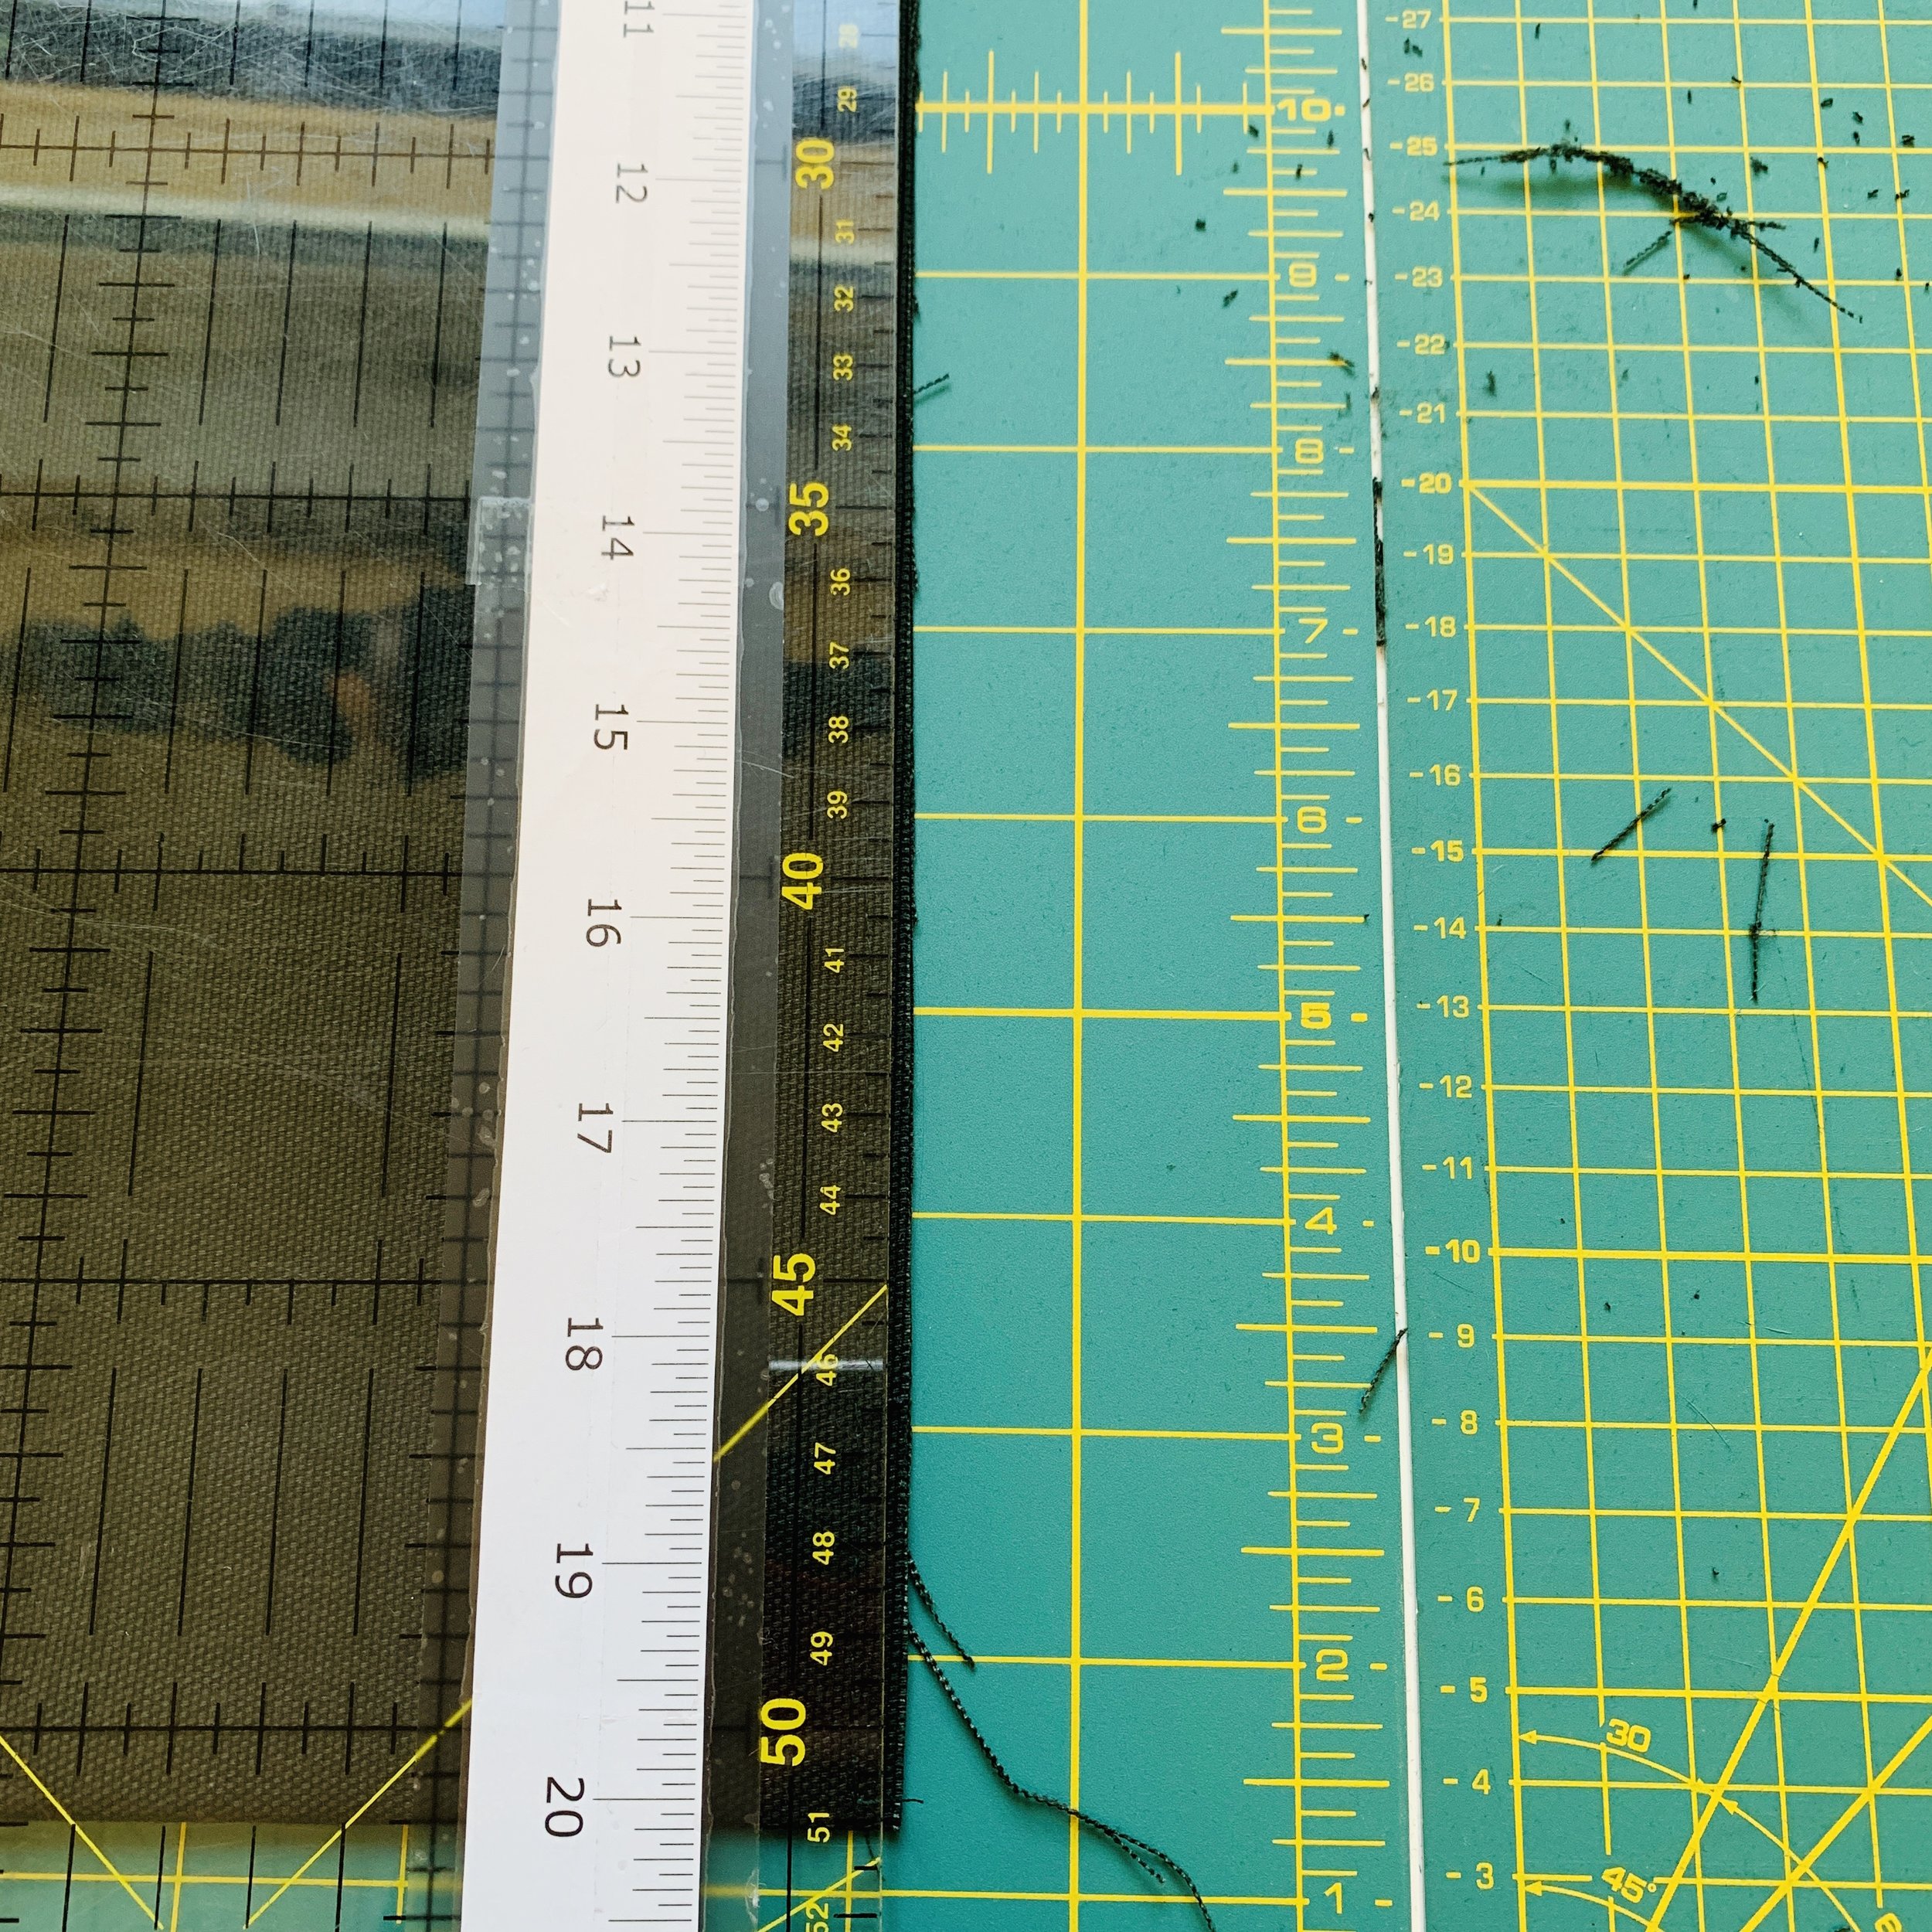
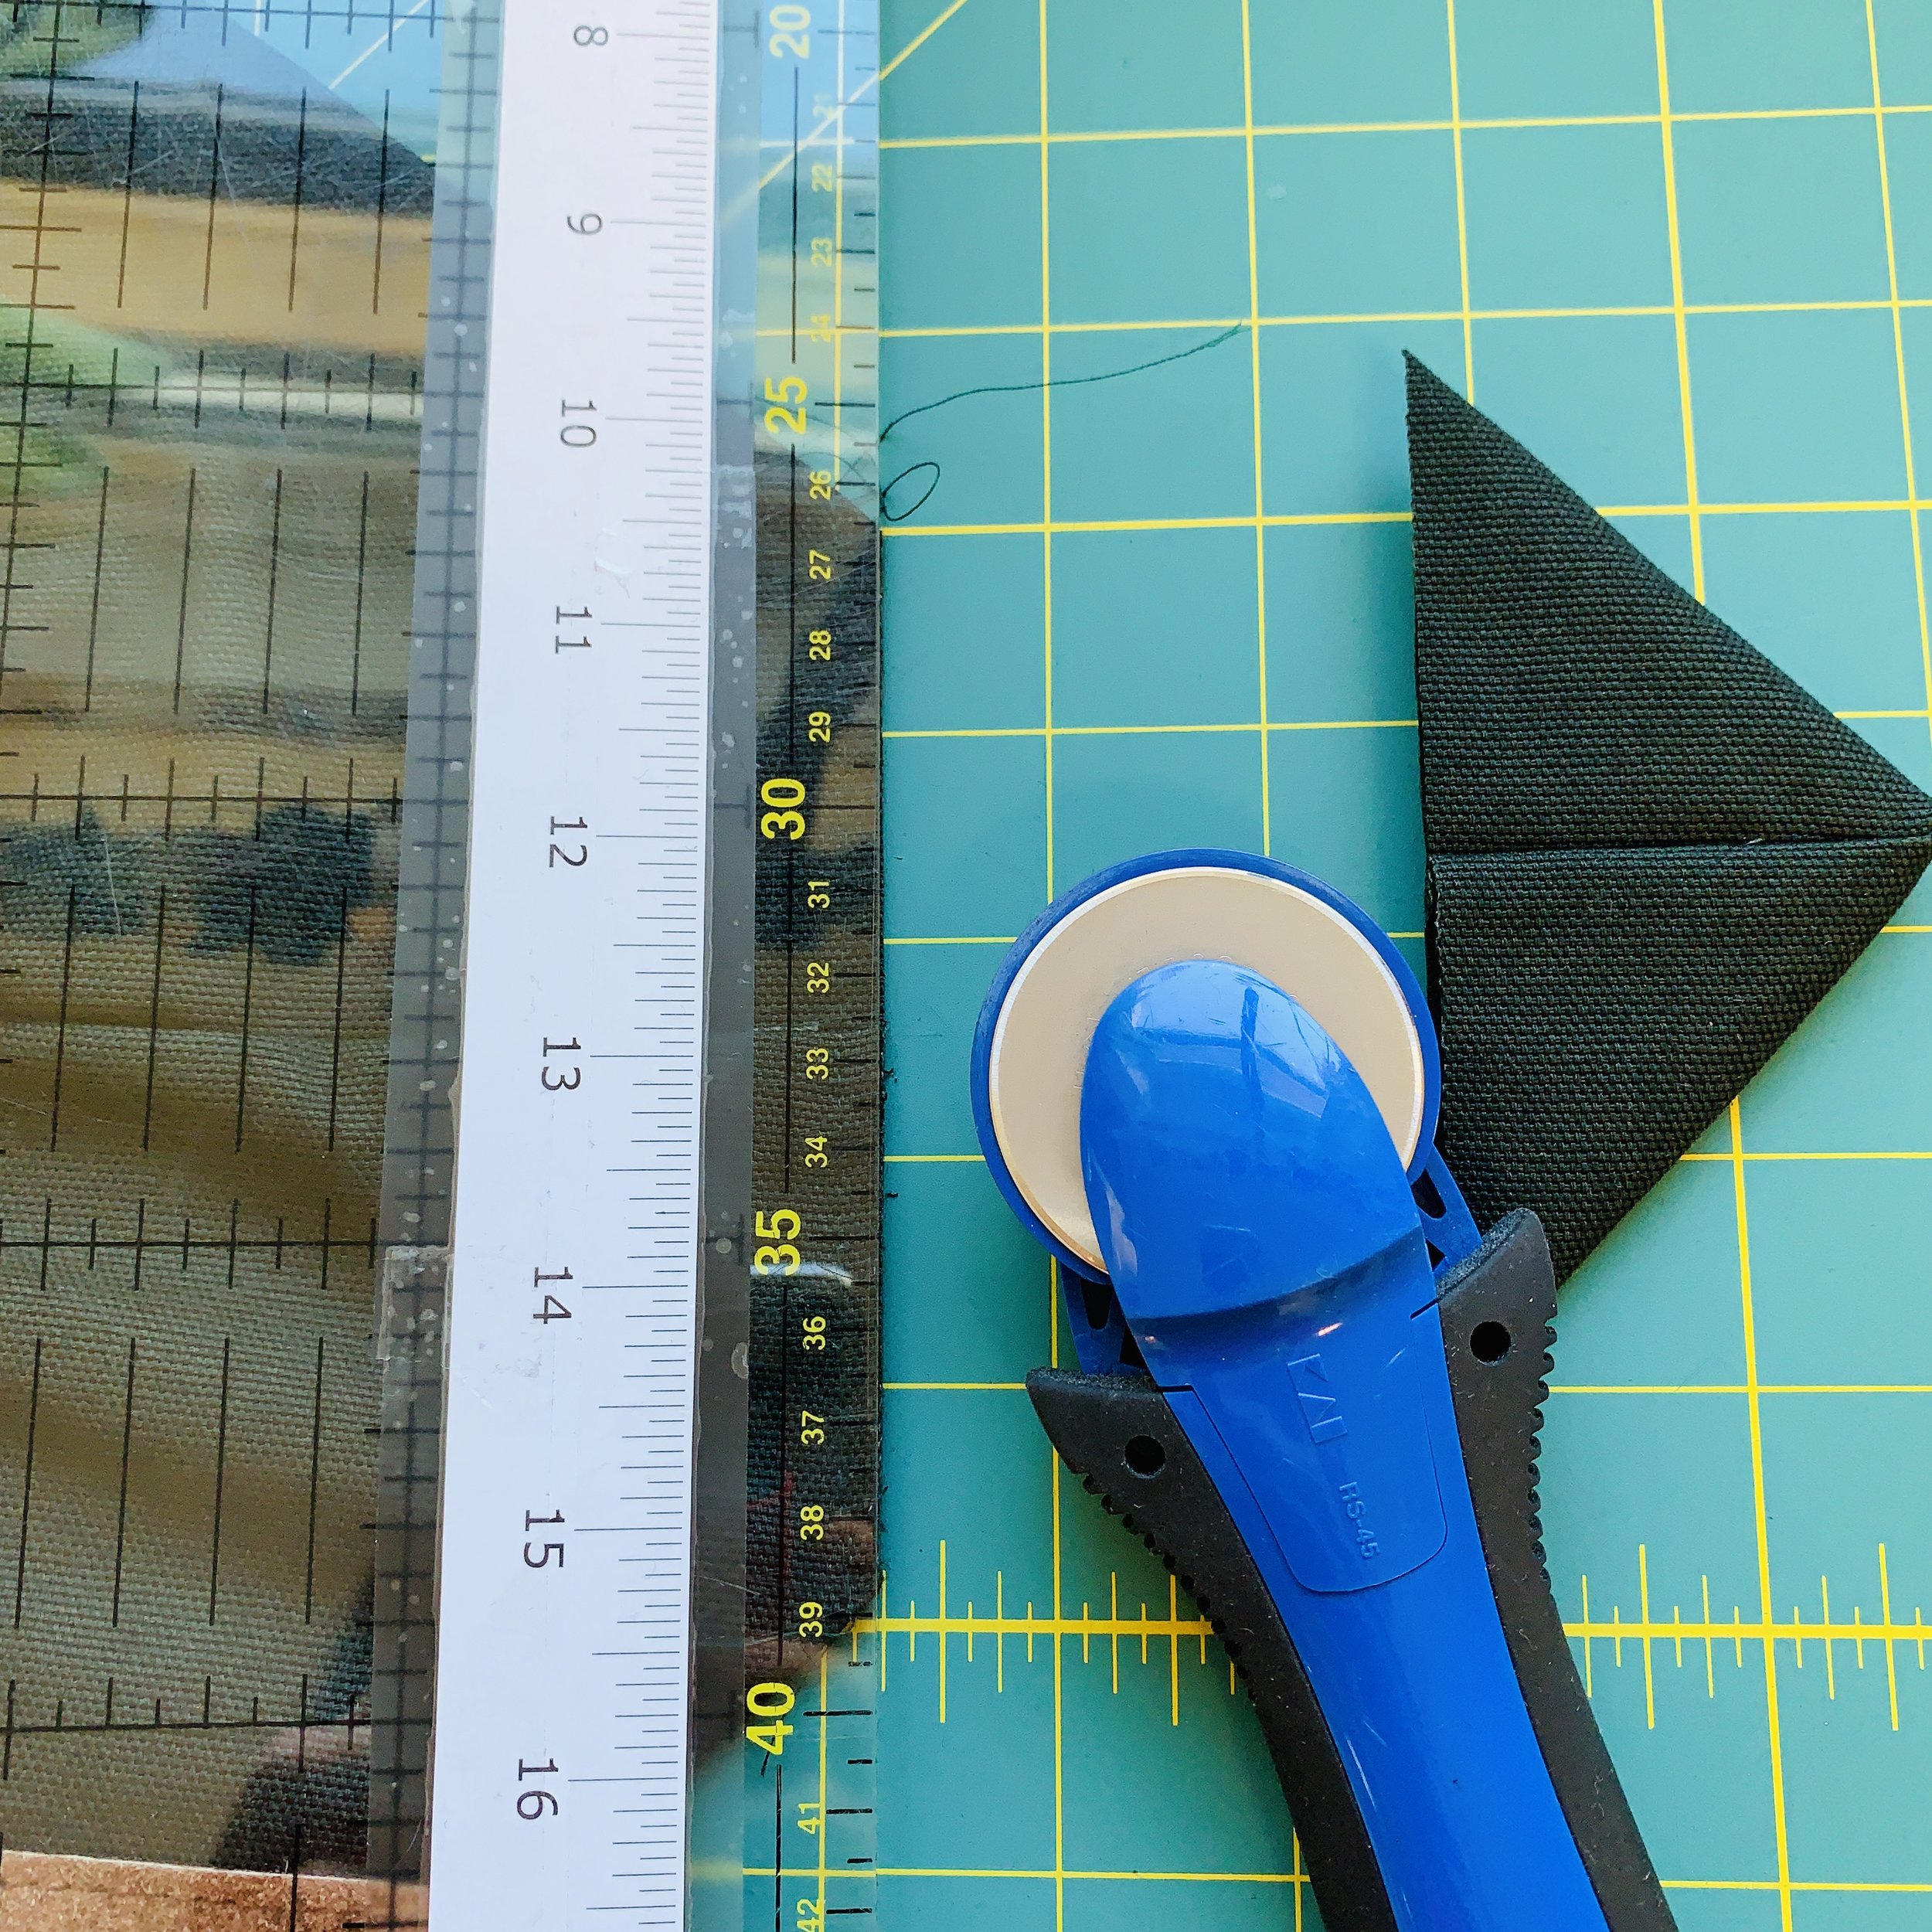
Use the french seams to stitch the sides together. French seams means you stitch first on the right side of fabric, then cut the excesses of fabric using the big plastic ruller and rotary cutter leaving just 3 mm. Then turn your bag inside out and stitch hiding edges inside the seams.
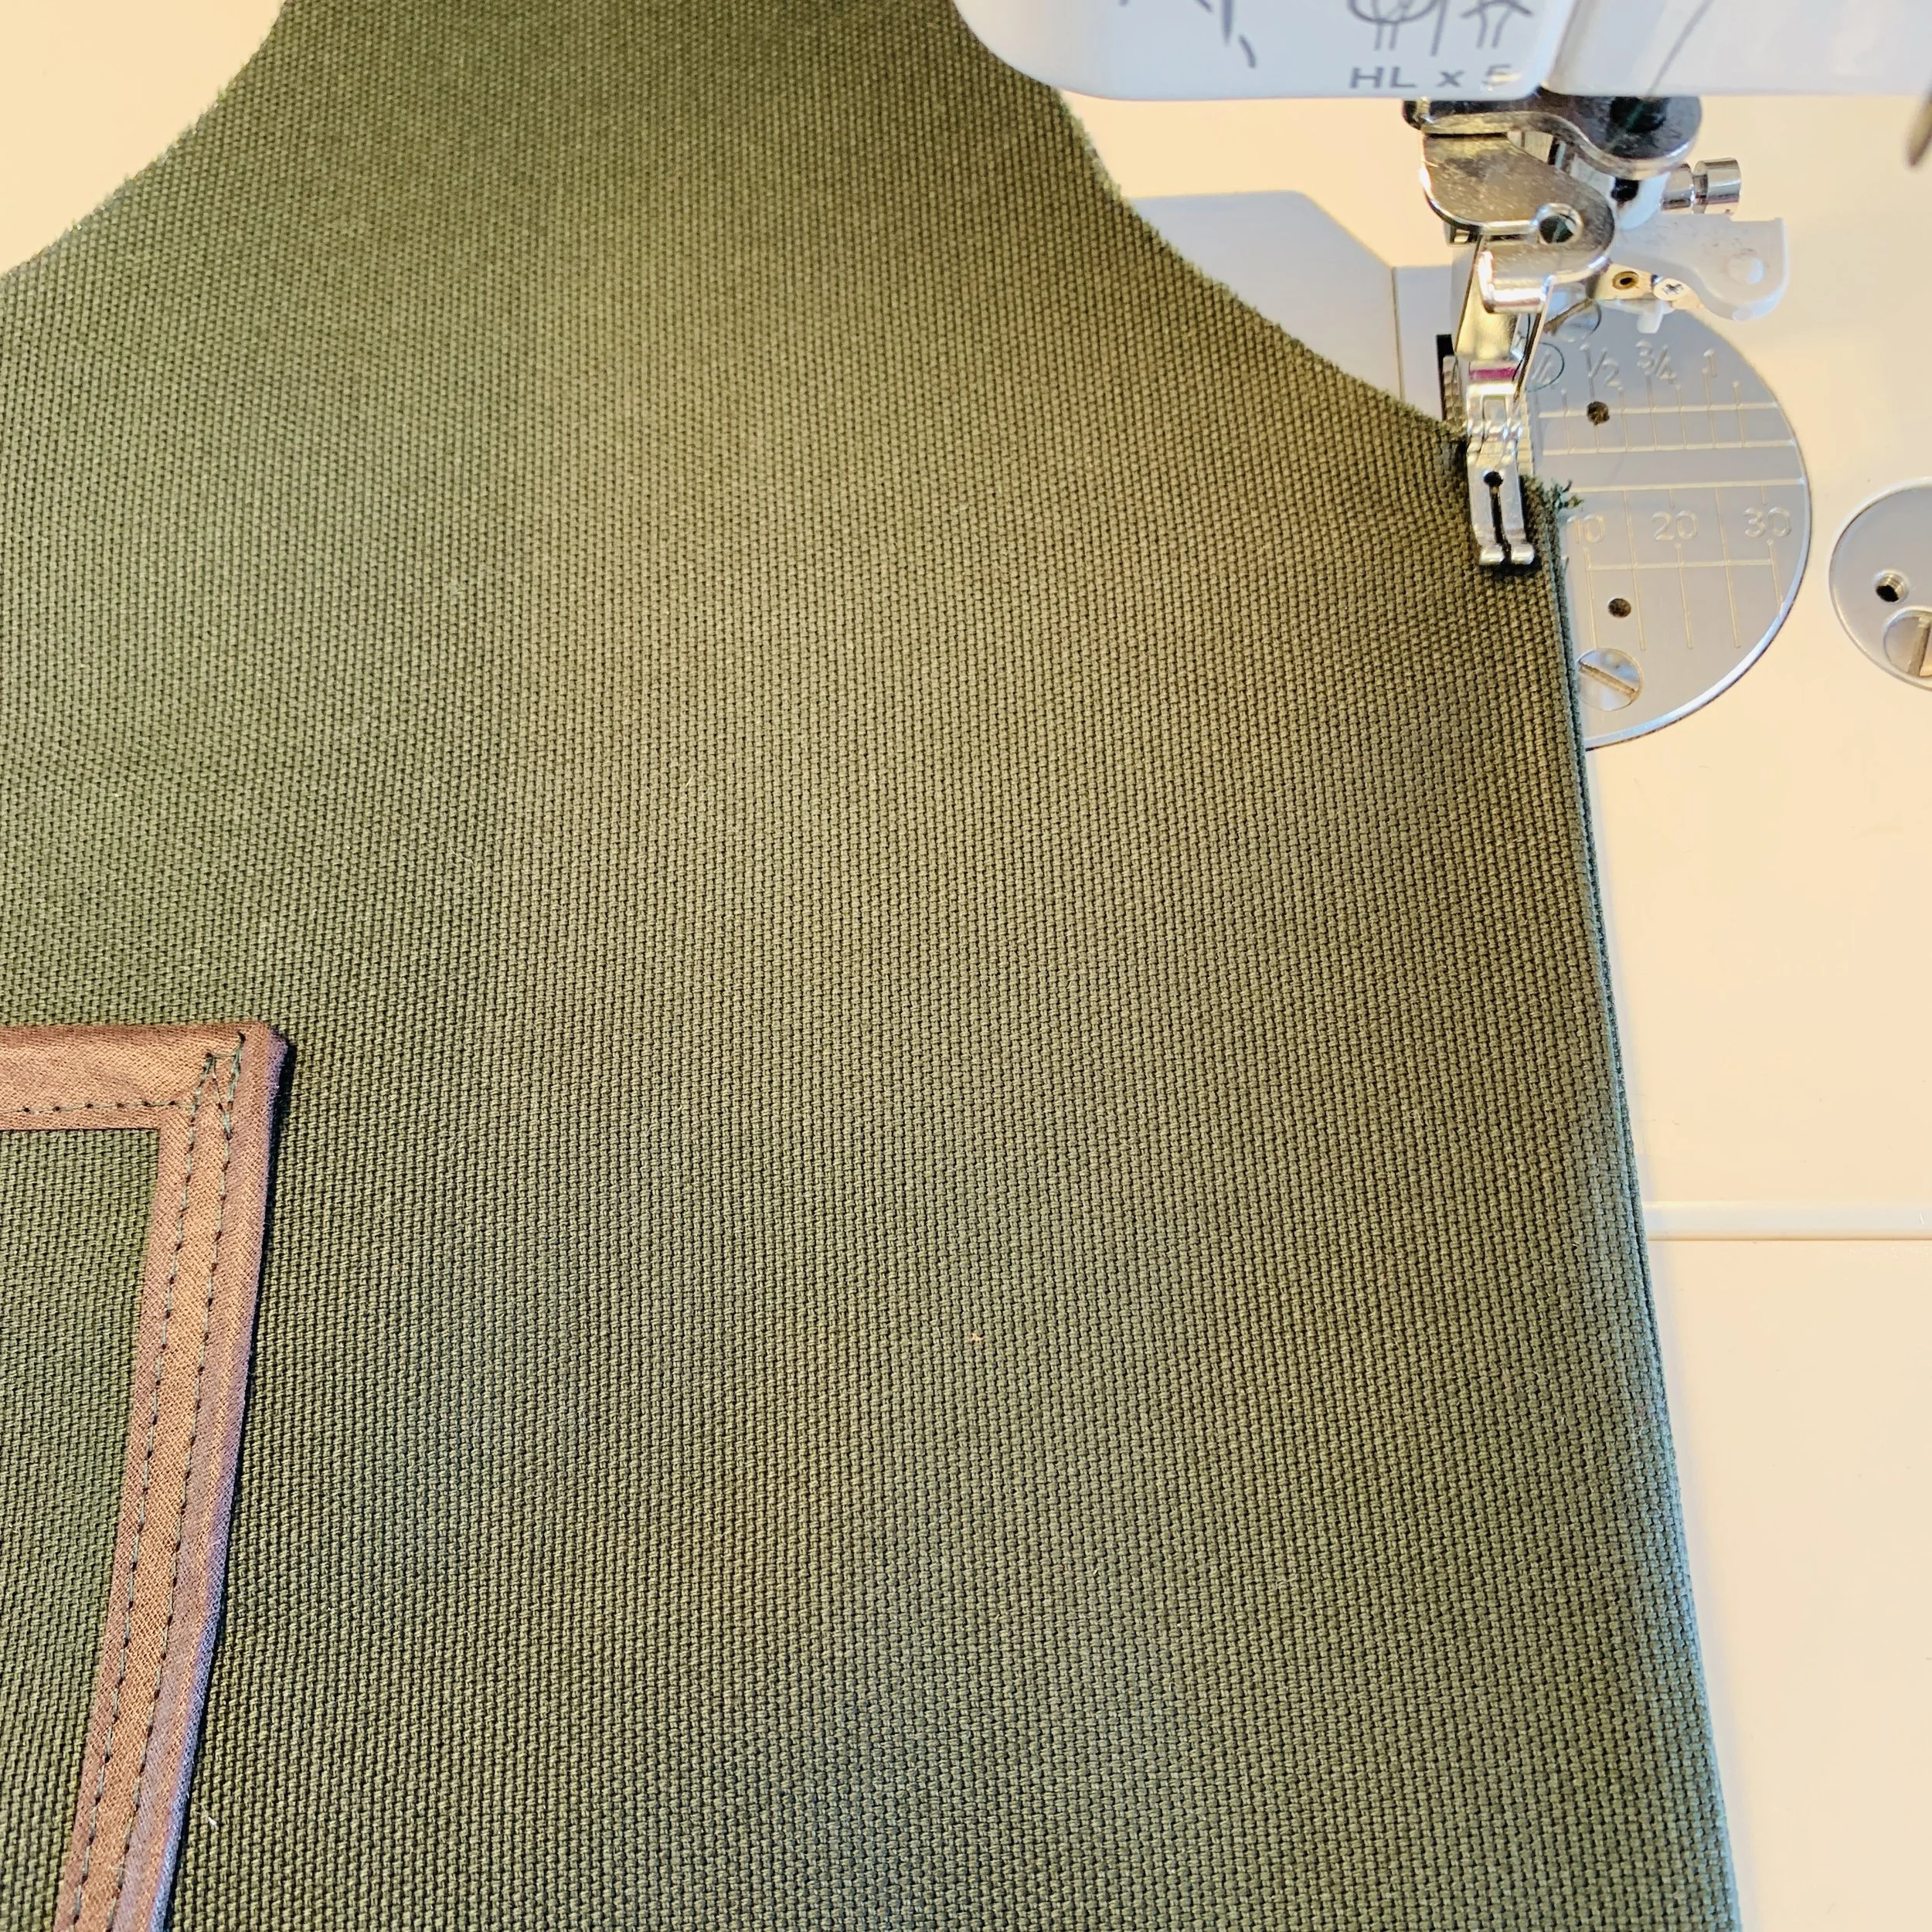
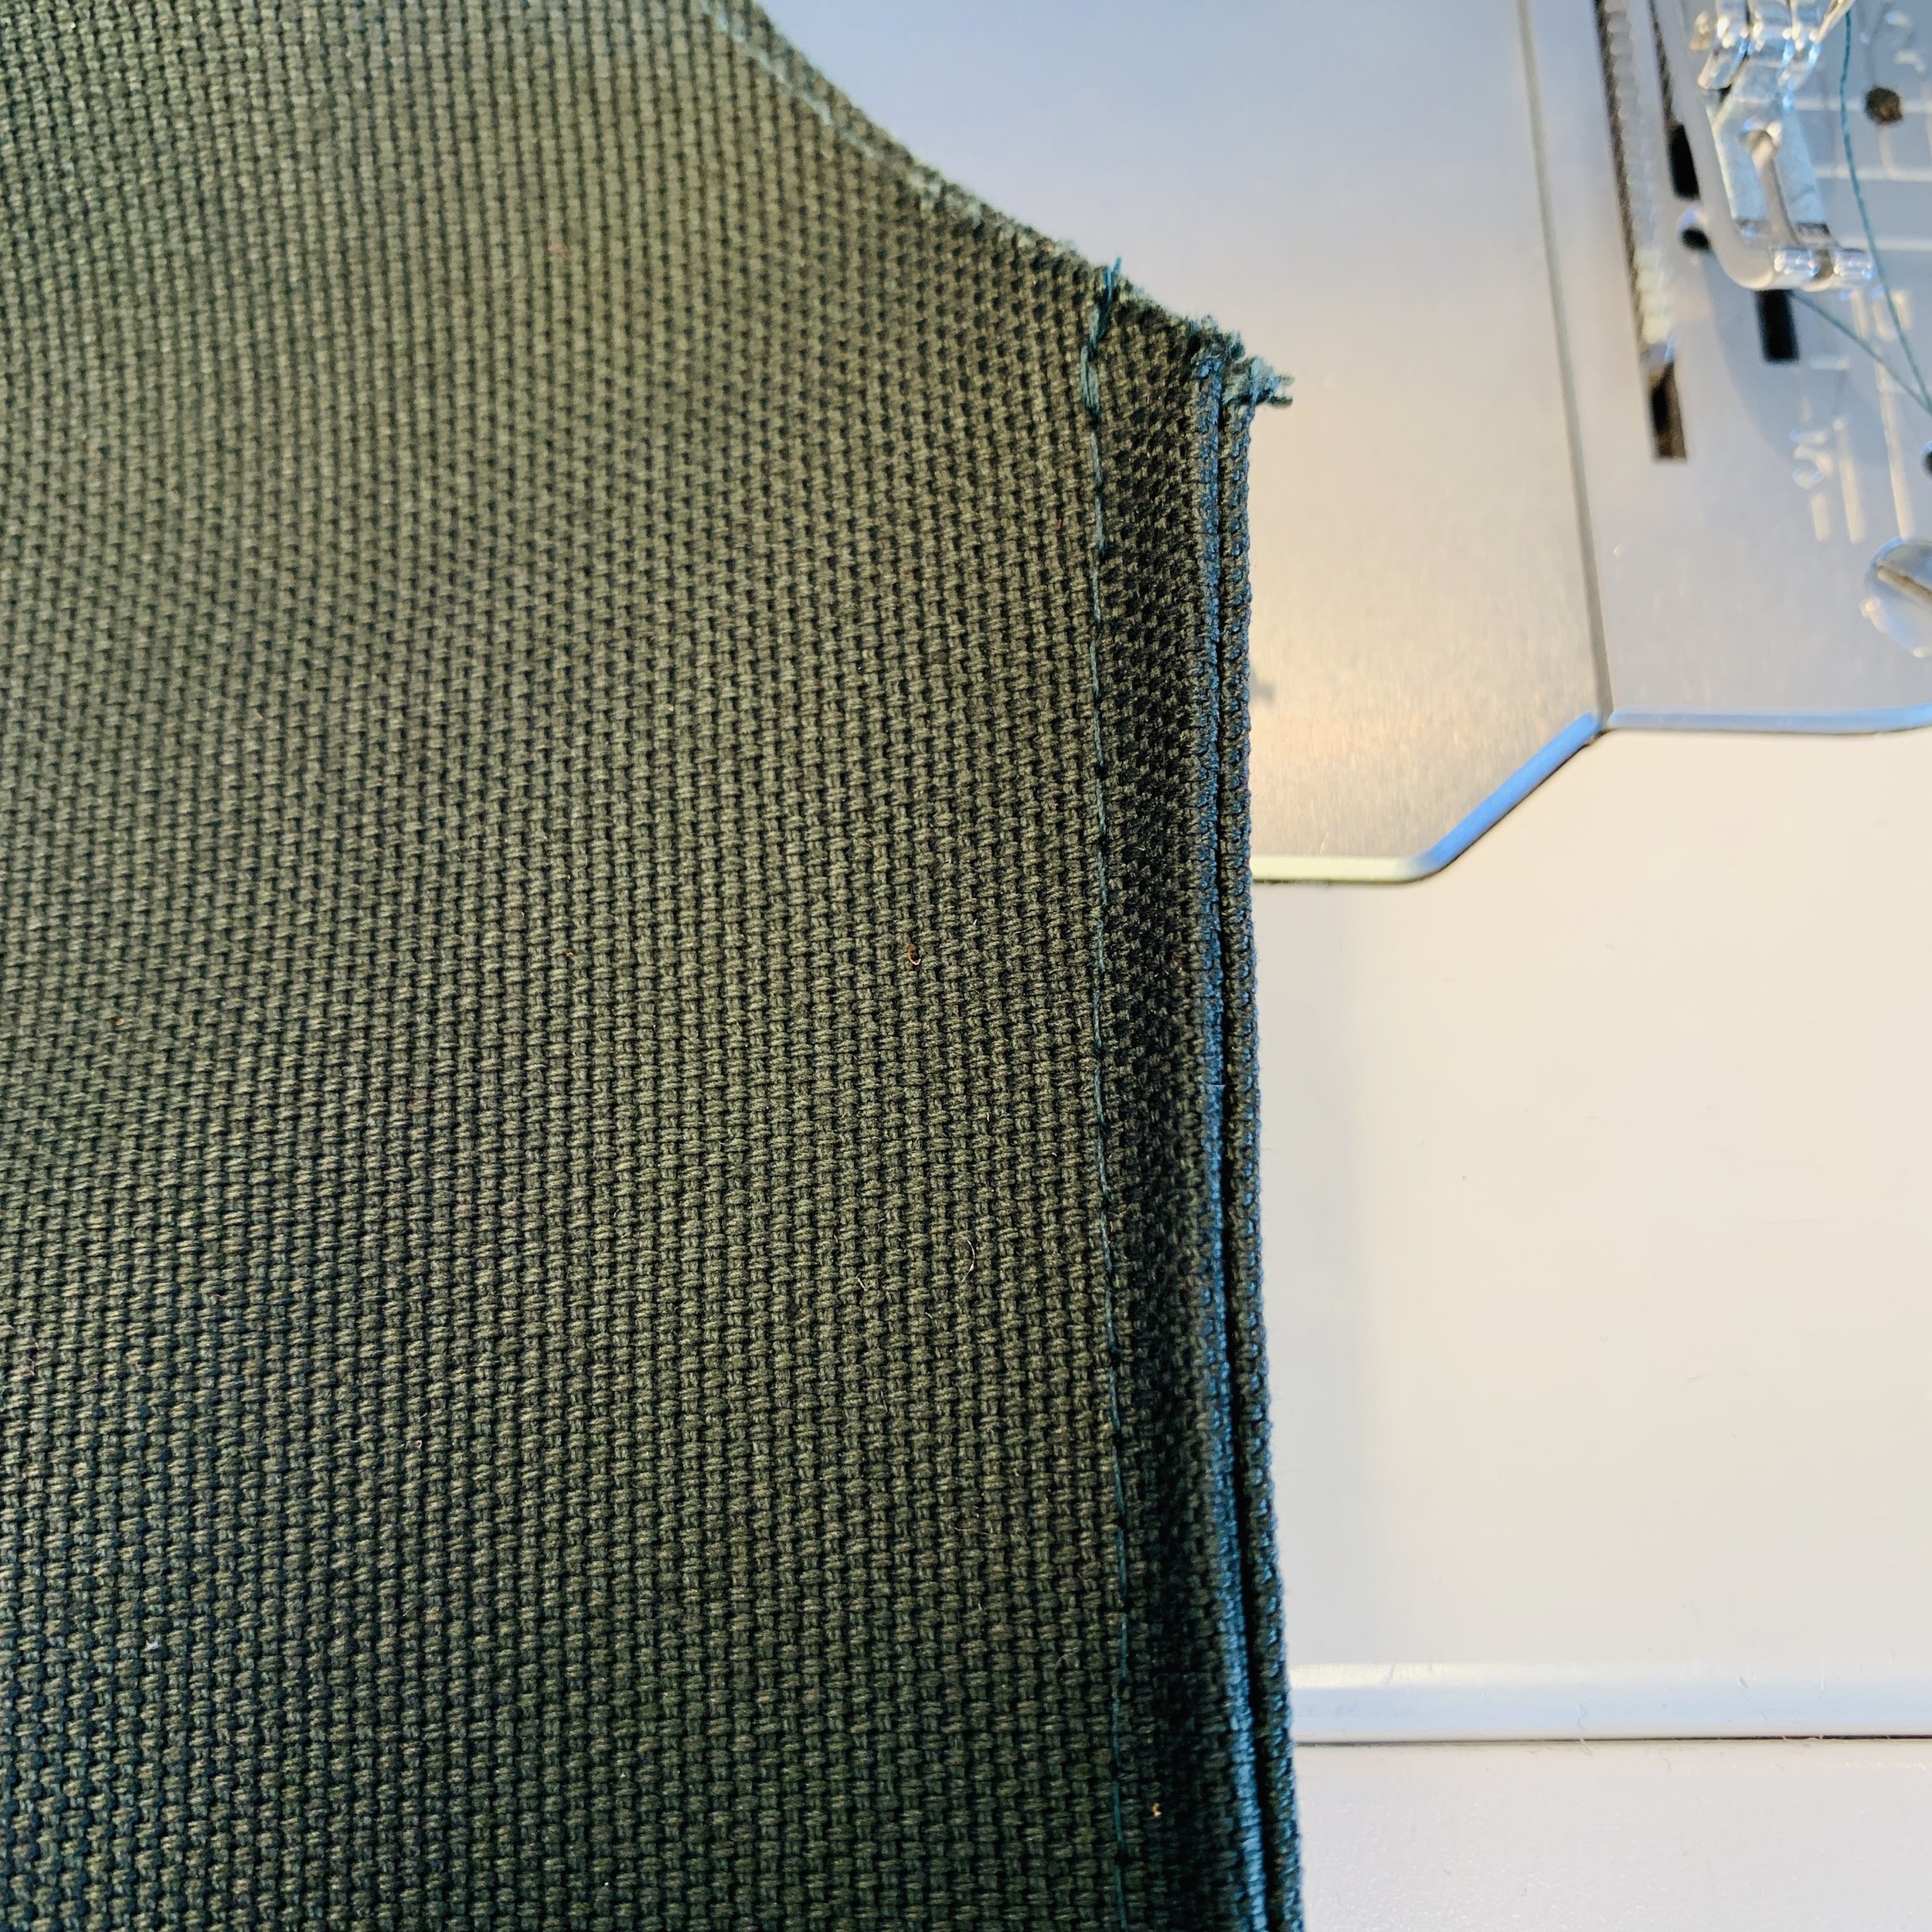
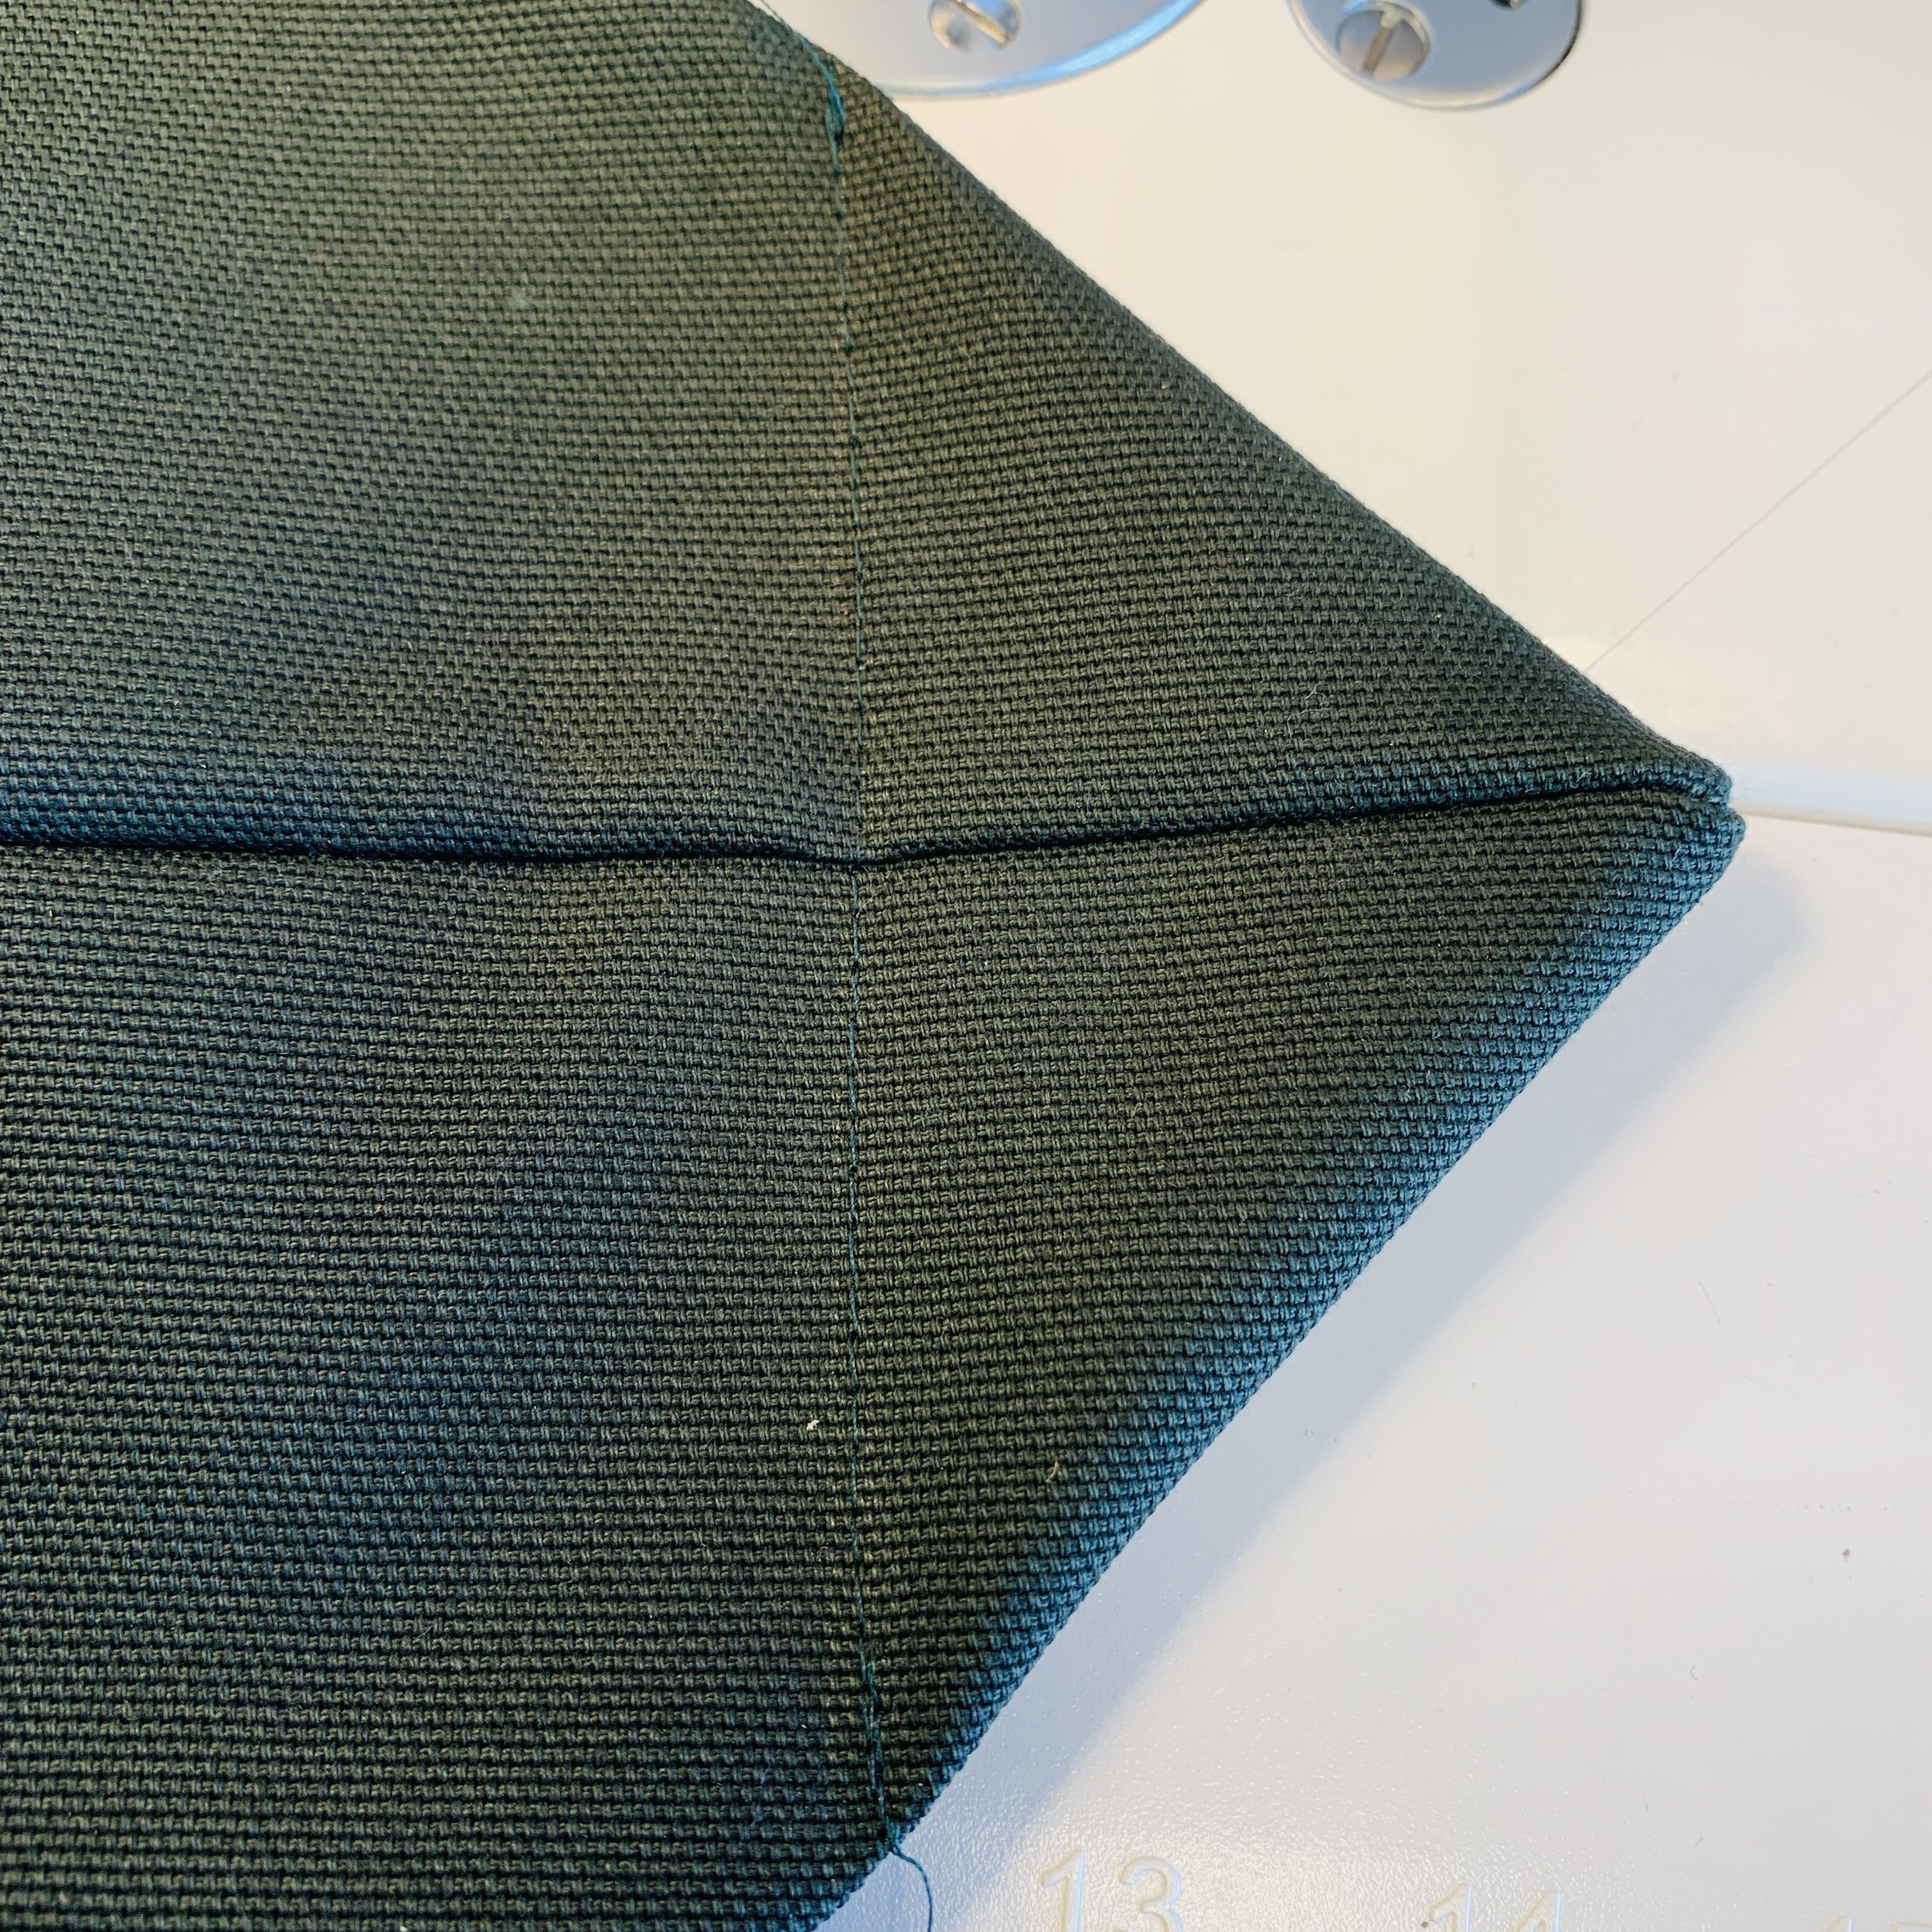
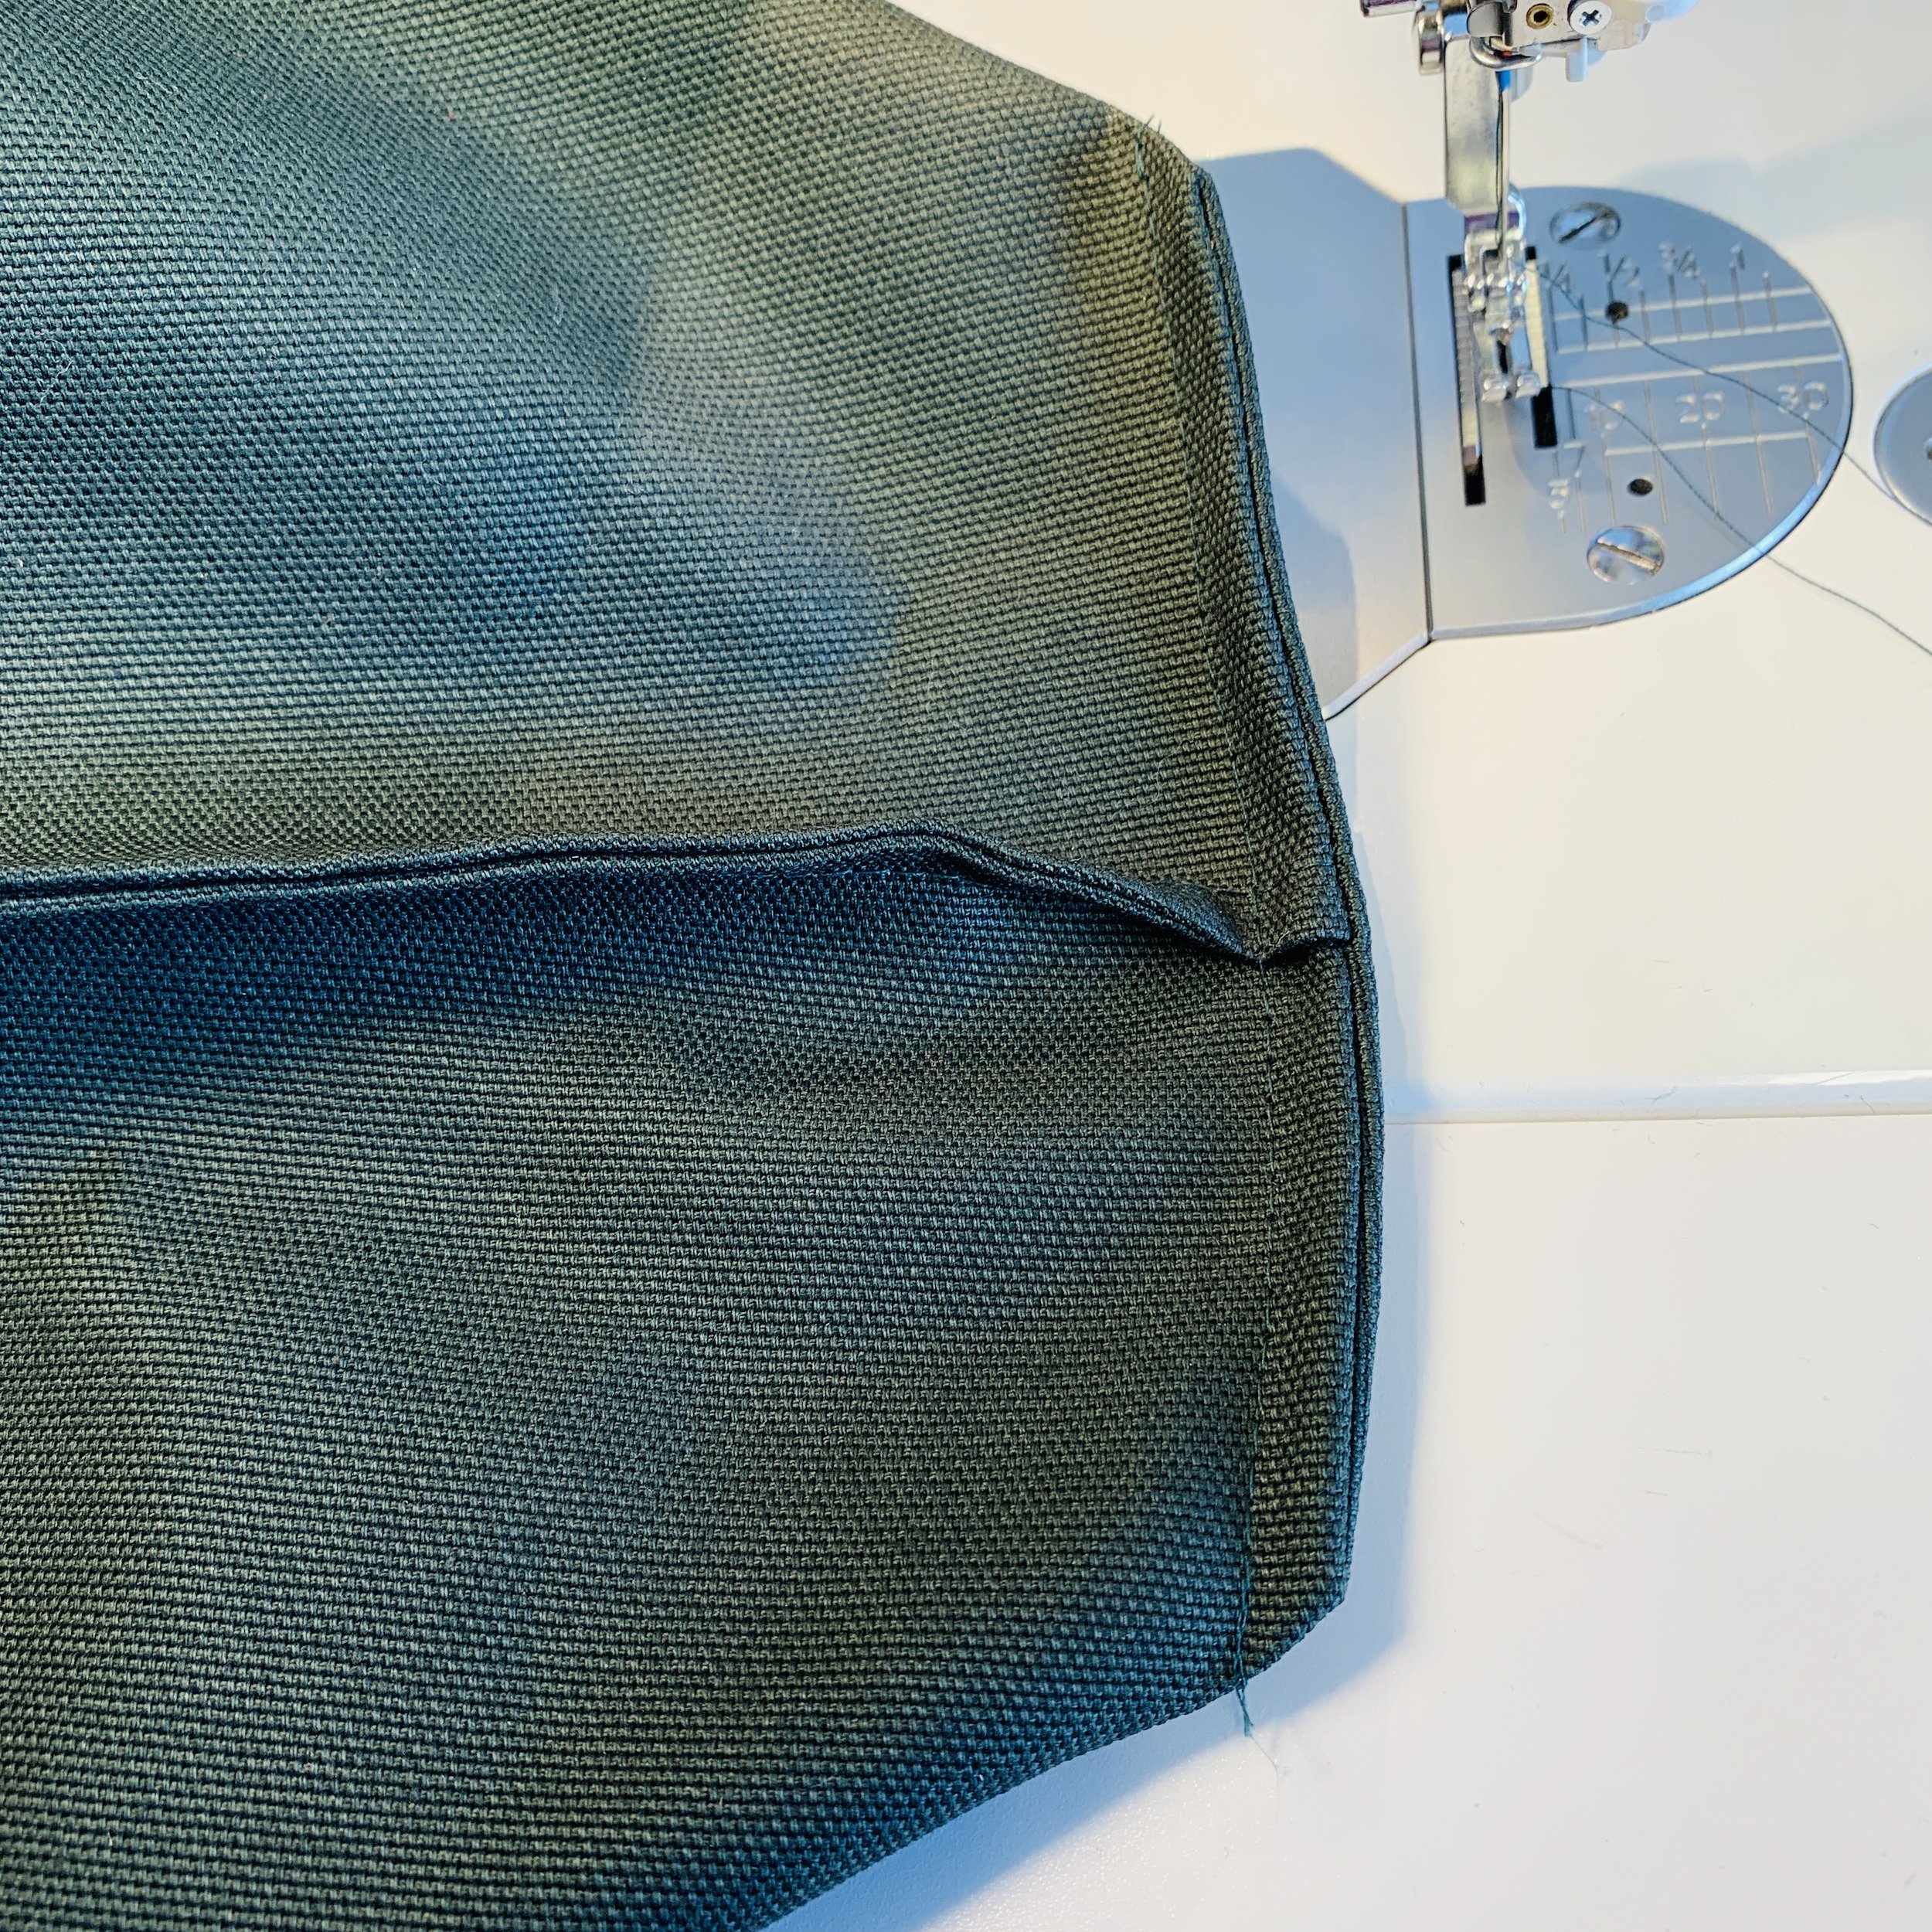
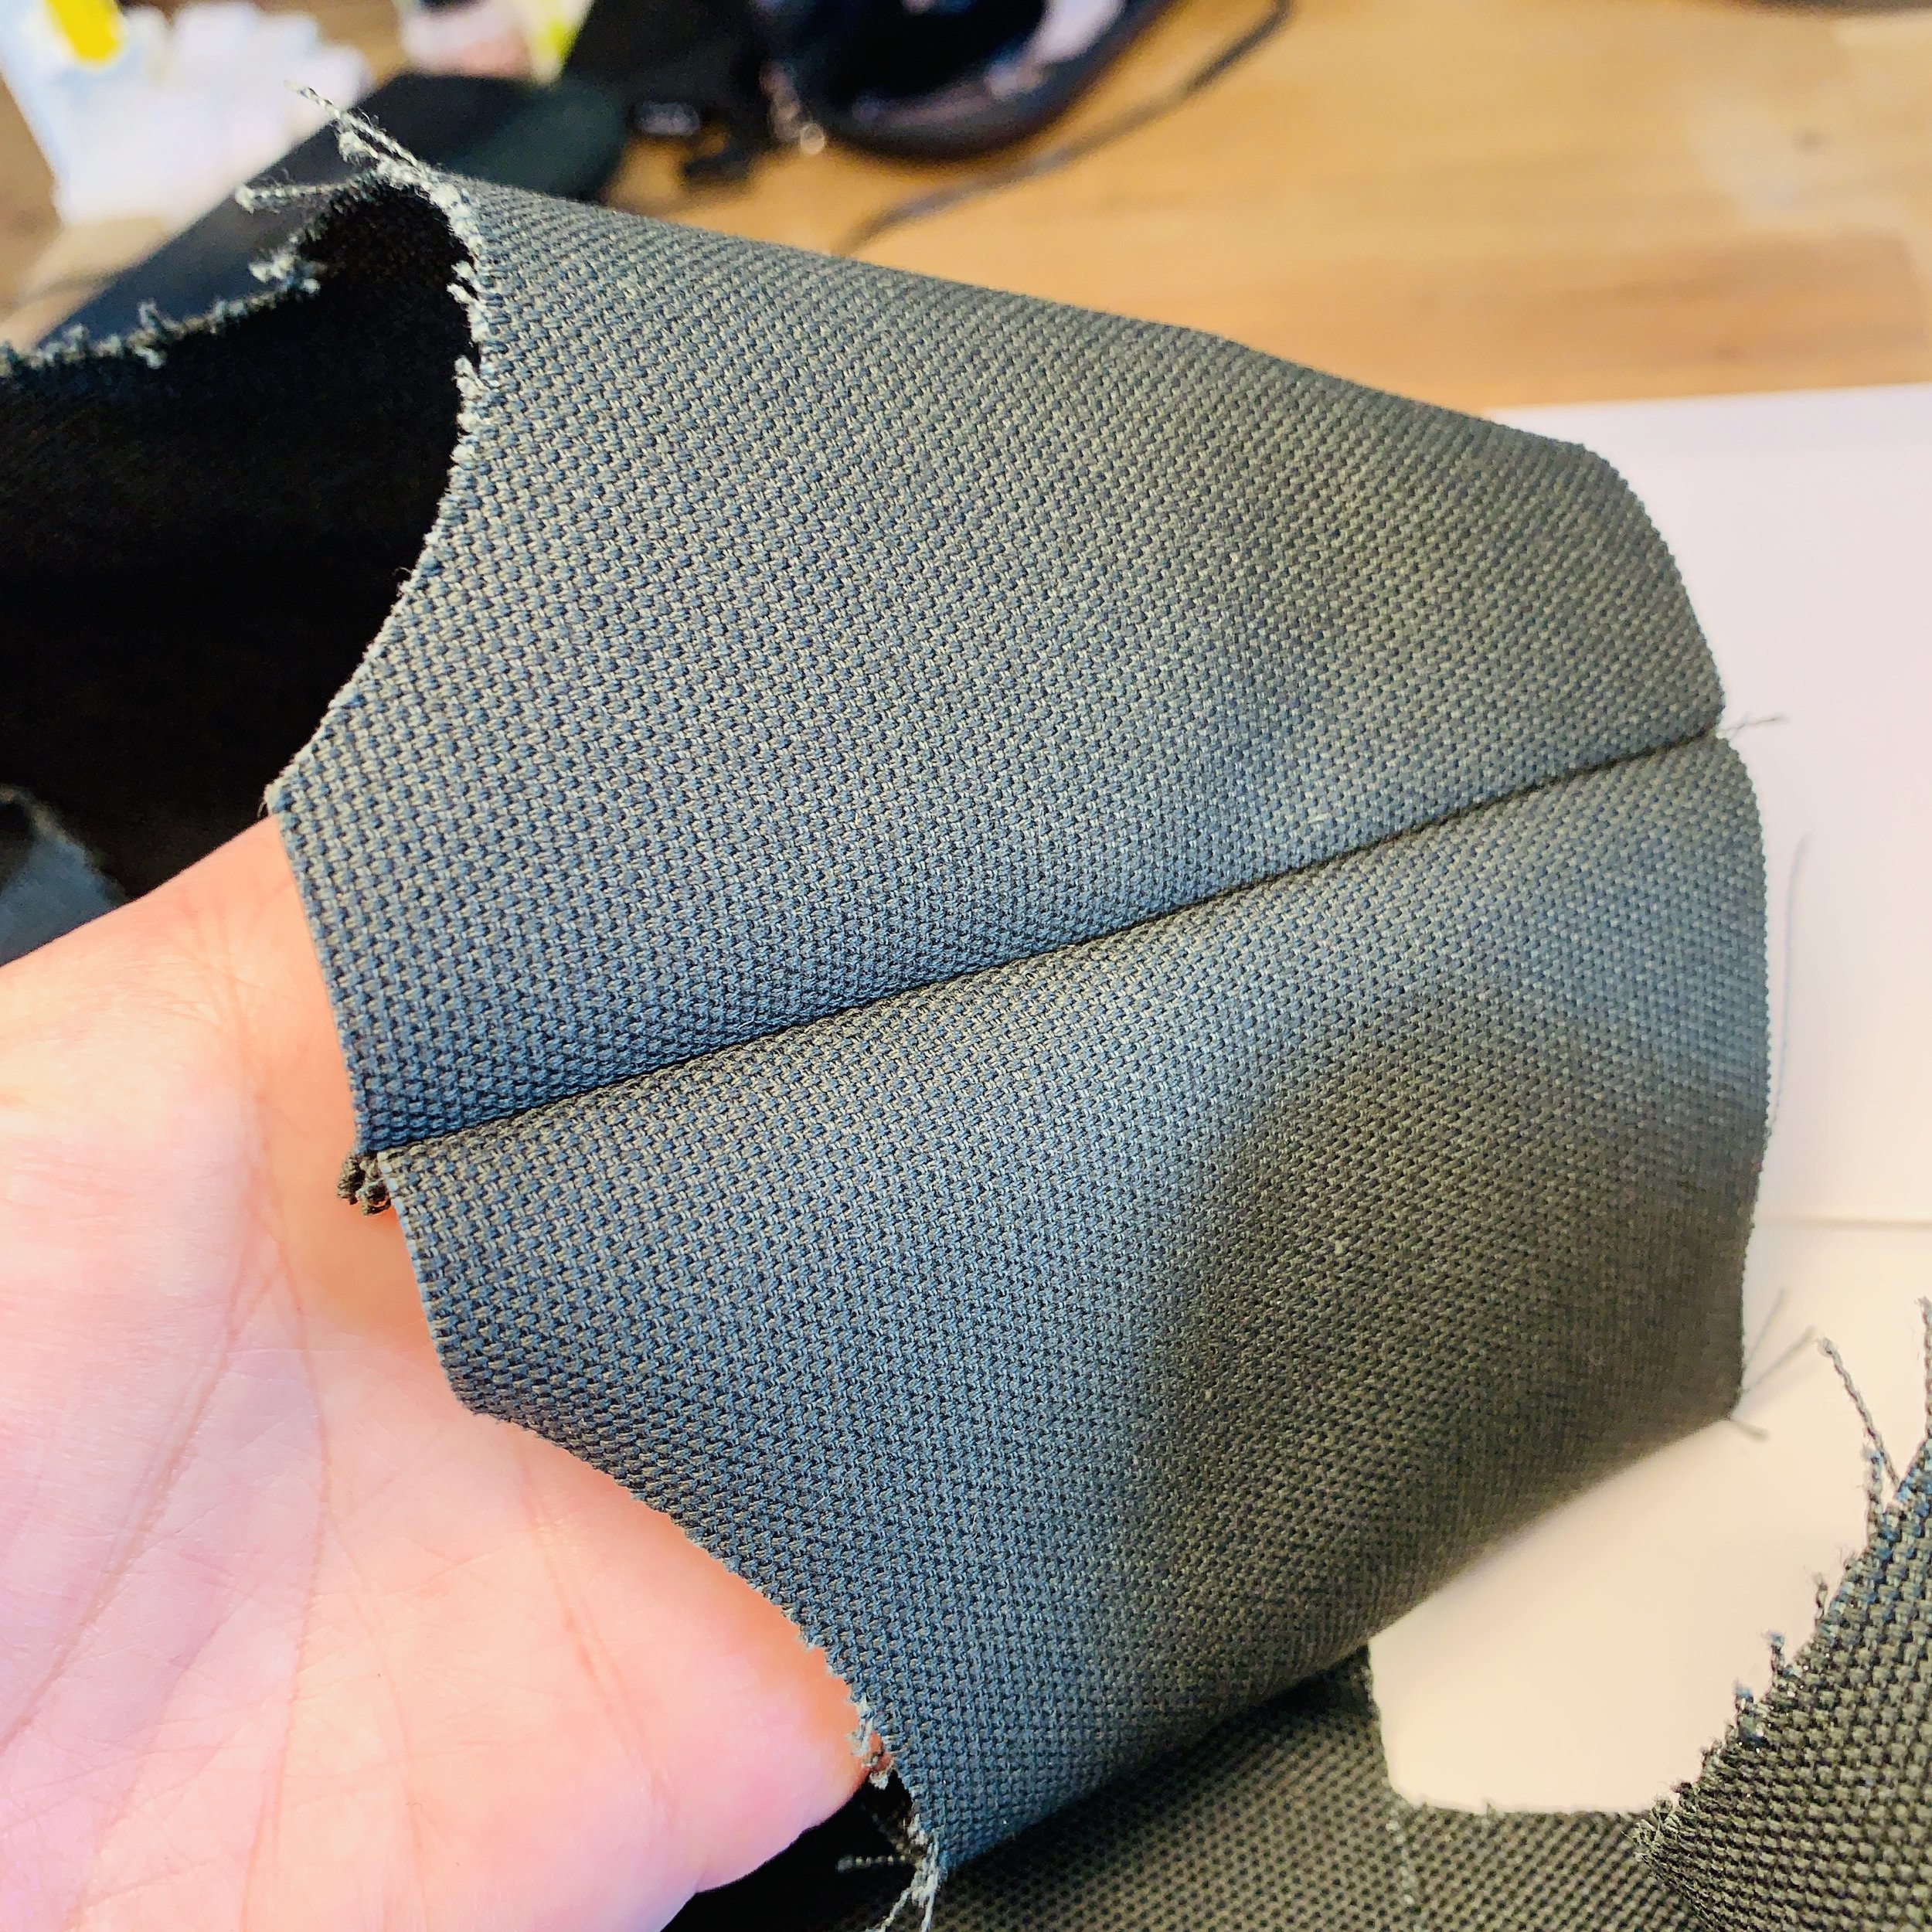
Then turn the bag right side out. On the right side of the bag spread out the fabric from the bottom corner making a triangle, mark a line and stitch. Cut it out leaving 3 mm after the seam, turn the bag inside out again and finish the seams.
Now stitch the bias tape on the outer sides of the handles of the bag.
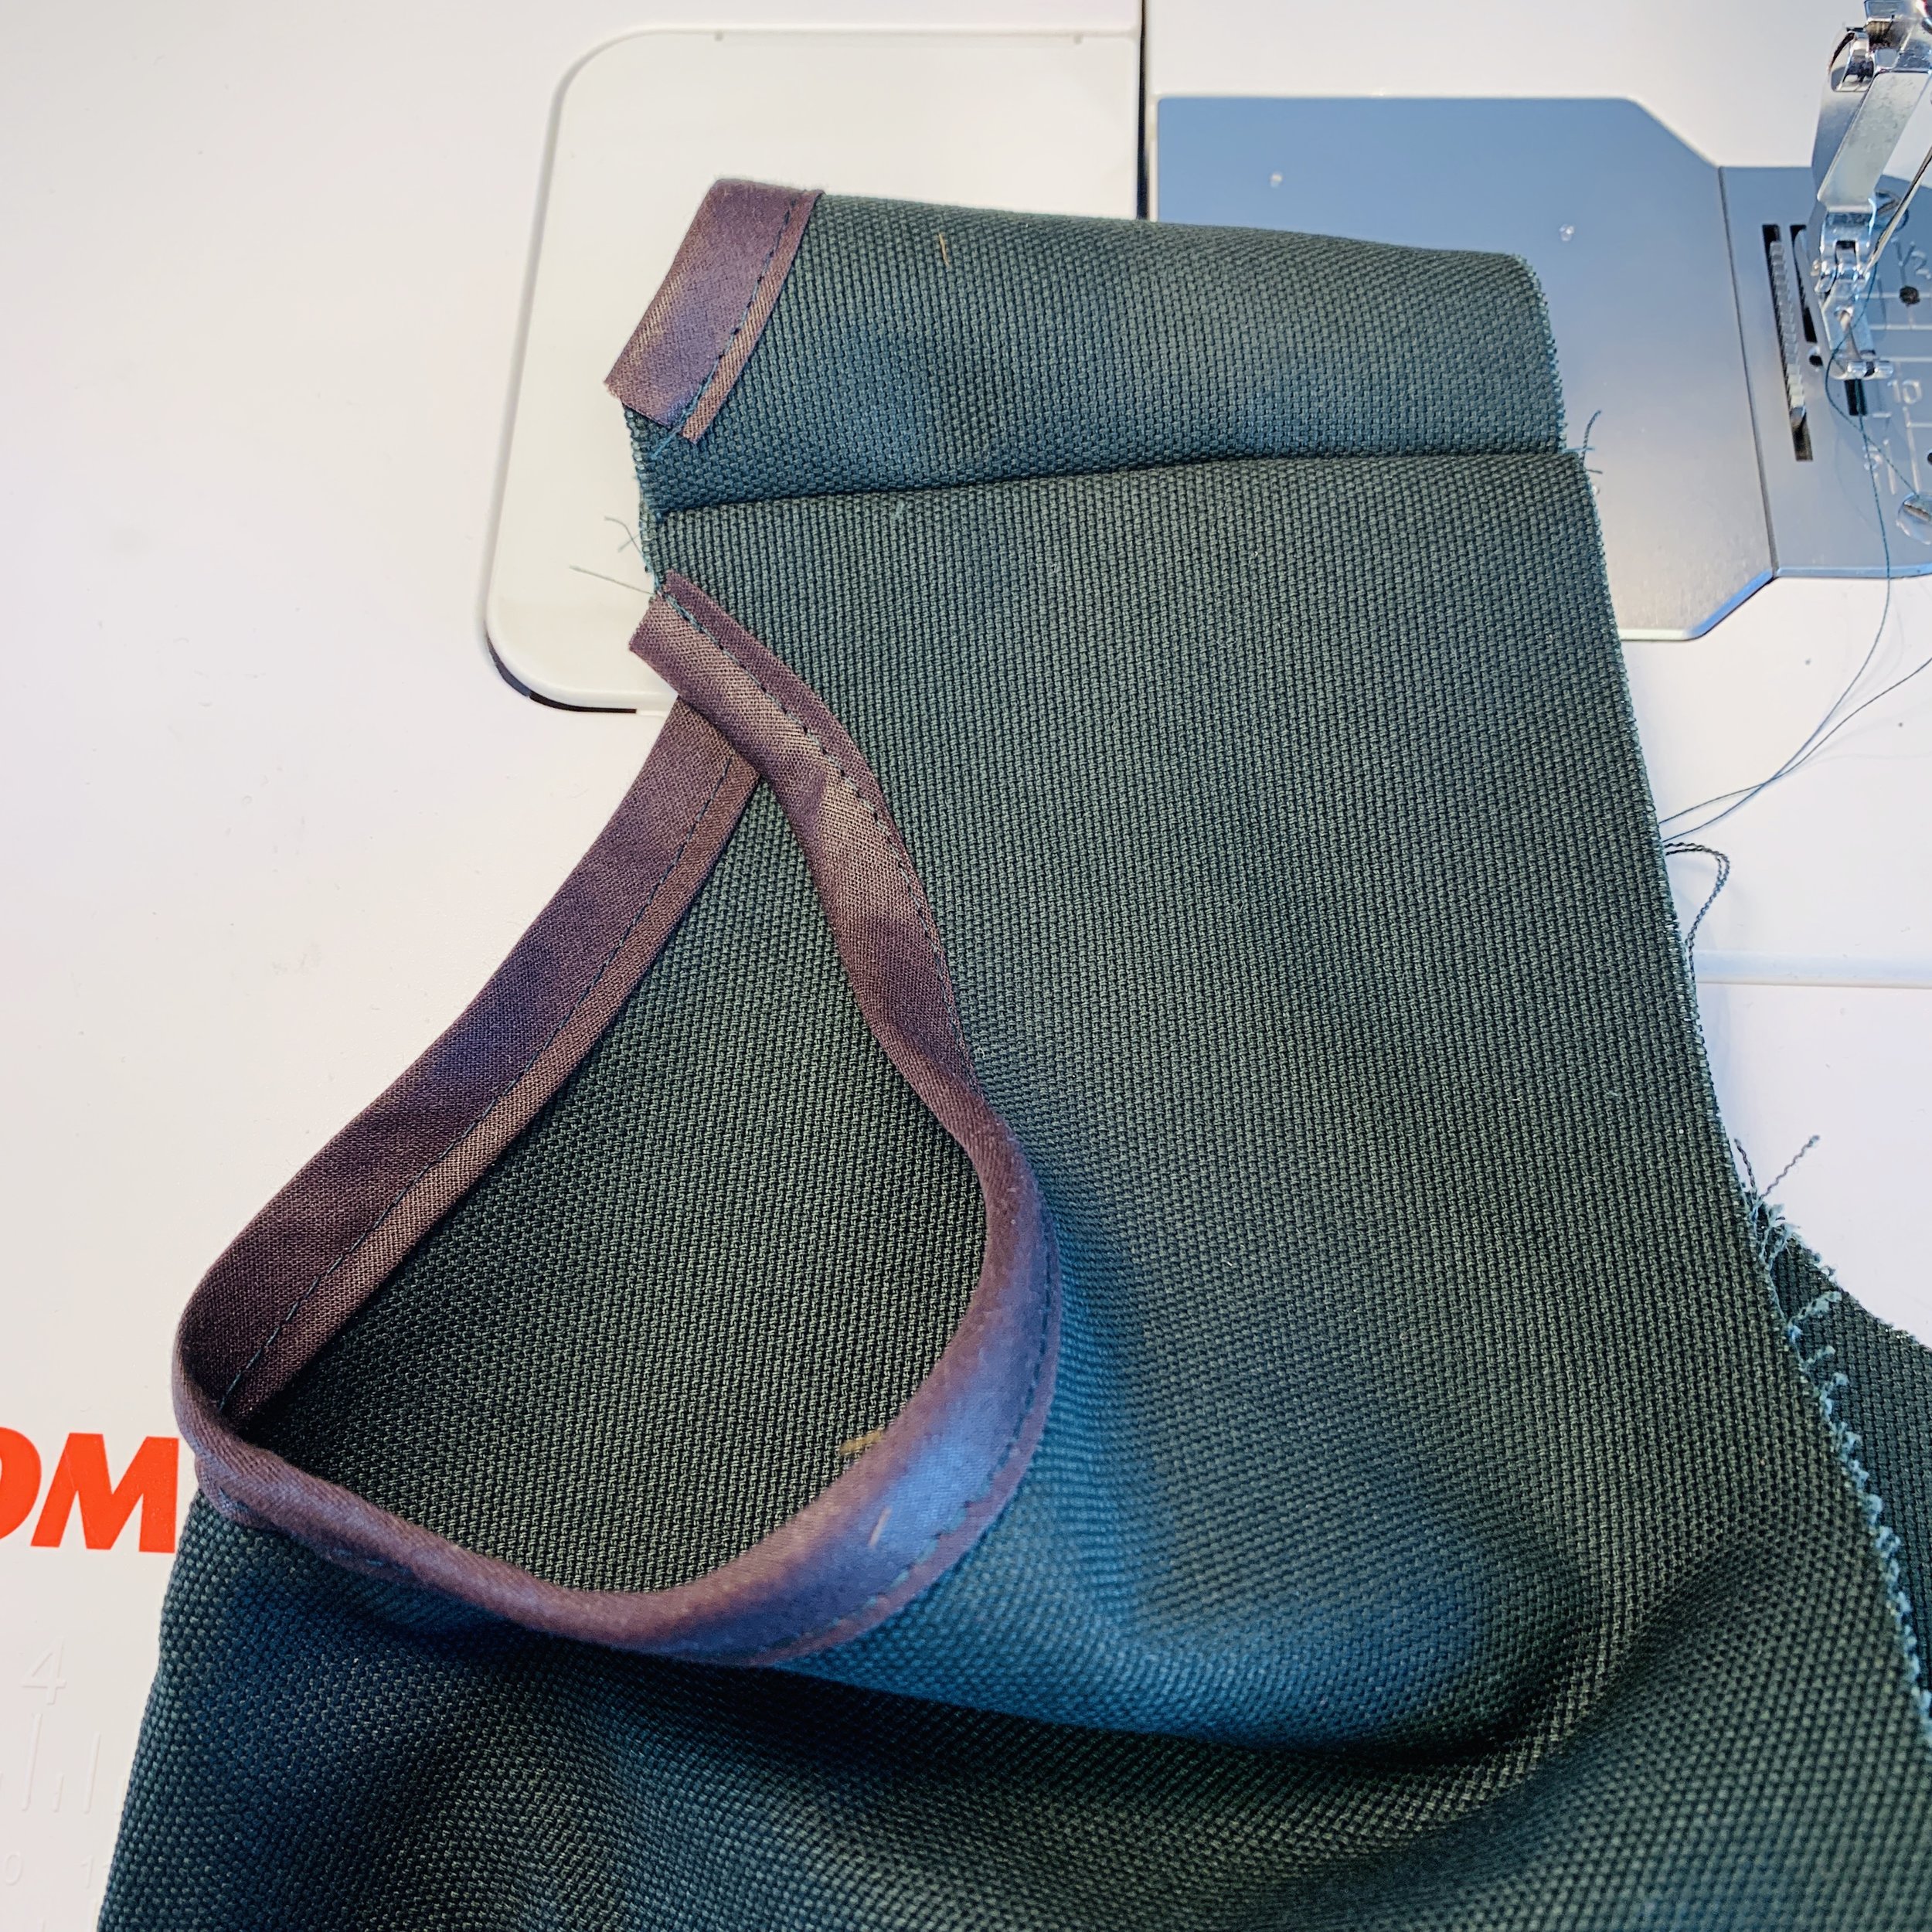
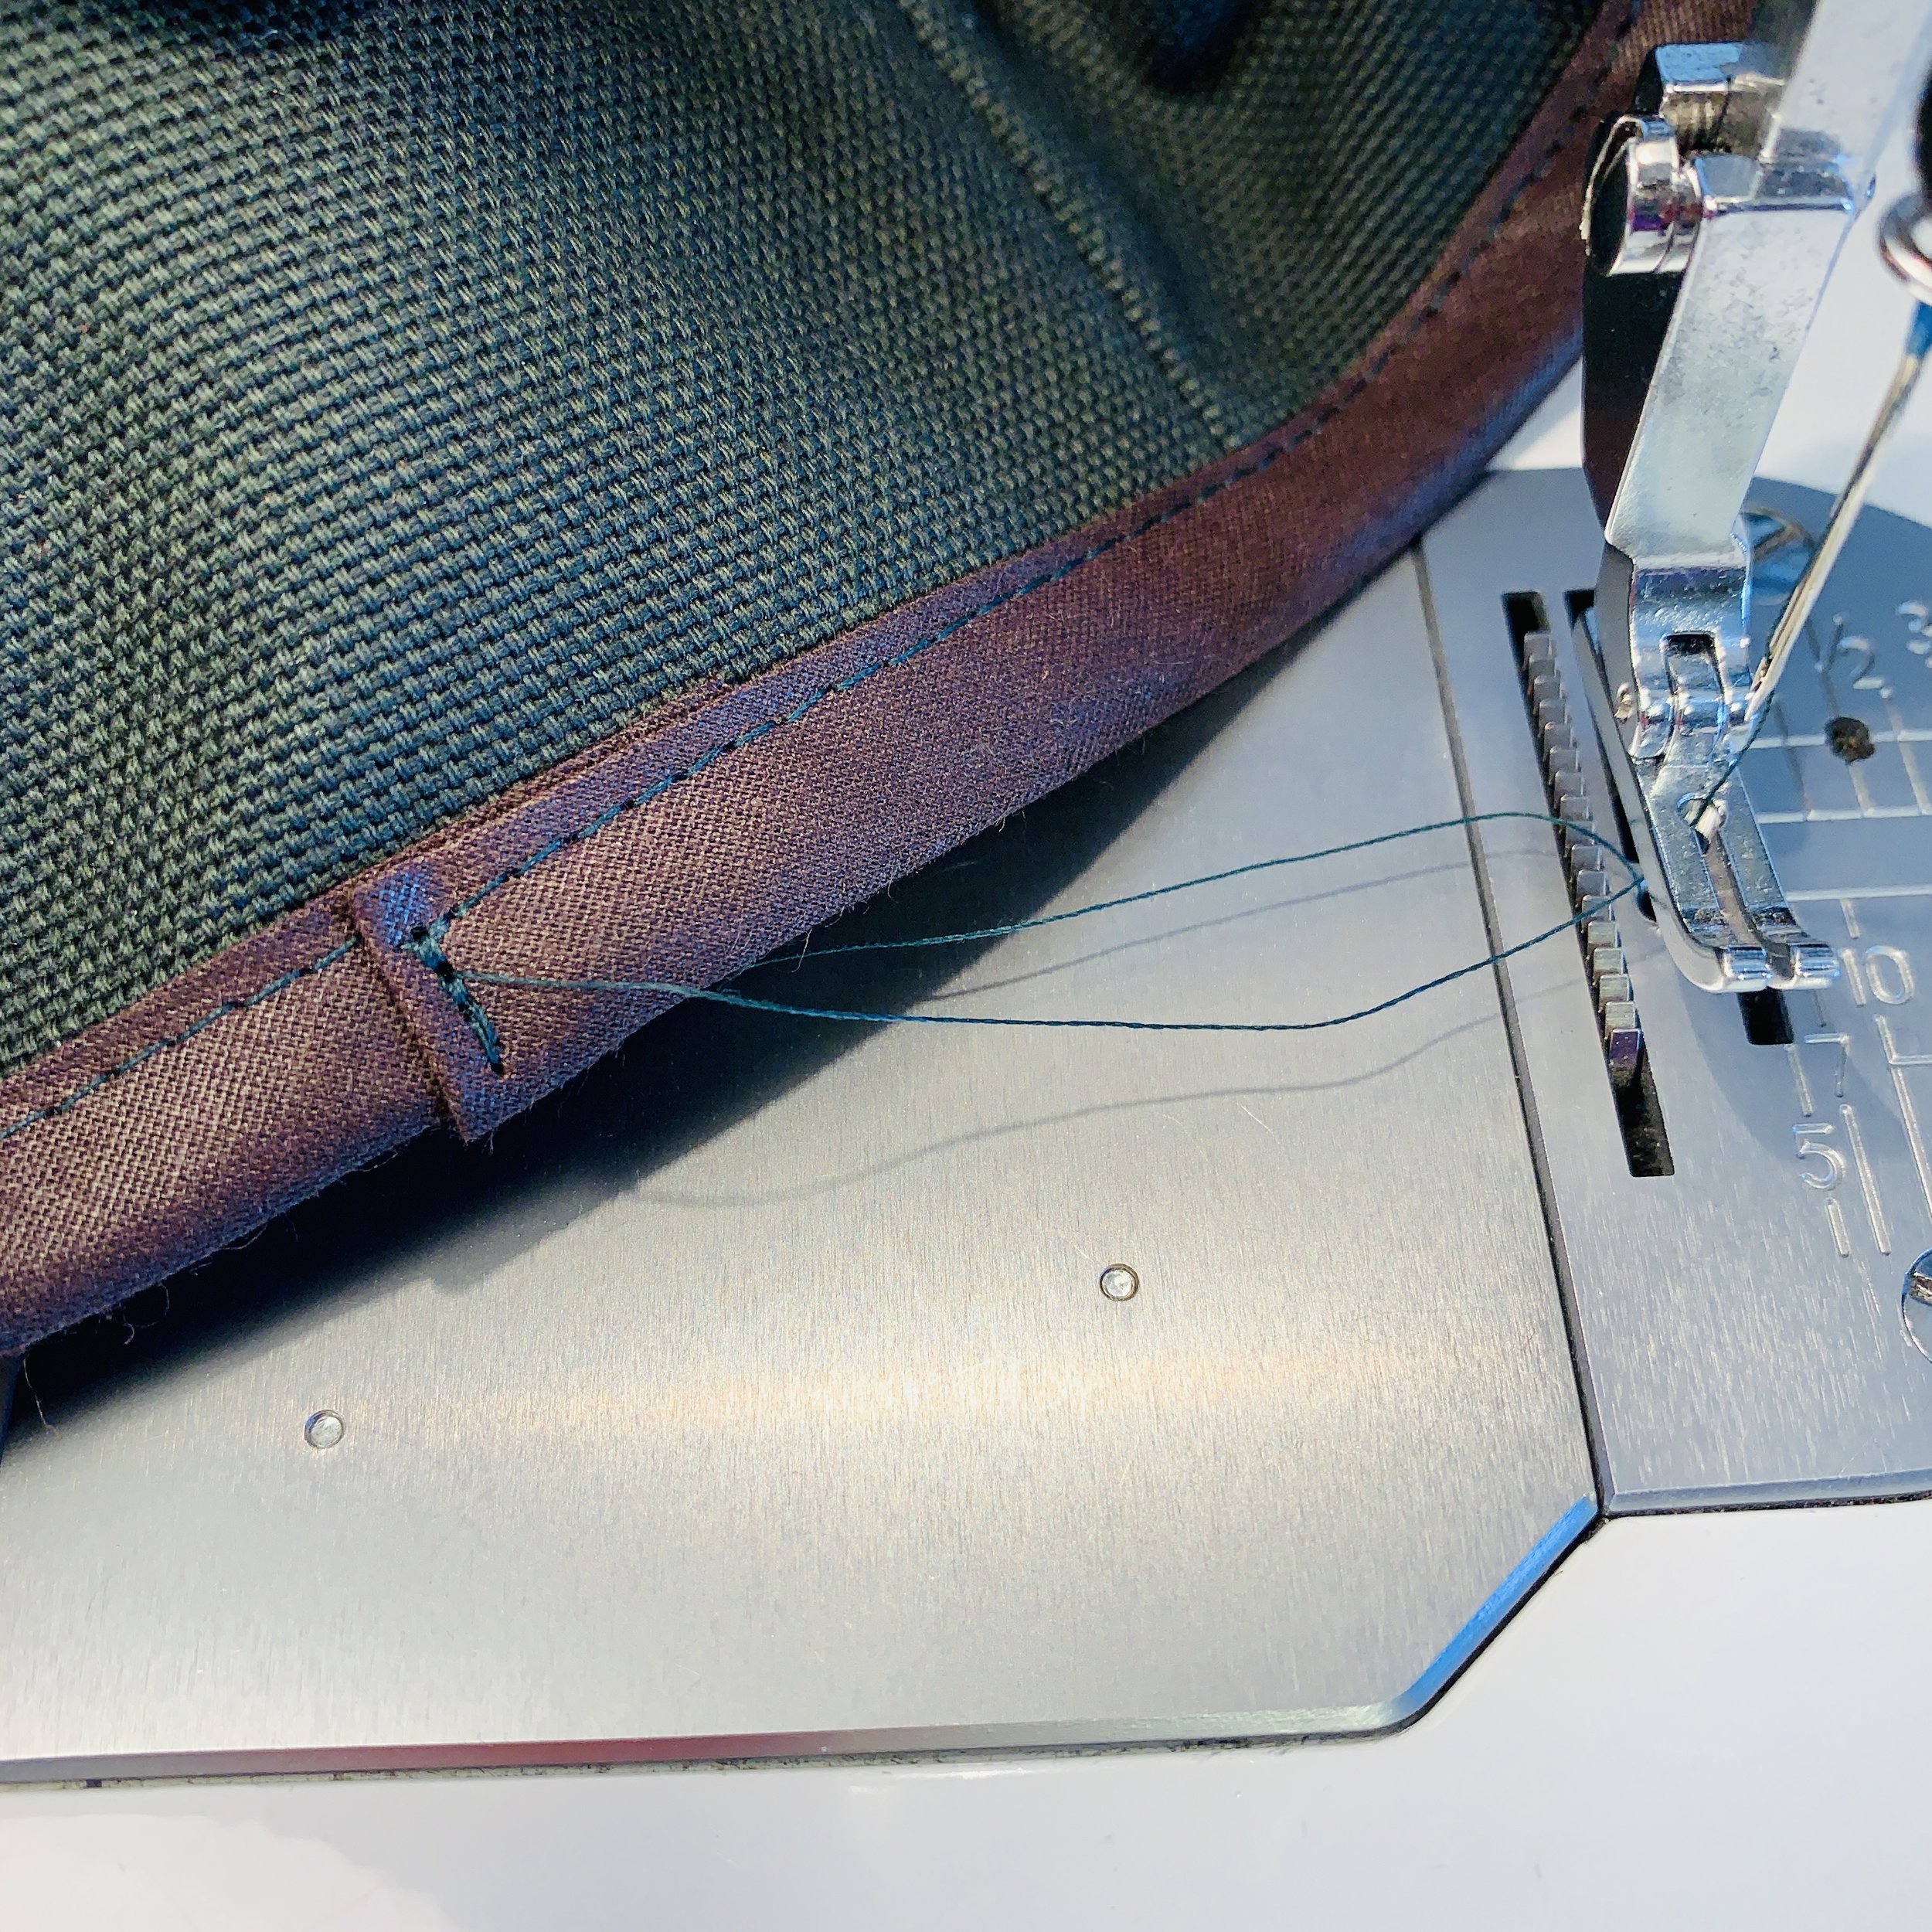
Pin the sides of the handles together as it shown in the pictures and stitch it in place near the raw edge.
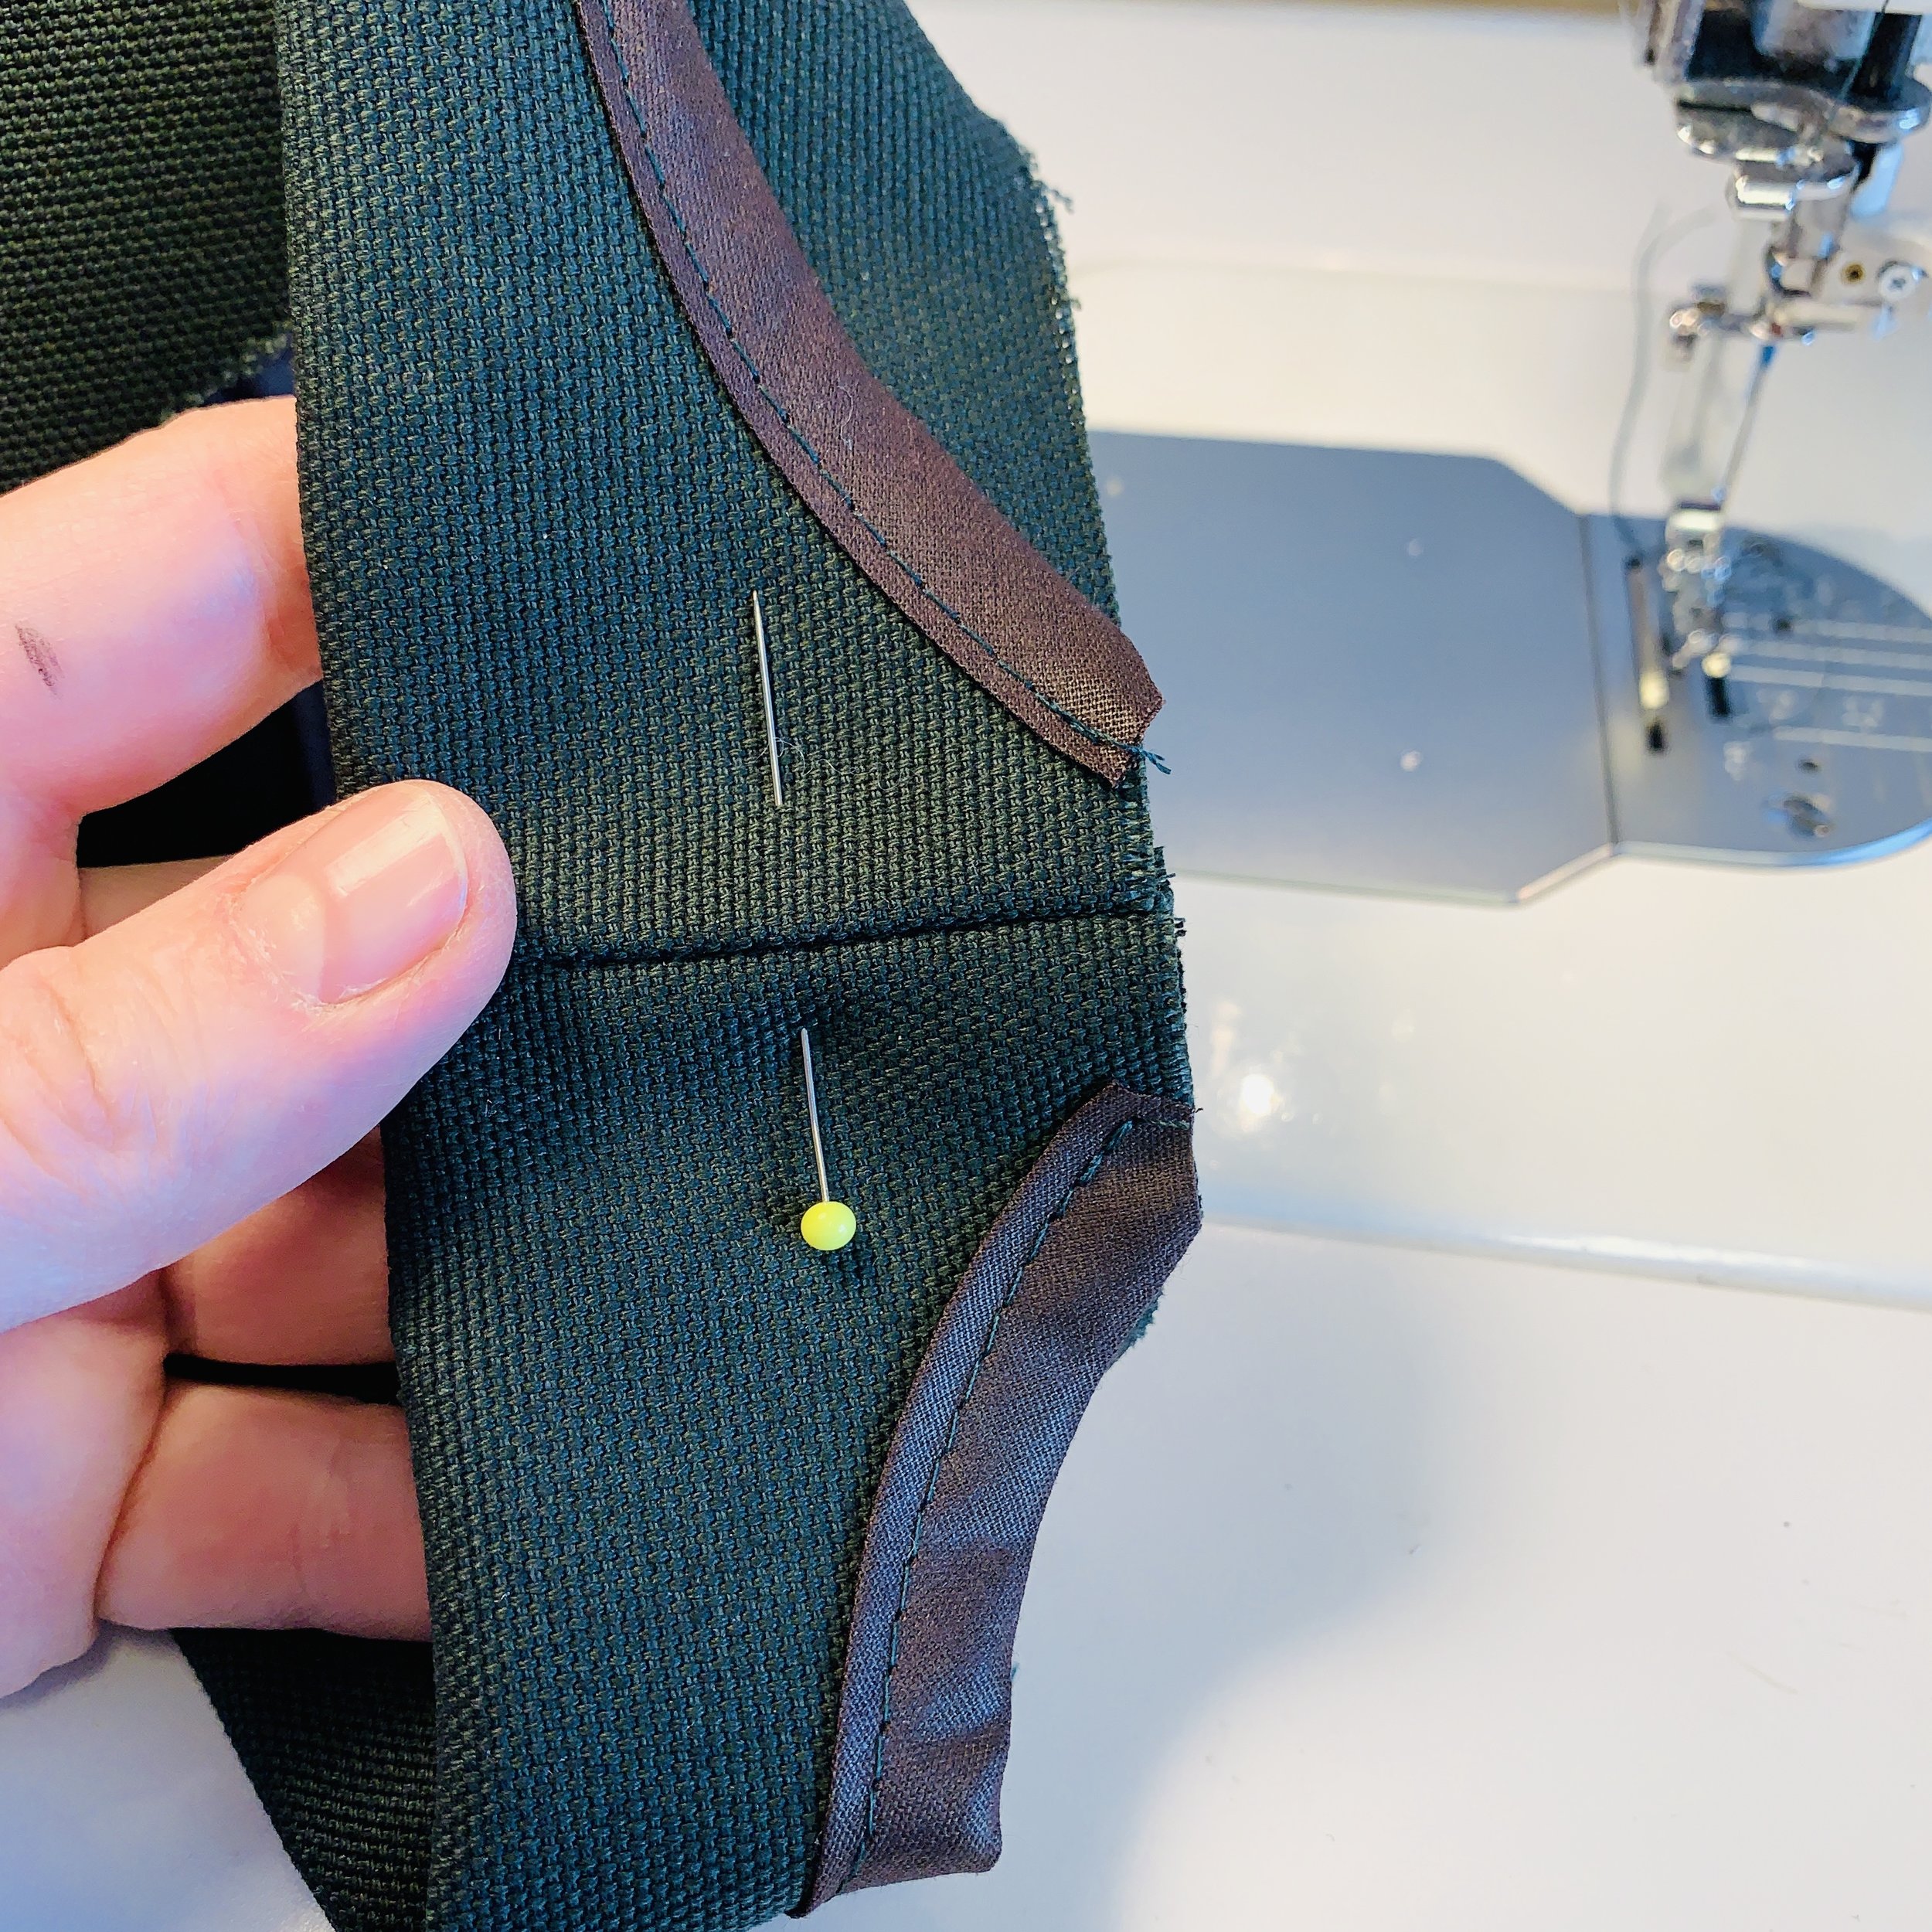
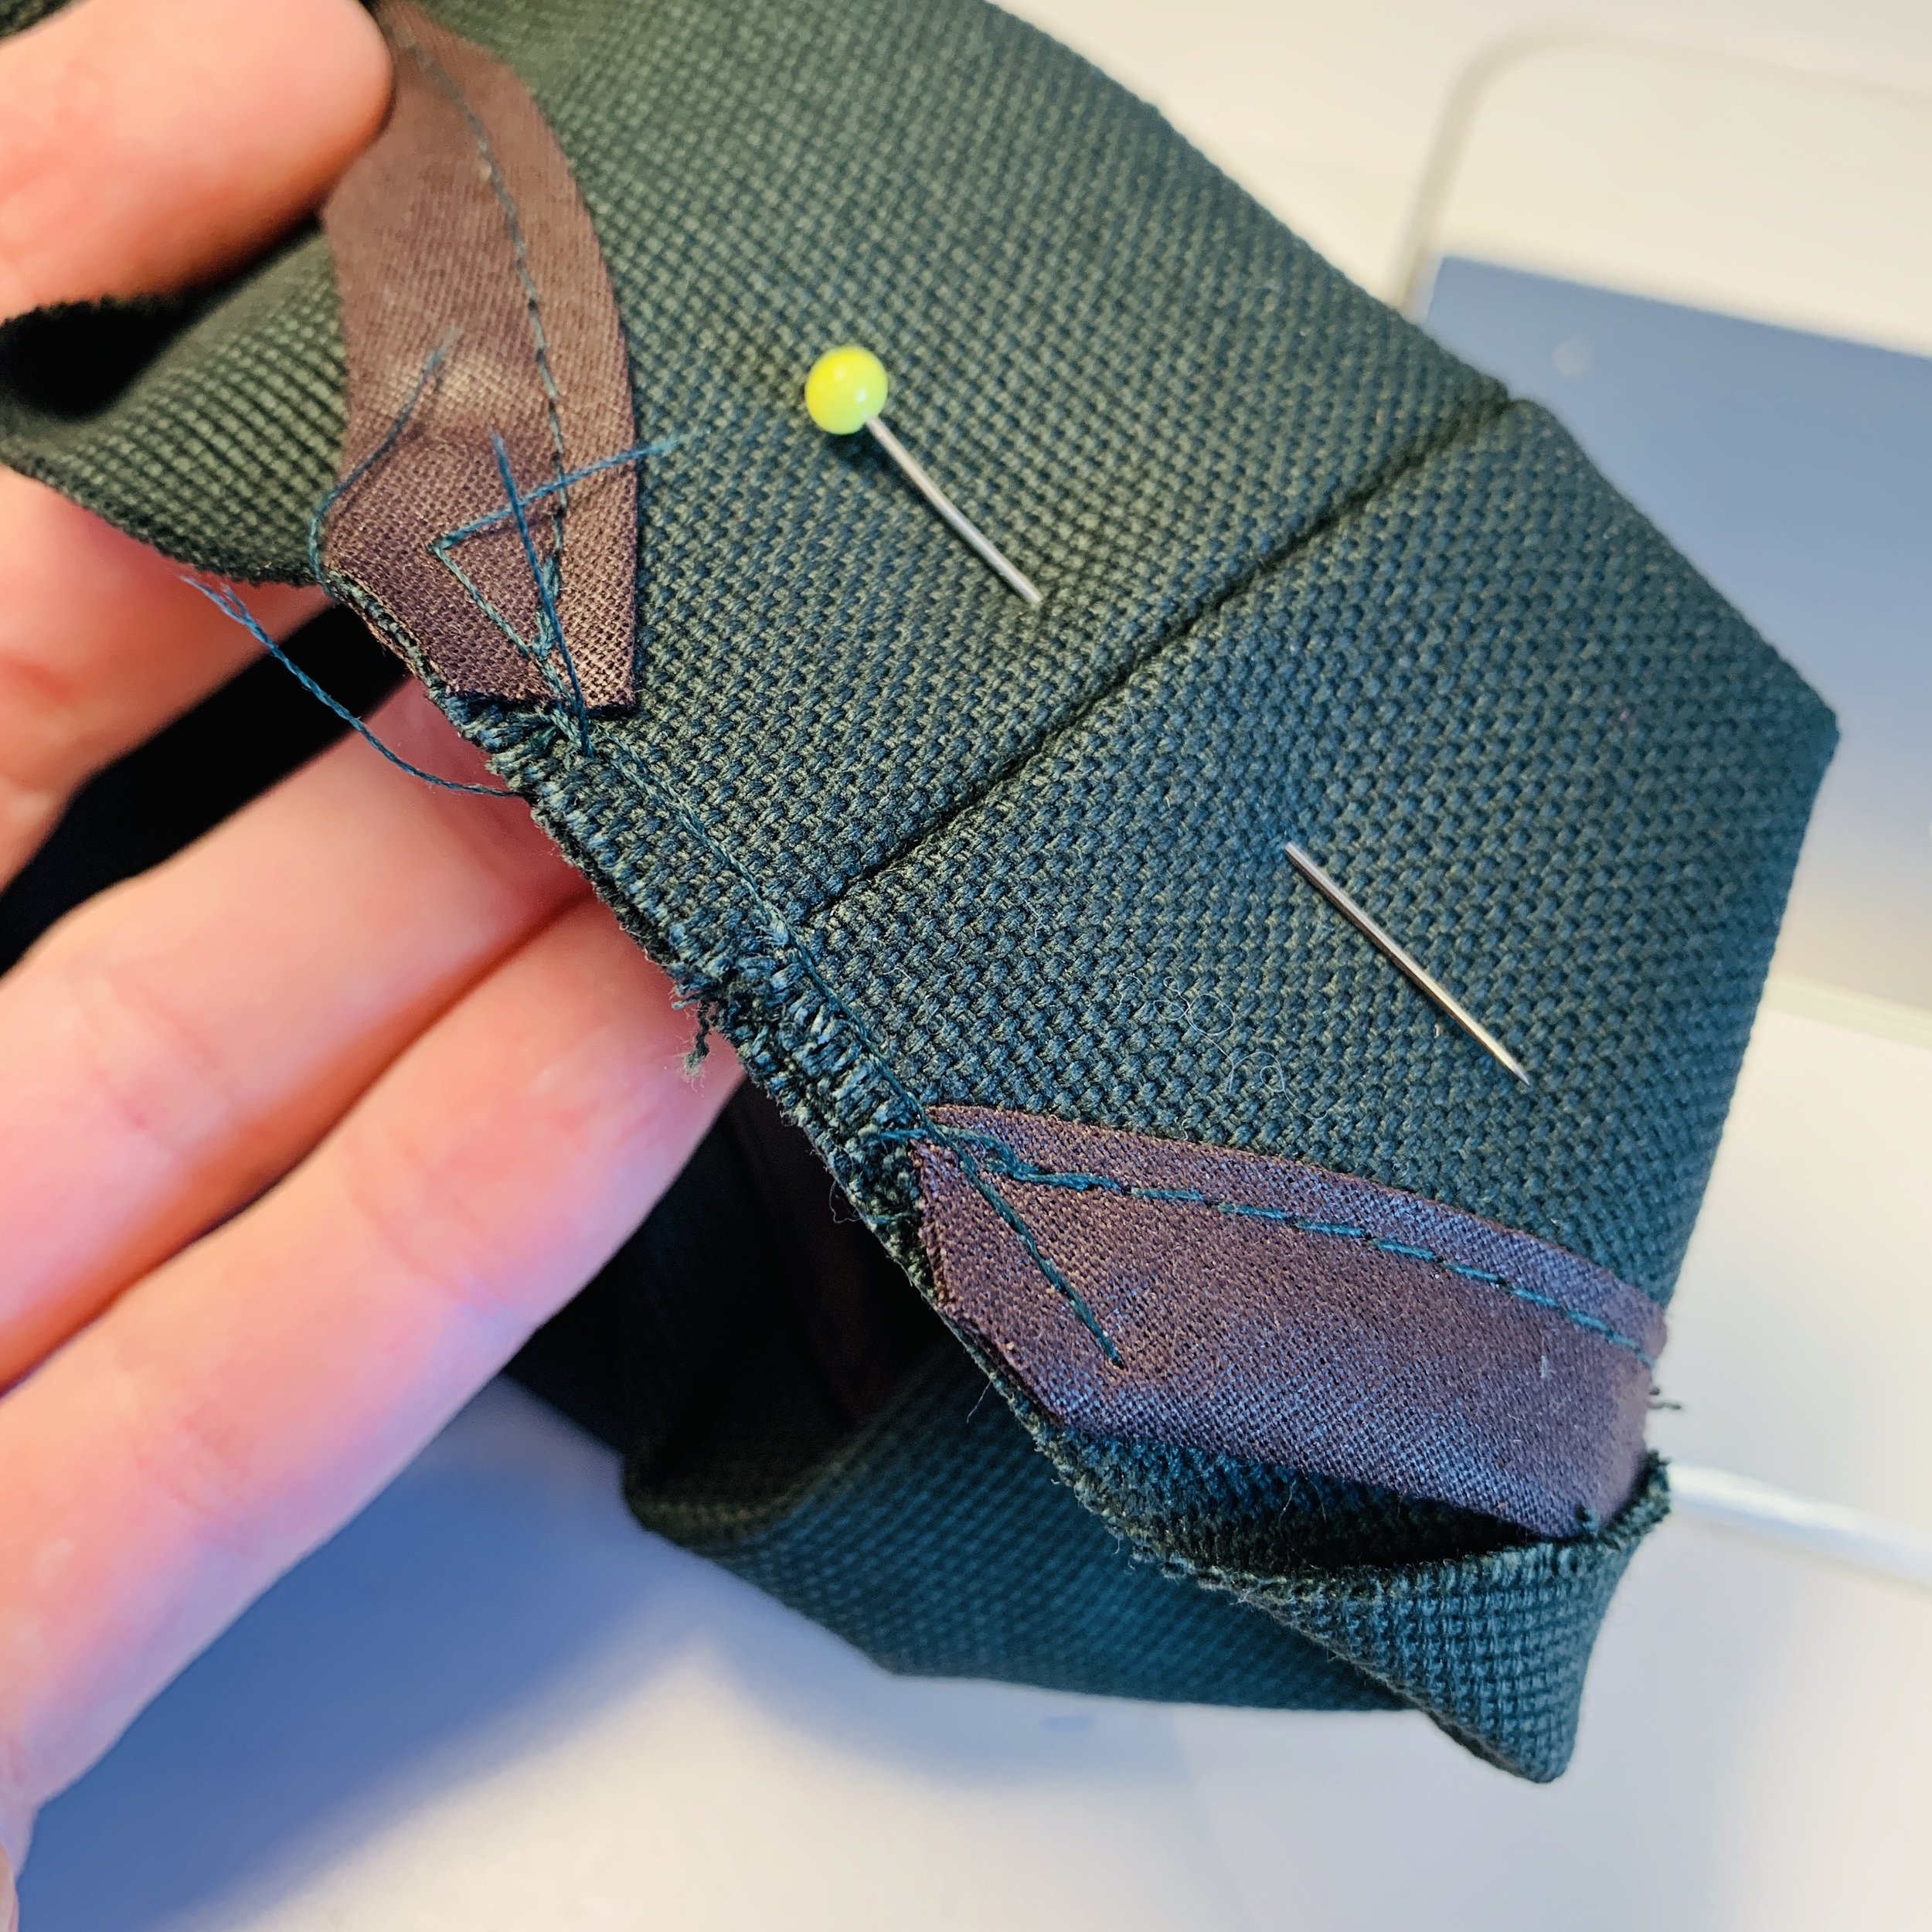
Cover the inside of the handles with a bias tape and you bag is almost ready!
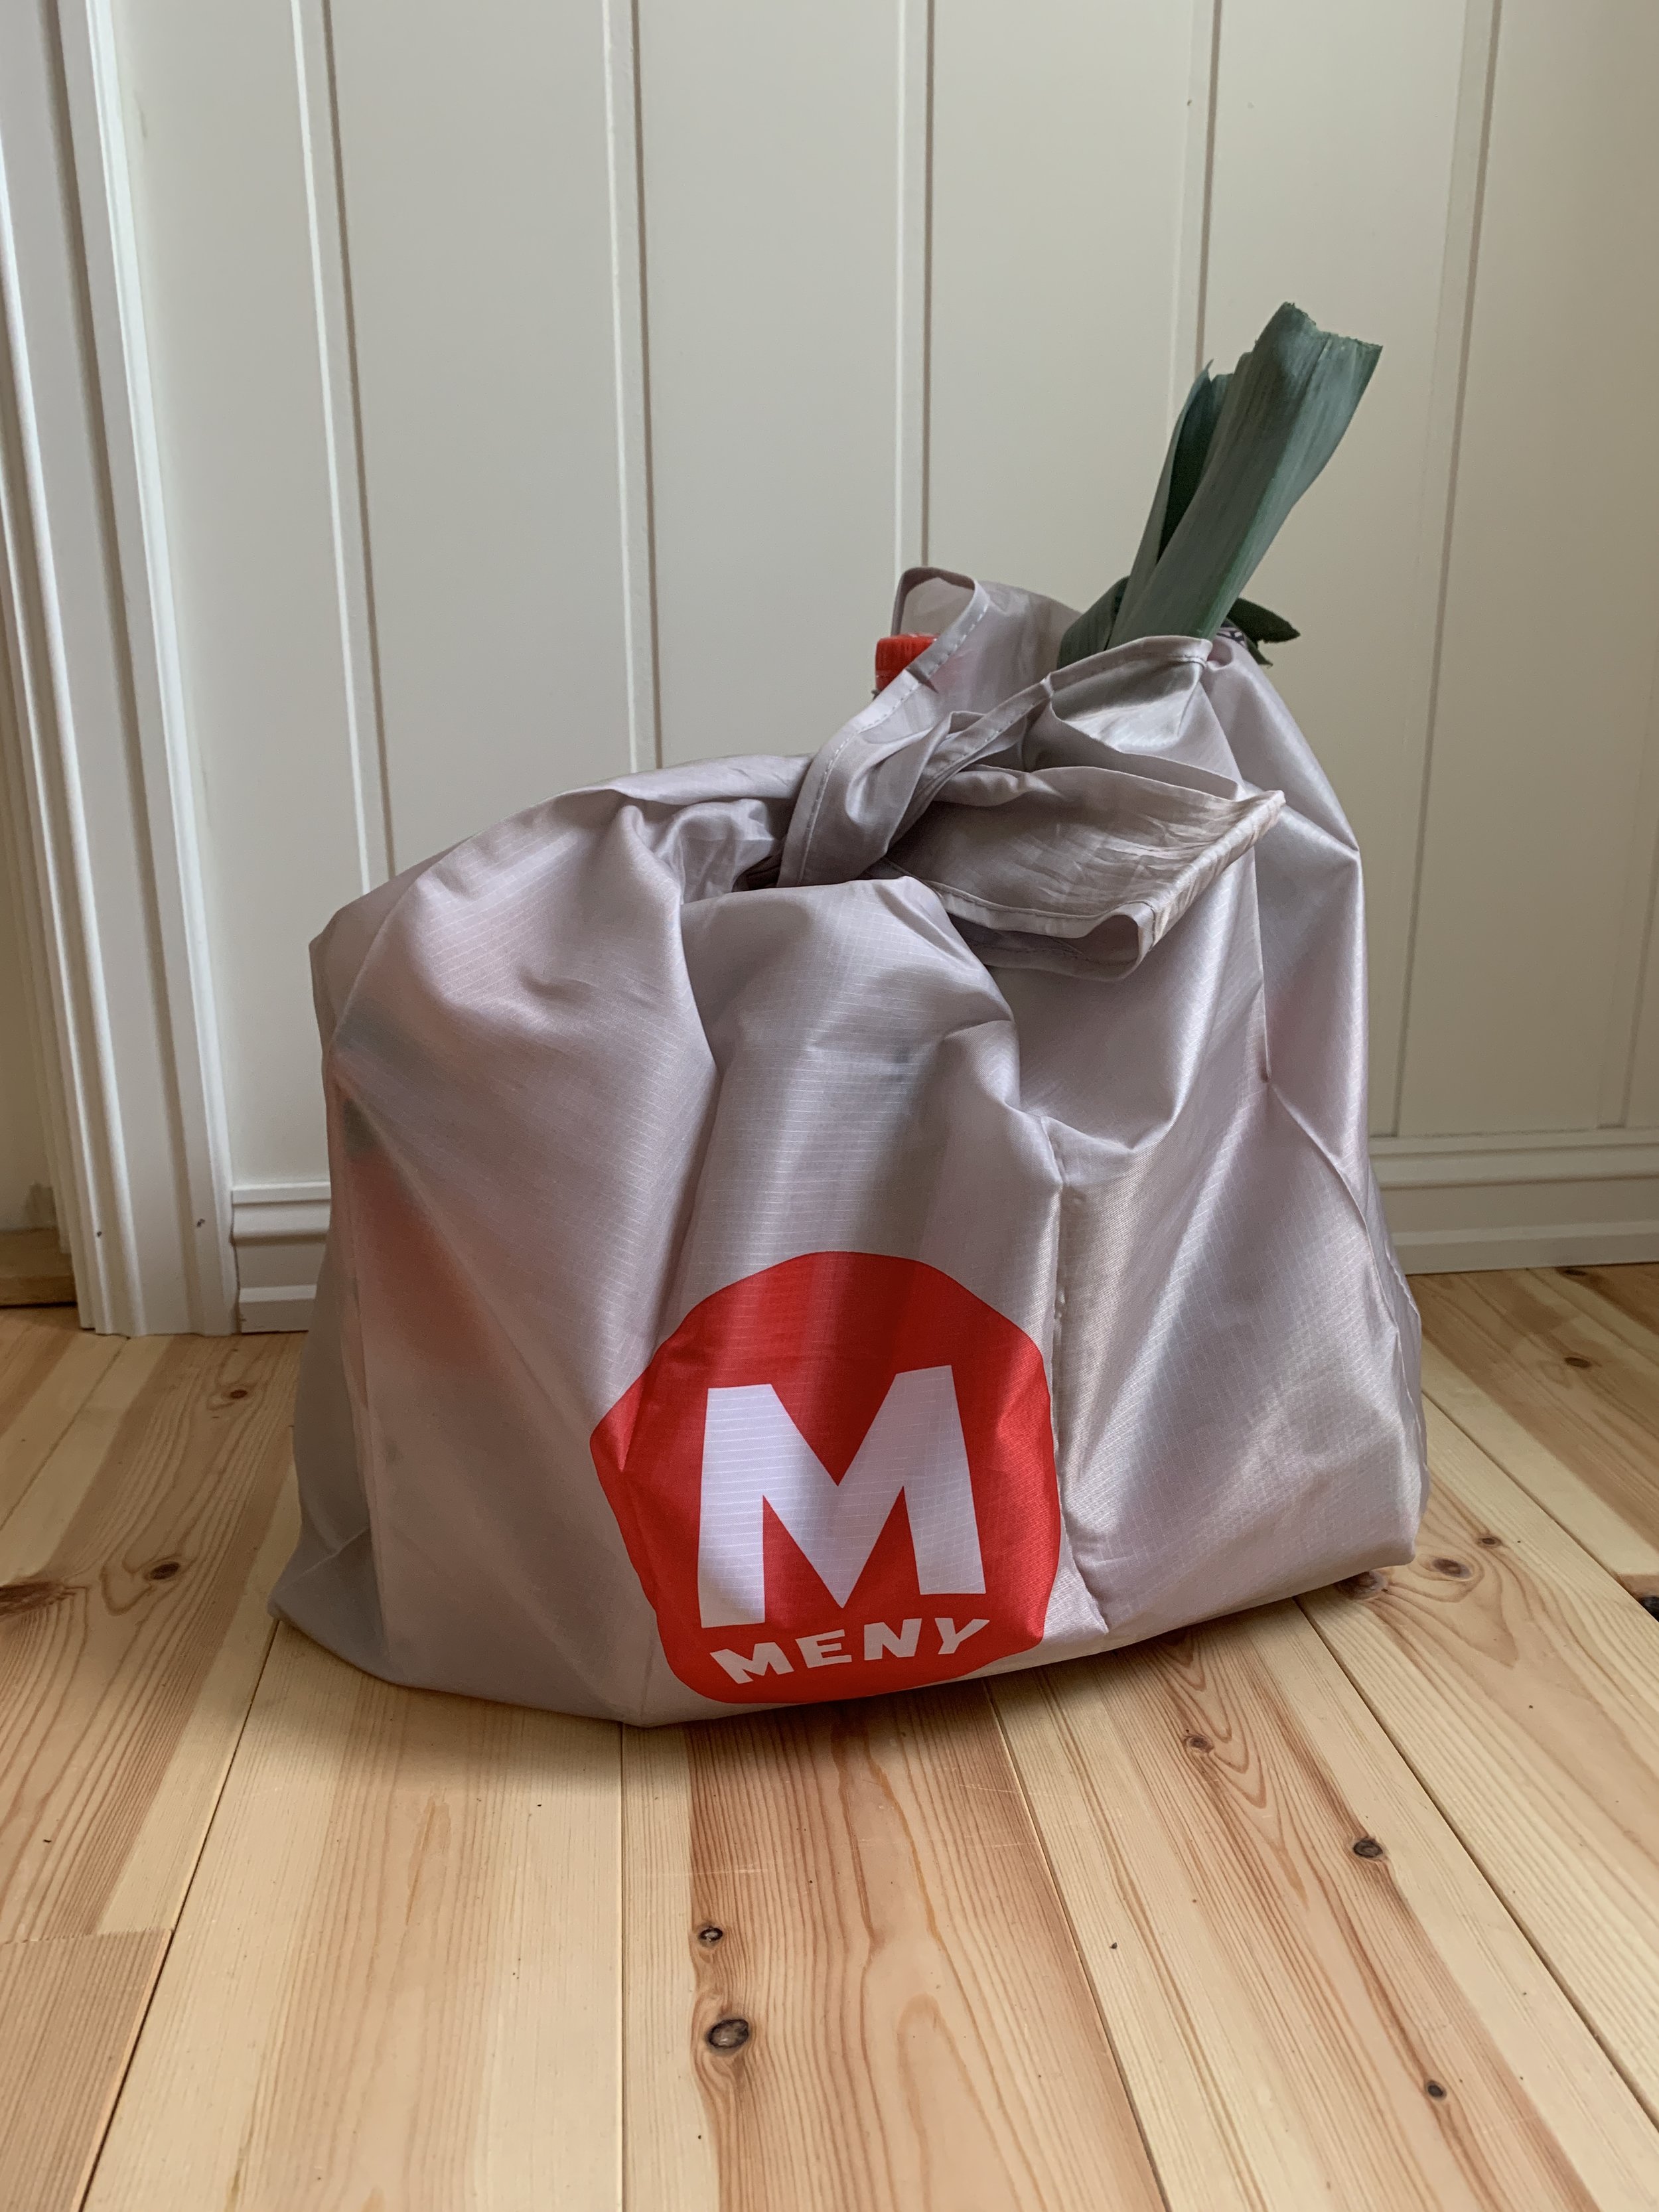
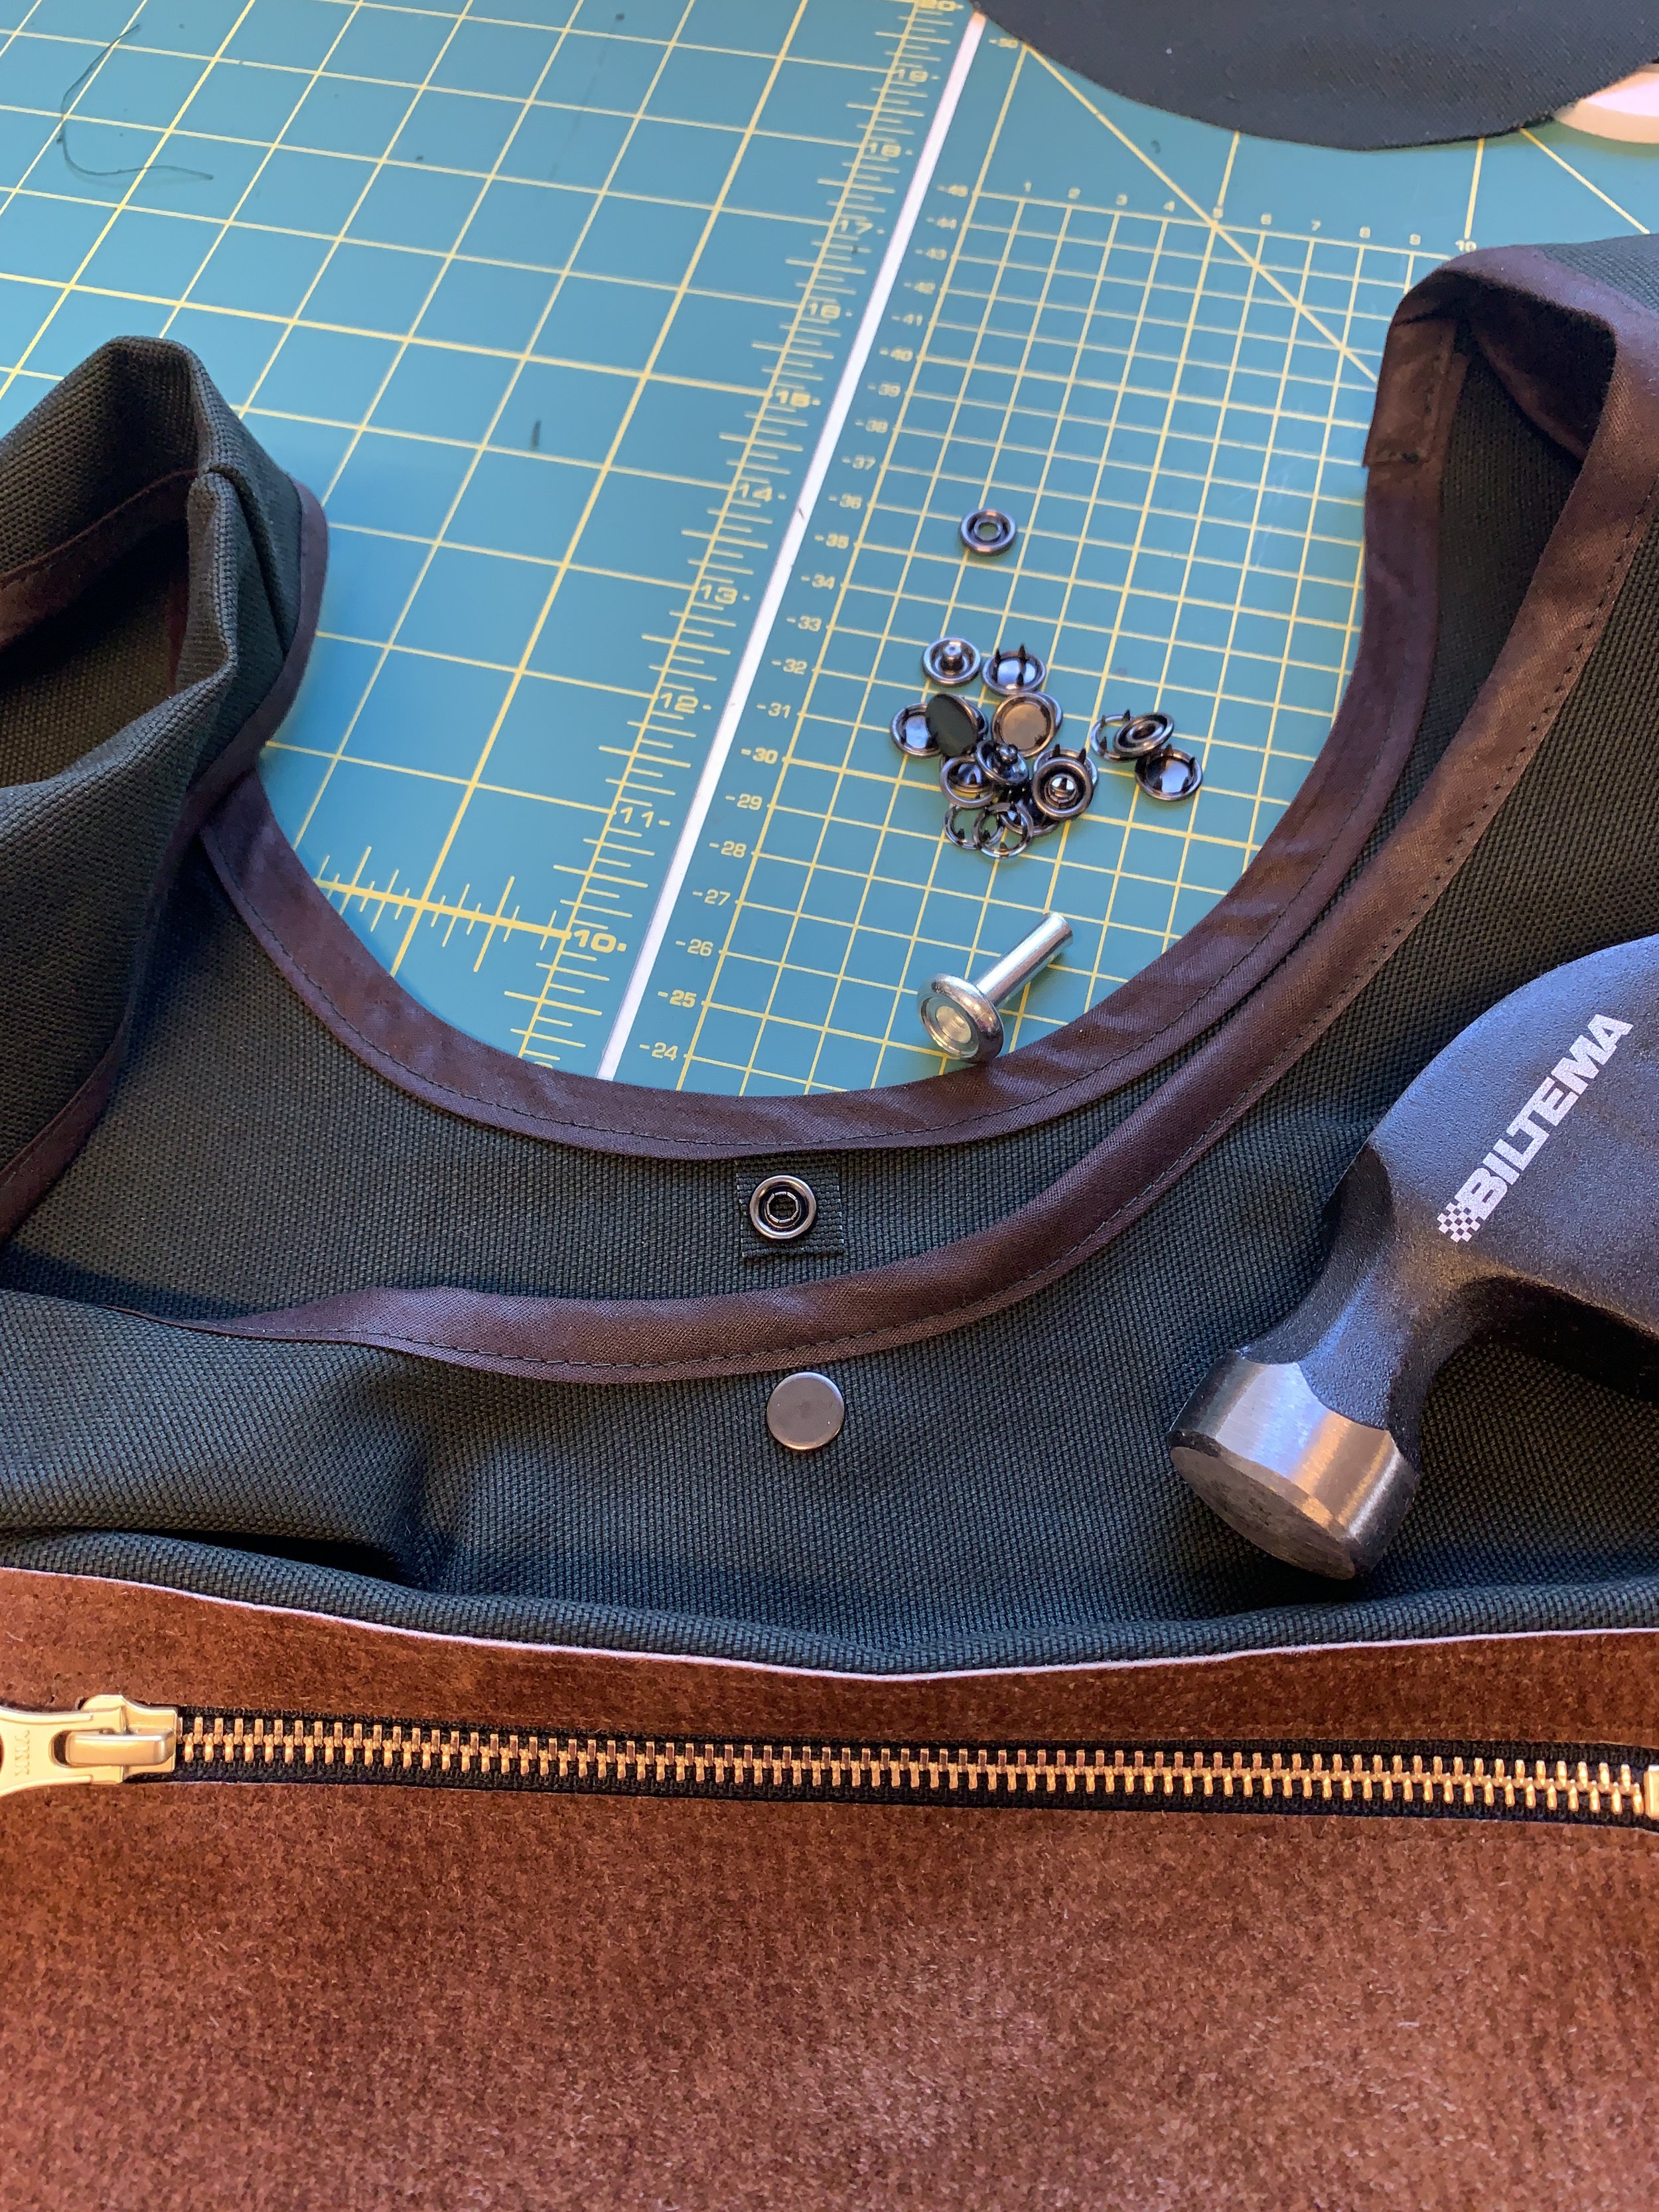
The only thing you might need are snaps so you can fold it into the clutch.. Place one snap on the top of the bag to use as a bag closure and another (female) snap right under the pocket so you can fold your bag and place it in your everyday bag. Use some small fabric scraps to reinforce the snap area.
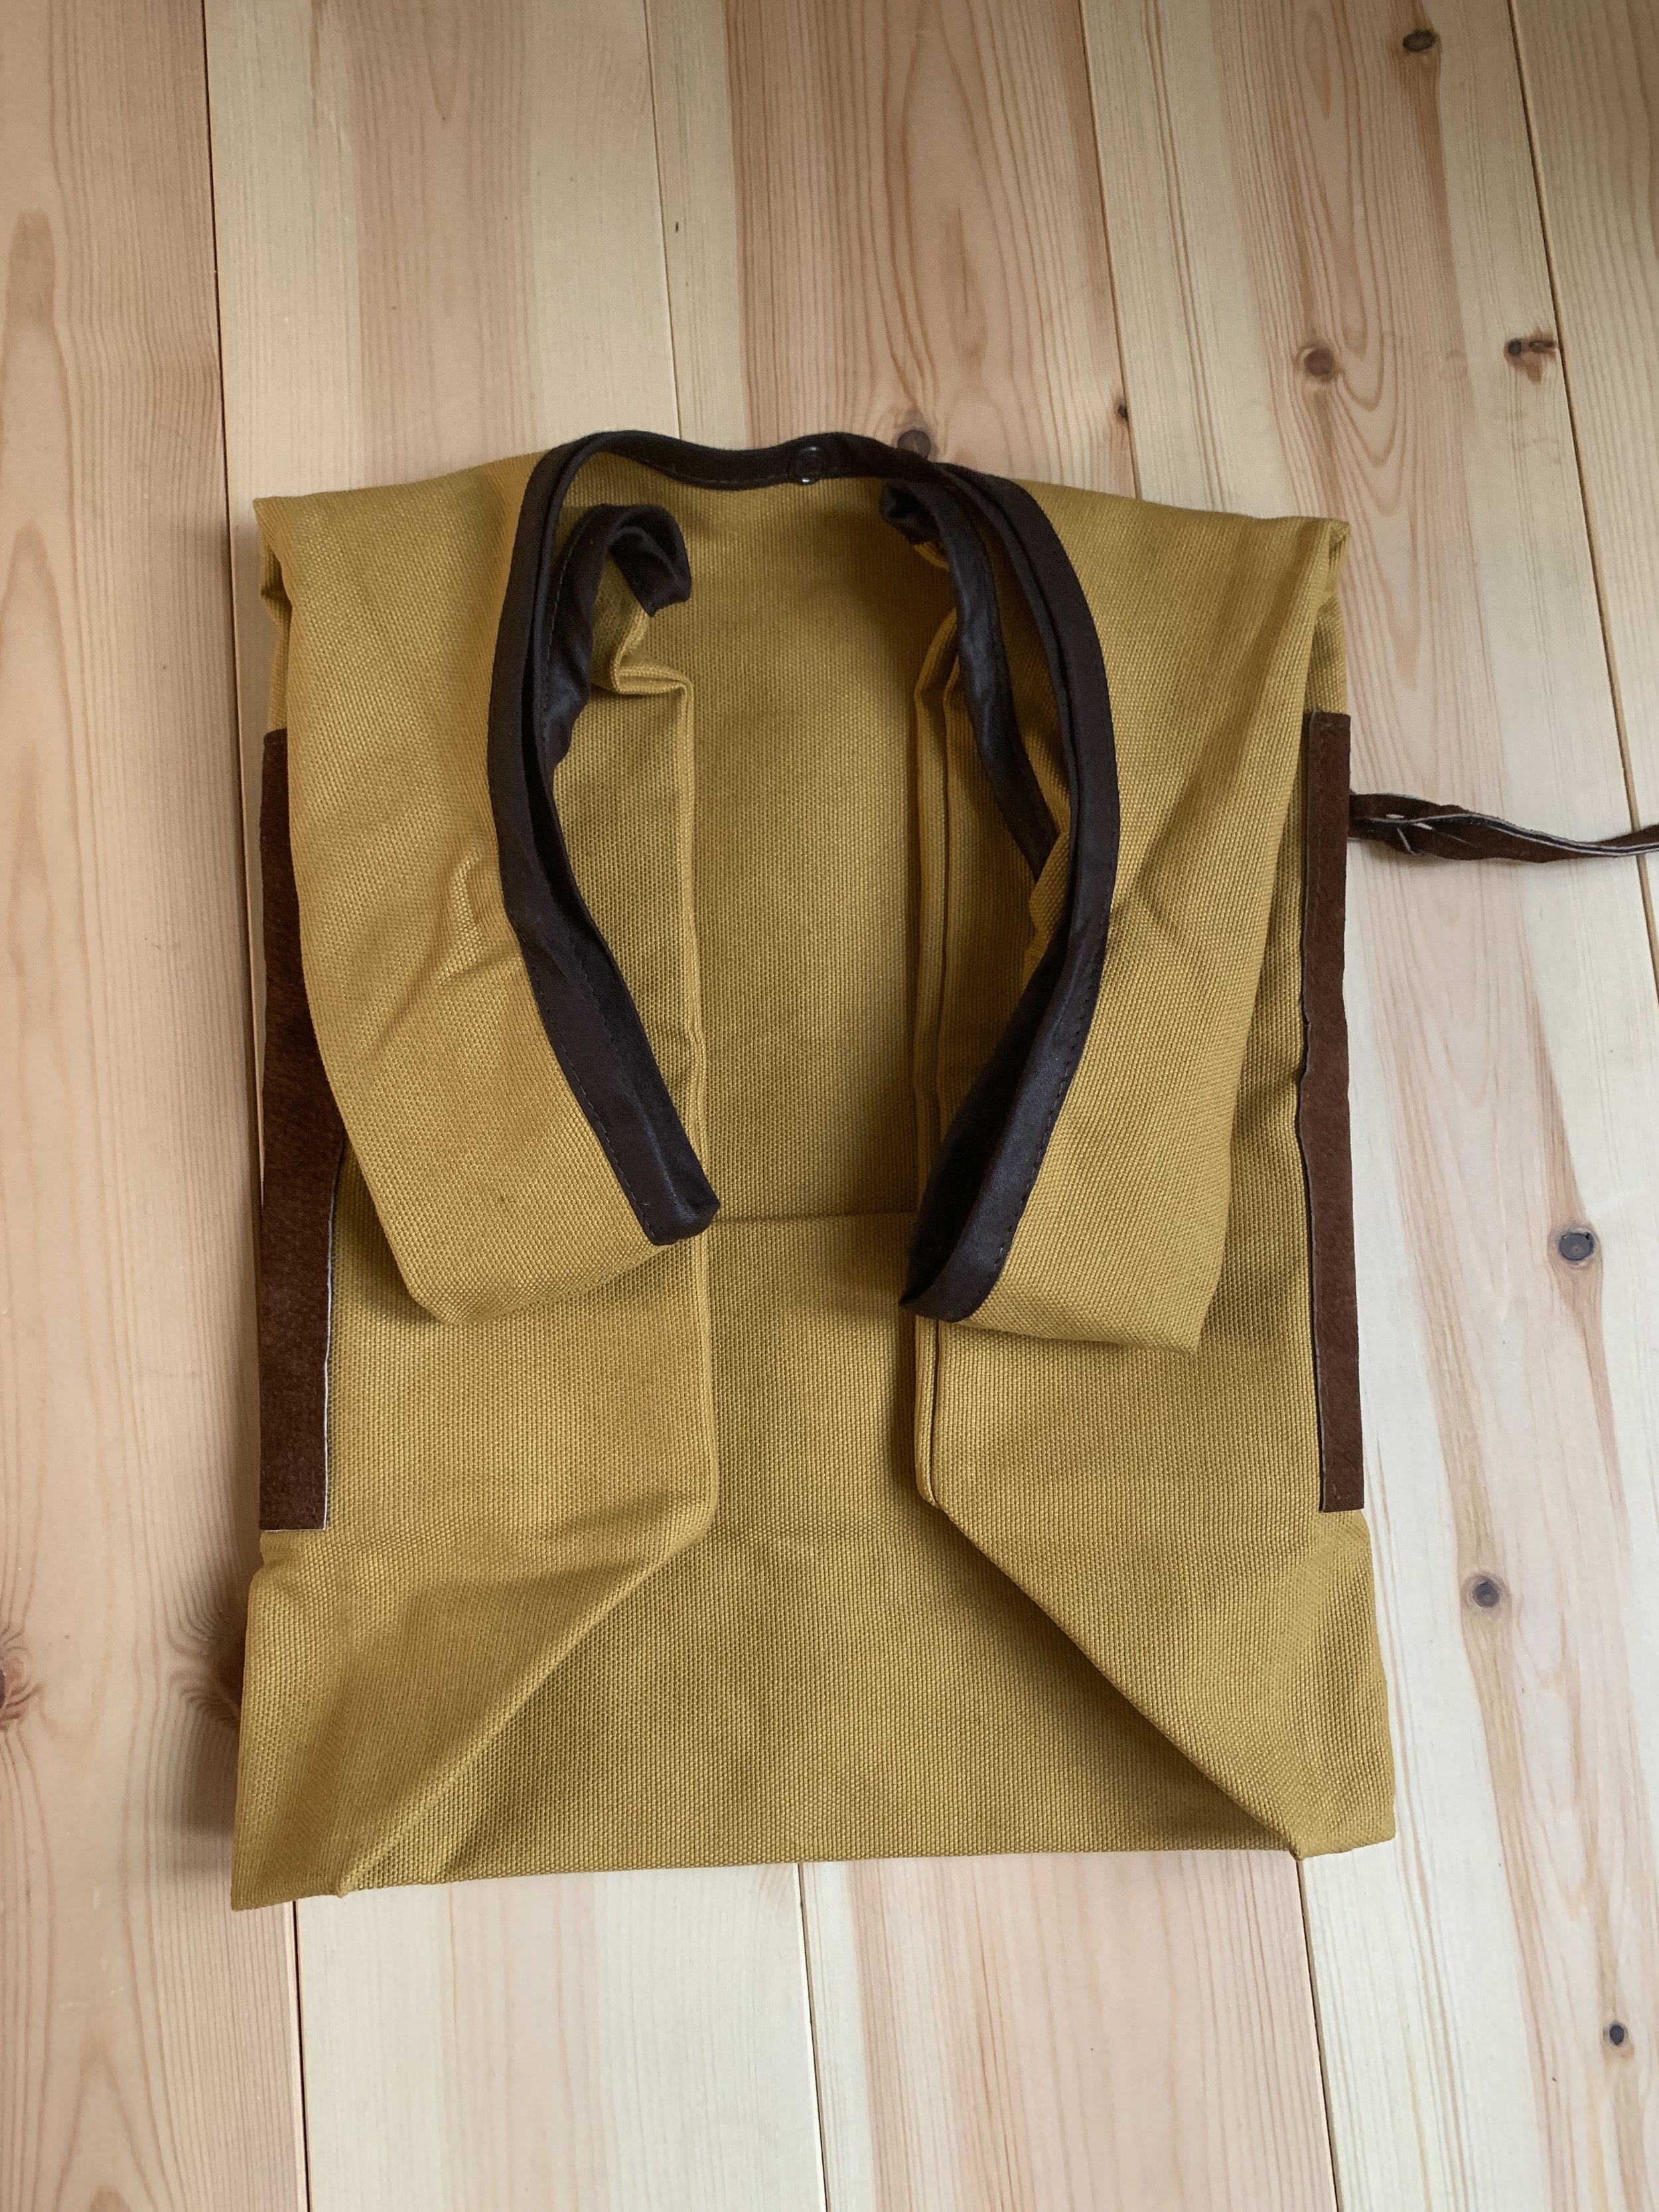

This bag folds into this clutch!
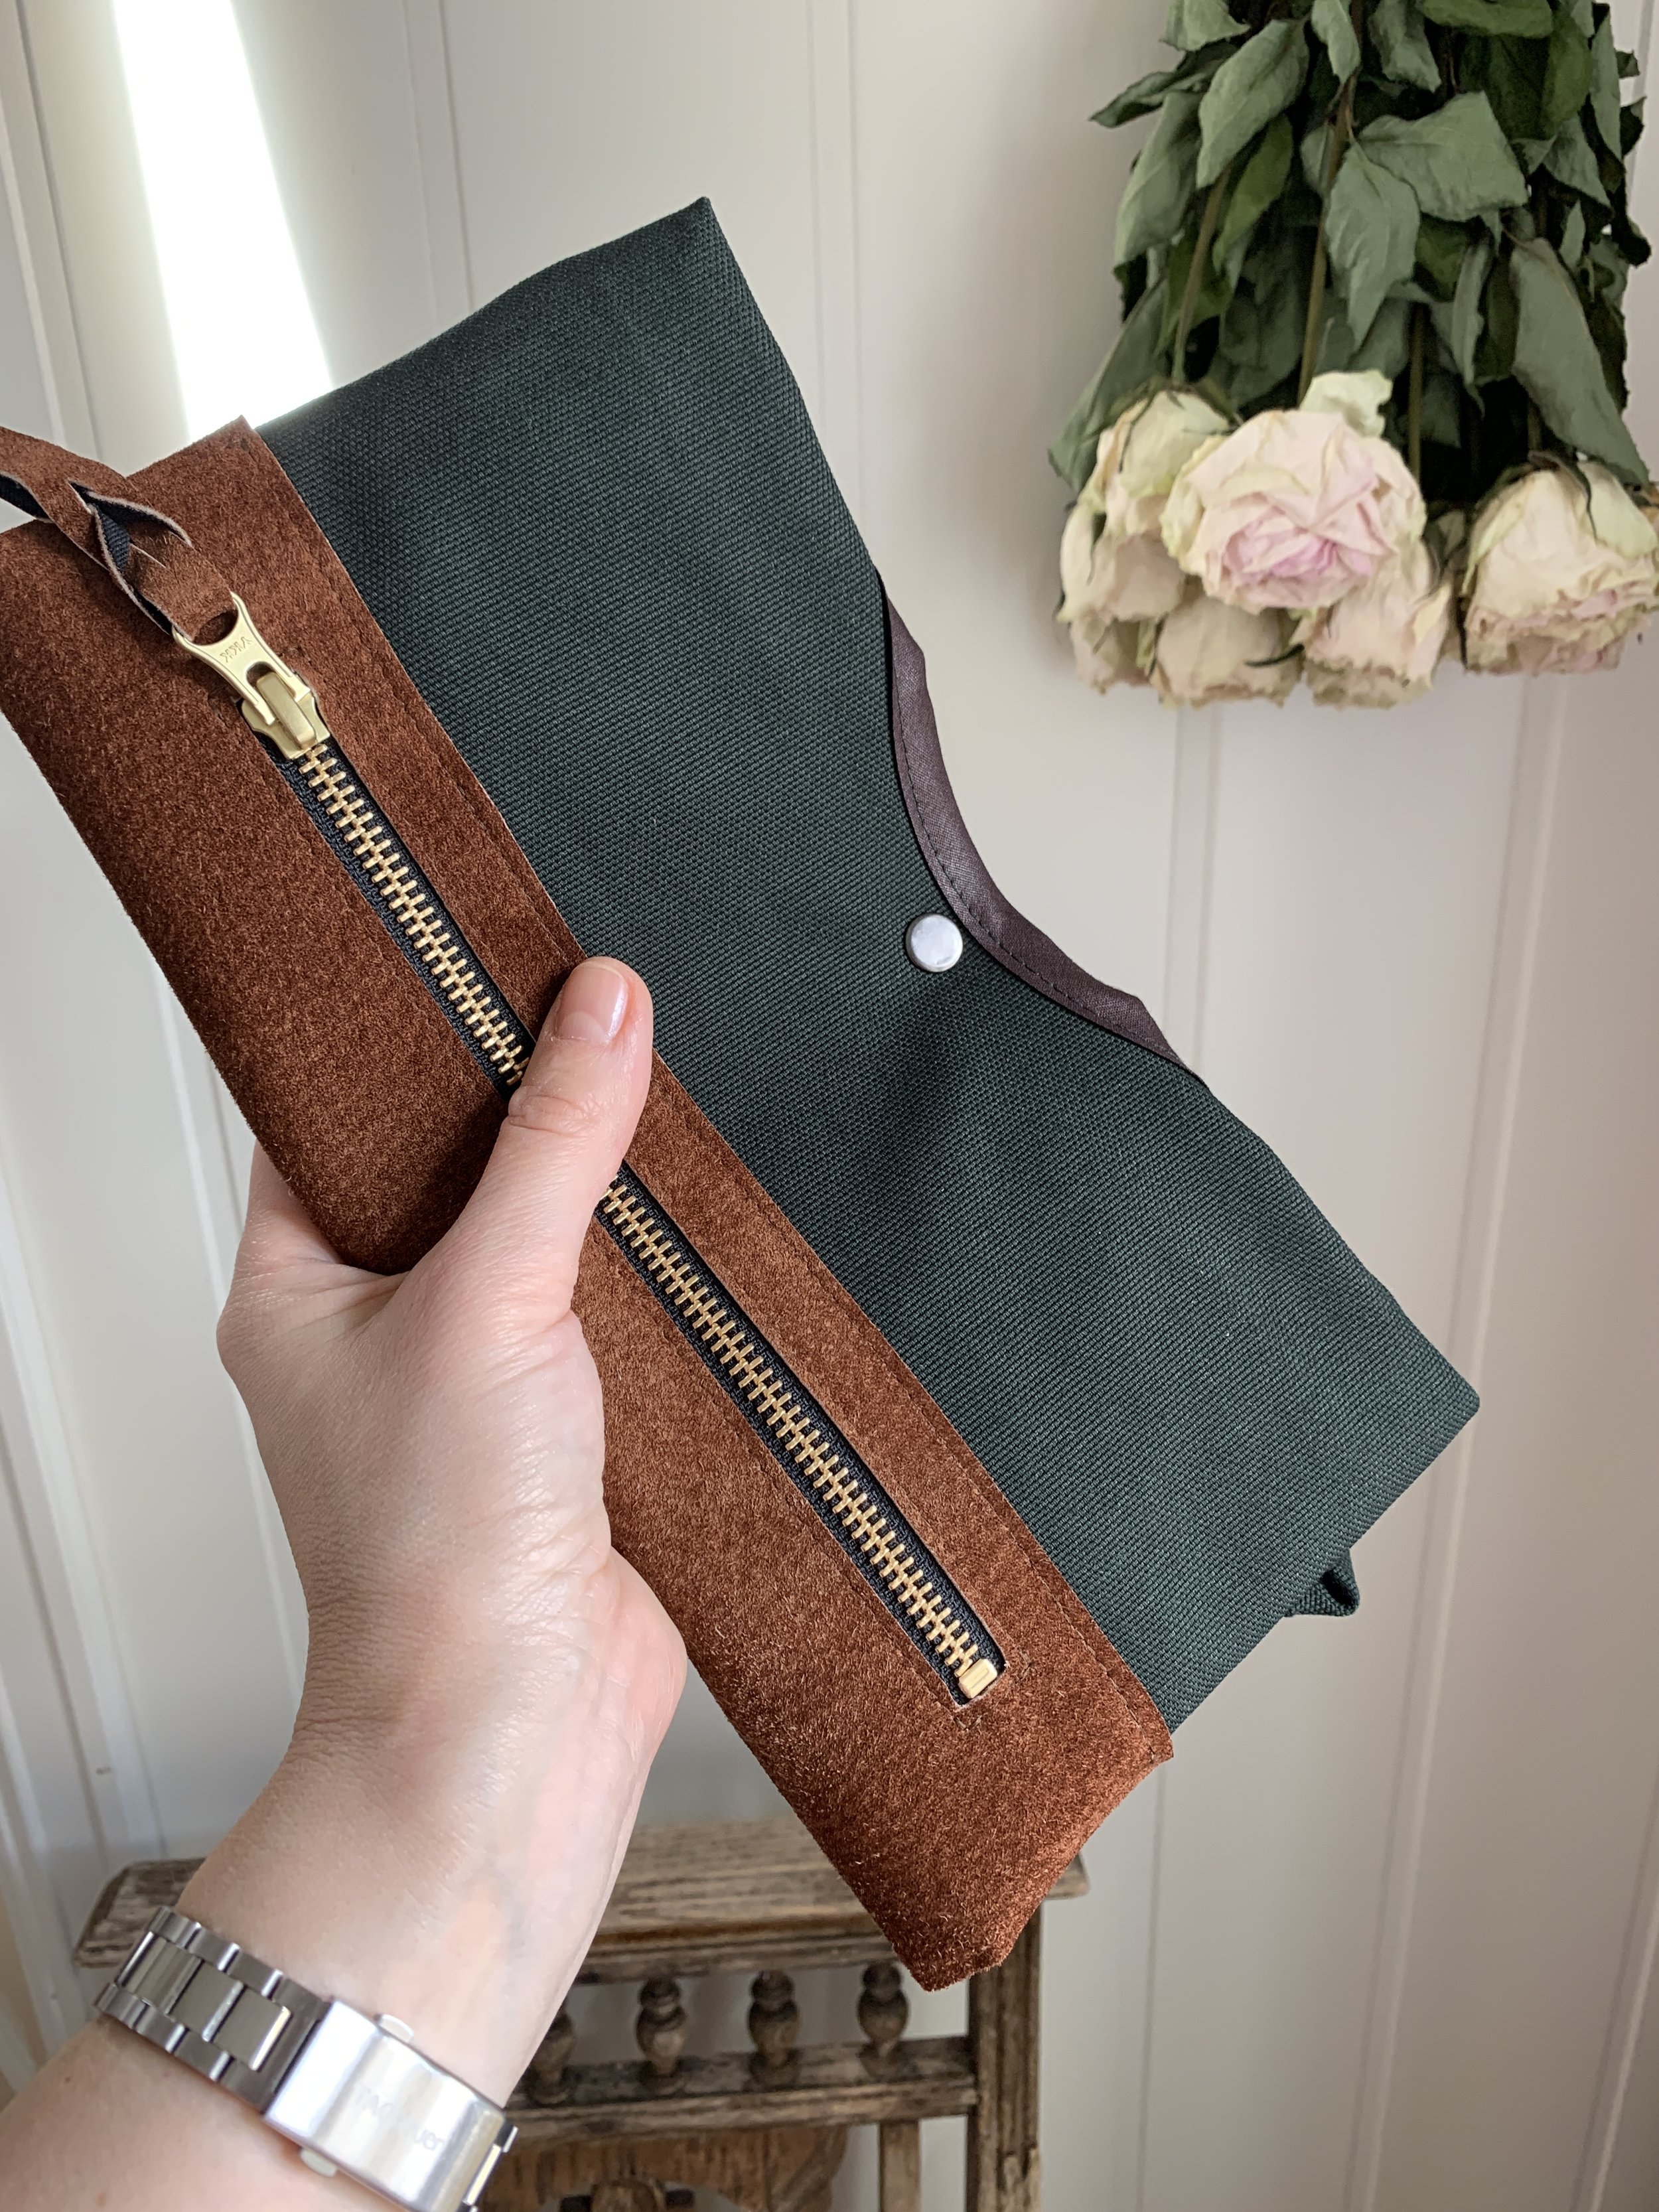
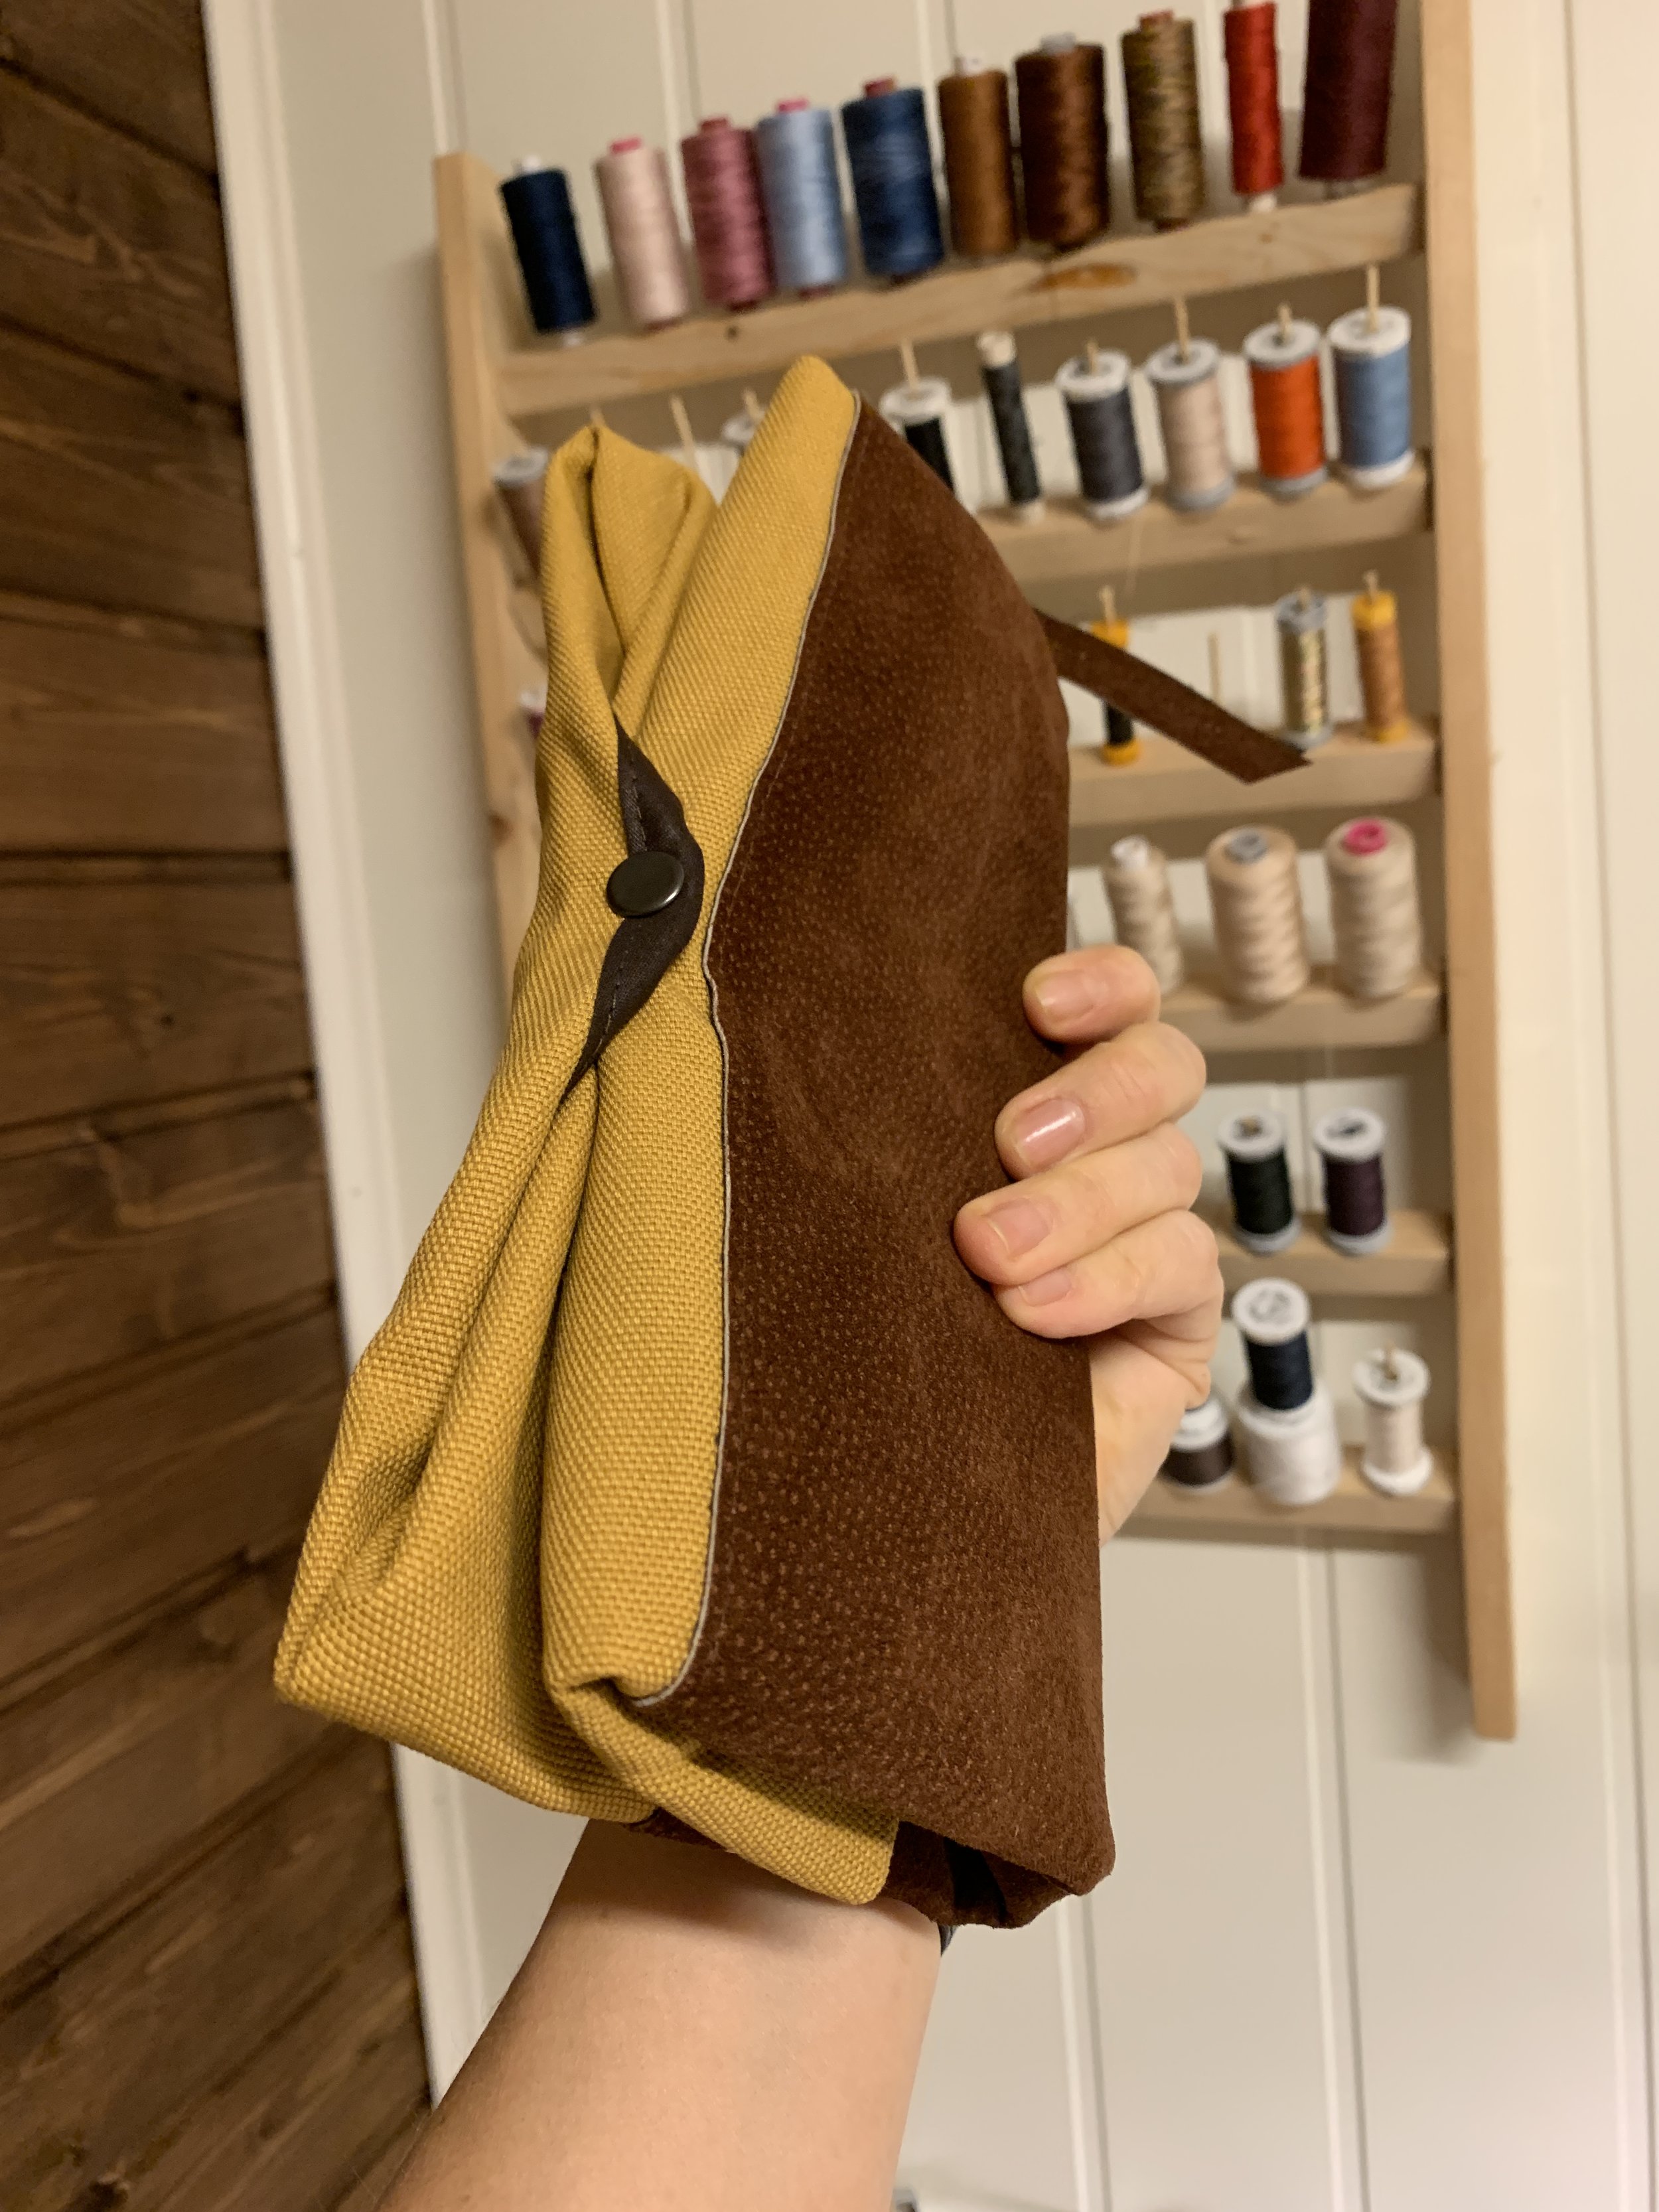
Enjoy your new shopper!