Knitting Needle Case (updated in 2025).
In this post, I’ll be sharing pictures and videos to guide you through sewing — or even personalizing — your own Knitting Needle Case.
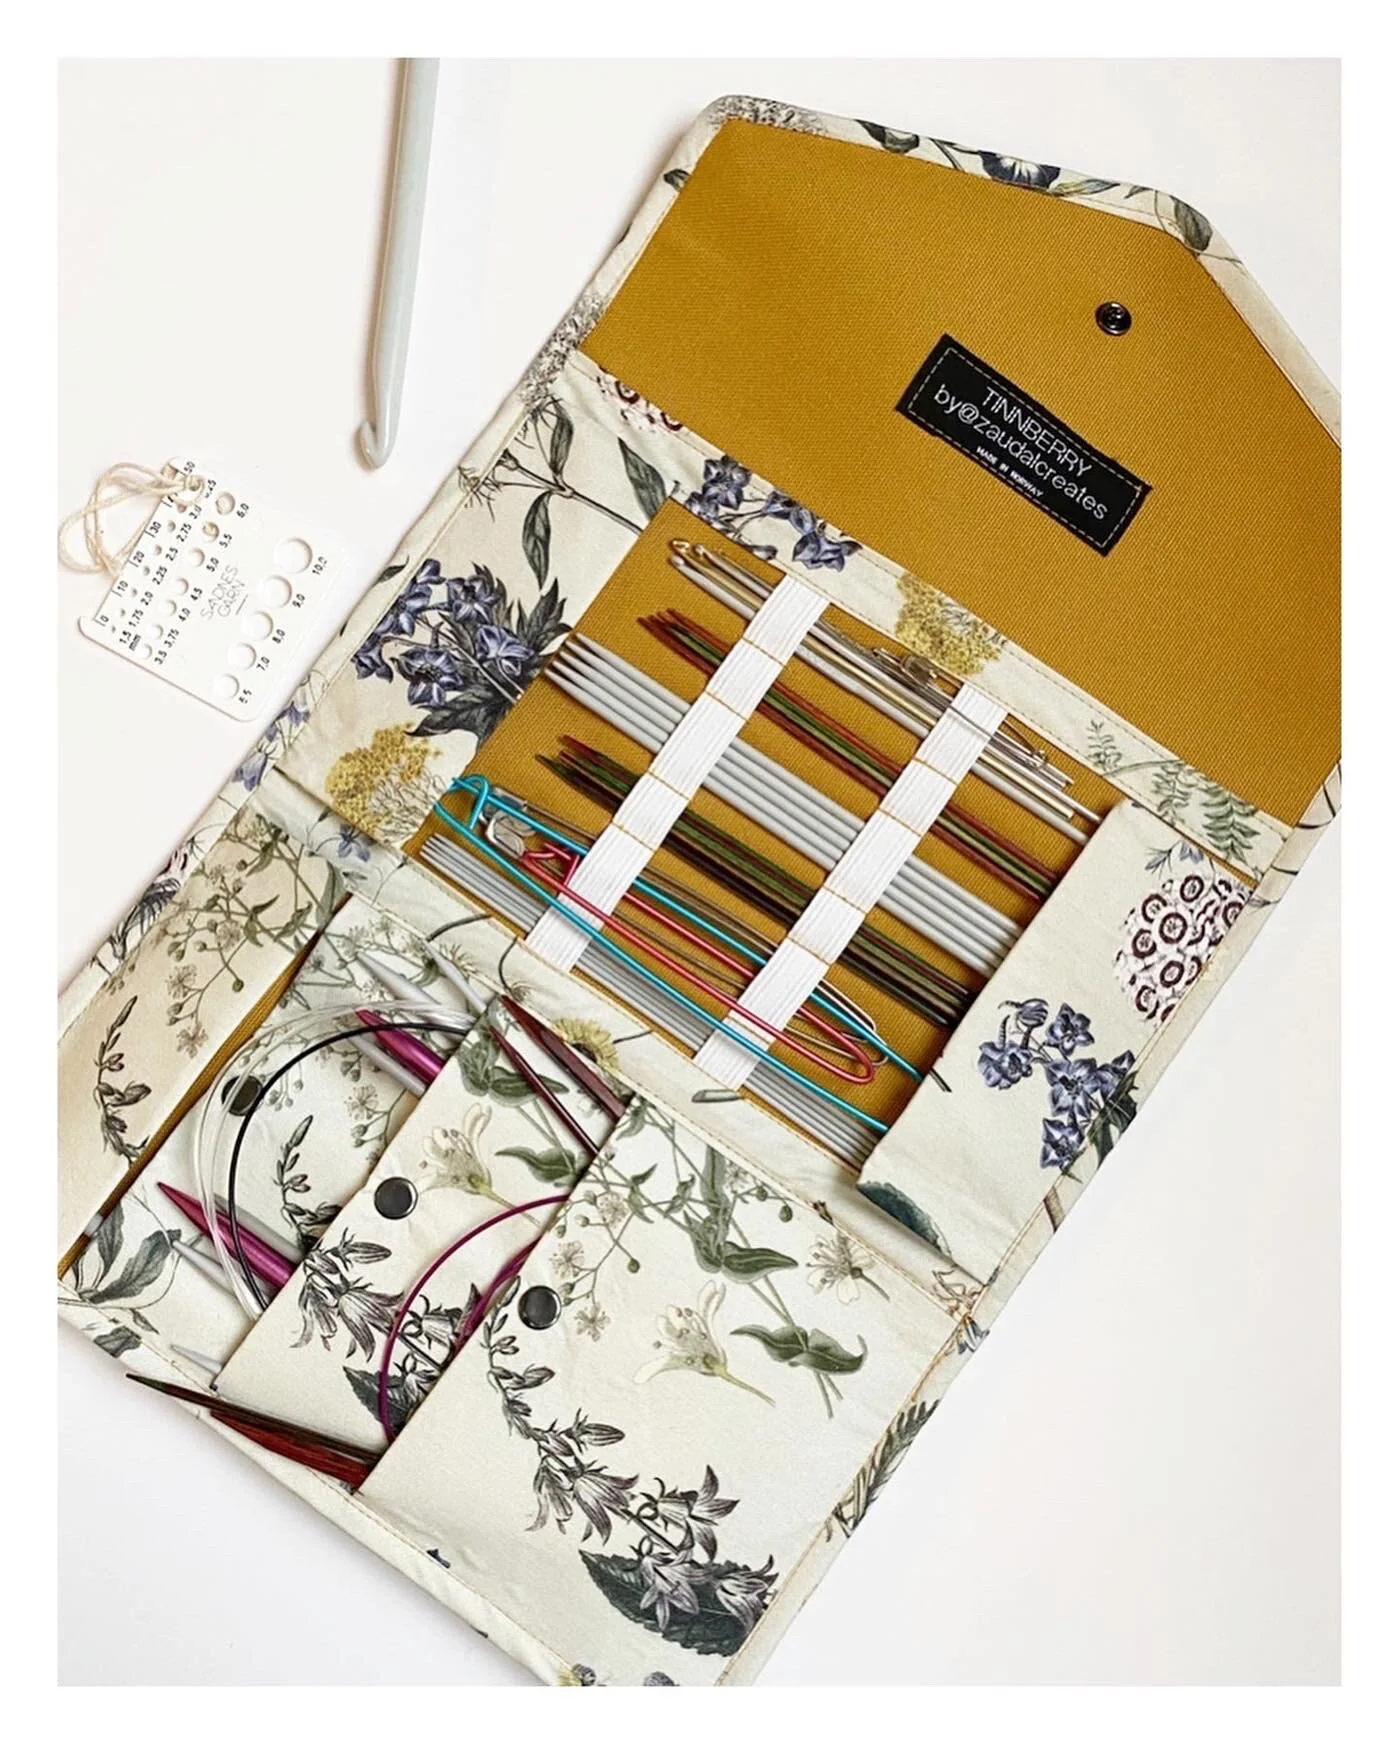
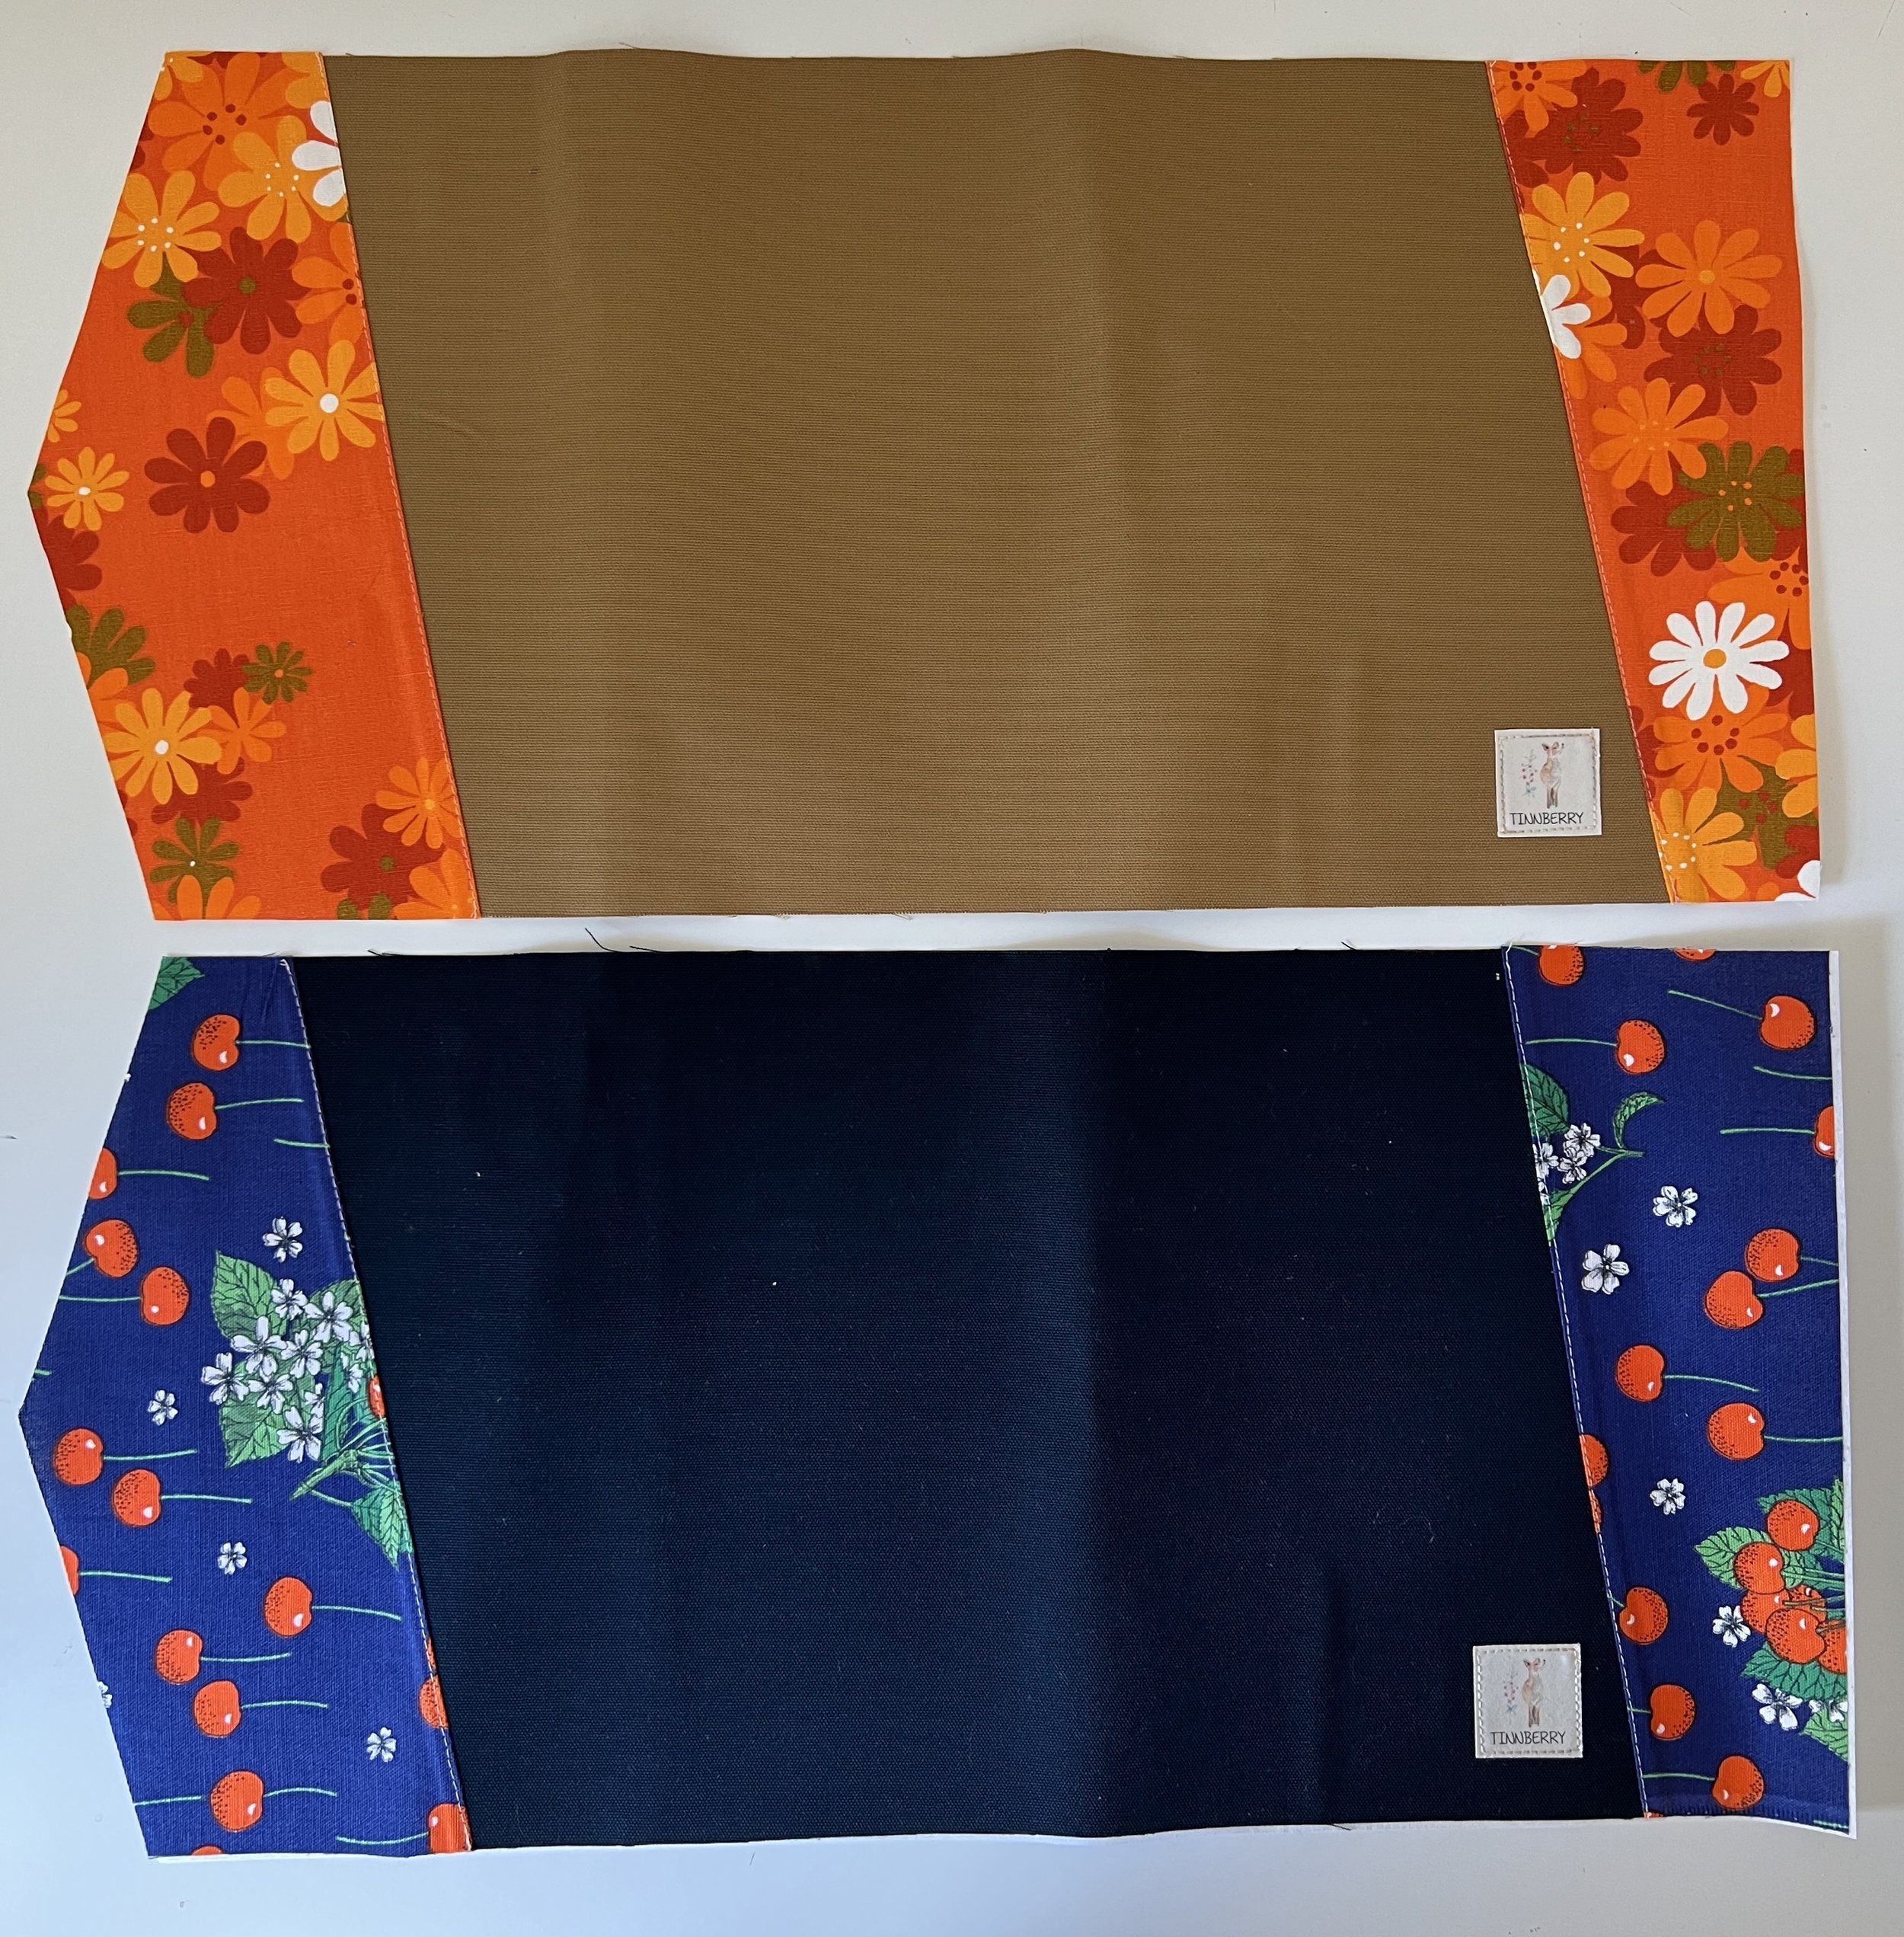
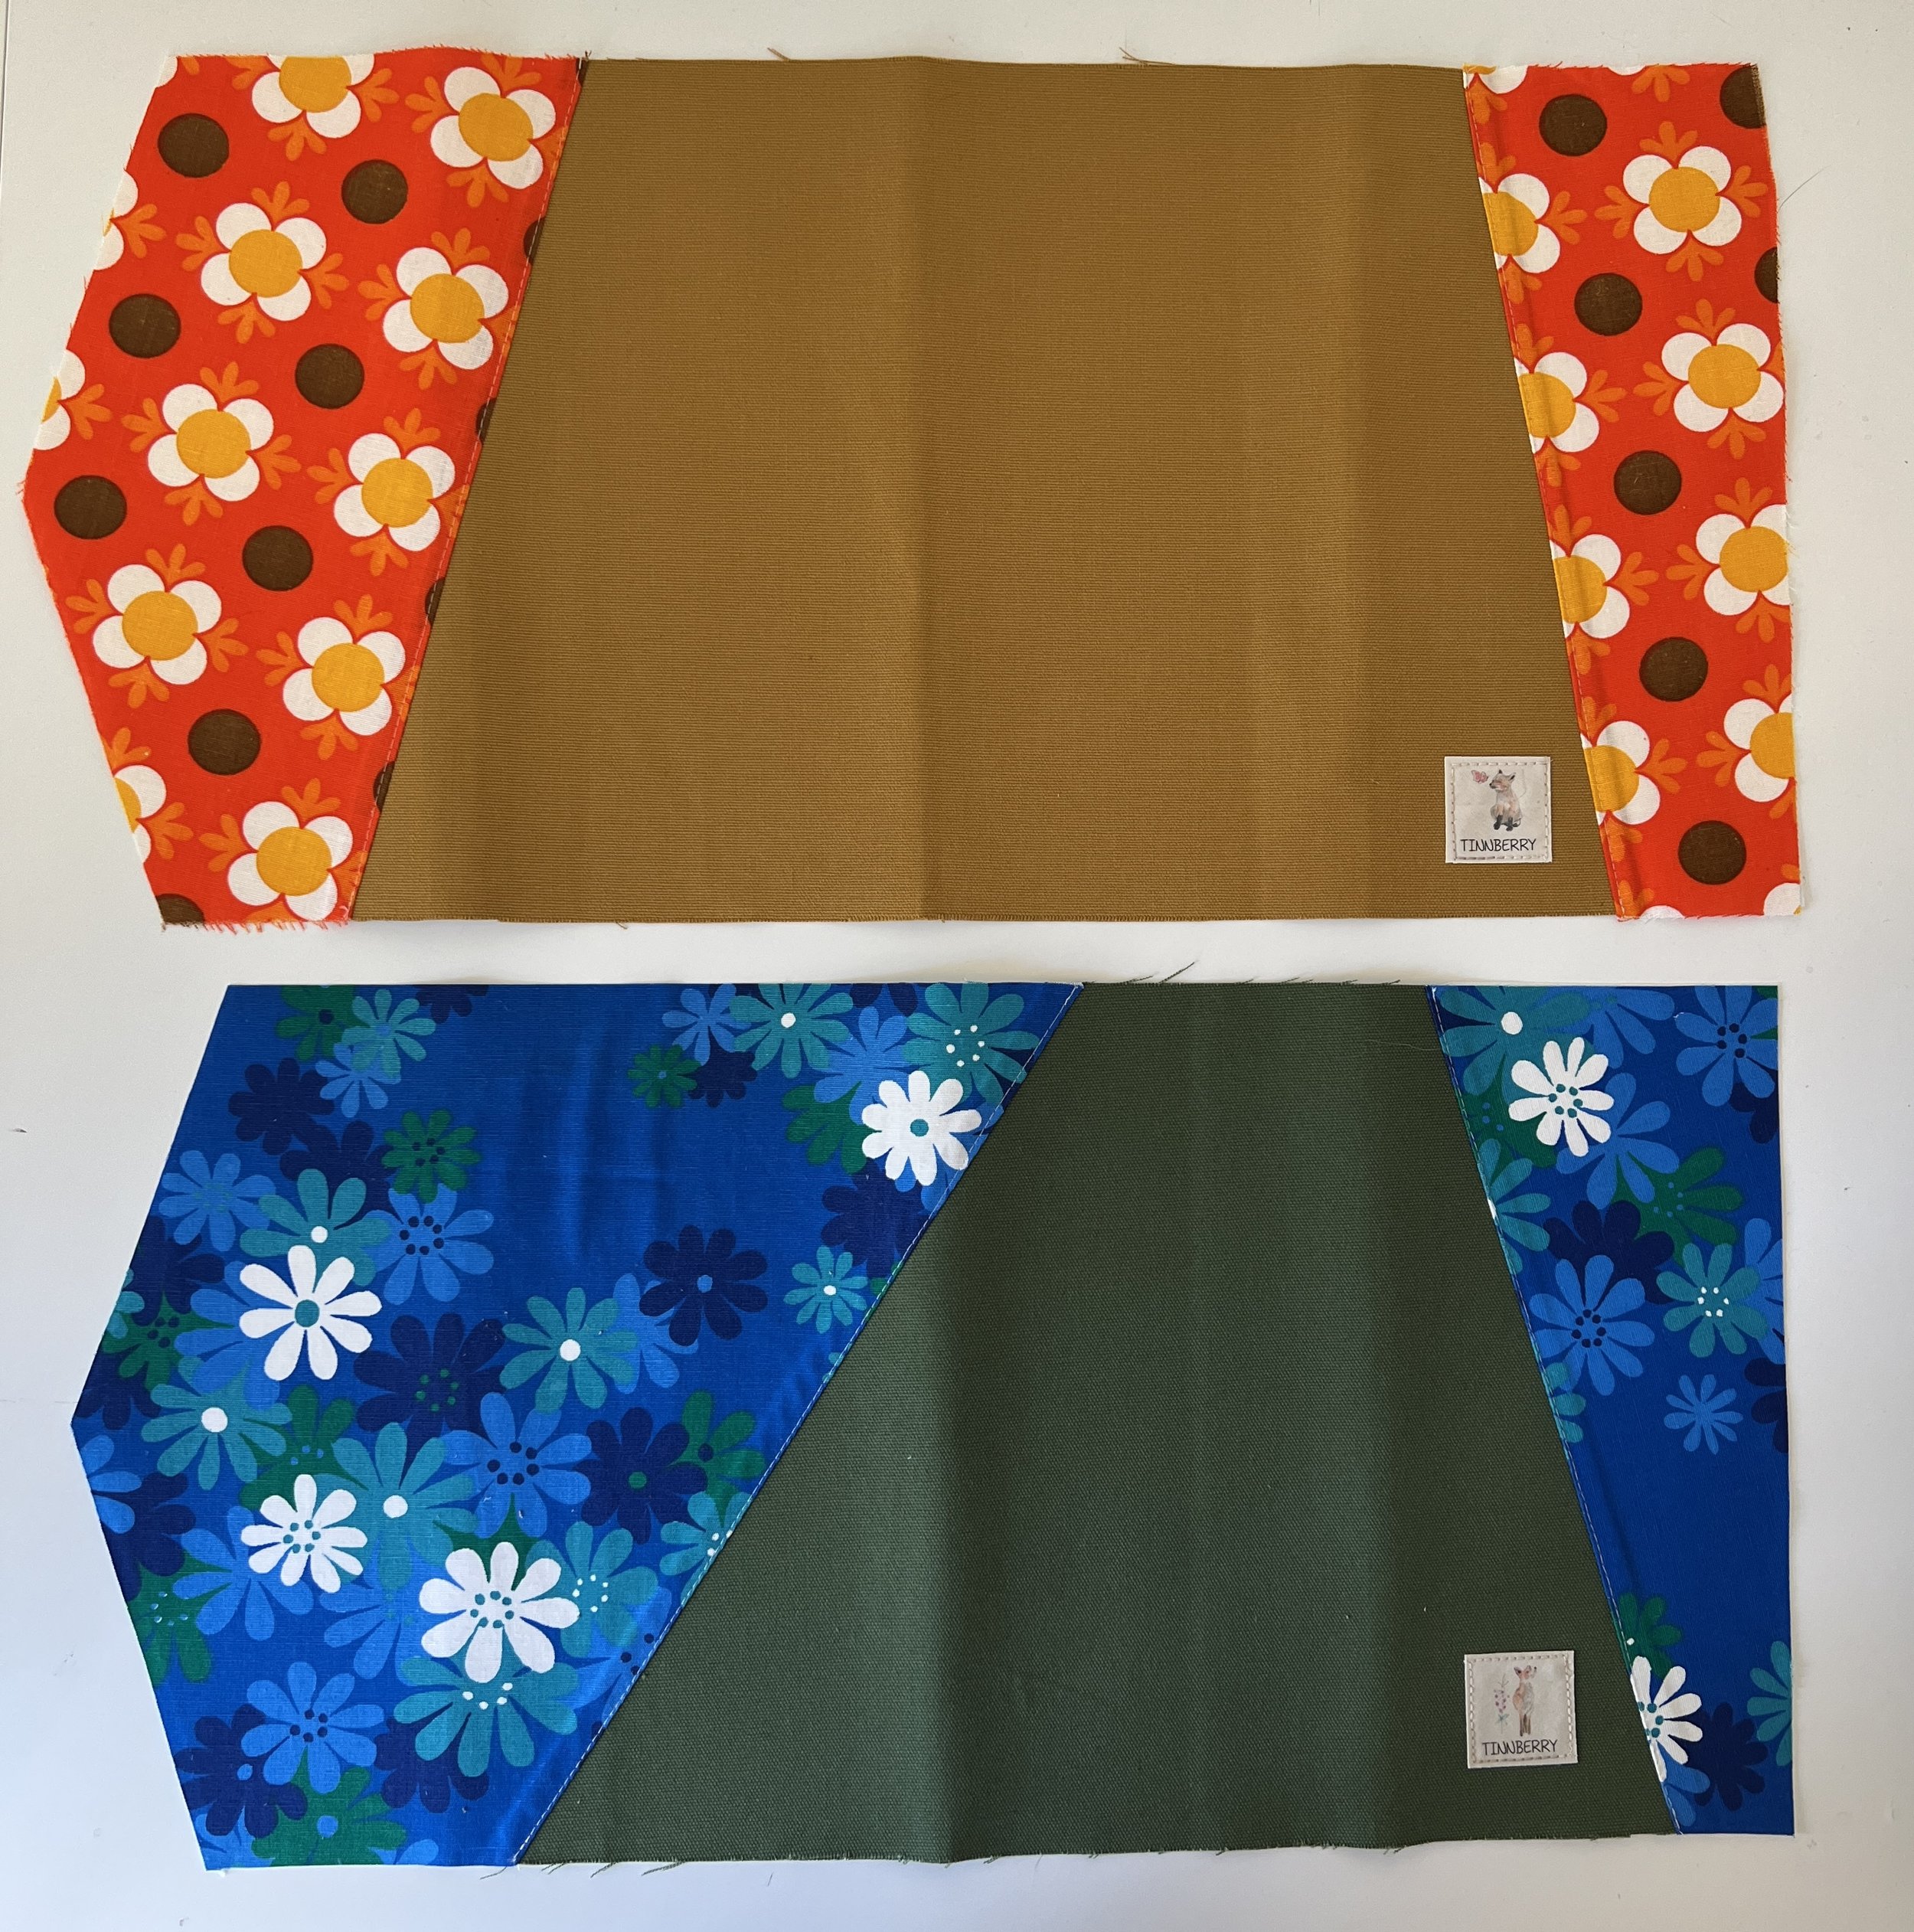
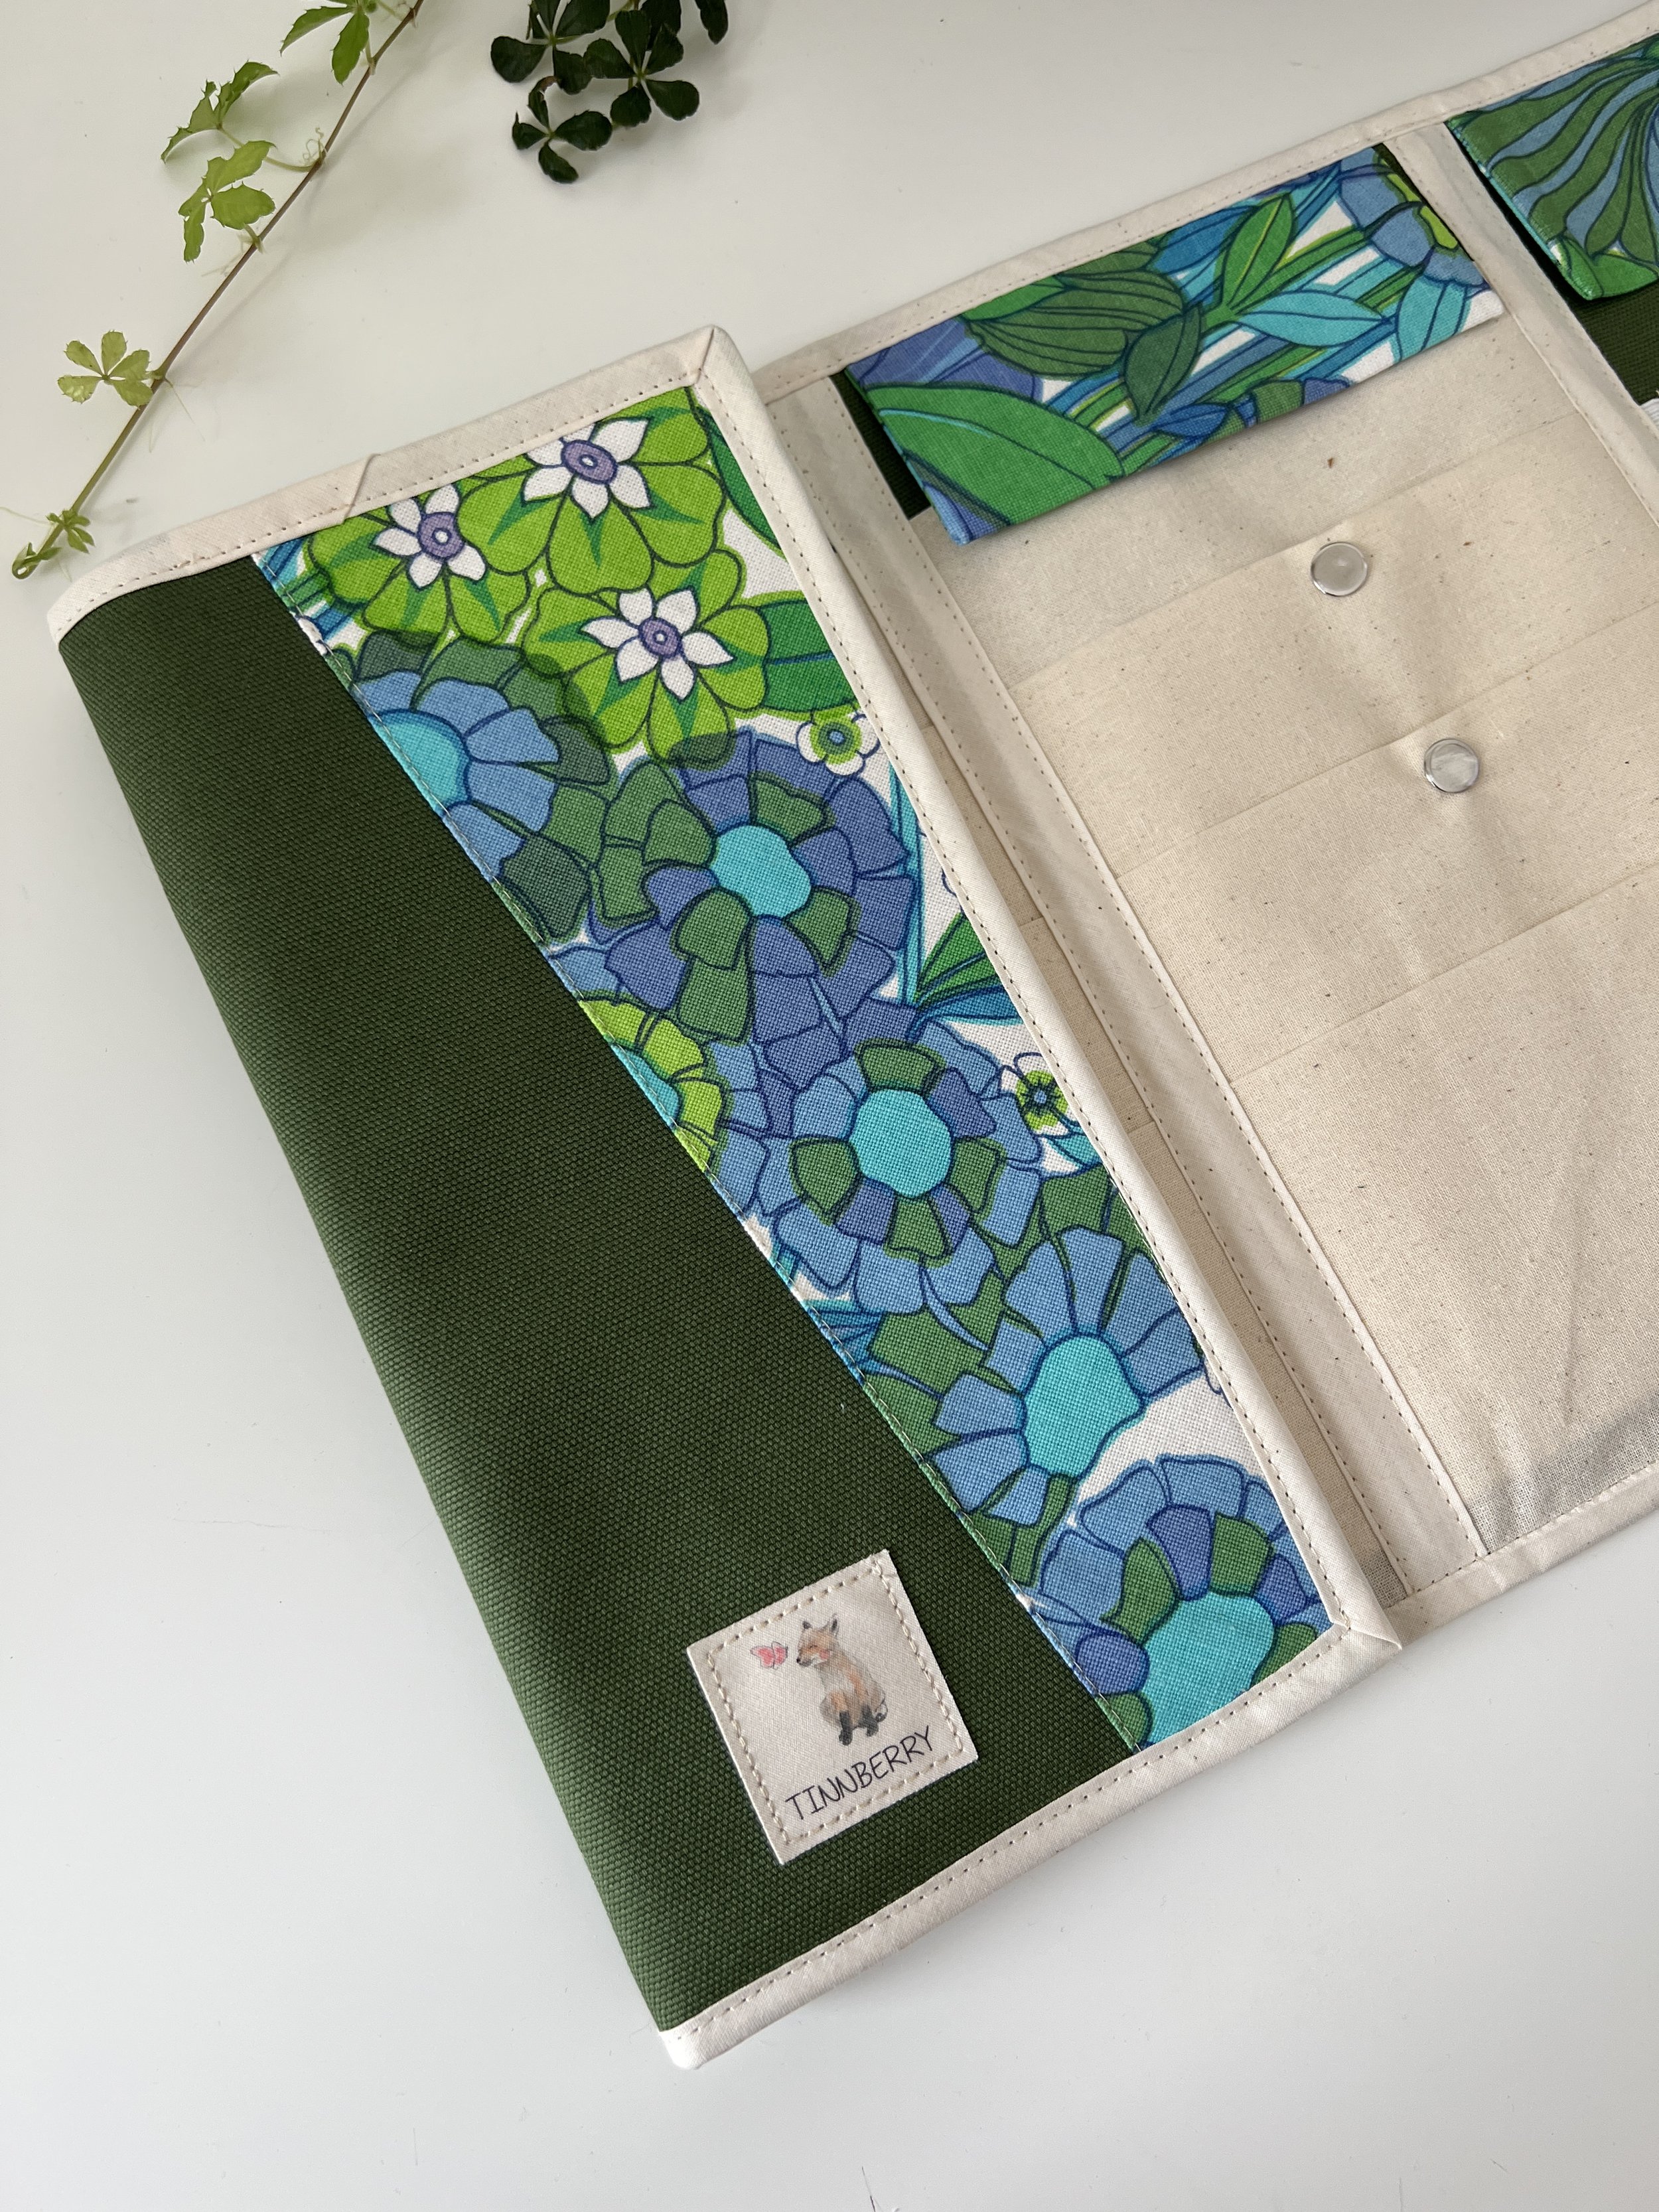
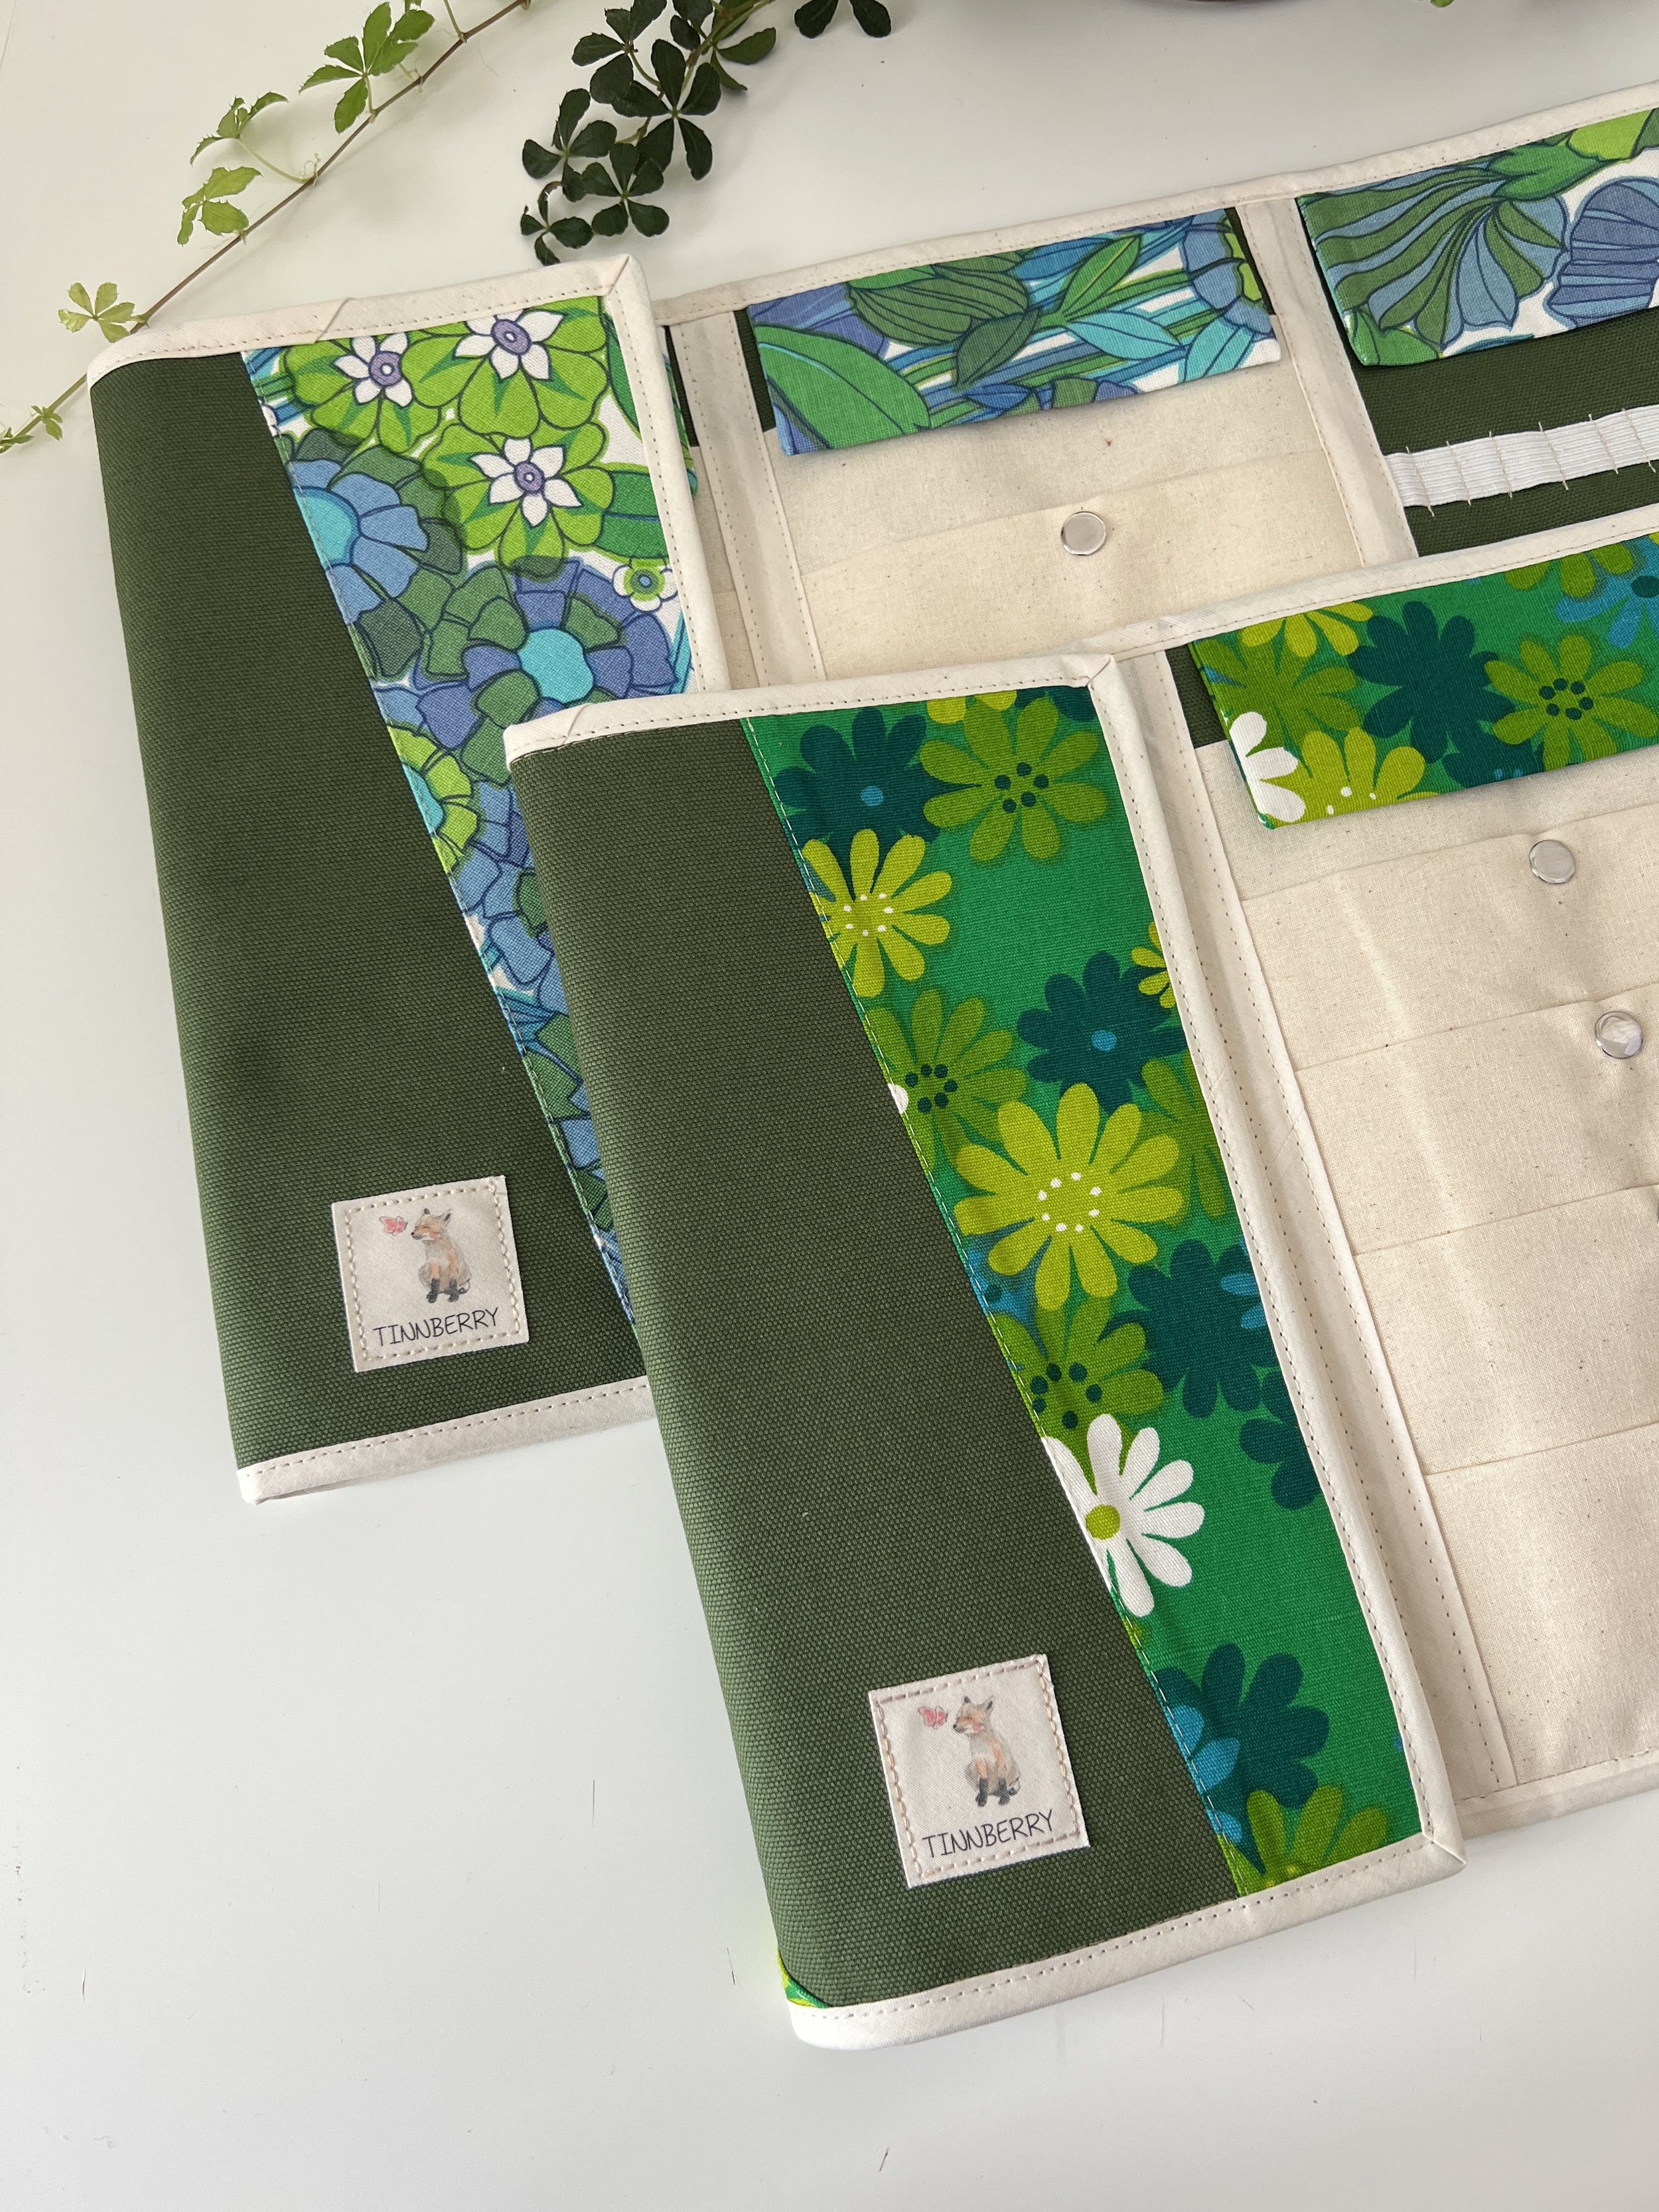
Recently, I’ve been experimenting with the exterior panel by mixing and matching different fabrics. It’s such a fun way to add character! If you’d like to give it a try, simply choose a couple of eye-catching fabrics and place them on each side of the panel. The result is a unique case that reflects your own style
And now there’s even a perfect spot to add a label!
One of my favorite details to sew is a zipper pocket. In this short 3:15 video, I’ll show you step by step how to sew an 18 cm zipper pocket for the Knitting Needle Case
In this quick 2-minute video, I’ll show you how I apply bias tape. Pay special attention to the corners — that’s where a neat finish really makes a difference!
I’d love to hear from you! Let me know which steps in the sewing tutorial you found tricky, and I’ll create short videos to walk you through those parts in more detail.
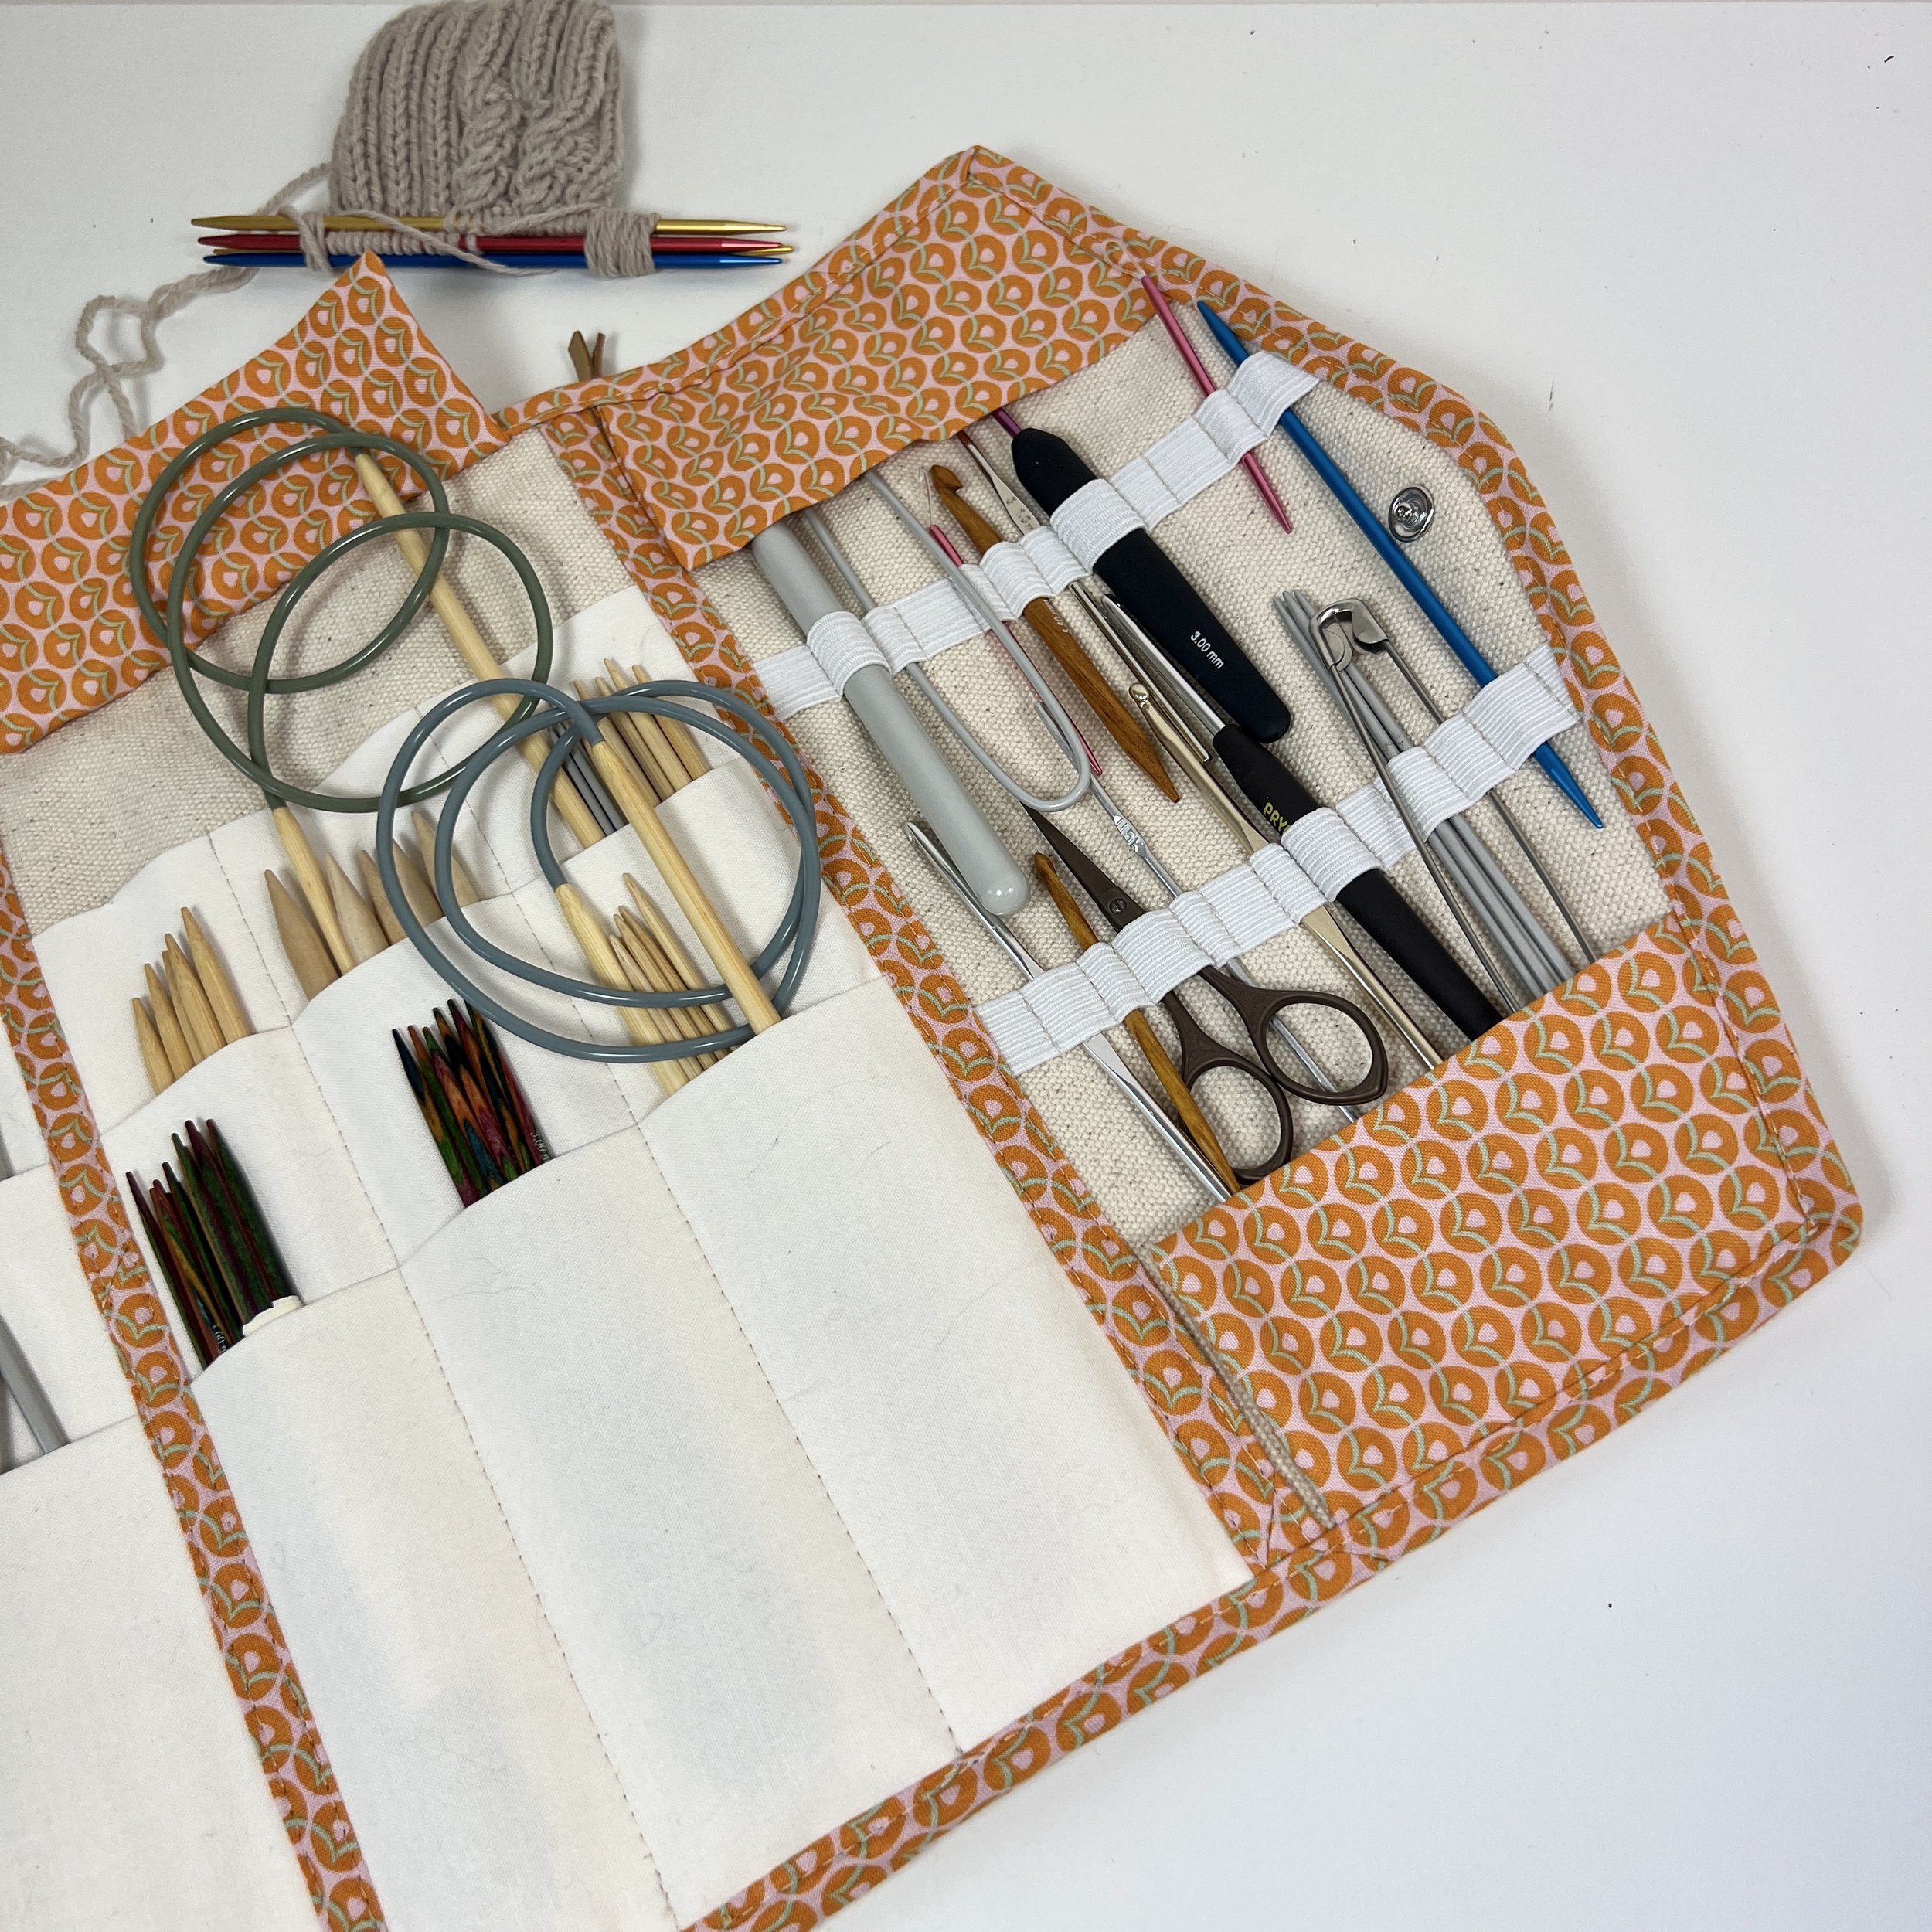
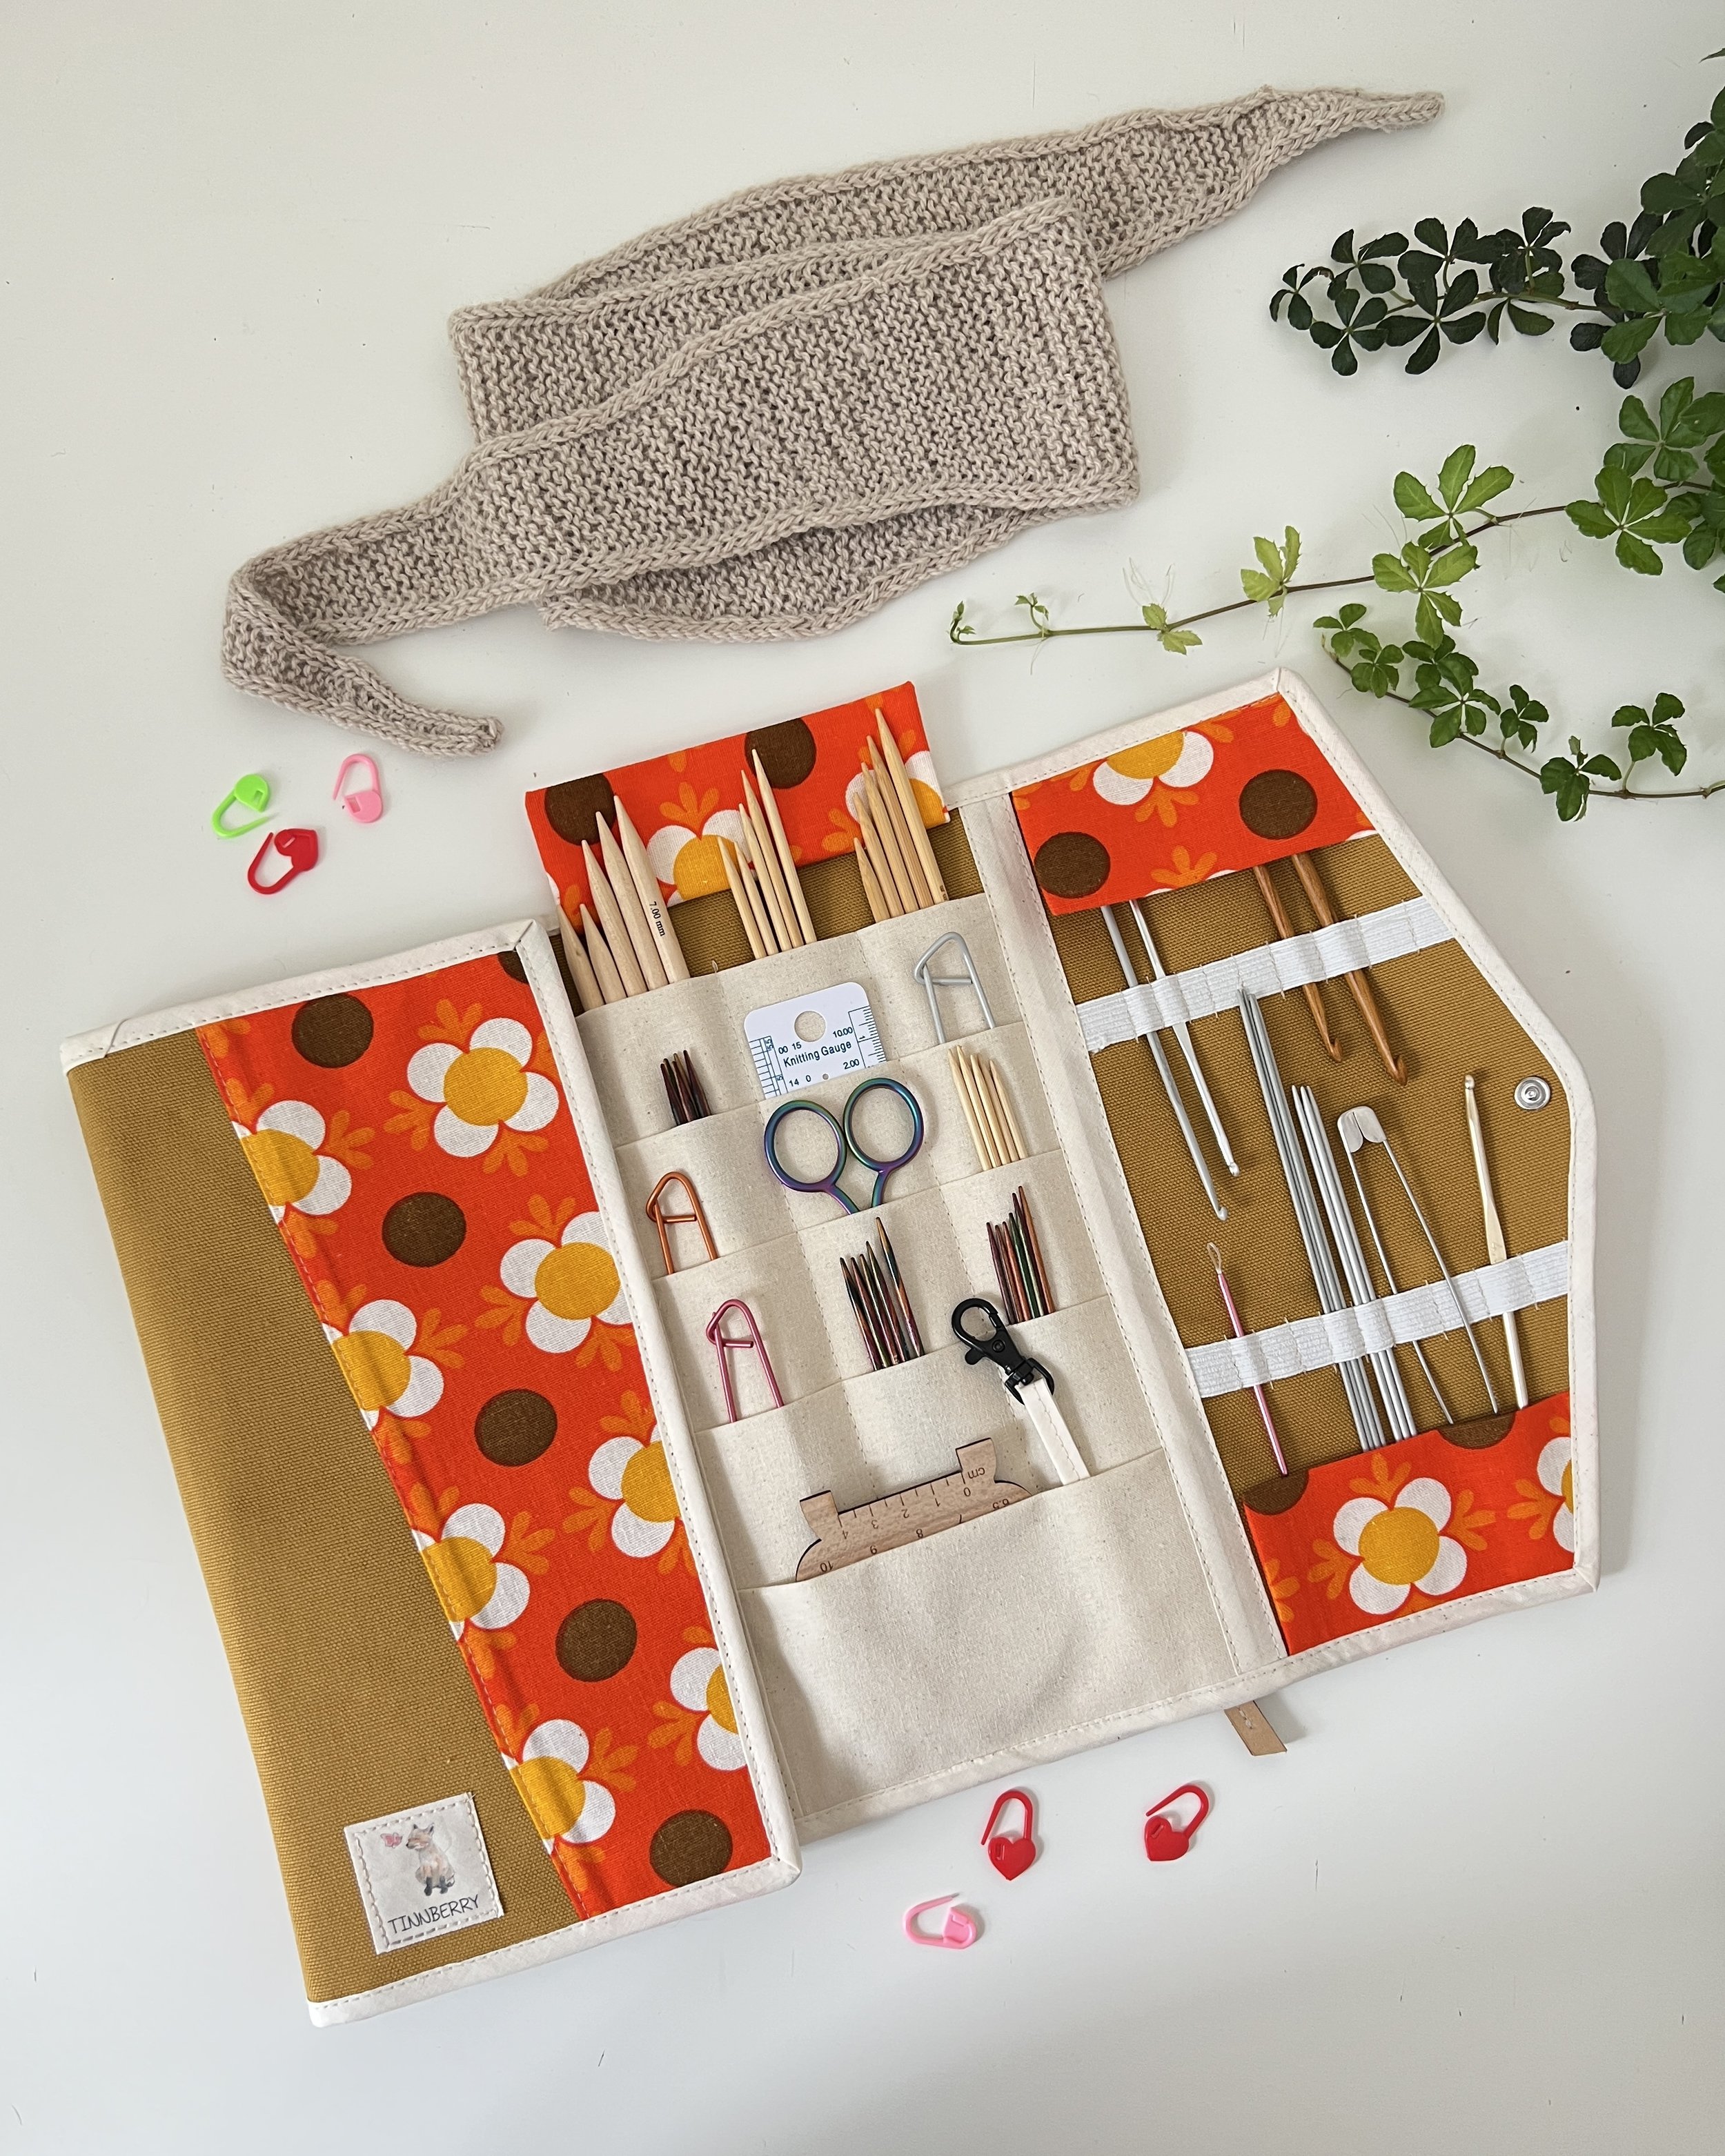
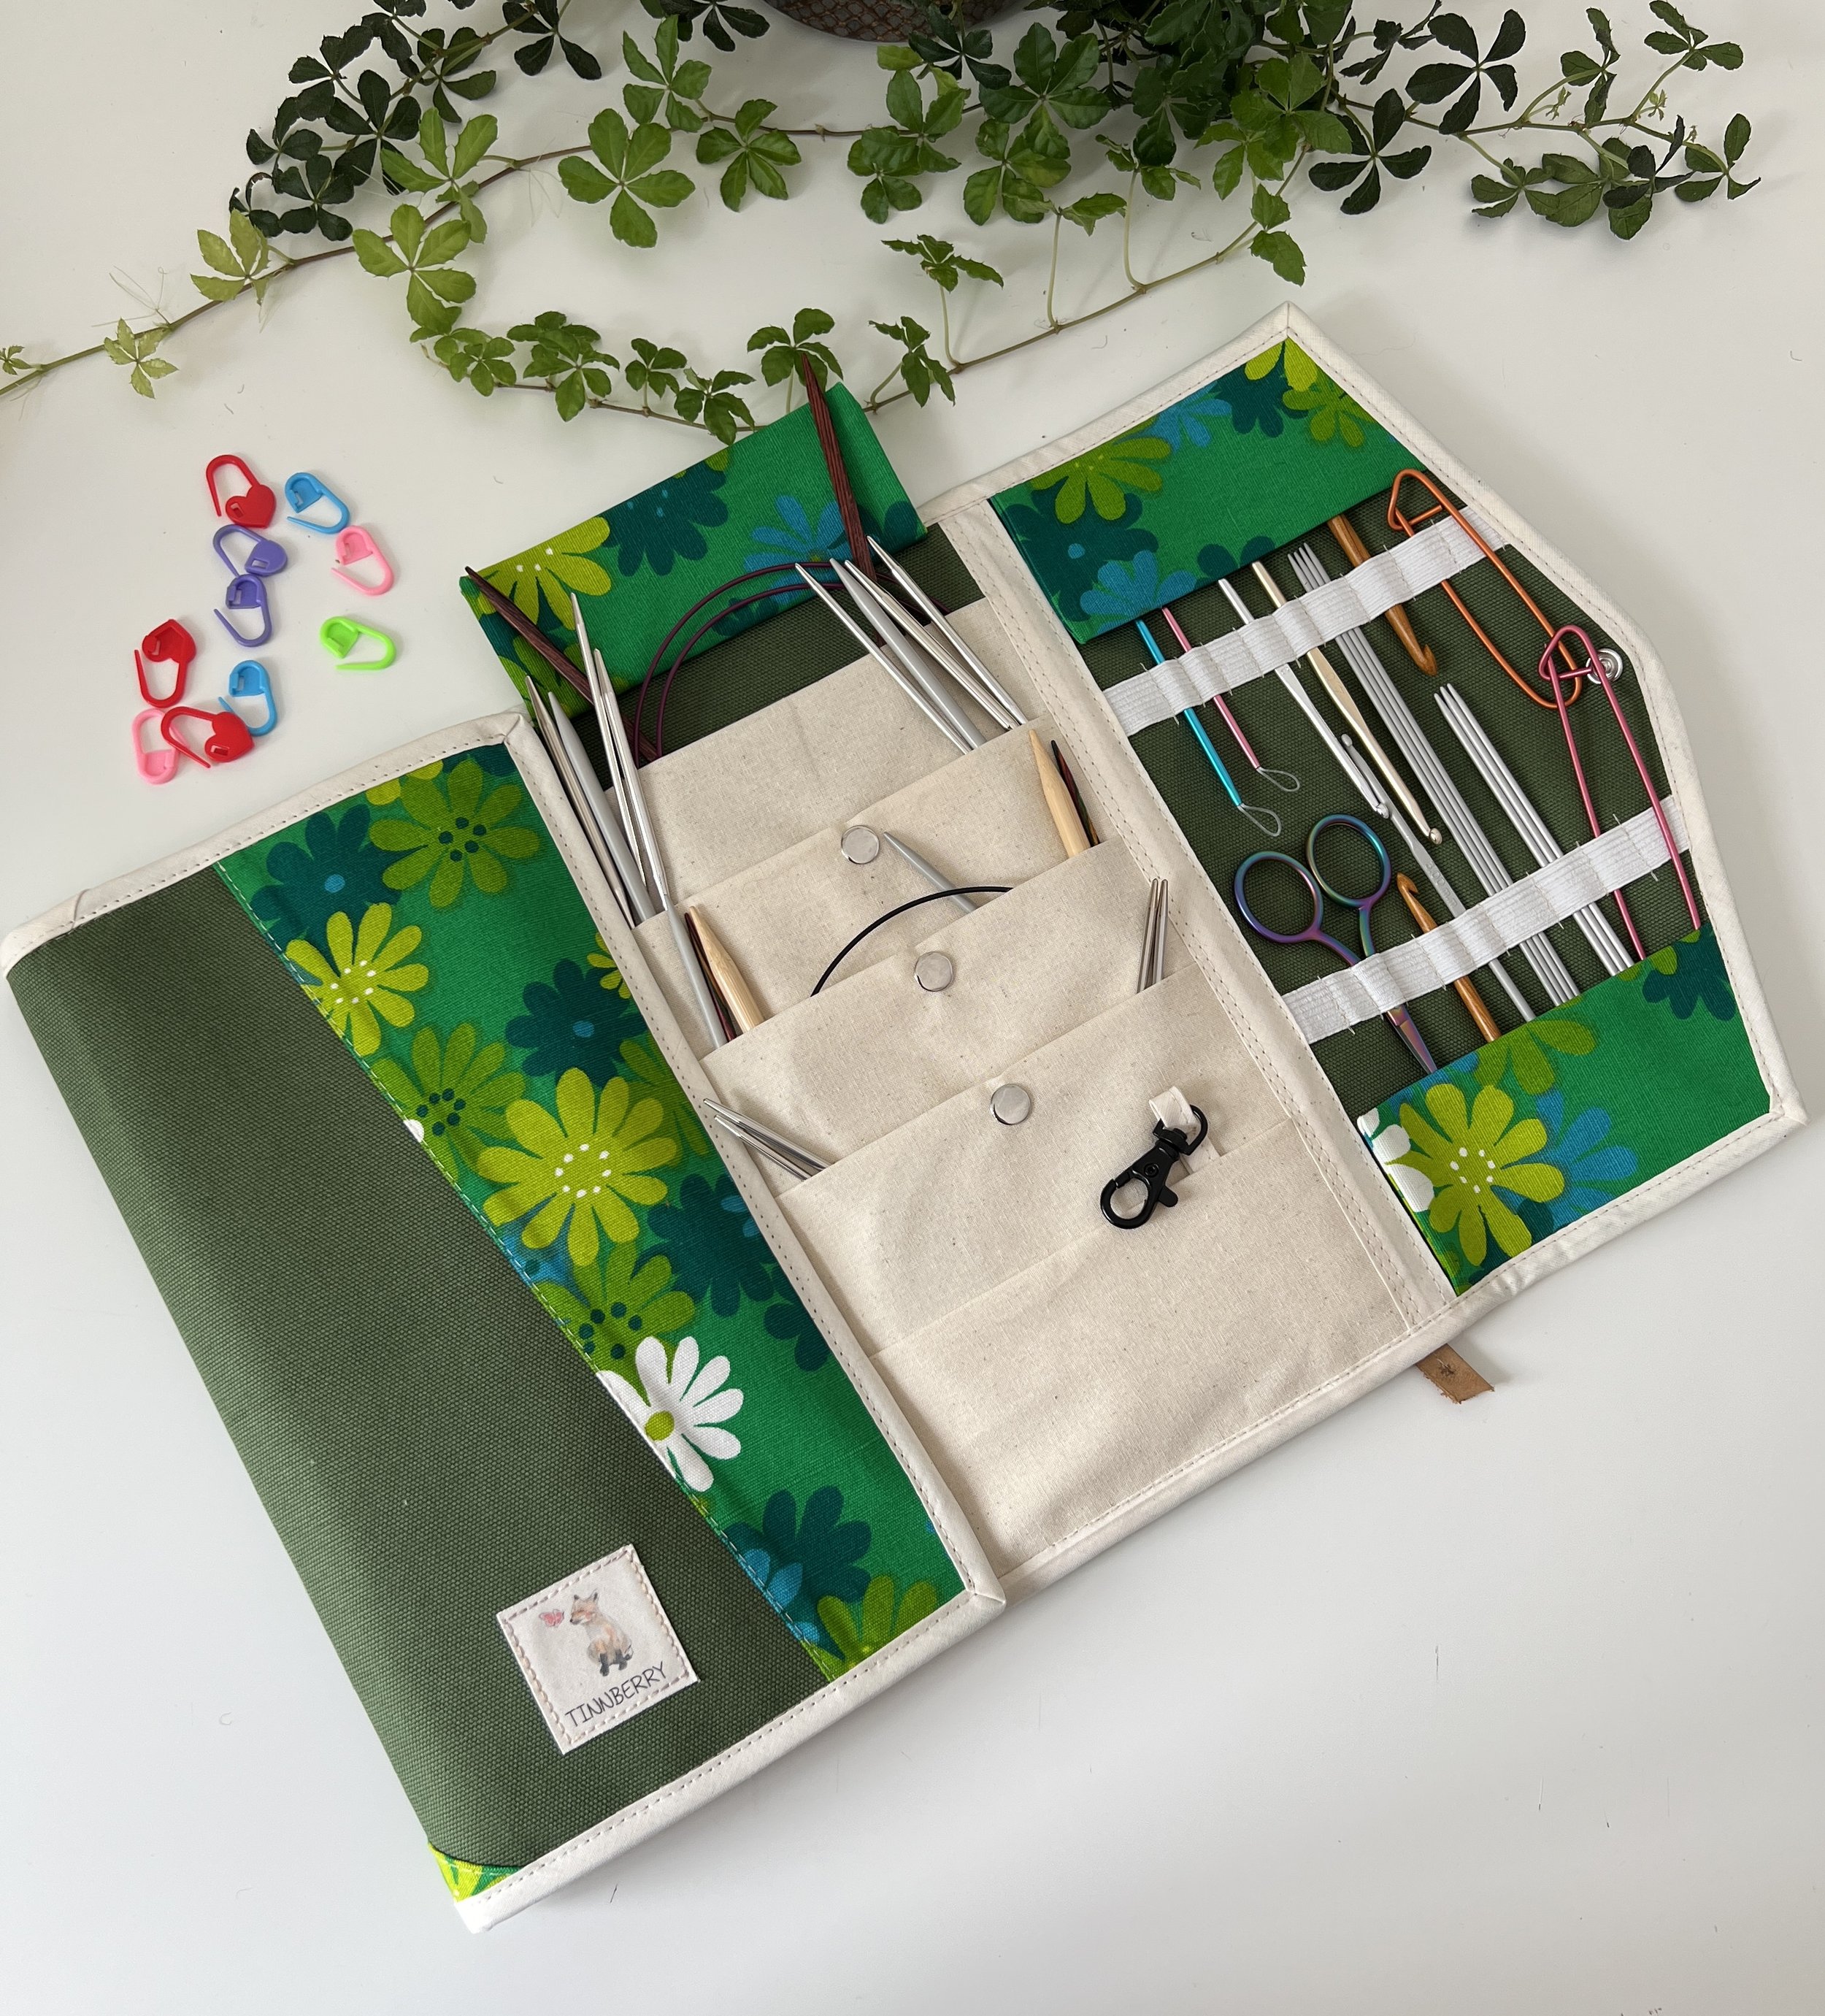
The pattern is very flexible, giving you the option to make 3, 4, or 5 rows of pockets. In this short video, I demonstrate how to fold 5 rows without adding extra bulk, so you can sew them comfortably on a regular household machine.
To keep the thickness down, I don’t start my folds right at the bottom. Instead, I begin about 8 cm (3 inches) above the bottom edge, and each following pocket also stops short of the panel’s edge. This method means you’ll need a slightly longer pocket panel — about 155 cm (61 inches) — and then simply trim off any extra fabric at the end.
I hope this tutorial inspires you to create your own unique Knitting Needle Case — and I’d love to see your finished projects, so feel free to share them with me!